I love a freshly baked cookie, especially when that craving hits for a warm, comforting treat. Today, I’m sharing two fantastic cookie recipes that are absolute go-tos in my kitchen. Both of these chocolate chip cookie recipes are easy to make and perfect for sharing (or keeping all to yourself!).
Whether you prefer a chewy butterscotch cookie or a classic, straightforward chocolate chip, you’ll find a new favorite here. Get ready to bake some amazing cookies!
Jump to Recipe:
Best Ever Butterscotch Chocolate Chip Cookies for Baking
These cookies bring together the sweet, caramelly taste of butterscotch with classic chocolate chips. They are soft, chewy, and disappear fast whenever I make them.
It’s a wonderful cookie choice when you want something a little different from your usual chocolate chip recipe but still packed with flavor.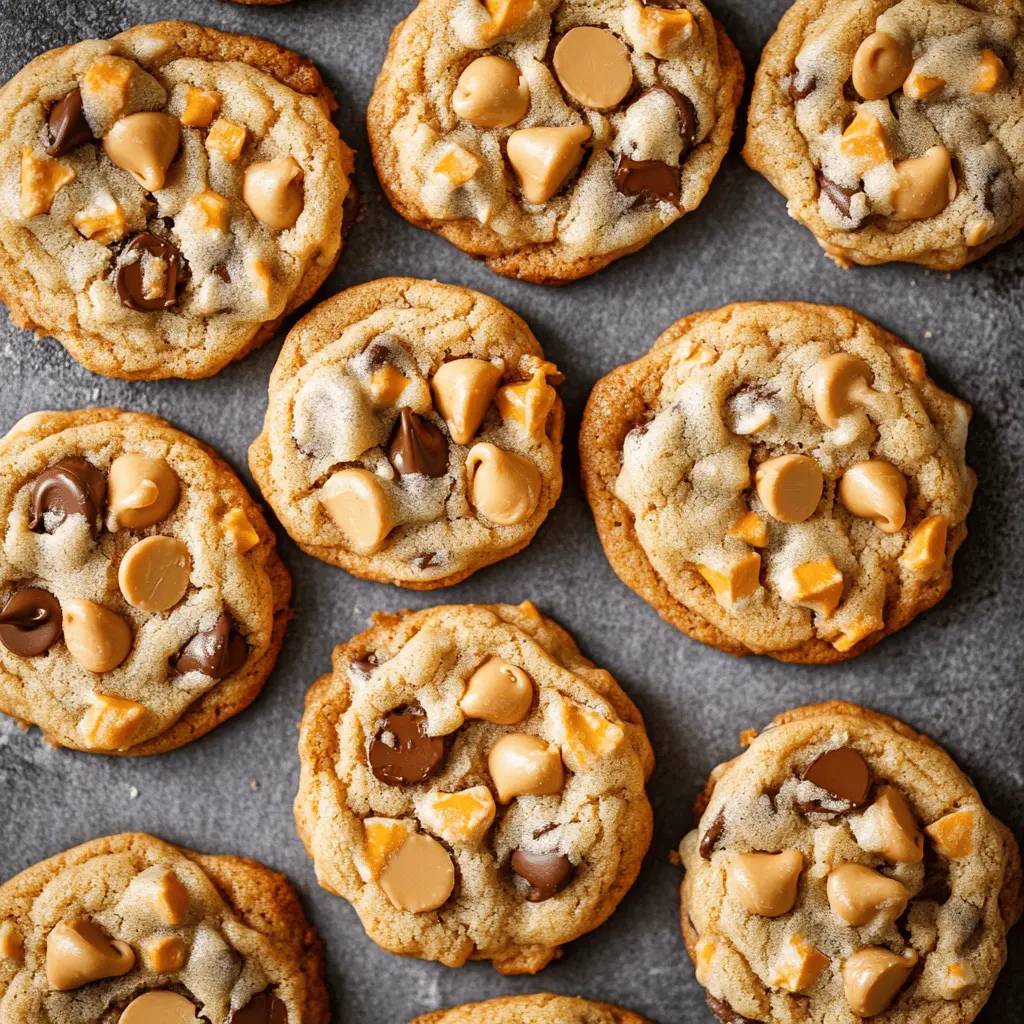
Key Ingredients & Tips for Butterscotch Cookies
- Brown Sugar Power: Use packed brown sugar for these cookies. It adds moisture and that perfect chewy texture.
- Melted Butter Magic: Starting with melted butter helps give these cookies their signature chewiness. Just melt it gently, don’t brown it.
- Chip Combination: Don’t skip both chocolate and butterscotch chips! The mix creates a truly special flavor.
What You Need for Butterscotch Chocolate Chip Cookies
- 1/2 cup (1 stick) unsalted butter, melted
- 1/2 cup granulated sugar
- 1/2 cup packed light brown sugar
- 1 large egg
- 1 teaspoon vanilla extract
- 1 1/4 cups all-purpose flour
- 1/2 teaspoon baking soda
- 1/4 teaspoon salt
- 1 cup butterscotch chips
- 1/2 cup semi-sweet chocolate chips
⏱️ Time: 20 minutes prep, 12-14 minutes bake🍽️ Yields: About 2 dozen cookies
How to Make Best Ever Butterscotch Chocolate Chip Cookies
Step 1: Prep & Mix Wet
Preheat your oven to 350°F (175°C). Line a baking sheet with parchment paper. In a large bowl, whisk together the melted butter, granulated sugar, and brown sugar until smooth. Beat in the egg and vanilla extract until well combined.
Step 2: Add Dry & Chips
In a separate bowl, stir together the flour, baking soda, and salt. Gradually add the dry ingredients to the wet ingredients, mixing until just combined. Fold in the butterscotch chips and chocolate chips.
Step 3: Scoop & Bake
Drop rounded tablespoons of cookie dough onto your prepared baking sheet, leaving some space between them. Bake for 12-14 minutes, or until the edges are golden brown and the centers are still slightly soft.
📝 Final Note
Let the cookies cool on the baking sheet for about 5 minutes before moving them to a wire rack. This helps them set up and prevents breaking.
Bill’s Classic Chocolate Chip Cookies Recipe
This recipe for classic chocolate chip cookies makes a batch that’s perfect every time. They have slightly crisp edges and a wonderfully soft, chewy middle.
It’s the kind of cookie that reminds you of childhood, great for baking with family or simply enjoying with a glass of milk.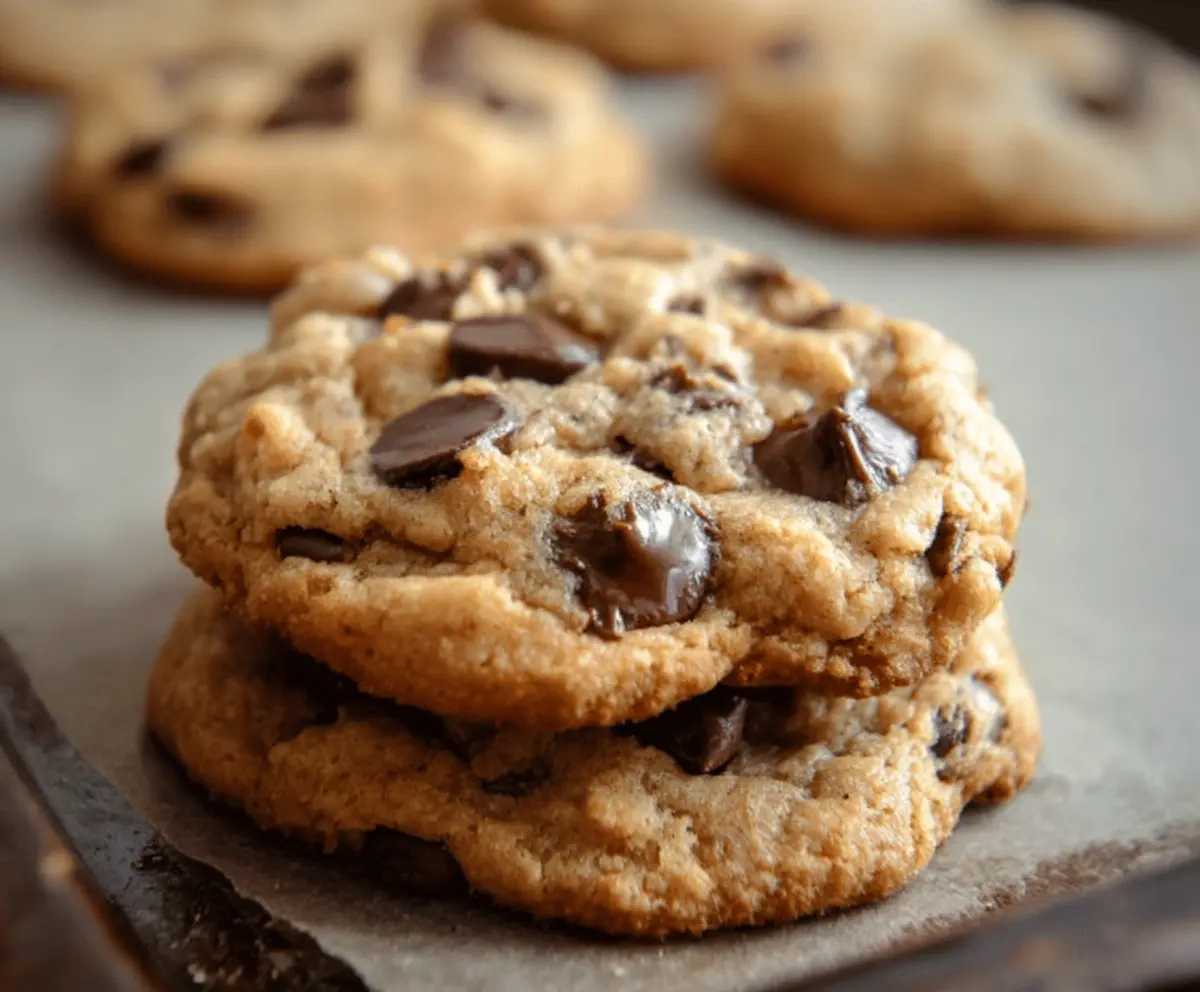
Key Ingredients & Tips for Classic Chocolate Chip Cookies
- Cold Butter Start: Using cold butter, cut into cubes, helps create a better texture when creaming with the sugars.
- Quality Chocolate: The type of chocolate chips really matters here. Choose a brand you love for the best taste in your cookies.
- Chilling the Dough: Don’t skip the chilling step! It helps the cookies keep their shape and gives the flavors time to come together.
What You Need for Bill’s Chocolate Chip Cookies
- 1 cup (2 sticks) unsalted butter, cold and cubed
- 3/4 cup granulated sugar
- 3/4 cup packed light brown sugar
- 2 large eggs
- 1 teaspoon vanilla extract
- 2 1/4 cups all-purpose flour
- 1 teaspoon baking soda
- 1/2 teaspoon salt
- 2 cups semi-sweet chocolate chips
⏱️ Time: 25 minutes prep, 30 minutes chill, 10-12 minutes bake🍽️ Yields: About 3 dozen cookies
How to Make Bill’s Chocolate Chip Cookies
Step 1: Cream Butter & Sugars
In a large bowl, use an electric mixer to cream the cold cubed butter with the granulated sugar and brown sugar until light and fluffy, about 2-3 minutes.
Step 2: Mix in Eggs & Dry Ingredients
Beat in the eggs one at a time, mixing well after each addition. Stir in the vanilla extract. In a separate bowl, combine the flour, baking soda, and salt. Slowly add the dry ingredients to the wet, mixing on low speed until just combined. Fold in the chocolate chips.
Step 3: Chill & Bake Cookies
Cover the cookie dough and chill it in the refrigerator for at least 30 minutes. When ready to bake, preheat your oven to 375°F (190°C) and line baking sheets with parchment paper. Scoop rounded tablespoons of dough onto the sheets and bake for 10-12 minutes, or until the edges are golden.
📝 Final Note
Chilling the dough is key for these cookies to prevent them from spreading too much and to help build a deeper flavor. Store any leftover cookies in an airtight container at room temperature for up to 3-4 days.