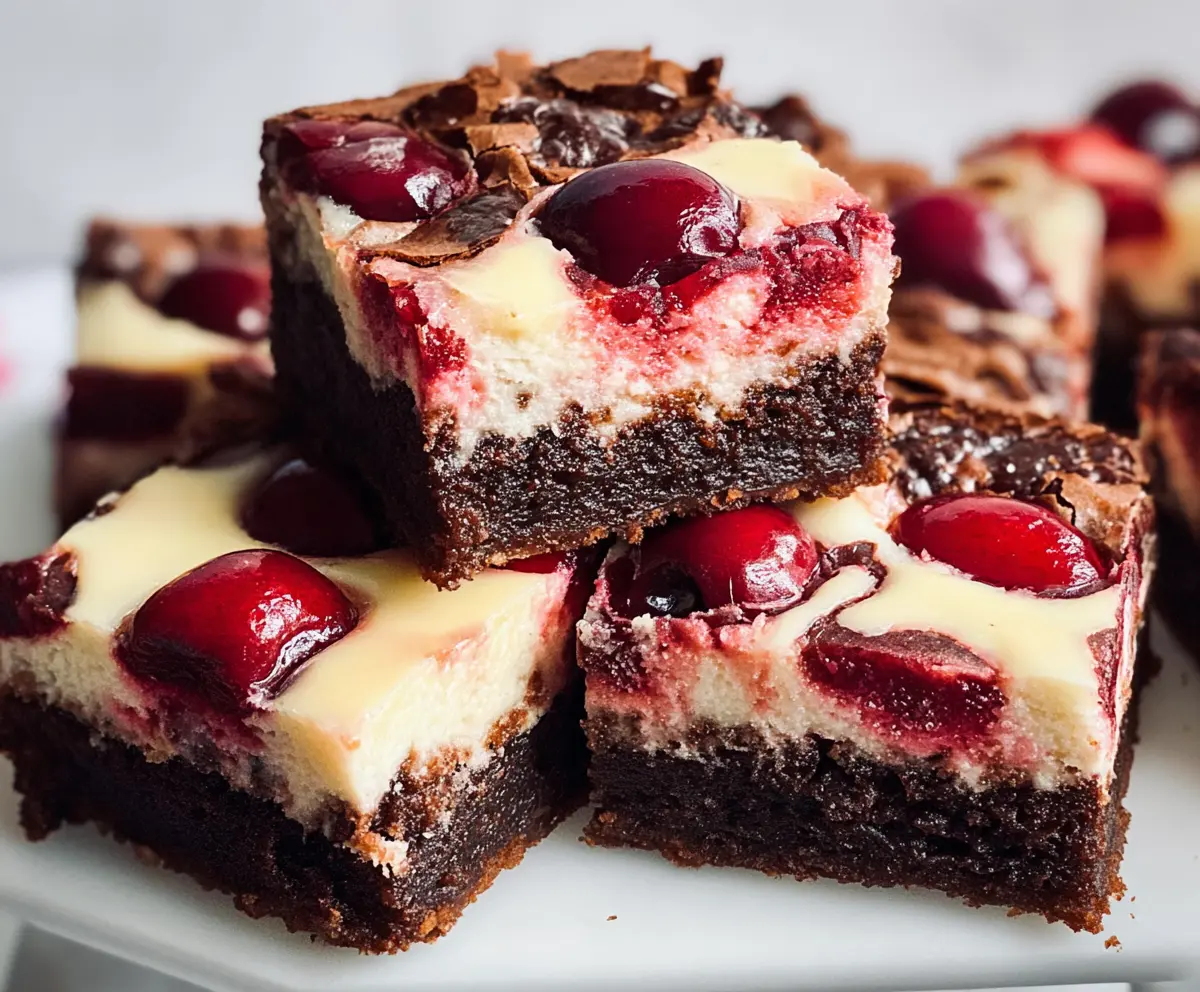
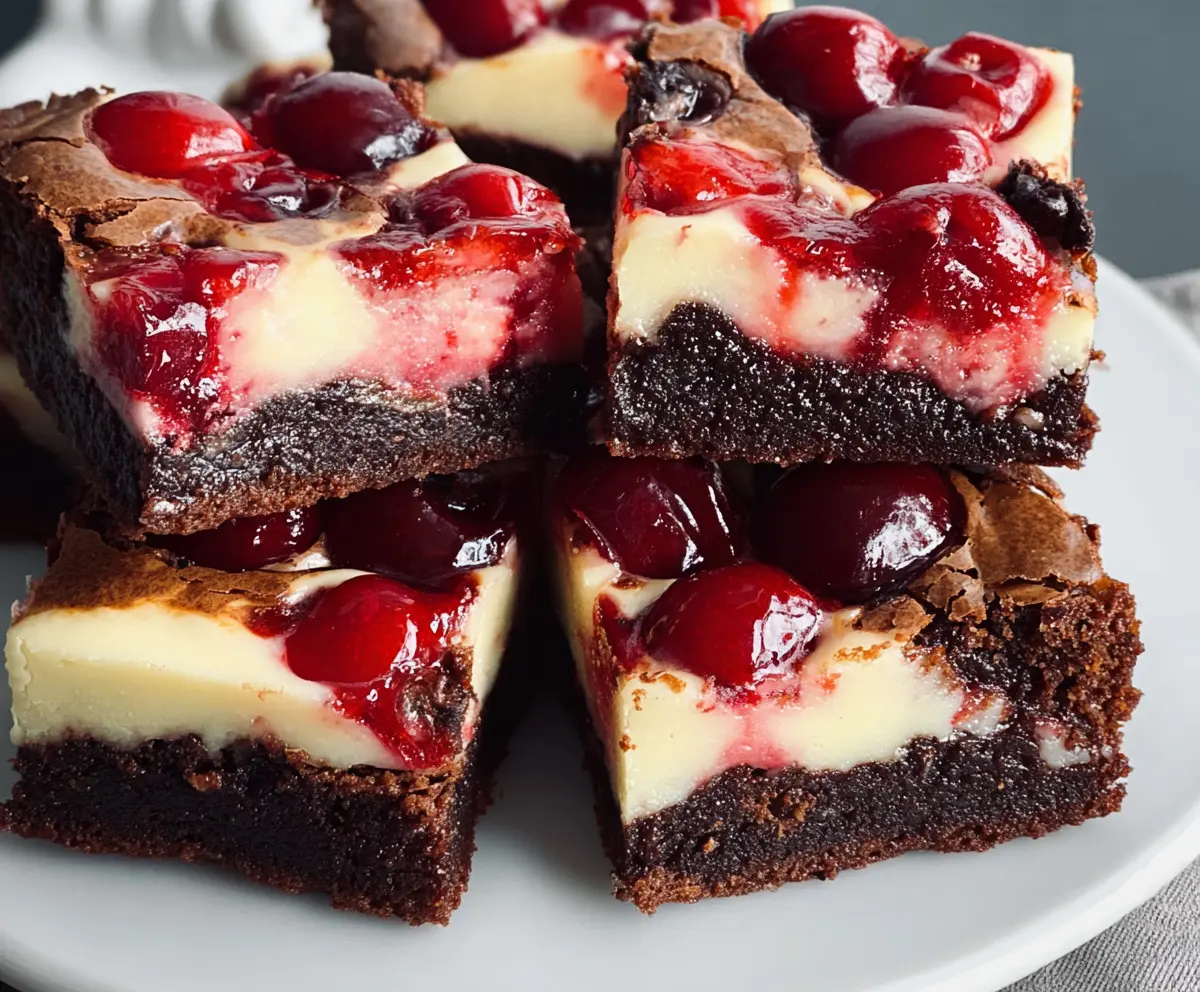
These Cherry Cheesecake Brownies are the perfect blend of rich chocolate brownie and creamy cheesecake, topped with sweet cherries. They look fancy but are super easy to make!
Honestly, who can resist that gorgeous red cherry on top? I love serving these at gatherings. Everyone is always impressed, and they disappear quickly—like magic! 🎉
Key Ingredients & Substitutions
Butter: Unsalted butter is ideal for rich flavor control. If you’re in a pinch, you can use coconut oil or margarine, but I prefer the taste of butter for this recipe.
Granulated sugar: Regular sugar adds sweetness, but you could swap in brown sugar for a deeper flavor. I often combine both for the best of both worlds!
Cream cheese: The cream cheese gives that signature cheesecake taste. If you’re dairy-free, try a vegan cream cheese alternative that can work just as well for flavor and texture.
Cherries: Fresh pitted cherries are fantastic, but frozen cherries work great too. Just make sure they are thawed and drained. For a twist, consider using raspberries or mixed berries.
How Do I Achieve the Perfect Brownie and Cheesecake Swirl?
The swirling can be tricky, but it’s all about gentle technique. Here’s how to get that lovely marbled effect:
- After adding the cheesecake dollops to the brownie layer, use a knife or skewer to lightly swirl without mixing fully. A gentle motion will create nice patterns.
- Don’t overdo it! Too much mixing will blend the layers instead of showcasing both. Aim for light swirls that connect but aren’t fully combined.
Taking your time with this step can lead to a stunning visual and a tasty combination of flavors in each bite. It’ll make your brownies both beautiful and delicious!
Cherry Cheesecake Brownies
Ingredients You’ll Need:
For the Brownie Layer:
- 1/2 cup (115g) unsalted butter, melted
- 1 cup (200g) granulated sugar
- 2 large eggs
- 1 tsp vanilla extract
- 1/3 cup (35g) unsweetened cocoa powder
- 1/2 cup (65g) all-purpose flour
- 1/4 tsp salt
- 1/4 tsp baking powder
For the Cheesecake Layer:
- 8 oz (225g) cream cheese, softened
- 1/4 cup (50g) granulated sugar
- 1 large egg
- 1/2 tsp vanilla extract
For the Cherry Topping:
- 1 cup pitted cherries (fresh or frozen, thawed if frozen)
How Much Time Will You Need?
This dessert will take about 15 minutes to prepare and 35-40 minutes to bake, plus at least 2 hours to cool in the fridge before serving. So, in total, you’re looking at a little under 3 hours, but most of that is just waiting time! It’s totally worth it for those delicious layers.
Step-by-Step Instructions:
1. Preheat the Oven:
Start by preheating your oven to 350°F (175°C). While that’s warming up, you can get your baking pan ready. Grease or line an 8×8 inch (20×20 cm) pan with parchment paper, leaving some paper hanging over the sides to help lift the brownies out later.
2. Make the Brownie Batter:
In a mixing bowl, whisk together the melted butter, granulated sugar, eggs, and vanilla extract. Mix well until everything is smooth and combined.
3. Add Dry Ingredients:
Next, sift the cocoa powder, flour, salt, and baking powder directly into the wet mixture. Gently fold everything together until just combined. Be careful not to overmix—it’s okay if there are a few small lumps.
4. Spread the Brownie Layer:
Evenly spread the brownie batter into the prepared baking pan, making sure it reaches all the corners. This will be your delicious base layer!
5. Prepare the Cheesecake Layer:
In another bowl, beat the softened cream cheese, granulated sugar, egg, and vanilla extract together until the mixture is nice and creamy. This will be your cheesecake layer—so smooth and rich!
6. Swirl the Cheesecake:
Dollop spoonfuls of the cheesecake mixture over the brownie layer. Using a knife or skewer, gently swirl it into the brownie layer to create a marbled effect. Don’t worry about being perfect; it’s all going to taste amazing!
7. Add the Cherries:
Now, take your pitted cherries and scatter them evenly over the top of the cheesecake layer. Gently press them in a bit so they stick.
8. Bake the Brownies:
Pop the pan in the oven and bake for 35-40 minutes. The cheesecake layer should look set, and a toothpick inserted into the brownie area should come out with a few moist crumbs (but not wet batter!).
9. Cool and Chill:
Let the brownies cool completely in the pan. Once cool, place them in the fridge and chill for at least 2 hours. This helps the layers set nicely for cutting.
10. Serve and Enjoy:
When you’re ready to serve, lift the brownies out of the pan using the parchment paper. Cut them into squares and enjoy chilled or at room temperature. You’re in for a treat with that rich chocolate, smooth cheesecake, and the delightful tang of cherries!
Enjoy your luscious Cherry Cheesecake Brownies! Each bite is a heavenly mix of flavors and textures! 🍒
Can I Use Other Fruits Instead of Cherries?
Absolutely! While cherries add a lovely flavor, you can substitute them with raspberries, strawberries, or blueberries. Just make sure to adjust the sweetness if using sweeter fruits!
How Do I Store Leftover Brownies?
Store leftovers in an airtight container in the refrigerator for up to 5 days. You can also freeze them for up to 3 months; just ensure they’re well-wrapped to prevent freezer burn!
Can I Make This Recipe Gluten-Free?
Yes, you can easily make these brownies gluten-free by substituting the all-purpose flour with a 1:1 gluten-free flour blend. Just confirm that all other ingredients are gluten-free as well.
What If My Cheesecake Layer is Too Runny?
If your cheesecake layer appears runny, make sure your cream cheese is at room temperature and well-beaten until smooth. Additionally, be cautious not to overbake; it should just be set, not overcooked!