
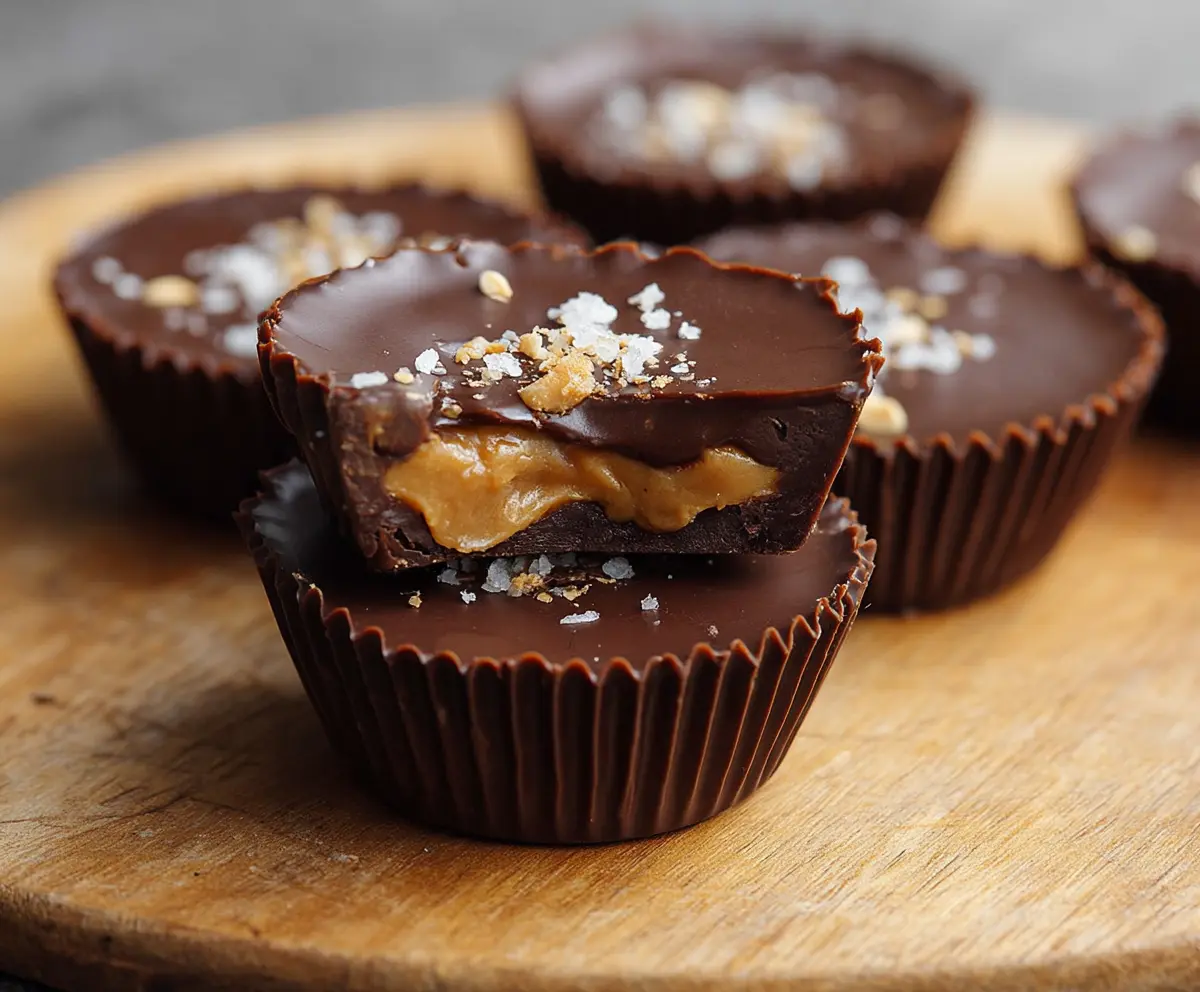
These tasty chocolate peanut butter cups are a perfect treat! With a smooth peanut butter filling wrapped in rich chocolate, they’re hard to resist.
I mean, who can say no to a classic combo like chocolate and peanut butter? 🍫🥜 I love making these in batches to share—if they last that long, of course!
Making them is so simple! Just melt chocolate, fill with peanut butter, and let them cool. They’re a sweet snack that always brings a smile!
Key Ingredients & Substitutions
Pear butter: Creamy peanut butter provides a rich flavor. If you’re nut-free, you can substitute sunflower seed butter or a soy nut butter. Both work well and offer a similar texture!
Butter: Unsalted butter is preferred for control over saltiness. If you want a dairy-free option, coconut oil can replace it, giving a slight coconut flavor, which can be delightful!
Powdered sugar: This adds sweetness and helps bind the filling. You can use maple syrup or honey if you want a more natural sweetener, but keep in mind it may alter the texture slightly.
Chocolate chips: Semi-sweet or dark chocolate is excellent here. Milk chocolate can be a sweeter option. If you’re dairy-free, look for vegan chocolate chips or dark chocolate that fits your needs.
Sea salt: Just a sprinkle adds a great contrast. If you don’t have sea salt, kosher salt works too. It gives an interesting flavor boost!
How Do I Get the Chocolate to Melt Smoothly?
Melted chocolate can be finicky, but here are some tips for smooth chocolate:
- Use a microwave-safe bowl; short intervals help prevent burning. Stir after each round for even melting.
- Alternatively, use a double boiler: Fill a pot with a little water, place a heatproof bowl on top without touching the water, and stir until melted.
- Avoid getting moisture in the chocolate; it can cause it to seize. Make sure all your tools are dry!
With these tips, you’ll have perfect chocolate to coat your peanut butter cups!
How to Make Chocolate Peanut Butter Cups
Ingredients You’ll Need:
For the Peanut Butter Filling:
- 1 cup creamy peanut butter (natural or smooth)
- 2 tablespoons unsalted butter, softened
- 1/4 cup powdered sugar, sifted
- 1/2 teaspoon vanilla extract
For the Chocolate Coating:
- 2 cups semi-sweet or dark chocolate chips (or chocolate melting wafers)
- Sea salt flakes (optional, for topping)
- Paper cupcake liners (about 12)
How Much Time Will You Need?
This recipe will take about 15 minutes of active prep time, plus around 1 hour for chilling to set the chocolate. In total, you’re looking at about 1 hour and 15 minutes until you can enjoy your delicious treats!
Step-by-Step Instructions:
1. Preparing the Peanut Butter Filling:
In a medium bowl, mix together the creamy peanut butter, softened butter, powdered sugar, and vanilla extract. Stir until it’s smooth and creamy without any lumps. This will be your tasty filling!
2. Melting the Chocolate:
Put the chocolate chips in a microwave-safe bowl. Heat them in the microwave for 30 seconds at a time. Make sure to stir after each interval until the chocolate is completely melted and silky. If you prefer, you can melt the chocolate in a double boiler on the stovetop for more control.
3. Assembling the Cups:
Take your muffin tin and line it with paper cupcake liners. Pour about 1 tablespoon of melted chocolate into each liner, and use the back of a spoon to spread it out evenly, covering the bottom completely.
4. Adding the Peanut Butter Filling:
Now, take about 1 tablespoon of your peanut butter mixture and place it on top of the chocolate in each cup. Gently smooth out the top while ensuring the sides remain clear for the chocolate to seal later.
5. Topping with Chocolate:
Cover the peanut butter layer completely with another tablespoon of melted chocolate, making sure it’s sealed well and has a smooth top. This is where the magic happens!
6. Sprinkling Sea Salt:
If you’d like, add a tiny pinch of sea salt flakes on top of each chocolate cup for that extra burst of flavor. It really enhances the chocolate and peanut butter taste!
7. Chilling to Set:
Pop the muffin tin in the fridge and let the cups chill for at least 1 hour. This will help the chocolate set nicely, so they hold their shape when you enjoy them.
8. Serving and Enjoying:
Once they’re set, gently pull the paper liners away to remove the peanut butter cups. Enjoy them right away, or store any extras in an airtight container in the refrigerator for later!
This recipe gives you about 12 delightful homemade chocolate peanut butter cups. With a creamy filling and a rich chocolate shell, they are sure to be a hit!
Can I Use Natural Peanut Butter Instead of Creamy?
Yes, you can use natural peanut butter, but the texture may be slightly different due to its oil separation. Stir it well before measuring and consider adding an extra tablespoon of powdered sugar to maintain consistency.
What If I Don’t Have Chocolate Chips?
No problem! You can use chocolate bars chopped into small pieces or chocolate melting wafers instead. Both will melt beautifully and work perfectly for coating the cups.
How Should I Store Leftovers?
Store any leftovers in an airtight container in the refrigerator. They should stay fresh for up to a week! If you want them to last longer, you can also freeze them and enjoy them later.
Can I Add Other Fillings?
Absolutely! You can customize your cups by adding crushed graham crackers, mini marshmallows, or even chopped nuts to the peanut butter filling for an extra surprise!