This classic chocolate ice cream is rich, creamy, and oh-so-chocolatey! Made with just a few simple ingredients, it’s perfect for hot days or a sweet treat.
Getting a scoop of this ice cream feels like a big hug in a cone. I love to add some sprinkles on top—because who doesn’t love a little extra fun? 🍦
Key Ingredients & Substitutions
Heavy Cream: This adds richness to the ice cream. If you’re looking for a lighter option, you can use half-and-half. It won’t be as creamy but will still taste delicious.
Whole Milk: It’s essential for balancing the fat content. You can substitute it with almond milk or soy milk for a non-dairy version, just keep in mind it may alter the texture slightly.
Granulated Sugar: This is needed for sweetness. You can use brown sugar for a deeper flavor or substitute it with honey or agave syrup if you prefer natural sweeteners.
Unsweetened Cocoa Powder: This is key for that rich chocolate flavor. Dutch-processed cocoa can be used instead if you prefer a milder taste.
Vanilla Extract: A must-have for flavor enhancement. If you’re out of it, you can skip it or replace it with vanilla bean paste for a more intense flavor.
How Do I Avoid Lumps When Combining Ingredients?
A common issue when mixing dry and wet ingredients is ending up with lumps. To prevent this, here’s what to do:
- Always whisk together the dry ingredients first to ensure they are well mixed.
- When adding the liquid, pour it slowly while continuously whisking. This helps to create a smooth mixture.
- If lumps still appear, using a fine sieve can help catch them when pouring the mixture into the saucepan.
Following these tips will help you achieve a smoother base for your ice cream!
Easy Classic Chocolate Ice Cream Recipe
Ingredients You’ll Need:
- 2 cups heavy cream
- 1 cup whole milk
- 3/4 cup granulated sugar
- 1/2 cup unsweetened cocoa powder
- 1 teaspoon vanilla extract
- 1/4 teaspoon salt
How Much Time Will You Need?
This delicious chocolate ice cream recipe will take about 15 minutes of active preparation time. Don’t forget to factor in at least 2 hours to chill the mixture and around 4 hours to freeze it once churning is complete. So, all in all, you’re looking at a total of about 6 hours and 15 minutes from start to finish, but most of that is just sitting in the fridge or freezer!
Step-by-Step Instructions:
1. Mix the Dry Ingredients:
In a medium saucepan, take your unsweetened cocoa powder, granulated sugar, and salt. Whisk them together until well combined. This will help prevent lumps later on when you add the liquids.
2. Combine with Milk and Cream:
Now, slowly pour in the whole milk and heavy cream while continuously whisking. This step is important to ensure that everything blends well together and you don’t end up with any clumps of cocoa or sugar.
3. Warm Up the Mixture:
Set the saucepan over medium heat. Gently heat the mixture, stirring it occasionally until all the sugar and cocoa powder have dissolved completely. You want it to be hot but not boiling, which should take about 5-7 minutes. Keep your eye on it!
4. Add Vanilla:
Once your mixture is nicely warmed and smooth, take it off the heat and stir in the vanilla extract. This gives your ice cream that lovely, warm flavor.
5. Chill the Mixture:
Let the mixture cool to room temperature first. After it’s cooled, cover it up and place it in the fridge for at least 2 hours, or until it’s thoroughly chilled. This step is crucial for a creamier texture later on!
6. Churn the Ice Cream:
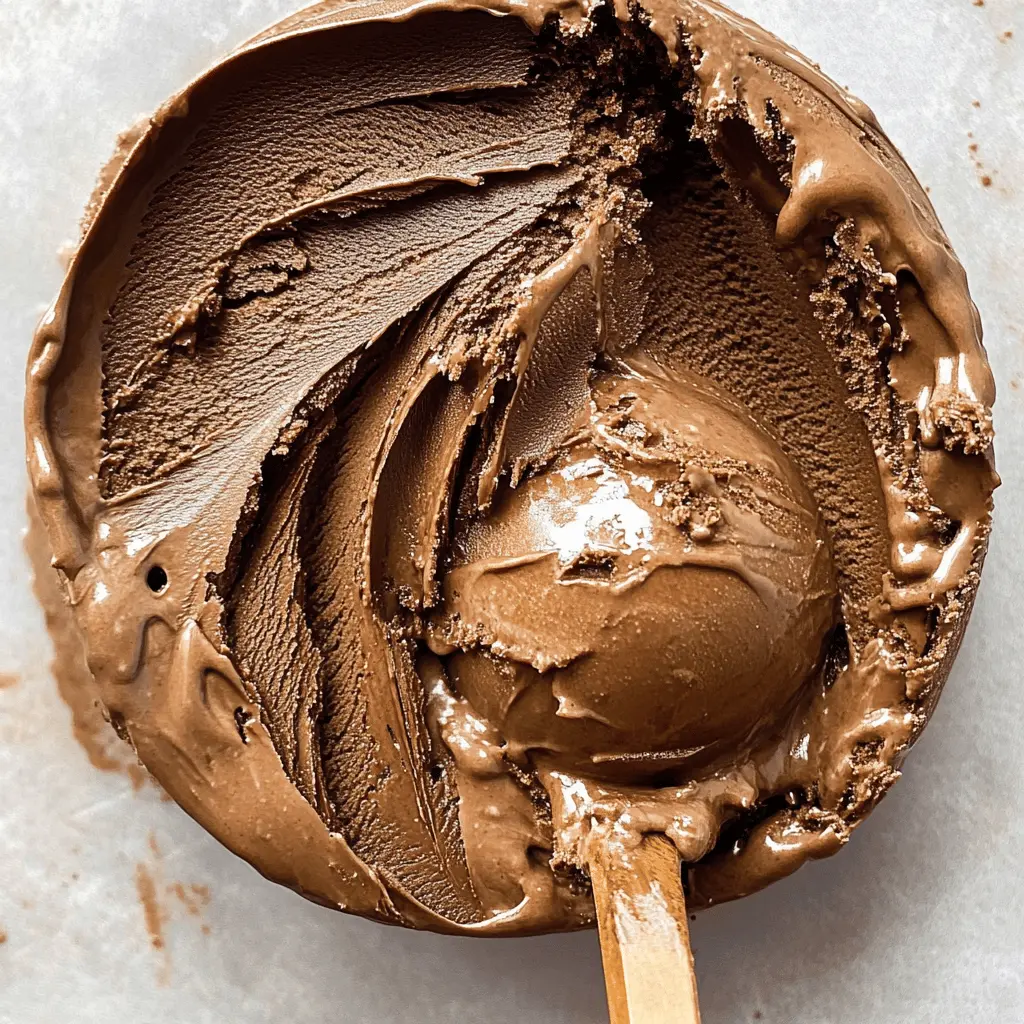
After chilling, pour your cold chocolate mixture into your ice cream maker. Churn according to the manufacturer’s instructions until it reaches a soft-serve consistency. It’s smooth and looks sooo good at this point!
7. Freeze and Firm Up:
Transfer the churned ice cream into an airtight container. Seal it up and place it in the freezer for at least 4 hours to firm up completely. This is hard to wait for but so worth it!
8. Serve and Enjoy:
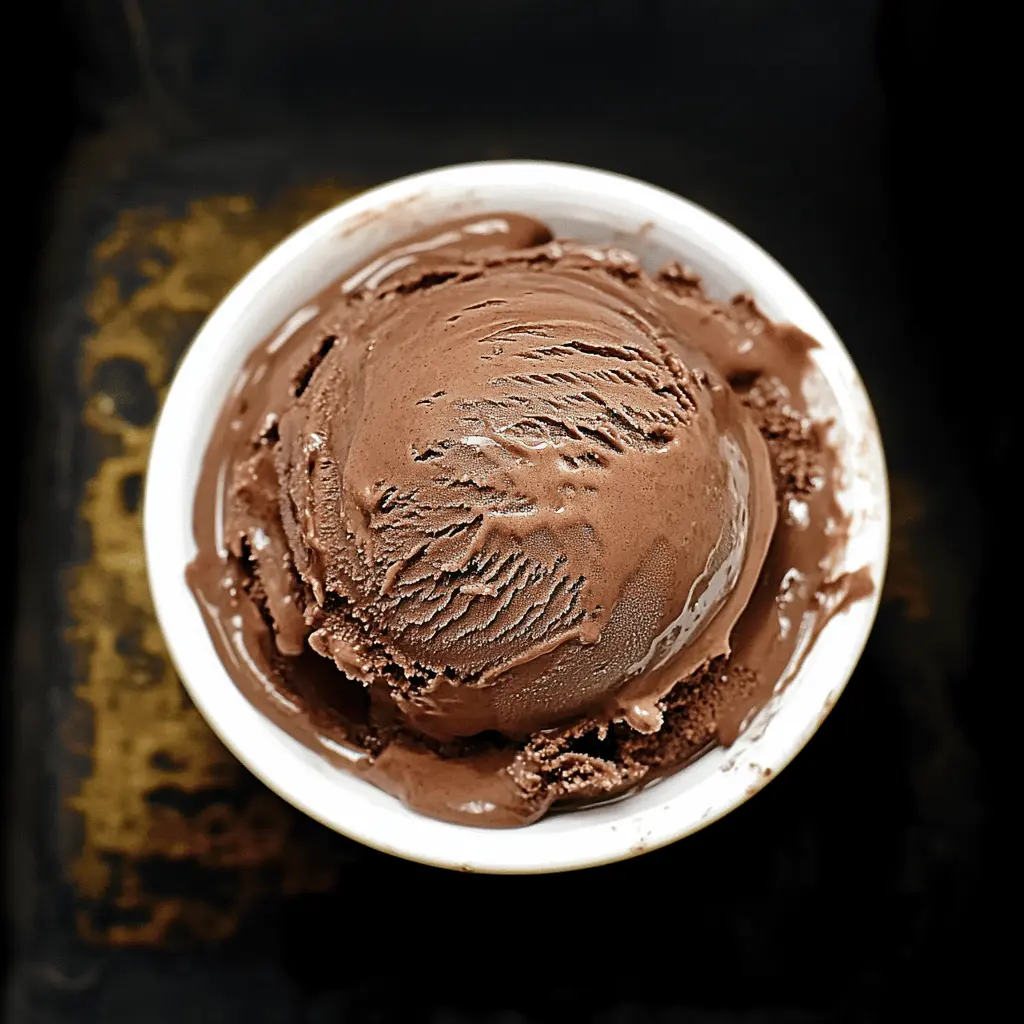
Once it’s frozen, it’s time to scoop! Serve this rich and creamy chocolate ice cream into bowls or cones. You can add sprinkles, chocolate chips, or a drizzle of chocolate sauce on top for extra fun. Enjoy every delicious bite!
FAQ: Easy Classic Chocolate Ice Cream
Can I Use Lower-Fat Milk Options?
Yes, you can use lower-fat milk options like 2% or skim milk, but keep in mind that the ice cream may be less creamy as heavy cream contributes to the rich texture. For a balance, you might consider using a mix of heavy cream and half-and-half.
What If I Don’t Have an Ice Cream Maker?
No problem! You can still make ice cream without an ice cream maker. Simply pour the chilled mixture into a shallow dish and freeze it. Every 30 minutes, stir it vigorously with a fork to break up ice crystals until it’s firm, usually taking about 2-3 hours.
How Long Can I Store Leftover Ice Cream?
Your chocolate ice cream can be stored in an airtight container in the freezer for about 2-3 weeks. To avoid ice crystals, make sure to store it tightly sealed and minimize air exposure.
Can I Add Mix-Ins Like Nuts or Chocolate Chips?
Absolutely! Add your favorite mix-ins, like nuts, chocolate chips, or cookie pieces, during the last few minutes of churning when the ice cream is starting to set. This ensures they’re evenly distributed without getting lost in the mixture.