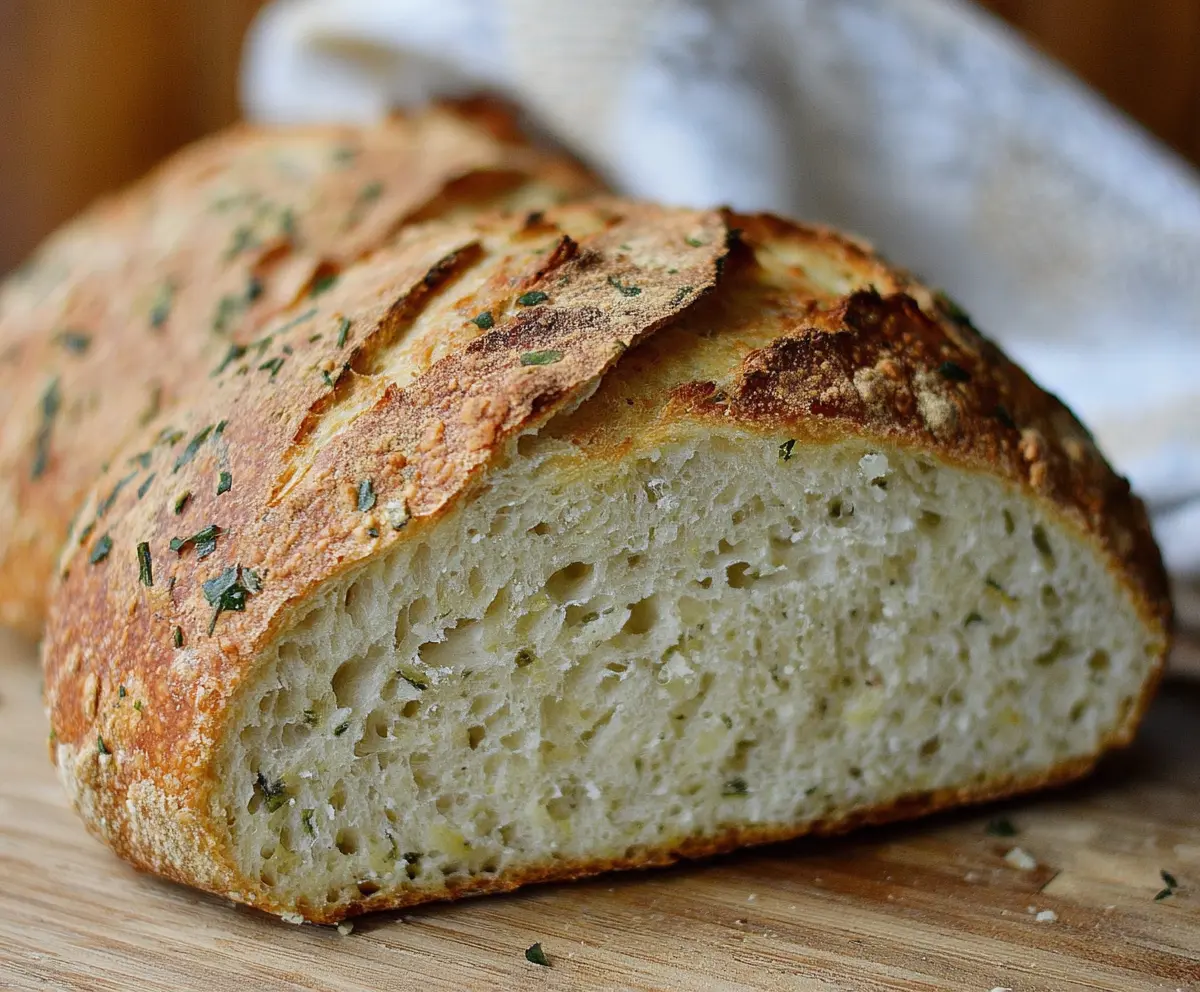
This Garlic and Herb Sourdough Bread is a warm, crusty delight packed with tasty garlic and fresh herbs. It’s perfect for sandwiches or just enjoyed with butter!
Key Ingredients & Substitutions
Bread Flour: This recipe calls for bread flour because it has a higher protein content, which gives the bread structure. If you don’t have bread flour, you can use all-purpose flour, but the texture may be slightly less chewy.
Sourdough Starter: An active, bubbly sourdough starter is essential for a good rise. If you’re just starting out and don’t have a sourdough starter yet, a store-bought one or a friend’s starter works great, too! You can also use 1/4 teaspoon of instant yeast in a pinch, but it won’t have the same flavor.
Fresh Herbs: I love using fresh parsley, rosemary, and thyme for flavor. If fresh herbs aren’t available, you can swap in dried herbs, but use about one-third of the amount since dried herbs are more potent.
Garlic: Fresh garlic provides a bold flavor. You can use garlic powder if needed, but start with about 1 teaspoon as it’s not as strong.
Olive Oil: This adds richness to the bread. If needed, you can substitute it with melted butter or even vegetable oil.
How Do You Get Perfectly Shaped Sourdough?
Shaping dough can feel tricky at first, but it’s simpler than it seems! Here’s how to do it correctly:
- After bulk fermentation, gently turn the dough onto a floured surface. Be careful not to deflate it too much.
- Use your hands to tuck the edges of the dough into the center, creating tension. This helps the dough hold its shape while it rises.
- Flip the dough over and use the palms of your hands to shape it into a tight ball or oval, creating a smooth surface.
Make sure your surface is well-floured to prevent sticking, and take your time to form a beautiful loaf that will rise nicely during the final proofing! Happy baking! 🌾
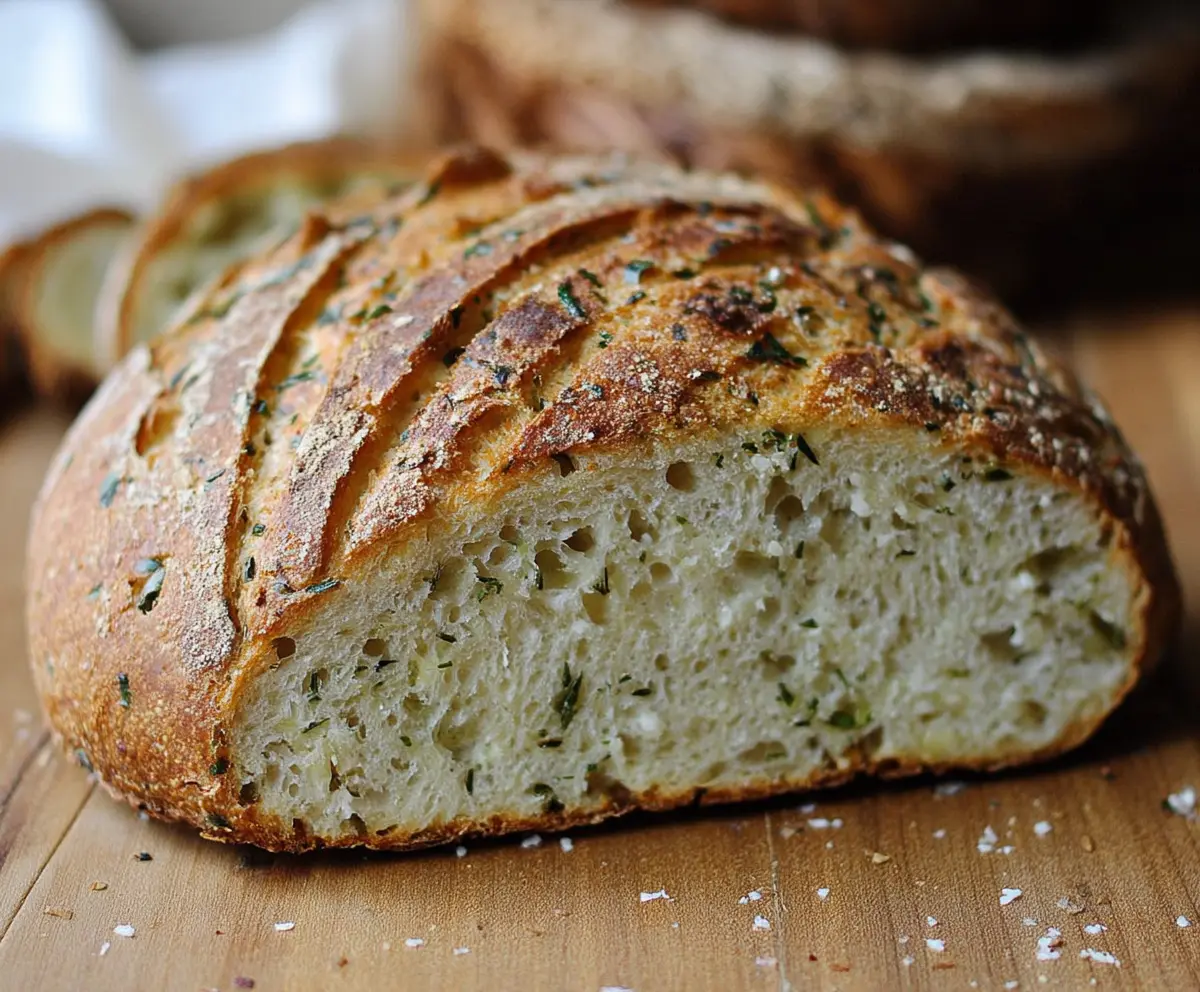
Garlic and Herb Sourdough Bread
Ingredients You’ll Need:
- 500g (about 4 cups) bread flour
- 350ml (1 1/2 cups) water, lukewarm
- 100g (1/2 cup) active sourdough starter (fed and bubbly)
- 10g (2 tsp) salt
- 3 cloves garlic, finely minced or grated
- 2 tbsp fresh parsley, finely chopped
- 1 tbsp fresh rosemary, finely chopped
- 1 tbsp fresh thyme leaves
- 1 tbsp olive oil (plus extra for drizzling)
- Cornmeal or flour for dusting
How Much Time Will You Need?
This garlic and herb sourdough bread needs about 30 minutes for prep, plus 6-8 hours for fermentation and proofing. Factor in about 60 minutes for baking, and you’ll have delicious bread ready in half a day! The result is worth the wait, as the flavors develop beautifully.
Step-by-Step Instructions:
1. Prepare the Dough:
In a large bowl, combine the bread flour and salt. In a separate bowl, mix the active sourdough starter with lukewarm water and olive oil until smooth. This brings everything together for that delicious bread!
2. Mix Wet and Dry:
Pour the wet ingredients into the flour mixture and stir with a wooden spoon or your hand until everything is just combined. Add the minced garlic and chopped herbs, spreading them evenly through the dough as you mix.
3. Autolyse and Initial Rest:
Cover the bowl with a damp cloth or plastic wrap and let the dough rest for 30 minutes. This helps to hydrate the flour and enhances gluten development.
4. Knead and Develop Gluten:
Every 30 minutes, perform a set of stretch and folds in the bowl. You want to stretch the dough upwards and fold it over itself about 4–5 times over the course of 2 hours—this builds strength!
5. Bulk Fermentation:
After your last stretch, cover the dough and let it ferment at room temperature. This should take about 4 to 6 hours, and you’ll know it’s ready when it’s doubled in size and puffy. Woohoo!
6. Shape the Dough:
Lightly flour your work surface and gently turn out the dough. Shape it into a tight oval or round loaf, being careful not to deflate it too much—this helps keep all that good air inside!
7. Proof:
Place your shaped dough in a floured banneton basket or a bowl lined with a floured tea towel. Cover it and let it proof for 2 to 3 hours at room temperature, or overnight in the fridge for a more complex flavor.
8. Preheat Oven:
Place a Dutch oven or a heavy oven-safe pot with its lid inside your oven and preheat it to 230°C (450°F). This helps create a great steam environment for your bread!
9. Bake:
When the oven is ready, carefully remove the hot Dutch oven. Turn your dough out onto a piece of parchment paper and score the top with a sharp knife. Transfer it into the pot and cover it with the lid.
10. Bake Covered:
Bake the bread for 20 minutes with the lid on. This steam is so important for a crispy crust!
11. Bake Uncovered:
Remove the lid and bake for another 20-25 minutes until the crust turns a deep golden brown and looks crispy.
12. Cool:
Once done, take the bread out and transfer it to a wire rack to cool completely before slicing. This is a crucial step to ensure the best texture.
Enjoy this herb and garlic-infused sourdough warm or toasted. It’s perfect to accompany any meal or for making delicious sandwiches. Happy baking!
Can I Use Instant Yeast Instead of Sourdough Starter?
While you can use instant yeast to make a quick bread, it won’t have the same tangy flavor and texture as using a sourdough starter. If you prefer that flavor, stick with the sourdough starter, but using instant yeast is acceptable. You would need around 1/4 teaspoon of instant yeast for similar results.
How Do I Know When My Dough Has Finished Fermenting?
The dough is ready when it has doubled in size and feels puffy to the touch. You can also perform the “poke test” by gently poking the dough with a finger; if it springs back slowly, it’s good to go!
What Should I Do If My Bread Is Too Dense?
If your bread turns out dense, it might be due to insufficient kneading or not enough fermentation time. Make sure to knead the dough properly and allow it to rise fully during fermentation. Additionally, ensure your sourdough starter is active and bubbly before use.
How Should I Store Leftover Bread?
Once baked and cooled completely, store leftover bread in an airtight container or a paper bag at room temperature to keep the crust crisp. If you want to keep it longer, wrap it tightly in plastic wrap and place it in the freezer for up to 3 months. Just thaw at room temperature when you want to enjoy it again!