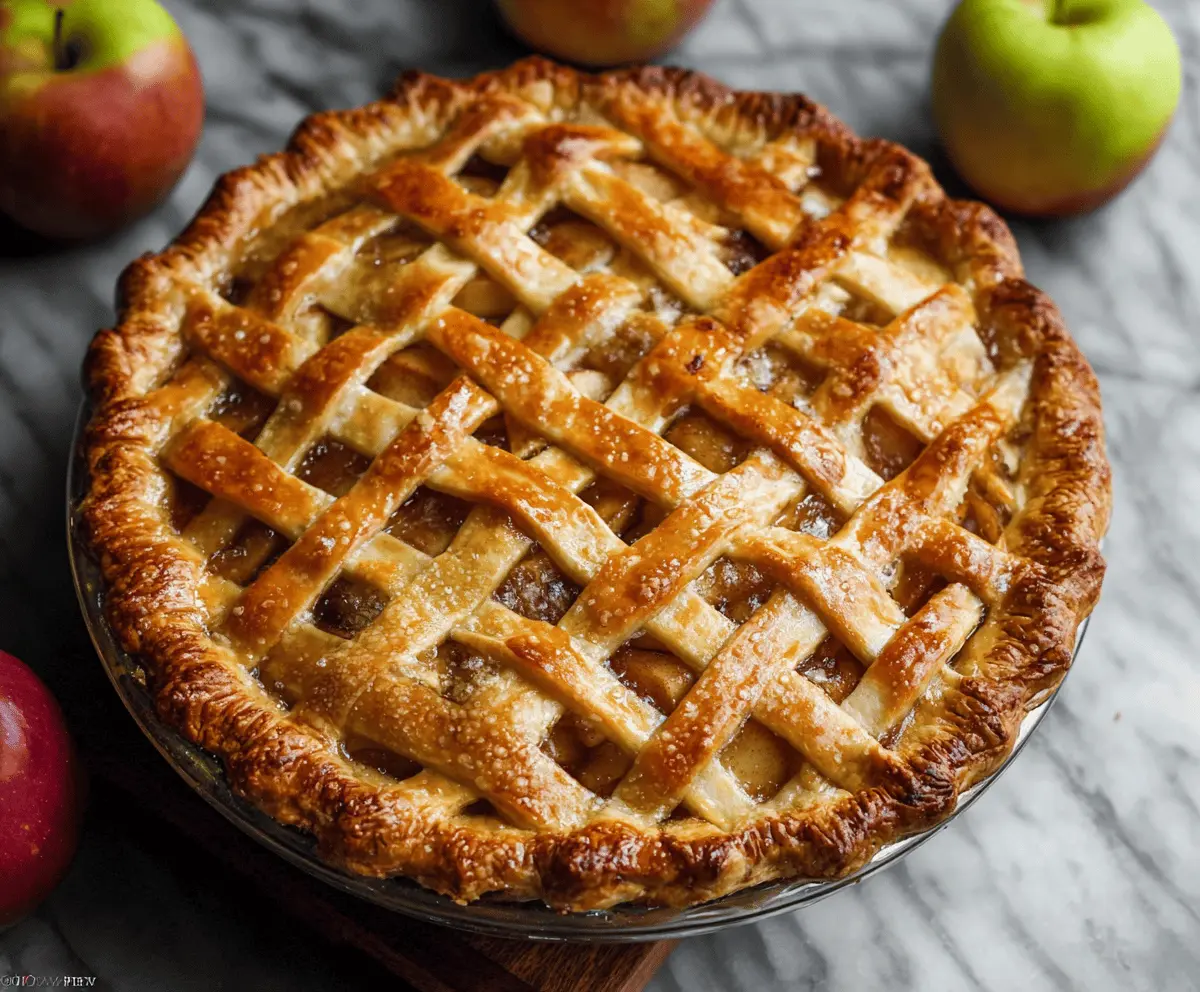
This homemade apple pie features a flaky crust that’s buttery and golden. The sweet, spiced apple filling makes it a comforting treat for any occasion!
Seriously, there’s nothing like the smell of apple pie baking in the oven. I like to serve mine warm with a scoop of vanilla ice cream—pure happiness on a plate! 🍏🍰
Key Ingredients & Substitutions
All-purpose flour: This is essential for creating the structure of your crust. If you’re looking for a gluten-free option, consider using a 1:1 gluten-free flour blend, which works well in most recipes.
Unsalted butter: I love using cold butter for a flaky texture. If you’re dairy-free, coconut oil or a plant-based butter will work too, just ensure it’s chilled.
Apples: A blend of tart and sweet apples gives the best flavor. Granny Smith and Honeycrisp are my favorites! You can also use other varieties like Gala or Jonagold if you prefer.
Spices: Cinnamon is a must, but feel free to adjust the nutmeg and don’t skip the lemon juice—it brightens up the apple flavor. If you don’t have cloves, that’s okay; the pie will still taste delicious!
How Do I Make My Crust Flaky?
The secret to a flaky crust is keeping everything cold and not overmixing. When you cut the butter into the flour, leave small pieces of butter intact. These pockets melt during baking, creating that wonderful flakiness.
- Use very cold butter and ice water.
- Mix until the flour looks like coarse crumbs with pea-sized butter chunks.
- When rolling out, handle the dough as little as possible to keep it tender.
For an extra flaky crust, you can even chill your mixing bowl and tools beforehand!

Homemade Apple Pie with Flaky Crust
Ingredients:
For the Flaky Crust:
- 2 1/2 cups all-purpose flour
- 1 tsp salt
- 1 tsp granulated sugar
- 1 cup (2 sticks) unsalted butter, very cold and cut into small cubes
- 1/4 to 1/2 cup ice water
For the Apple Filling:
- 6 to 7 medium apples (about 3 pounds), a mix of tart and sweet (e.g., Granny Smith, Honeycrisp, Fuji), peeled, cored, and sliced
- 3/4 cup granulated sugar
- 1/4 cup brown sugar, packed
- 2 tbsp all-purpose flour
- 1 tsp ground cinnamon
- 1/4 tsp ground nutmeg
- 1/8 tsp ground cloves (optional)
- 1 tbsp lemon juice
- 1/4 tsp salt
For Assembly and Topping:
- 1 egg, lightly beaten (for egg wash)
- Coarse sugar (optional, for sprinkling)
Time Estimate:
This delightful apple pie will take approximately 30 minutes of prep time, plus at least 1 hour to chill the dough. You’ll also need around 1 hour for baking. In total, plan for about 2 to 2.5 hours from start to finish, including cooling time before serving.
Instructions:
1. Make the Crust:
In a large mixing bowl, whisk together the flour, salt, and sugar until combined. Then, add the cold butter cubes. Using a pastry cutter or your fingers, cut the butter into the flour until it resembles coarse crumbs with small pea-sized chunks of butter. This will help create that flaky texture!
2. Add Ice Water:
Slowly add in the ice water, starting with 1/4 cup and gently mixing with a fork. Continue to add water by the tablespoon until the dough holds together without being sticky. Remember not to overmix!
3. Chill the Dough:
Divide the dough into two equal parts and shape each into a disk. Wrap them in plastic wrap and refrigerate for at least 1 hour—or overnight if you have time. Chilling helps the butter firm up again, resulting in a flaky crust.
4. Prepare the Filling:
While the dough is chilling, peel, core, and slice your apples. In a large bowl, combine the apple slices with granulated sugar, brown sugar, flour, cinnamon, nutmeg, cloves (if using), lemon juice, and salt. Toss everything together until the apples are well coated. Allow this to sit while you roll out the dough.
5. Roll Out the Crust:
On a lightly floured surface, roll out one disk of dough into a 12-inch circle. Carefully transfer it into a 9-inch pie plate, pressing it gently to fit the bottom and sides. Don’t worry if it tears; you can patch it up!
6. Add the Apple Filling:
Dump the apple filling into the crust, making sure to pile it a little higher in the center for a lovely shape. Don’t forget to spoon any juices over the apples!
7. Create the Lattice Top (Optional):
Roll out the second disk of dough into a 12-inch circle. Cut it into about 12 strips (3/4 inch wide). Weave the strips over the filling to create a lattice design. Trim any excess dough and tuck the edges under to seal them together.
8. Brush and Sugar:
Gently brush the top crust and edges with the beaten egg for a beautiful golden finish. Sprinkle with coarse sugar if you like a touch of sweetness on top!
9. Bake the Pie:
Place the pie on a baking sheet (to catch drips!) and bake in a preheated oven at 425°F (220°C) for 15 minutes. Then, reduce the oven temperature to 350°F (175°C) and continue baking for 40-50 minutes, or until the crust is golden brown and juices are bubbling.
10. Cool and Serve:
If the edges of the pie brown too quickly, cover them with foil. Once baked, remove from the oven and let cool on a wire rack for at least 2 hours before slicing. This step is crucial as it allows the filling to set!
Enjoy your delicious homemade apple pie, best served warm with a scoop of vanilla ice cream or a dollop of whipped cream! 🍏🍰
Can I Use Store-Bought Pie Crust Instead?
Absolutely! If you’re short on time, store-bought pie crusts are a great alternative. Just follow the package instructions for baking and assembly, and fill with the apple mixture as directed in the recipe.
What Apples Are Best for Apple Pie?
Choosing a mix of tart and sweet apples enhances the flavor of your pie. Granny Smith, Honeycrisp, and Fuji are excellent choices. You can also experiment with others like Braeburn or Jonagold for added complexity!
Can I Make the Dough in Advance?
Yes, you can make the dough ahead of time! Prepare it, shape it into disks, wrap tightly in plastic, and refrigerate. It can be stored in the fridge for up to 3 days or in the freezer for up to 3 months. If frozen, let it thaw in the fridge overnight before using.
How Should I Store the Leftover Pie?
Store any leftover apple pie in an airtight container at room temperature for up to 2 days. For longer storage, keep it in the refrigerator for about a week. You can also freeze slices for up to 3 months—just wrap them tightly! To reheat, warm in the oven for a few minutes until heated through.