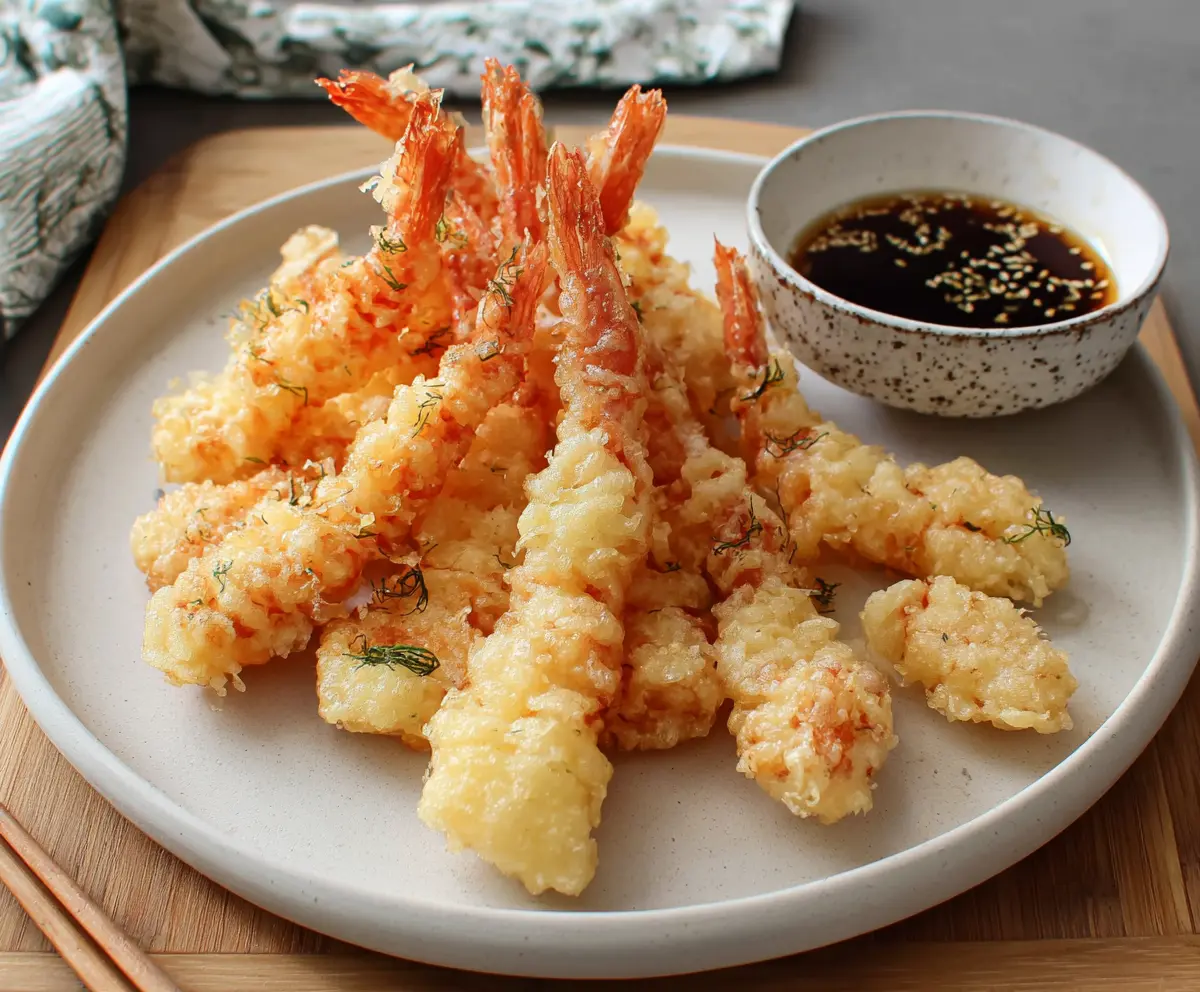
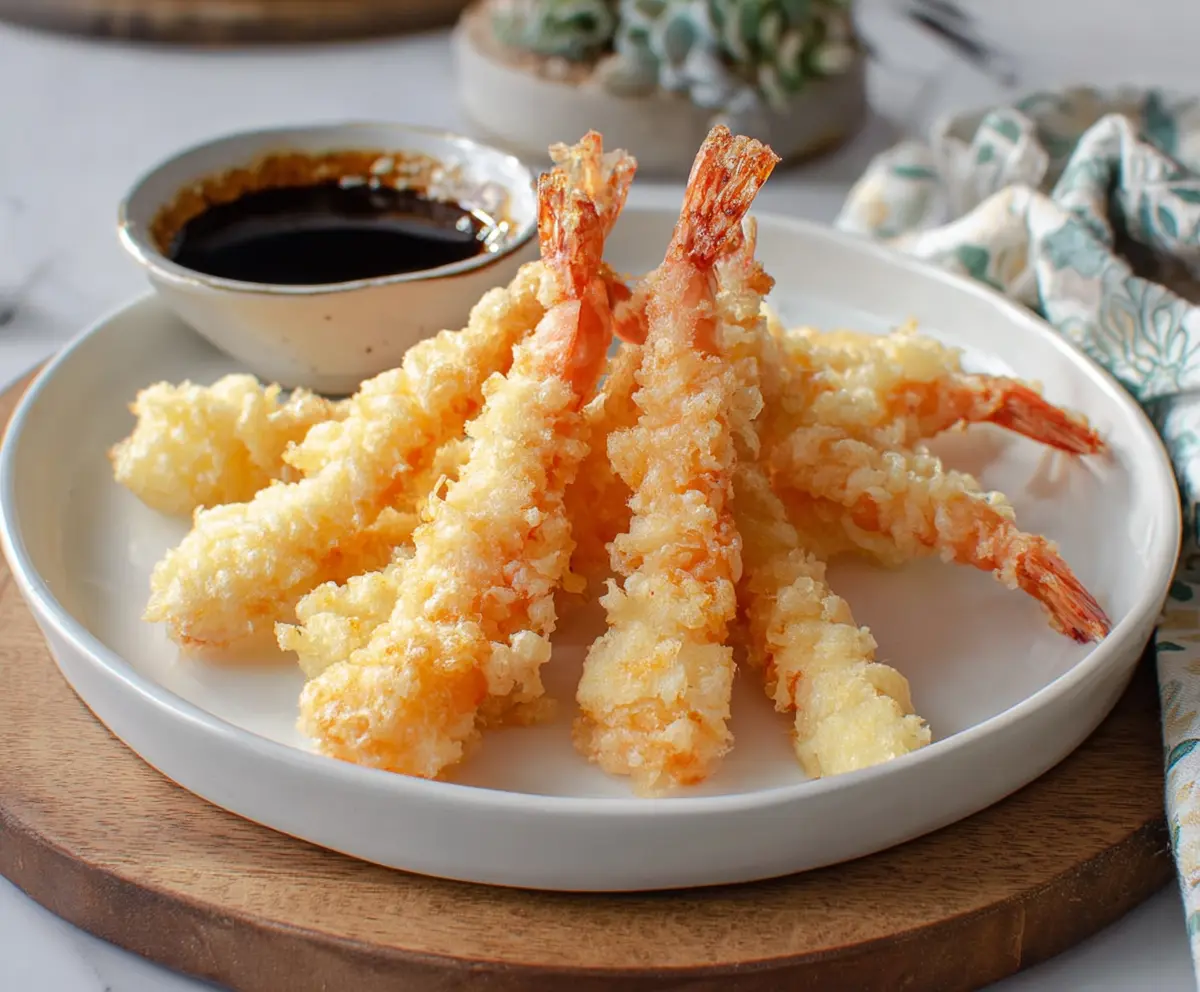
Japanese Shrimp Tempura is a crispy treat that’s hard to resist! It features shrimp coated in a light and airy batter, fried to golden perfection.
Truth be told, I could snack on this all day! Pair it with a dipping sauce, and you’ll be smiling. Making this at home is simpler than you think—give it a try!
Key Ingredients & Substitutions
Shrimp: Large, fresh shrimp work best, but you can use frozen shrimp if that’s what you have. Just make sure to thaw them properly before cooking. If shrimp isn’t your thing, you can try this recipe with other seafood like squid or vegetables like zucchini and sweet potatoes.
Batter: All-purpose flour is standard for tempura. If you’re looking for a gluten-free option, you can substitute it with rice flour or a gluten-free flour blend. Using a bit of cornstarch can also add crunch!
Ice-cold Water: Using ice-cold water in the batter is crucial. It keeps the batter light and crispy. If you forget to chill your water, just add a few ice cubes before mixing.
Dashi Stock: For the dipping sauce, instant dashi powder is convenient. If you can’t find it, you can substitute with chicken or vegetable stock, but it won’t have that rich umami flavor.
How Do I Ensure My Tempura Batter Is Light and Crispy?
The secret to a great tempura lies in the batter and frying technique. Here’s how to get it just right:
- Keep your water ice-cold. This is a game changer for a crispy texture.
- Mix the batter gently. It’s okay if there are some lumps. Over-mixing will make the batter tough.
- Fry at the right temperature (340-360°F). If the oil is too hot, the batter will burn before the shrimp cook through. Too low, and it won’t crisp up.
- Do not overcrowd the frying pan. Cook in batches to keep the oil temperature consistent.
- Finally, let them drain on paper towels immediately after frying to keep them crispy!
Following these tips will help you achieve the perfect light and crispy tempura every time. Enjoy your cooking!
Japanese Shrimp Tempura
Ingredients You’ll Need:
For the Tempura:
- 12 large shrimp, peeled and deveined, tails left on
- 1 cup all-purpose flour, plus extra for dusting
- 1 large egg
- 1 cup ice-cold water
- 1/2 teaspoon baking soda (optional for crispiness)
- Vegetable oil, for deep frying
- A pinch of salt
- Small sprigs of dill or finely chopped green herbs for garnish (optional)
For the Dipping Sauce (Tentsuyu):
- 1 cup dashi stock (can use instant dashi powder)
- 1/4 cup soy sauce
- 1/4 cup mirin
- 1 teaspoon sugar
- Toasted sesame seeds, for garnish
How Much Time Will You Need?
This recipe takes about 30 minutes in total, including preparation and cooking time. You’ll spend about 10-15 minutes prepping the shrimp and making the batter, and then about 15 minutes frying. So, it’s quick and worth every minute!
Step-by-Step Instructions:
1. Prepare the Shrimp:
Start by peeling and deveining your shrimp, making sure to leave the tails on for a beautiful presentation. Lightly score the underside of each shrimp to prevent them from curling up while frying. Once they’re cleaned, pat them dry with paper towels.
2. Dusting the Shrimp:
Lightly dust the shrimp with some flour. This helps the batter stick better and ensures a crispier tempura.
3. Make the Batter:
In a mixing bowl, gently beat the egg. Then, add the ice-cold water to the egg and mix it together lightly. Remember, the colder the water, the lighter your batter will turn out! Next, add the flour and baking soda (if you’re using it) to the egg-water mixture. Stir gently with chopsticks or a fork, just enough to combine. It’s okay if the batter has lumps—don’t over-mix!
4. Heat the Oil:
In a deep pan or pot, heat vegetable oil to 340-360°F (170-180°C). You can use a thermometer to check the temperature. This is key to getting that perfect crispiness!
5. Fry the Shrimp:
Carefully dip each shrimp into the batter, coating it evenly, and let any excess batter drip off. Place the shrimp gently in the hot oil, but be careful not to overcrowd the pan, as this can lower the oil temperature. Fry until golden and crisp, about 2-3 minutes, depending on the size of the shrimp.
6. Drain and Season:
Once cooked, remove the shrimp with a slotted spoon and drain them on a paper towel-lined plate. Lightly sprinkle with salt to enhance the flavor.
7. Prepare the Dipping Sauce:
For the dipping sauce, combine the dashi, soy sauce, mirin, and sugar in a small saucepan. Heat it gently until the sugar dissolves, then let it cool to room temperature. Don’t forget to sprinkle some toasted sesame seeds on top for a lovely finish!
8. Serve & Enjoy:
Arrange your beautifully fried shrimp tempura on a plate, garnishing with dill or greenery if you’d like. Serve it alongside the dipping sauce for delicious dipping. Enjoy your crispy, light Japanese Shrimp Tempura—you’ve earned it!
Can I Use Frozen Shrimp for This Recipe?
Yes, you can use frozen shrimp! Just make sure to thaw them completely in the refrigerator or under cold running water before preparing. Pat them dry to ensure a crispy batter.
How Do I Keep the Tempura Batter Light and Crispy?
The key is to use ice-cold water when making the batter and to mix it gently. Avoid over-mixing, as a few lumps are fine! Also, ensure your oil is at the right temperature (340-360°F) for frying.
What Should I Do with Leftovers?
Store any leftovers in an airtight container in the fridge for up to 2 days. To reheat, place them in a preheated oven at 350°F (175°C) for about 10 minutes to help regain some crispiness instead of microwaving.
Can I Use Different Vegetables in Tempura?
Absolutely! Tempura is versatile, and you can use various vegetables like sweet potatoes, zucchini, bell peppers, or even broccoli. Just cut them into bite-sized pieces and follow the same battering and frying method.