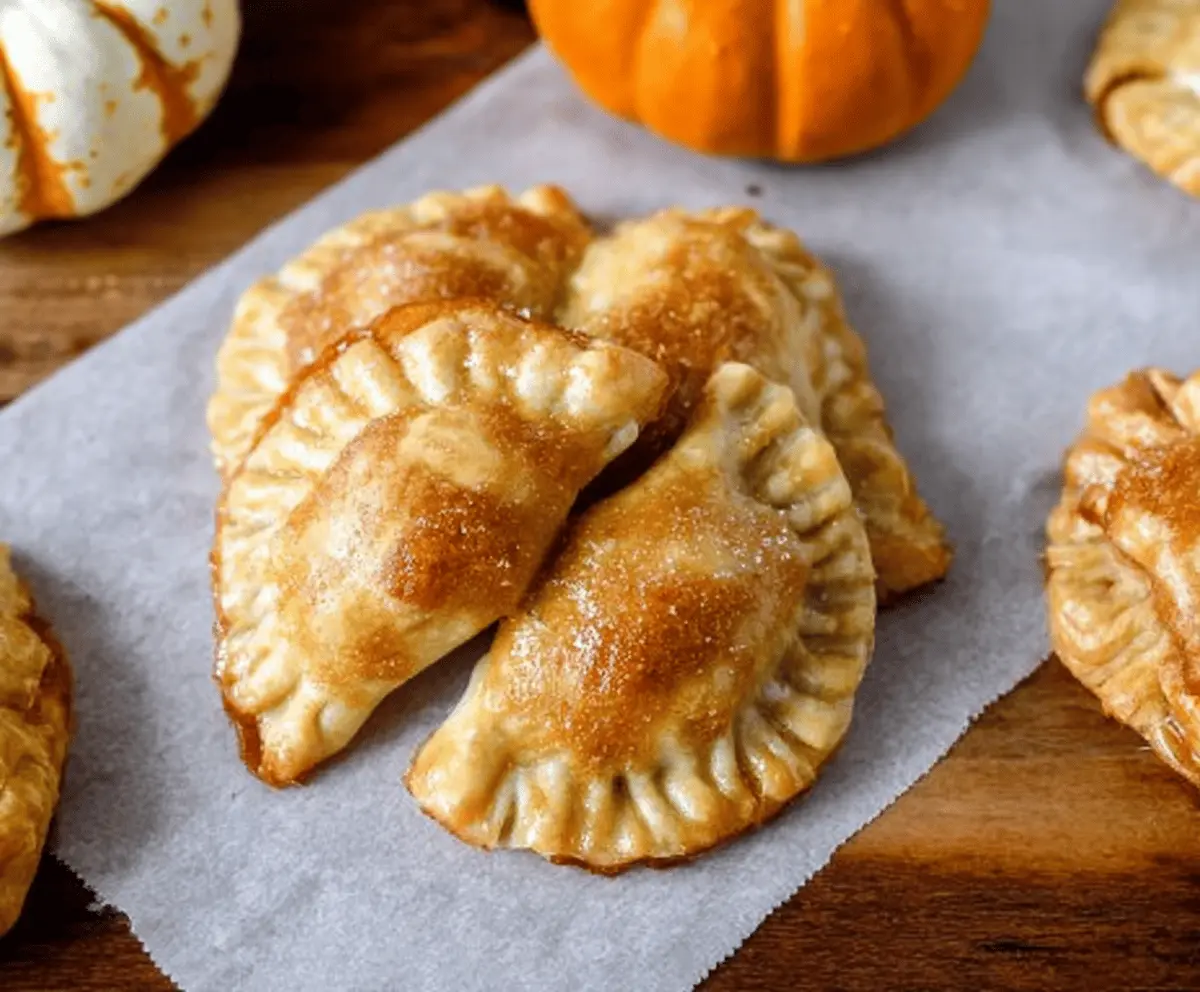
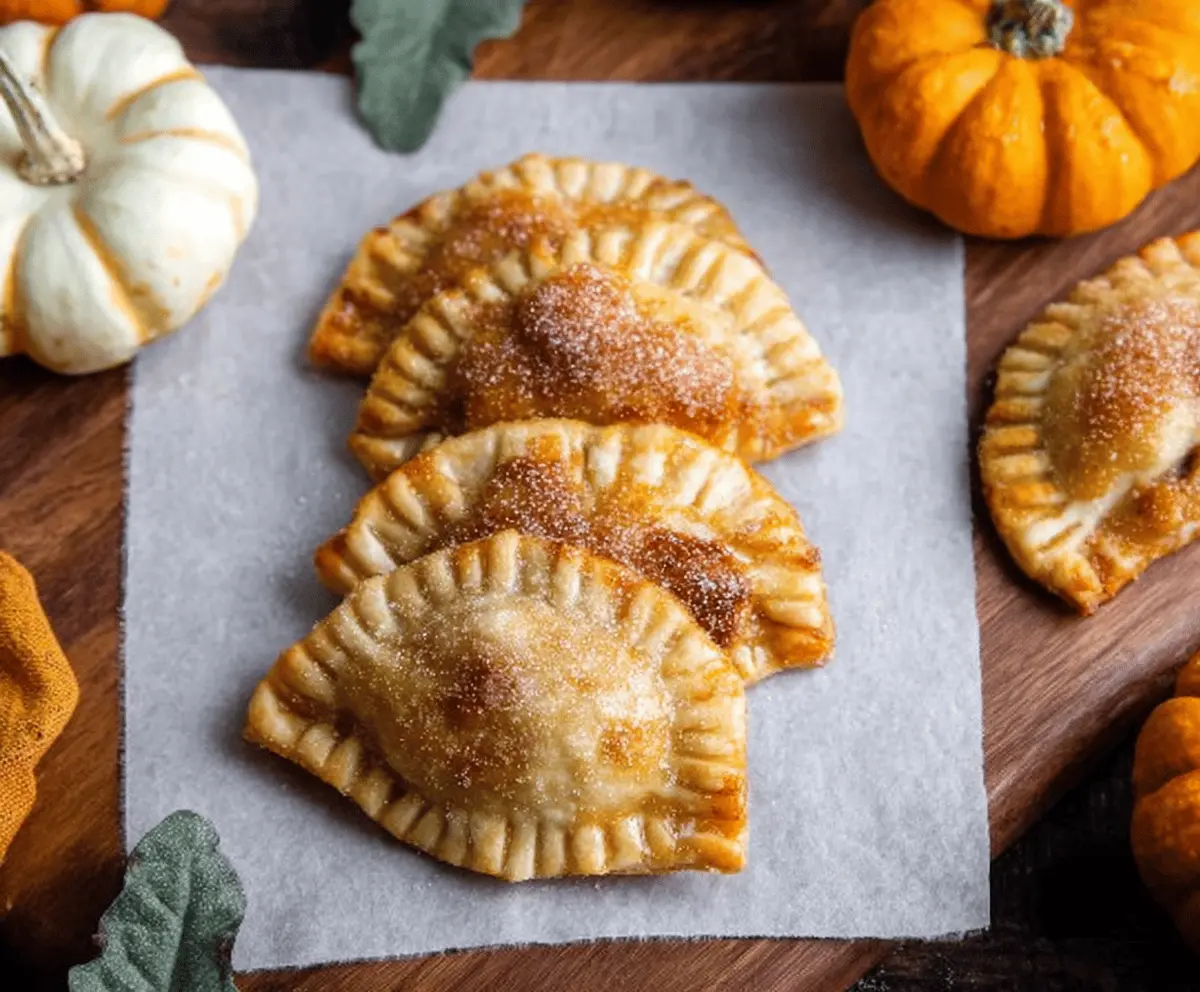
These Mini Pumpkin Hand Pies are like little pockets of fall! With a flaky crust and a sweet, spiced pumpkin filling, they’re perfect for snacks or dessert.
They’re so cute and tasty, you might find yourself juggling them while trying to take a bite! I love serving them warm with a scoop of ice cream for a yummy treat.
Key Ingredients & Substitutions
Pie Crust: Store-bought crusts save time, but if you’re feeling adventurous, homemade pie dough is fun to make! You can also use puff pastry for a flaky twist.
Pumpkin Puree: Canned pumpkin puree is perfect for convenience. If you prefer fresh, roast and puree your pumpkin for a homemade version. Just make sure to drain excess moisture!
Brown Sugar: It adds a nice depth of flavor. If you need a substitute, you can use white sugar with a bit of molasses (1 tbsp per cup) to mimic brown sugar’s flavor.
Spices: Ground spices are key for that warm flavor. You can experiment with pumpkin pie spice if you have it on hand, adjusting to taste.
Granulated Sugar: For sprinkling on top. For a fun twist, consider using cinnamon sugar for extra warmth!
How Do You Seal Hand Pies Properly?
Sealing the edges of your hand pies is crucial to keep the filling from leaking. Here’s how to do it effectively:
- After placing the filling, fold the dough over to create a half-moon shape.
- Press the edges together with your fingers to start sealing it.
- Use a fork to crimp the edges, which not only seals it tighter but gives it a nice look.
- Make sure to press firmly along the edge to avoid any gaps.
This technique helps ensure delicious bites without any mess during baking!
Mini Pumpkin Hand Pies
Ingredients You’ll Need:
- 1 package (14 oz) refrigerated pie crusts (or homemade pie dough)
- 1 cup canned pumpkin puree (not pumpkin pie filling)
- 1/3 cup brown sugar, packed
- 1 tsp ground cinnamon
- 1/2 tsp ground ginger
- 1/4 tsp ground nutmeg
- 1/4 tsp ground cloves
- 1/4 tsp salt
- 1/2 tsp vanilla extract
- 1 tablespoon cornstarch
- 1 egg (for egg wash)
- 1 tablespoon water (for egg wash)
- Granulated sugar, for sprinkling on top
How Much Time Will You Need?
This recipe will take about 15 minutes for preparation and around 20-25 minutes for baking. So set aside roughly 40-45 minutes to have these delightful mini pumpkin pies ready to serve!
Step-by-Step Instructions:
1. Preheat and Prepare:
Start by preheating your oven to 375°F (190°C). While that’s warming up, take a baking sheet and line it with parchment paper. This will help prevent the pies from sticking!
2. Make the Pumpkin Filling:
In a medium bowl, mix together the pumpkin puree, brown sugar, cinnamon, ginger, nutmeg, cloves, salt, vanilla extract, and cornstarch. Stir until everything is well blended and smooth. This filling is the heart of your pies, so make sure it’s mixed nicely!
3. Roll Out the Dough:
Lightly flour your work surface and roll out the pie crust dough. Using a 3-4 inch round cutter or a cup, cut out circles from the dough. You can gather and reroll scraps to get more circles if needed!
4. Fill the Dough Circles:
Take 1 to 1 1/2 tablespoons of your delicious pumpkin filling and place it in the center of each dough circle. Be careful not to overfill them, or they’ll burst open while baking!
5. Seal the Hand Pies:
Fold the dough over to create a half-moon shape. Press the edges together to seal them tightly. For extra security and a nice design, use a fork to crimp the edges.
6. Brush with Egg Wash:
In a small bowl, whisk together the egg and water until combined. Use a brush to apply this egg wash over the tops of each hand pie. This gives them a beautiful golden color when baked!
7. Sprinkle for Sweetness:
Lightly sprinkle granulated sugar over the tops of the pies to add a little sparkle and sweetness. This step adds a delightful touch!
8. Bake to Perfection:
Carefully place the filled pies on your prepared baking sheet. Bake in the preheated oven for 20 to 25 minutes, or until they are golden brown and looking delicious!
9. Cool Before Serving:
Once baked, remove the hand pies from the oven and allow them to cool for about 10 minutes. This will help the filling set a bit and prevent burns!
10. Enjoy Your Creation:
These mini pumpkin hand pies can be enjoyed warm or at room temperature. They’re fantastic on their own or served with a scoop of vanilla ice cream or a drizzle of caramel sauce for an added treat!
Happy baking!
Can I Use Fresh Pumpkin Instead of Canned?
Absolutely! If you prefer fresh pumpkin, roast and puree it. Just make sure to drain any excess moisture before using it in the filling for the best consistency.
What If I Don’t Have Cornstarch?
No worries! You can substitute cornstarch with an equal amount of all-purpose flour. It will help thicken the filling without compromising flavor.
How Do I Store Leftover Hand Pies?
Store any leftovers in an airtight container in the fridge for up to 3 days. You can reheat them in the oven or microwave for a quick snack!
Can I Freeze These Mini Pies?
Yes, you can freeze them! After baking, let them cool completely, then place them in an airtight container or freezer bag. They can be frozen for up to 3 months. Reheat directly from frozen in the oven at 350°F for about 15-20 minutes!