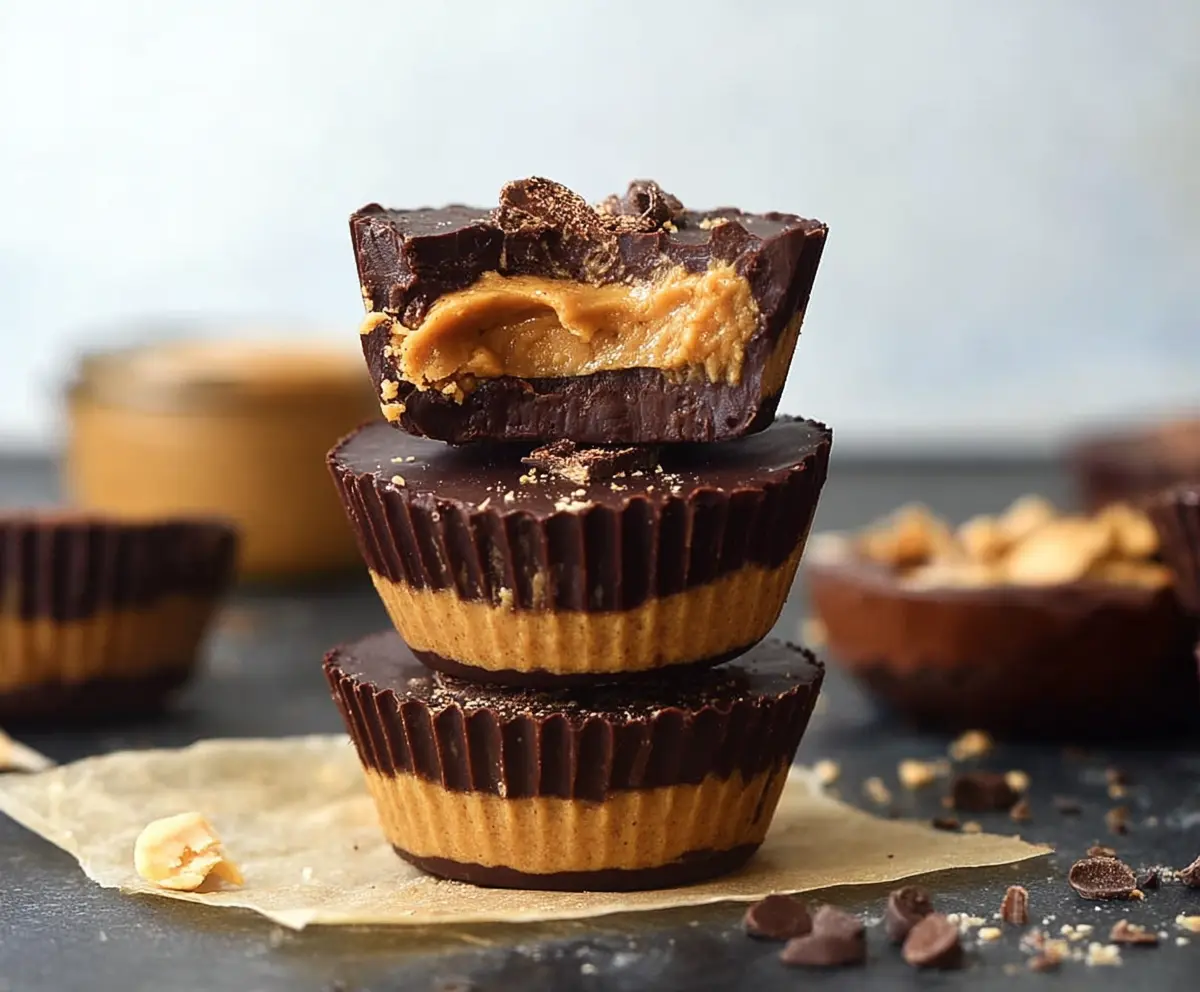
These Peanut Butter Protein Cups are a tasty treat you can feel good about! They mix creamy peanut butter with protein powder for a delicious, healthy snack.
They’re great for a quick pick-me-up or a post-workout boost. I love popping a couple in my bag when I’m on the go—they’re like little hugs of happiness! 🥜💪
Key Ingredients & Substitutions
Natural Creamy Peanut Butter: This is the star ingredient that gives these cups their delicious flavor. If you’re looking for a nut-free option, try sunflower seed butter instead! I find the natural version has a better taste without the added sugars.
Protein Powder: You can use either vanilla or unflavored protein powder. If you’re vegan, look for plant-based protein options. I tend to avoid whey protein due to lactose issues, and I love using pea protein for its smooth texture!
Coconut Flour: This helps bind the filling. You can substitute it with almond flour, but keep in mind that you’ll need to adjust the amount since almond flour is less absorbent.
Maple Syrup or Honey: This adds a sweet touch! If you’re looking for a lower-calorie option, consider using stevia or a sugar-free syrup. I like using maple syrup for its rich flavor, but honey works just as well!
Dark Chocolate Chips: Dark chocolate gives a nice contrast to the sweet peanut butter. If you prefer, semi-sweet chips can work too. For a healthier option, use sugar-free dark chocolate or even cocoa powder mixed with a little coconut oil.
How Do I Get the Chocolate to Melt Smoothly?
Melted chocolate can be tricky, but with a few tips, you’ll have it smooth and ready for coating your cups! Here’s how:
- Use a microwave-safe bowl and combine the chocolate chips with coconut oil to help it melt evenly. The oil makes a smoother texture.
- Microwave in short bursts of 20-30 seconds. After each burst, stir well. This prevents overheating and helps the chocolate melt uniformly.
- Once melted, avoid letting it sit too long, as it can harden quickly. Use it immediately for the best results.
How to Make Peanut Butter Protein Cups
Ingredients You’ll Need:
For the Filling:
- 1 cup natural creamy peanut butter (divided)
- 1/4 cup vanilla or unflavored protein powder
- 2 tablespoons coconut flour
- 2 tablespoons maple syrup or honey (optional, for sweetness)
- A pinch of salt (optional, to enhance flavor)
For the Chocolate Layers:
- 1 1/2 cups dark chocolate chips (or semi-sweet)
- 1 teaspoon coconut oil (to help melt chocolate smoothly)
Time Needed:
This recipe takes about 15 minutes to prepare, plus a chilling time of at least 30 minutes. So, set aside about 45 minutes in total to make these delicious peanut butter protein cups!
Step-by-Step Instructions:
1. Prepare the Peanut Butter Filling:
In a medium bowl, mix together 1/2 cup of peanut butter, protein powder, coconut flour, and the maple syrup (if you’re using it). Add a pinch of salt for extra flavor. Stir until everything is well combined and smooth. Set this mixture aside for now.
2. Melt the Chocolate:
Take a microwave-safe bowl and add the dark chocolate chips along with the teaspoon of coconut oil. Microwave the mixture in short bursts, about 20 to 30 seconds at a time, stirring well after each interval. Continue until the chocolate is fully melted and smooth. Be careful not to overheat it!
3. Layer the Cups:
Line a muffin tin with paper liners for easy removal. Spoon about 1 tablespoon of the melted chocolate into each cup, making sure to spread it evenly to cover the bottom. Afterward, place the muffin tin in the freezer for about 5-10 minutes to allow the chocolate to set.
4. Add the Peanut Butter Layer:
Once the chocolate layer has firmed up, it’s time to add the peanut butter mixture. Take about 1 tablespoon of the peanut butter mixture and gently place it on top of the set chocolate in each cup. Flatten it slightly so it’s even.
5. Top with More Chocolate:
Now, pour another tablespoon of the melted chocolate over the peanut butter layer, spreading it to cover the peanut butter completely. This creates a nice, sealed top layer!
6. Chill to Set:
Return the muffin tin back to the freezer for at least 30 minutes or until everything is fully set and firm to the touch.
7. Serve and Store:
Once set, carefully remove the cups from the paper liners. Enjoy your homemade Peanut Butter Protein Cups right away or store any leftovers in an airtight container in the refrigerator or freezer for later.
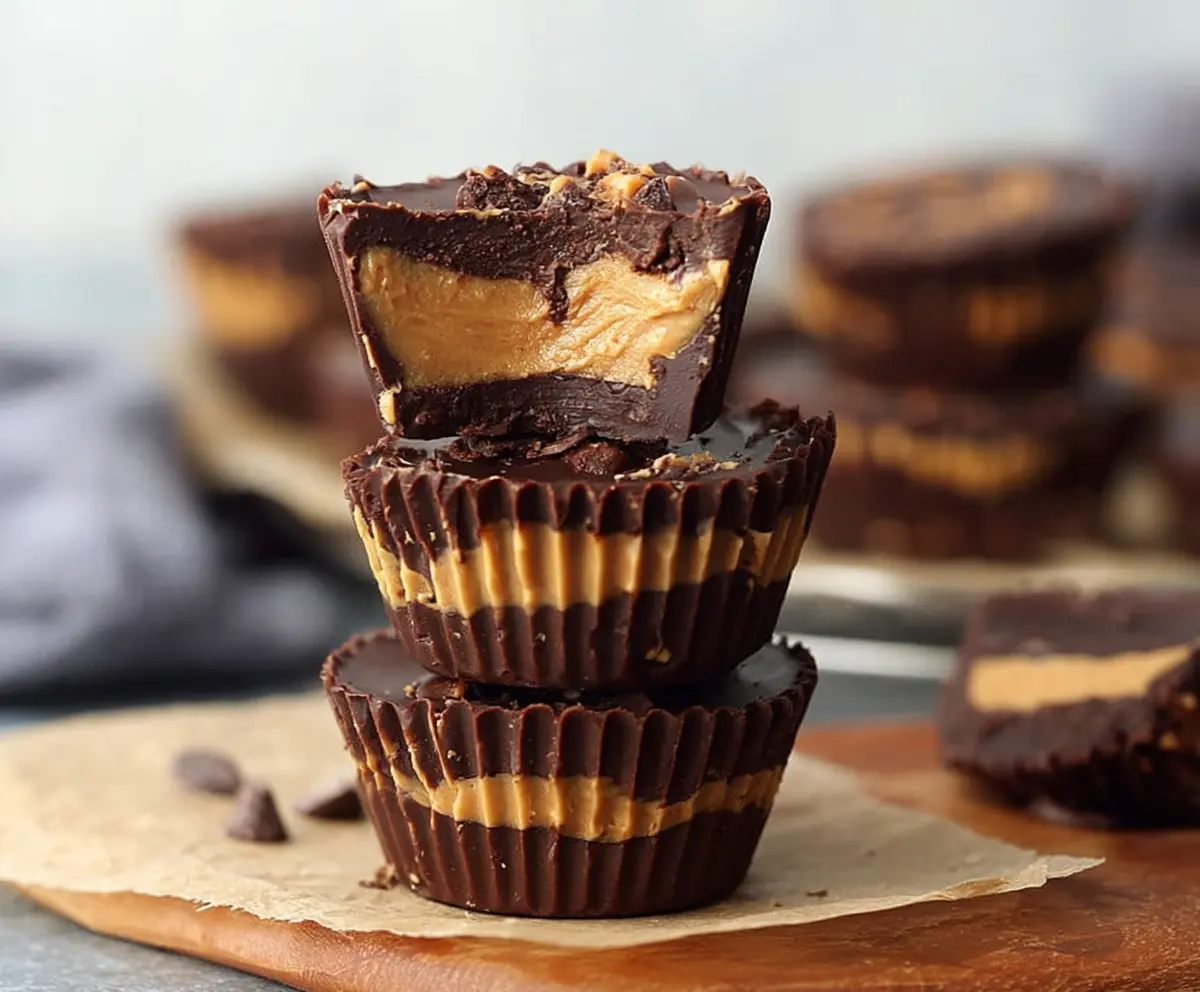
These rich, layered peanut butter protein cups combine a creamy, protein-packed filling with smooth chocolate, making them an excellent snack or dessert option!
Can I Substitute Almond Butter for Peanut Butter?
Absolutely! If you prefer or need to avoid peanuts, almond butter is a great alternative. Just keep in mind that the flavor will be slightly different, but still delicious!
How Do I Store These Protein Cups?
Store any leftovers in an airtight container in the refrigerator for up to a week. For longer storage, they can also be frozen in a freezer-safe container for up to 3 months. Just let them thaw in the fridge before enjoying!
Can I Use a Different Type of Sweetener?
Yes, you can switch out maple syrup or honey with other sweeteners like agave nectar or a sugar substitute like stevia or erythritol. Just adjust the quantity according to the sweetness level you prefer!
How Can I Make These Vegan?
To make these protein cups vegan, simply use maple syrup as your sweetener, ensure your protein powder is plant-based, and use dairy-free chocolate for the coating. Enjoy your delicious vegan treat!