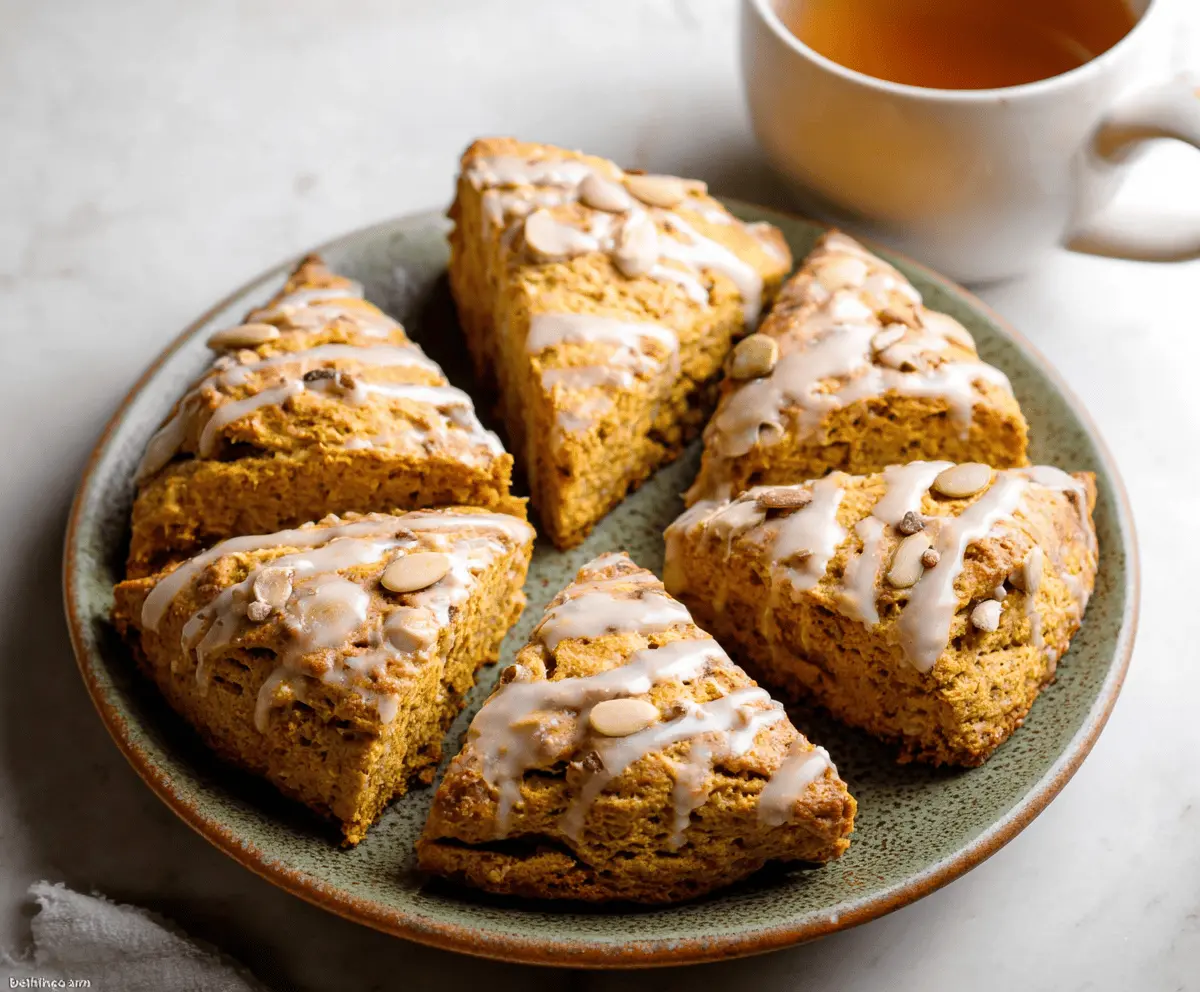
These pumpkin scones are soft, sweet, and packed with cozy spice flavors. They’re perfect for a chilly morning with a warm drink!
What I love most is how easy they are to make. Just mix, scoop, and bake—then enjoy the lovely smell filling your kitchen! 🎃☕
Key Ingredients & Substitutions
All-purpose flour: This is the base for your scones. If you’re looking for a gluten-free option, use a 1:1 gluten-free flour blend, which works well without changing much in flavor or texture.
Pumpkin puree: Make sure to use pure pumpkin puree and not pumpkin pie filling. If fresh pumpkin is available, you can roast it, mash it, and use it as a substitute. It gives a hearty flavor, just like the canned version!
Spices: Classic pumpkin spice includes cinnamon, ginger, nutmeg, and cloves, but you can get creative! A pumpkin spice blend can replace all the individual spices. Just check the blend for proportions that match your taste.
Butter: For a dairy-free option, try using coconut oil or vegan butter. Both will still yield a soft and flaky texture.
What’s the Best Way to Cut Butter into Flour?
Cutting cold butter into flour is key for scones to make them light and flaky. Here’s how to do it effectively:
- Start with cold butter, as warm butter can make your scones dense.
- Use a pastry cutter or your fingertips to break the butter into smaller pieces—aim for pea-sized bits.
- Mix quickly to avoid heating the butter too much. It’s okay if a few larger pieces remain; they help create nice layers!
How Do I Shape My Scones Easily?
Shaping scones can seem tricky, but here’s a simple method:
- Once your dough is combined, transfer it to a floured surface. Gently pat it into a circle about an inch thick.
- Using a sharp knife, cut the circle into equal wedges. Don’t worry about perfect shapes; rustic is good!
- Space the wedges apart on your baking sheet. Separating them enough allows the edges to bake up nice and crispy!
By focusing on these key ingredients and techniques, you’ll be on your way to making delicious pumpkin scones. Enjoy the process and the wonderful fall flavor!
How to Make Delicious Pumpkin Scones
Ingredients You’ll Need:
- 2 cups: all-purpose flour
- 1/3 cup: granulated sugar
- 1 tablespoon: baking powder
- 1/2 teaspoon: salt
- 1 teaspoon: ground cinnamon
- 1/2 teaspoon: ground ginger
- 1/4 teaspoon: ground nutmeg
- 1/4 teaspoon: ground cloves
- 6 tablespoons: cold unsalted butter, cubed
- 1 cup: canned pumpkin puree (not pumpkin pie filling)
- 1: large egg
- 1 teaspoon: vanilla extract
- 2 tablespoons: heavy cream (optional, for brushing)
For the Glaze:
- 1 cup: powdered sugar
- 2-3 tablespoons: milk or cream
- 1/2 teaspoon: vanilla extract
- A pinch: cinnamon (optional)
How Much Time Will You Need?
This pumpkin scone recipe takes about 15 minutes to prep and around 20 minutes to bake. Just a bit of time for a delightful treat! Don’t forget to allow for about 10 minutes of cooling time after baking before drizzling on the glaze. Total time: about 45 minutes.
Step-by-Step Instructions:
1. Preheat the Oven:
Start by preheating your oven to 400°F (205°C). This makes sure it’s nice and hot when the scones go in, helping them rise beautifully. Line a baking sheet with parchment paper to prevent sticking.
2. Mix the Dry Ingredients:
In a large bowl, whisk together the all-purpose flour, granulated sugar, baking powder, salt, and all the spices: cinnamon, ginger, nutmeg, and cloves. This mix builds the delicious pumpkin spice flavor!
3. Cut in the Butter:
Take your cold, cubed butter and cut it into the dry mixture. You can use a pastry blender or your fingertips. Keep mixing until the texture looks like coarse crumbs. This part is key for fluffy scones!
4. Combine the Wet Ingredients:
In a separate bowl, whisk the pumpkin puree, egg, and vanilla extract together. This sweet mix is what gives the scones that wonderful pumpkin flavor!
5. Bring It Together:
Pour the pumpkin mixture into the dry ingredients and stir gently. Mix just until everything is combined. Don’t overmix; the dough should be a bit sticky.
6. Shape the Dough:
Lightly flour your countertop and turn the dough out. Shape it into a circle approximately 7 inches in diameter. Using a sharp knife, cut the circle into 6 equal wedges. This makes it easier to bake evenly!
7. Prepare for Baking:
Place the scone wedges on your lined baking sheet, making sure to leave some space between them. If you want a lovely golden finish, brush the tops lightly with heavy cream.
8. Bake the Scones:
Pop the scones into the oven and bake for 18-20 minutes. Keep an eye on them; when they’re golden brown and a toothpick comes out clean, they’re done!
9. Make the Glaze:
While the scones are baking, whisk together the powdered sugar, milk or cream, vanilla extract, and a pinch of cinnamon in a bowl until smooth.
10. Cool and Drizzle:
Once the scones are done, let them cool for about 10 minutes on a wire rack. Then, drizzle the glaze generously over the tops for a sweet finish.
11. Serve and Enjoy!
These scones are best served warm or at room temperature. They pair perfectly with coffee, tea, or hot chocolate!
Enjoy your delightful pumpkin scones as a yummy treat this fall! 🍂✨

Can I Use Fresh Pumpkin Instead of Canned?
Absolutely! If you prefer fresh pumpkin, roast it until tender, then mash it into a puree. Use the same amount—1 cup—as you would for the canned version. Just ensure it’s not too watery!
How Should I Store Leftover Scones?
Store any leftover scones in an airtight container at room temperature for up to 2 days. For longer storage, you can wrap them individually in plastic wrap and freeze for up to a month. Just thaw at room temperature when ready to enjoy!
Can I Make These Scones Gluten-Free?
Yes! Substitute the all-purpose flour with a 1:1 gluten-free flour blend. You may also want to add a little extra baking powder to ensure they rise as expected.
What Can I Use Instead of Heavy Cream for Brushing?
If you don’t have heavy cream, you can brush the tops with milk or even a dairy-free alternative like almond milk. This will still help achieve a nice golden color on the scones!