
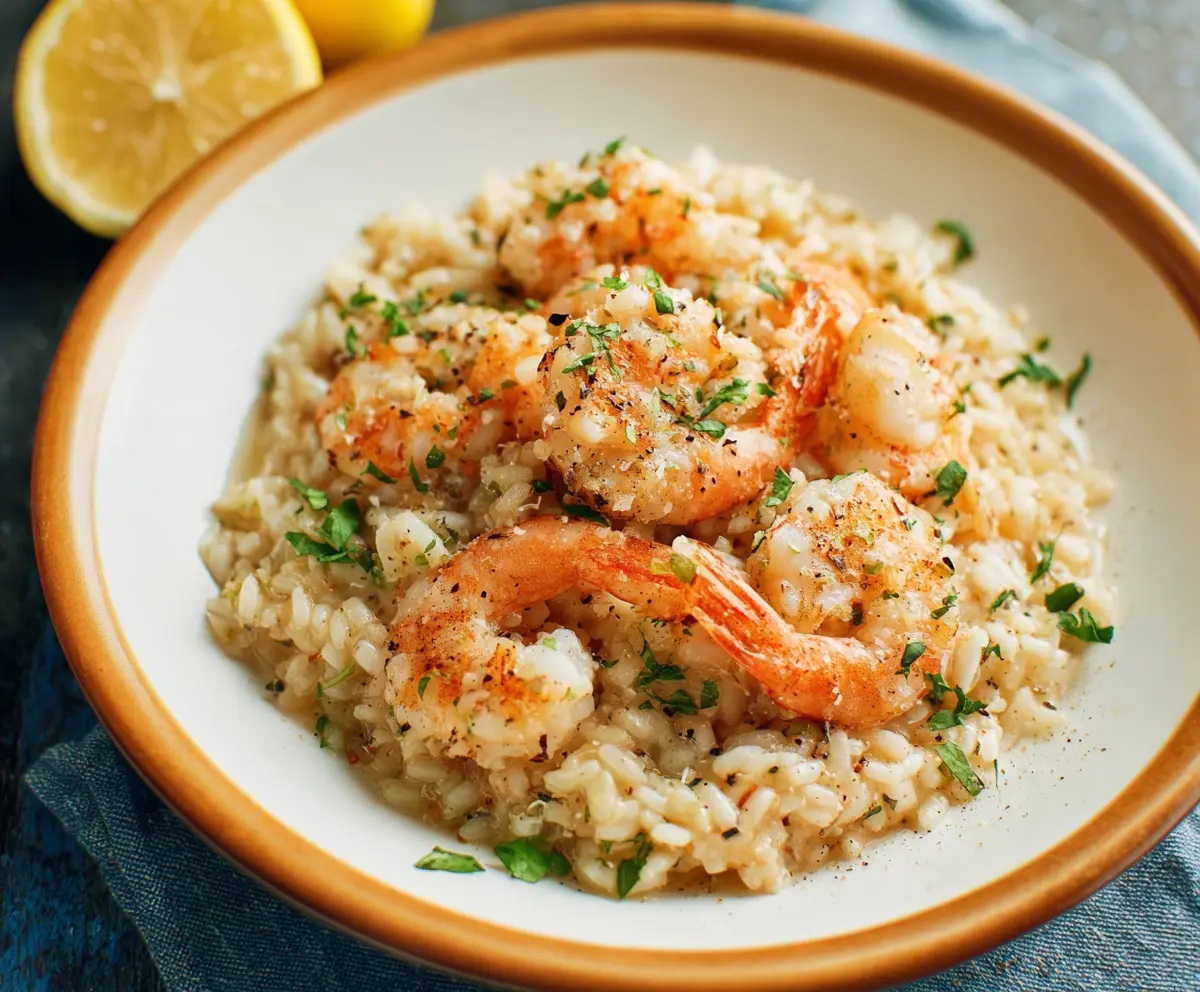
This creamy shrimp risotto is a warm hug for your taste buds! With plump shrimp and rich, tender rice, it’s packed with flavor in every bite.
Making risotto isn’t as tricky as it sounds! Stirring the rice until it’s creamy is my favorite part. Plus, it’s a bit like a cooking workout—stir and sip your wine!
Key Ingredients & Substitutions
Shrimp: Fresh or frozen shrimp will work great, but if shrimp is not available, you can substitute it with cooked chicken, scallops, or even firm tofu for a vegetarian option. I find that using large shrimp gives a nice bite to the dish.
Arborio Rice: This type of rice is essential for creating the creamy texture of risotto. If you can’t find it, Carnaroli or Vialone Nano are good alternatives. Short-grain rice like sushi rice can work in a pinch, but the texture will be different.
White Wine: The wine adds depth to the flavor, but you can easily skip it or replace it with more broth if you prefer. Some people love using a splash of lemon juice instead for brightness, and I’ve done that before when I was out of wine!
Parmesan Cheese: Freshly grated Parmesan is the best choice for flavor. If you’re looking for a non-dairy option, nutritional yeast can add a cheesy flavor without the dairy. I’ve also used Pecorino Romano for a stronger cheese flavor.
How Do You Achieve Creamy Risotto?
Making risotto is all about patience and technique. Stirring and gradually adding broth ensures the rice releases its starch, creating that coveted creaminess. Follow these steps to make perfect risotto:
- Start with a warm skillet; heat your olive oil or butter before adding the onion and garlic. This helps develop the flavors right from the beginning.
- After adding the rice, let it toast for a couple of minutes. This adds a nutty flavor, enhancing the dish.
- When adding broth, do it gradually, about one ladle at a time. Stir frequently and only add more once the previous amount is mostly absorbed. This method keeps the rice creamy and prevents it from becoming mushy.
Enjoying risotto is not just about the end result; it’s about the process too. It’s a great way to wind down and enjoy some time in the kitchen.
How to Make Shrimp Risotto
Ingredients You’ll Need:
For the Risotto:
- 1 lb (450g) shrimp, peeled and deveined
- 1 1/2 cups Arborio rice
- 4 cups chicken or vegetable broth, warmed
- 1/2 cup dry white wine (optional)
- 1 small onion, finely chopped
- 2 cloves garlic, minced
- 3 tbsp olive oil or butter (divided)
- 1/2 cup grated Parmesan cheese
- 1/4 cup fresh parsley, chopped
- Salt and black pepper, to taste
- 1 tsp paprika or smoked paprika
- Juice of half a lemon
How Much Time Will You Need?
This shrimp risotto recipe takes about 10 minutes to prepare and around 25-30 minutes to cook. In total, you’ll need around 40 minutes from start to finish. It’s a delightful dish that’s worth every minute!
Step-by-Step Instructions:
1. Cook the Shrimp:
Start by heating 2 tablespoons of olive oil or butter in a large skillet over medium heat. Add the shrimp to the skillet and season them with salt, pepper, and paprika. Cook for about 2-3 minutes on each side until they turn pink and are cooked through. Once done, remove the shrimp from the skillet and set them aside.
2. Sauté the Aromatics:
In the same skillet, add the remaining tablespoon of olive oil or butter. Toss in the finely chopped onion and minced garlic. Sauté them for about 3-4 minutes until they become translucent and fragrant. This step builds the flavor base for your risotto!
3. Toast the Rice:
Now, it’s time to add the Arborio rice to the skillet. Stir it well to coat the rice with the oil and onion mixture. Let the rice cook for 1-2 minutes until it is lightly toasted. This toasting adds a wonderful depth of flavor.
4. Add the Wine:
If you’re using white wine, pour it into the skillet now. Stir continuously until the wine is mostly absorbed by the rice. This will give an extra layer of flavor to your risotto.
5. Stir in the Broth:
Start adding the warm broth, one ladle at a time. Stir frequently, allowing each addition to be mostly absorbed before adding the next. Continue this for about 18-20 minutes, until the rice is creamy and cooked al dente. Keep a close eye on it and stir, stir, stir!
6. Finishing Touches:
Once the rice is creamy and just tender, stir in the grated Parmesan cheese. Taste your risotto and adjust the seasoning with salt and black pepper as needed. This is where the cheesy goodness comes in!
7. Warm the Shrimp:
Return the cooked shrimp to the skillet and warm them through for about 1-2 minutes. You want everything to be hot and ready to serve.
8. Serve and Enjoy:
Turn off the heat and squeeze fresh lemon juice over the dish. Garnish with chopped parsley for a burst of color and freshness. Serve your shrimp risotto immediately and enjoy every bite!
Can I Use Frozen Shrimp for This Recipe?
Absolutely! If using frozen shrimp, make sure to thaw them completely before cooking. You can do this by placing them in the refrigerator overnight or by quickly thawing them in a sealed bag submerged in cold water. Pat them dry before seasoning to avoid excess moisture.
What Can I Substitute for Arborio Rice?
If you can’t find Arborio rice, you can use Carnaroli or Vialone Nano for similar results. Short-grain sushi rice can work as a substitute too, although the texture will be slightly different, and it may not produce the same creamy consistency.
How Do I Store Leftover Risotto?
Store any leftover risotto in an airtight container in the fridge for up to 3 days. To reheat, add a splash of broth or water to help restore its creamy texture while warming it on the stove over low heat, stirring occasionally.
Can I Make This Risotto Vegetarian?
Yes, you can easily make this dish vegetarian by omitting the shrimp and using vegetable broth instead of chicken broth. You can also add extra vegetables like peas, spinach, or mushrooms to enhance the flavor and texture!