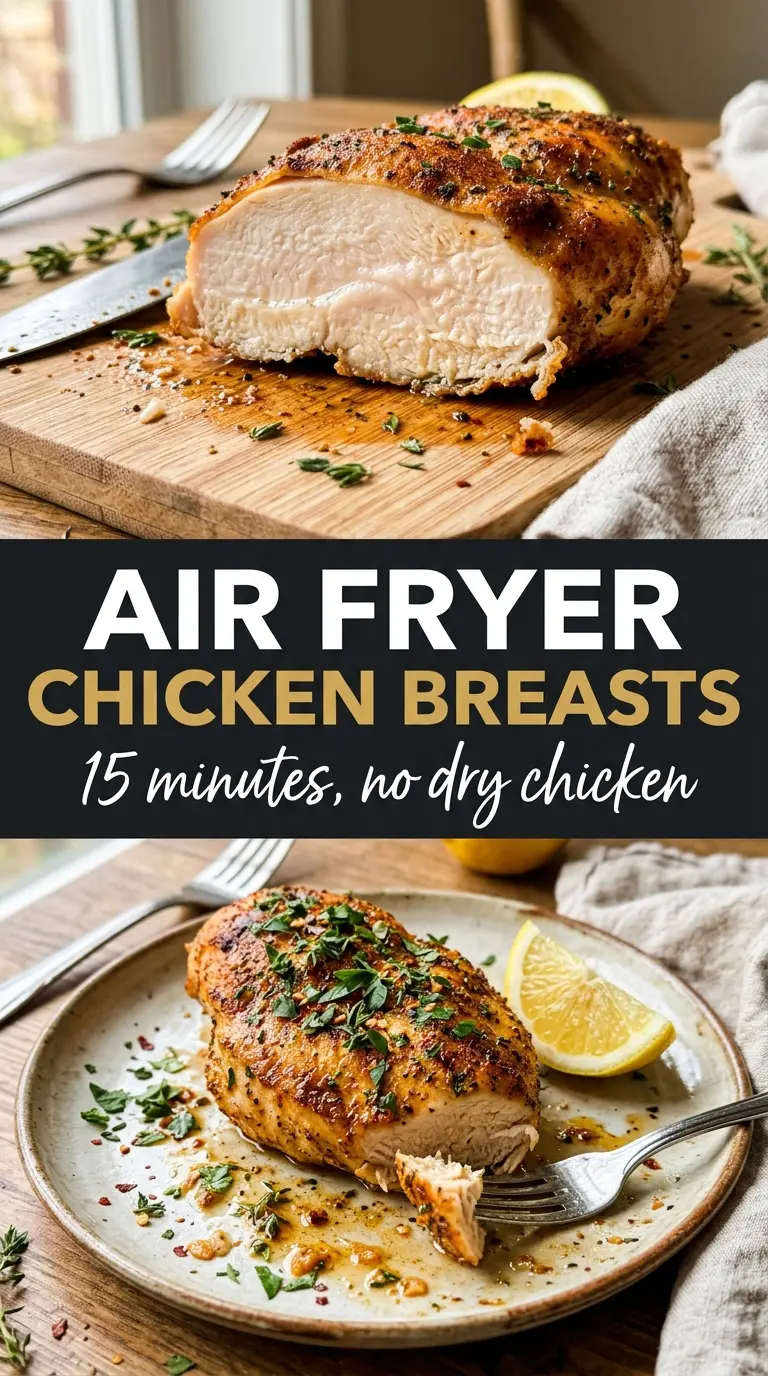
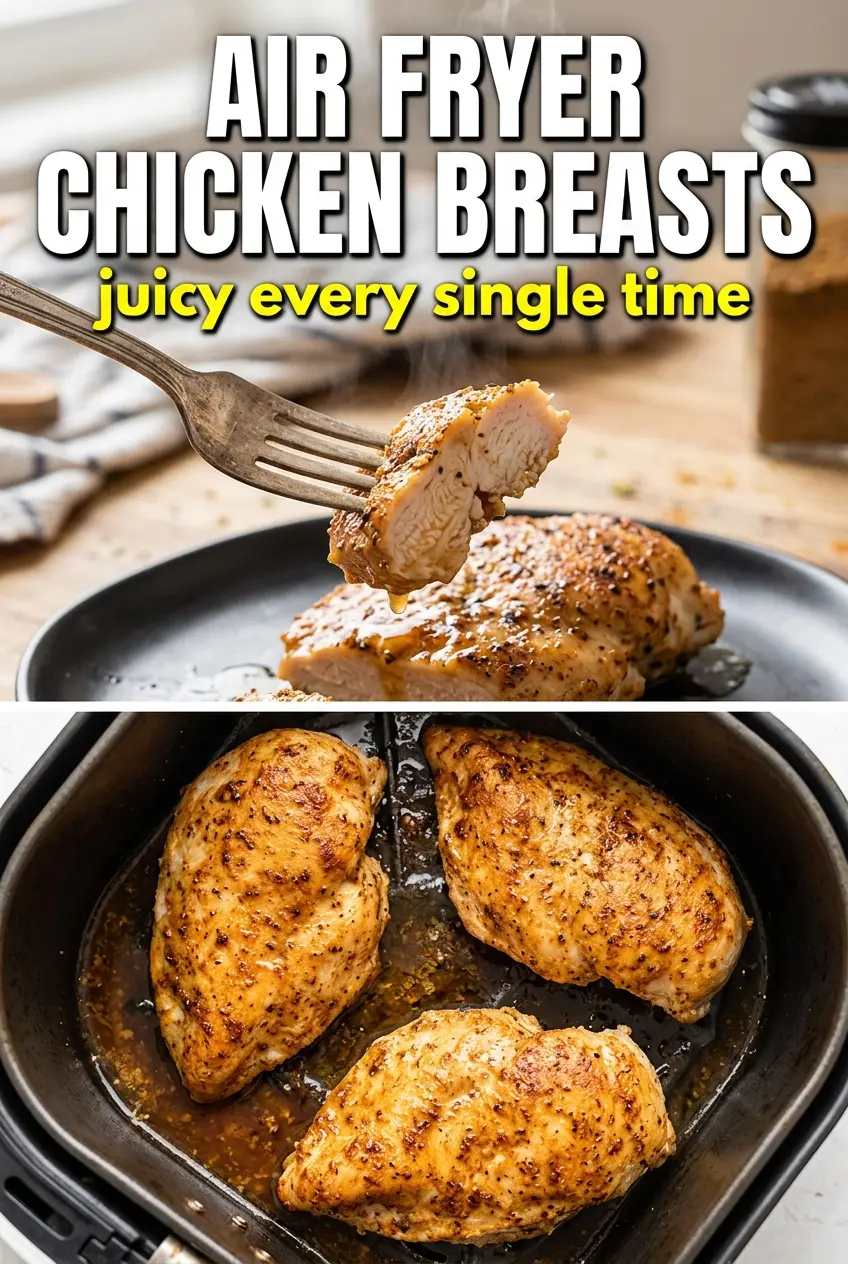
Golden, juicy air fryer chicken breasts earn their keep fast. The outside turns bronzed and lightly crisp while the center stays tender, and that balance is what makes this version worth repeating instead of settling for dry, chalky chicken. A quick seasoning rub and a short cook time are all it takes when the air fryer is doing the heavy lifting.
The trick is thickness. Chicken breasts that are uneven cook like two different cuts of meat, which is how you end up with dry edges and an underdone middle. Pounding them to an even 3/4-inch shape gives the hot air a fair shot at cooking everything at the same rate, and a thin coat of oil helps the spices bloom and cling instead of blowing around in the basket.
Below, I’ll walk through the one part that matters most for keeping the meat juicy, plus a few ways to change the seasoning without losing that golden crust.
The chicken came out juicy all the way through, and the smoked paprika gave it a gorgeous color without tasting heavy. I rested it for 5 minutes like you said and the slices stayed perfect.
Save these juicy air fryer chicken breasts for the nights when you need golden, fast chicken with almost no cleanup.
The Reason Chicken Breasts Dry Out Before They Brown
Chicken breasts fail in the air fryer for the same reason they fail on the stove: the thick end and the thin end finish at different times. By the time the center is safe, the skinny edge has already lost too much moisture. Pounding the meat into an even thickness fixes the timing problem before it starts, which matters more here than almost any seasoning trick.
The other mistake is crowding the basket or skipping the oil. Air fryers need moving hot air to brown the surface, and a dry chicken breast can look pale and taste leathery even when it’s technically cooked. A light oil coating gives the spices a chance to toast and helps the exterior turn that deep golden color people expect.
- Chicken breasts — Look for pieces that are close in size so they cook at the same pace. If one breast is much larger, slice it horizontally before pounding, or the smaller ones will dry out while the thick one finishes.
- Olive oil — This isn’t just for flavor. It helps the spice rub adhere and encourages browning in the air fryer. Avocado oil works too if that’s what you keep on hand.
- Smoked paprika — It gives the chicken that warm, burnished color and a faint charred note without needing breadcrumbs. Regular paprika works in a pinch, but you’ll lose some of the depth.
- Italian seasoning — This brings enough dried herbs to keep the chicken from tasting flat. If yours is stale, the dish will taste dull, so use a fresh jar if you can.
What the Air Fryer Needs From the Chicken
- Garlic powder and onion powder — These season the surface evenly without the moisture fresh aromatics would add. Fresh garlic tends to scorch in the air fryer, so powder is the better tool here.
- Salt and black pepper — Salt pulls the seasoning into the meat and sharpens the flavor of the crust. Pepper adds bite, but cracked pepper works better than fine ground pepper because it stands up to the heat.
- Lemon wedges — The squeeze at the end wakes everything up. Don’t add lemon before cooking; the acid can dull the browning and push the surface in the wrong direction.
- Fresh parsley — It’s not decoration. That last green note keeps the finished chicken from tasting one-dimensional, especially if you’re serving it plain or with simple sides.
The 18 Minutes That Matter Most
Preheating for an Immediate Sear
Set the air fryer to 390°F and let it come fully up to temperature before the chicken goes in. A hot basket gives the outside a head start, which is how you get color without overcooking the center. If you drop the chicken into a cold air fryer, the meat just sits there warming slowly and loses more juice before the crust forms.
Seasoning the Surface Evenly
Brush both sides with oil, then rub on the spice mix until every bit of the chicken looks coated. The goal is a thin, even layer, not a thick paste. If the seasoning looks patchy, the chicken will brown unevenly, and the pale spots usually taste less seasoned too.
Cooking Until the Center Reaches 165°F
Air fry for 16 to 18 minutes, flipping halfway through, until the outside is golden and the thickest part reads 165°F. Use a thermometer if you have one; guessing is where dry chicken starts. If the surface is browning too fast before the center is done, lower the temperature by 10 degrees and finish the last few minutes a little slower.
Resting Before You Slice
Let the chicken rest for 5 minutes before cutting. That short pause keeps the juices inside the meat instead of running onto the plate. If you slice it immediately, even perfectly cooked chicken can look dry because all the moisture escapes at once.
How to Adapt These Chicken Breasts Without Losing the Juicy Center
Dairy-Free and Naturally Gluten-Free
The base recipe already fits both needs, which is part of why it works so well. Just keep an eye on seasoning blends if you swap brands; some Italian seasoning mixes include anti-caking agents or fillers, though that usually isn’t an issue in small amounts.
Make It Spicier
Add 1/4 to 1/2 teaspoon of cayenne or a pinch of red pepper flakes to the seasoning mix. That extra heat doesn’t change the texture, but it does make the paprika taste more pronounced and gives the crust a little more edge.
Using Chicken Cutlets Instead
Thin cutlets cook faster, usually in 10 to 12 minutes total, so start checking early. They’ll brown beautifully, but they won’t have the same thick, juicy bite as pounded breasts, so treat them as a quicker weeknight version rather than a direct swap.
Storage and Reheating
- Refrigerator: Store in an airtight container for up to 4 days. The crust softens a bit, but the chicken stays useful for salads, wraps, and grain bowls.
- Freezer: Freeze cooked chicken breasts for up to 2 months, wrapped tightly and sealed well. Thaw overnight in the fridge so the texture doesn’t turn stringy.
- Reheating: Warm at 350°F in the air fryer for 3 to 5 minutes, just until heated through. The common mistake is blasting it too long, which dries out the lean meat before the center is warm.
Answers to the Questions Worth Asking
Air Fryer Chicken Breasts
Ingredients
Equipment
Method
- Preheat the air fryer to 390°F until hot. This ensures fast browning on the first minutes of cooking.
- Pound the chicken breasts to an even 3/4-inch thickness if needed. Uniform thickness helps the center reach 165°F at the same time as the exterior browns.
- Brush both sides of the chicken with olive oil. The oil helps the seasoning adhere and supports crisp, golden edges.
- Mix together garlic powder, onion powder, smoked paprika, Italian seasoning, salt, and cracked black pepper. Rub the seasoning evenly over both sides of the chicken for an aromatic crust.
- Air fry at 390°F for 16-18 minutes, flipping halfway through. Cook until the internal temperature reaches 165°F and the outside is golden-brown.
- Rest the chicken for 5 minutes before slicing. Garnish with fresh parsley and serve with lemon wedges for brightness.