Golden-crisp gnocchi with blistered edges and a fluffy center is one of those side dishes that disappears faster than the main course. The air fryer gives you that satisfying contrast without boiling, pan-frying, or standing over the stove. You get little pillows that taste toasted on the outside and tender inside, then the garlic butter and parmesan turn the whole bowl into something people keep picking at.
The part that matters most is starting with dry, uncooked gnocchi. That keeps the outside from turning gummy before it has a chance to crisp, and it lets the oil and seasonings cling directly to the surface. A hot air fryer and a single layer do the rest. If the basket is crowded, the gnocchi steams instead of browns, and that’s the difference between decent and genuinely addictive.
Below, I’ve included the timing that gives the best texture, the one mistake that keeps gnocchi soft, and a few ways to adapt this for a simpler weeknight side or a more substantial snack.
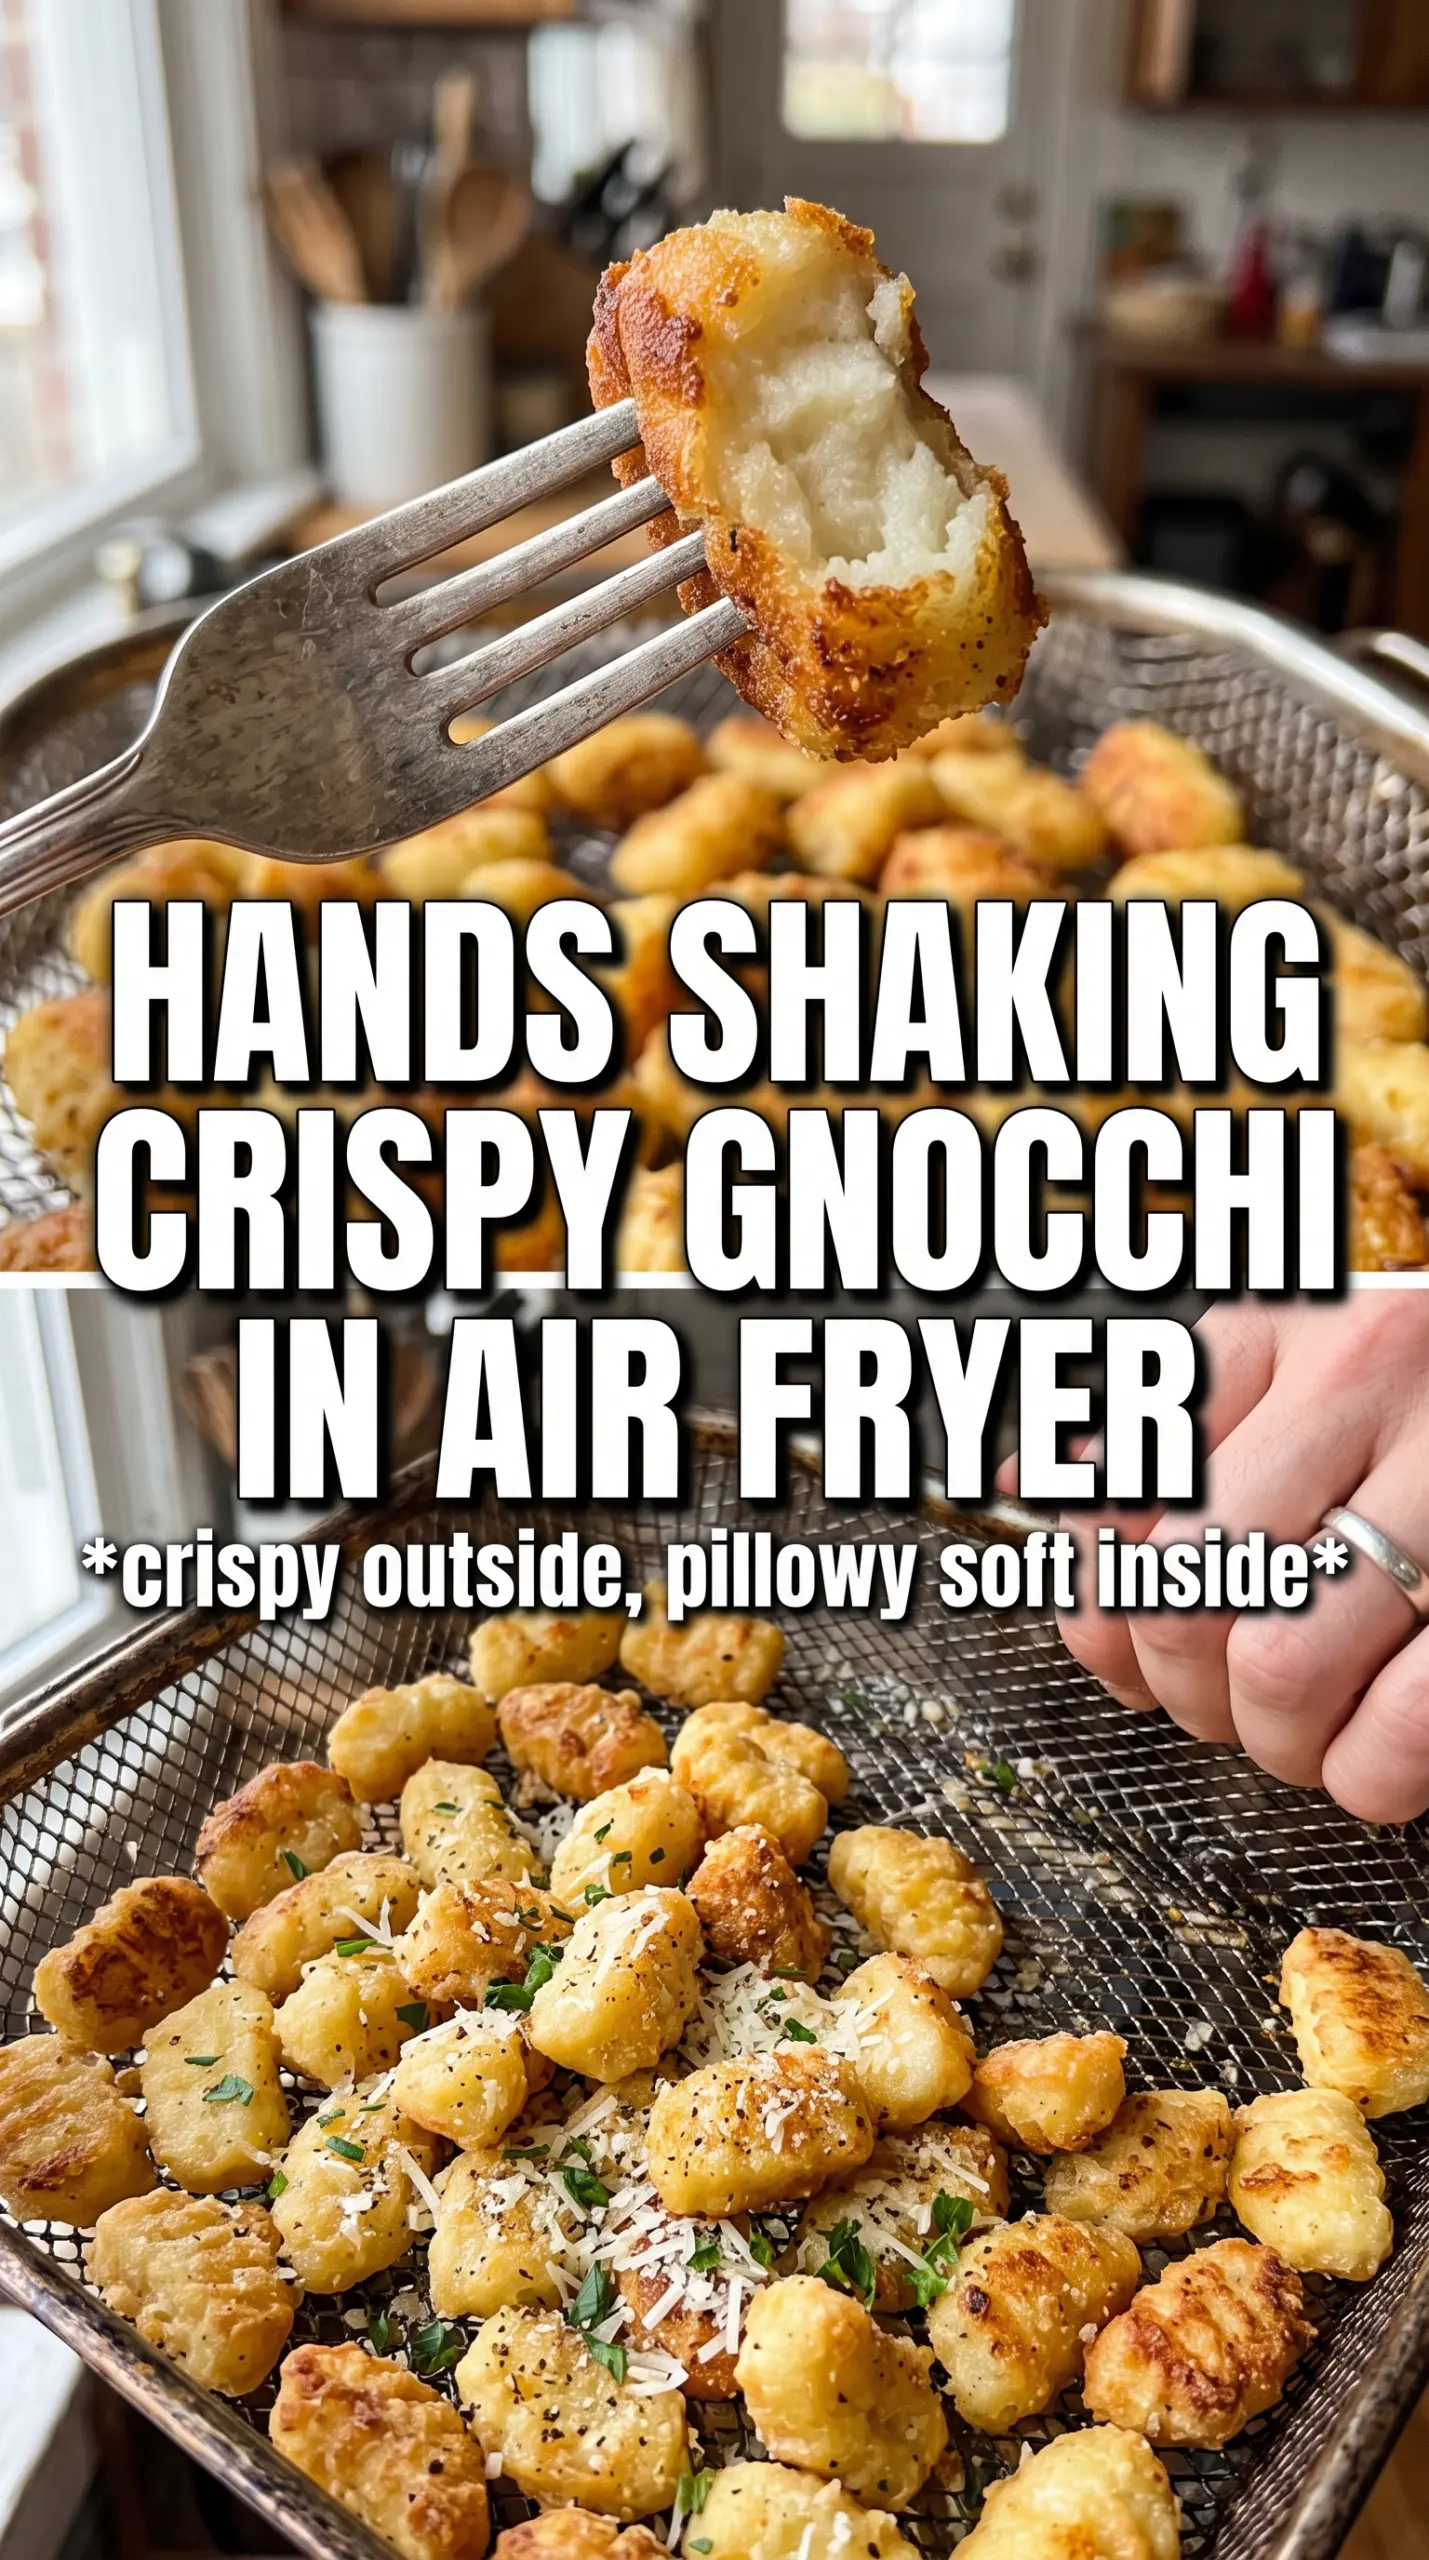
The gnocchi came out crisp on the outside and still soft in the middle, and the garlic butter at the end made it taste like something from a restaurant. I shook the basket once and they browned evenly in about 14 minutes.
Save this air fryer gnocchi for the nights when you want crispy, buttery gnocchi with almost no hands-on cooking.
The Secret to Crisp Gnocchi Without Boiling It First
The biggest mistake with air fryer gnocchi is treating it like pasta. It isn’t. Once you boil gnocchi, you’ve added moisture to a dough that already wants to soften, and that makes crisping take longer and work less predictably. Starting with the gnocchi straight from the package gives the air fryer a dry surface to blister, which is what creates those browned edges and keeps the middle fluffy.
The other piece that matters is spacing. Gnocchi need hot air moving around each piece, not a packed basket where they sit on top of each other and steam. A single layer takes a few extra minutes to arrange, but it pays off immediately in texture. If your basket is small, cook in batches instead of piling everything in at once.
- Dry gnocchi — Shelf-stable or refrigerated both work, but don’t use fresh homemade gnocchi here unless it’s firm enough to hold its shape. Extra moisture makes it harder to crisp.
- Olive oil — This helps the seasonings stick and encourages browning. Use a light hand; too much oil can leave the gnocchi greasy instead of crisp.
- Smoked paprika — It adds a subtle toasty note that makes the gnocchi taste deeper than the ingredient list looks. Regular paprika works, but you’ll lose some of that warmth.
- Butter and garlic finish — This is worth doing in a skillet, not the air fryer. The butter coats the crisp shells cleanly, while the garlic stays fragrant instead of turning bitter.
What Each Ingredient Is Actually Doing in This Recipe
- Primary ingredient (the star) — Quality matters most. Choose the best you can find.
- Cooking medium (oil, butter, or broth) — This carries flavors and prevents dryness.
- Seasonings (salt, pepper, spices, herbs) — Layer flavors so nothing overpowers. Build depth gradually.
- Aromatics (garlic, onion, herbs) — Cook with fat to bloom flavors. Become the foundation.
- Supporting ingredients — Complement the main ingredient without overpowering it.
- Sauce or liquid (if applicable) — Brings flavors together. Balance richness with acid.
- Acid (lemon, vinegar, wine, or other) — Brightens and prevents flat-tasting results.
- Final finish (garnish, glaze, or sauce) — Prevents one-dimensional taste and adds visual appeal.
Getting the Basket Hot Enough to Brown the Outside
Coating the Gnocchi Evenly
Toss the uncooked gnocchi with the oil and seasonings until every piece looks lightly glossed and speckled. You don’t want puddles of oil in the bowl; that leads to patchy browning and soft spots. The seasoning mix should cling to the surface, not fall off into the bottom of the bowl. If the gnocchi look dusty after tossing, add just a touch more oil.
Air Frying in a Single Layer
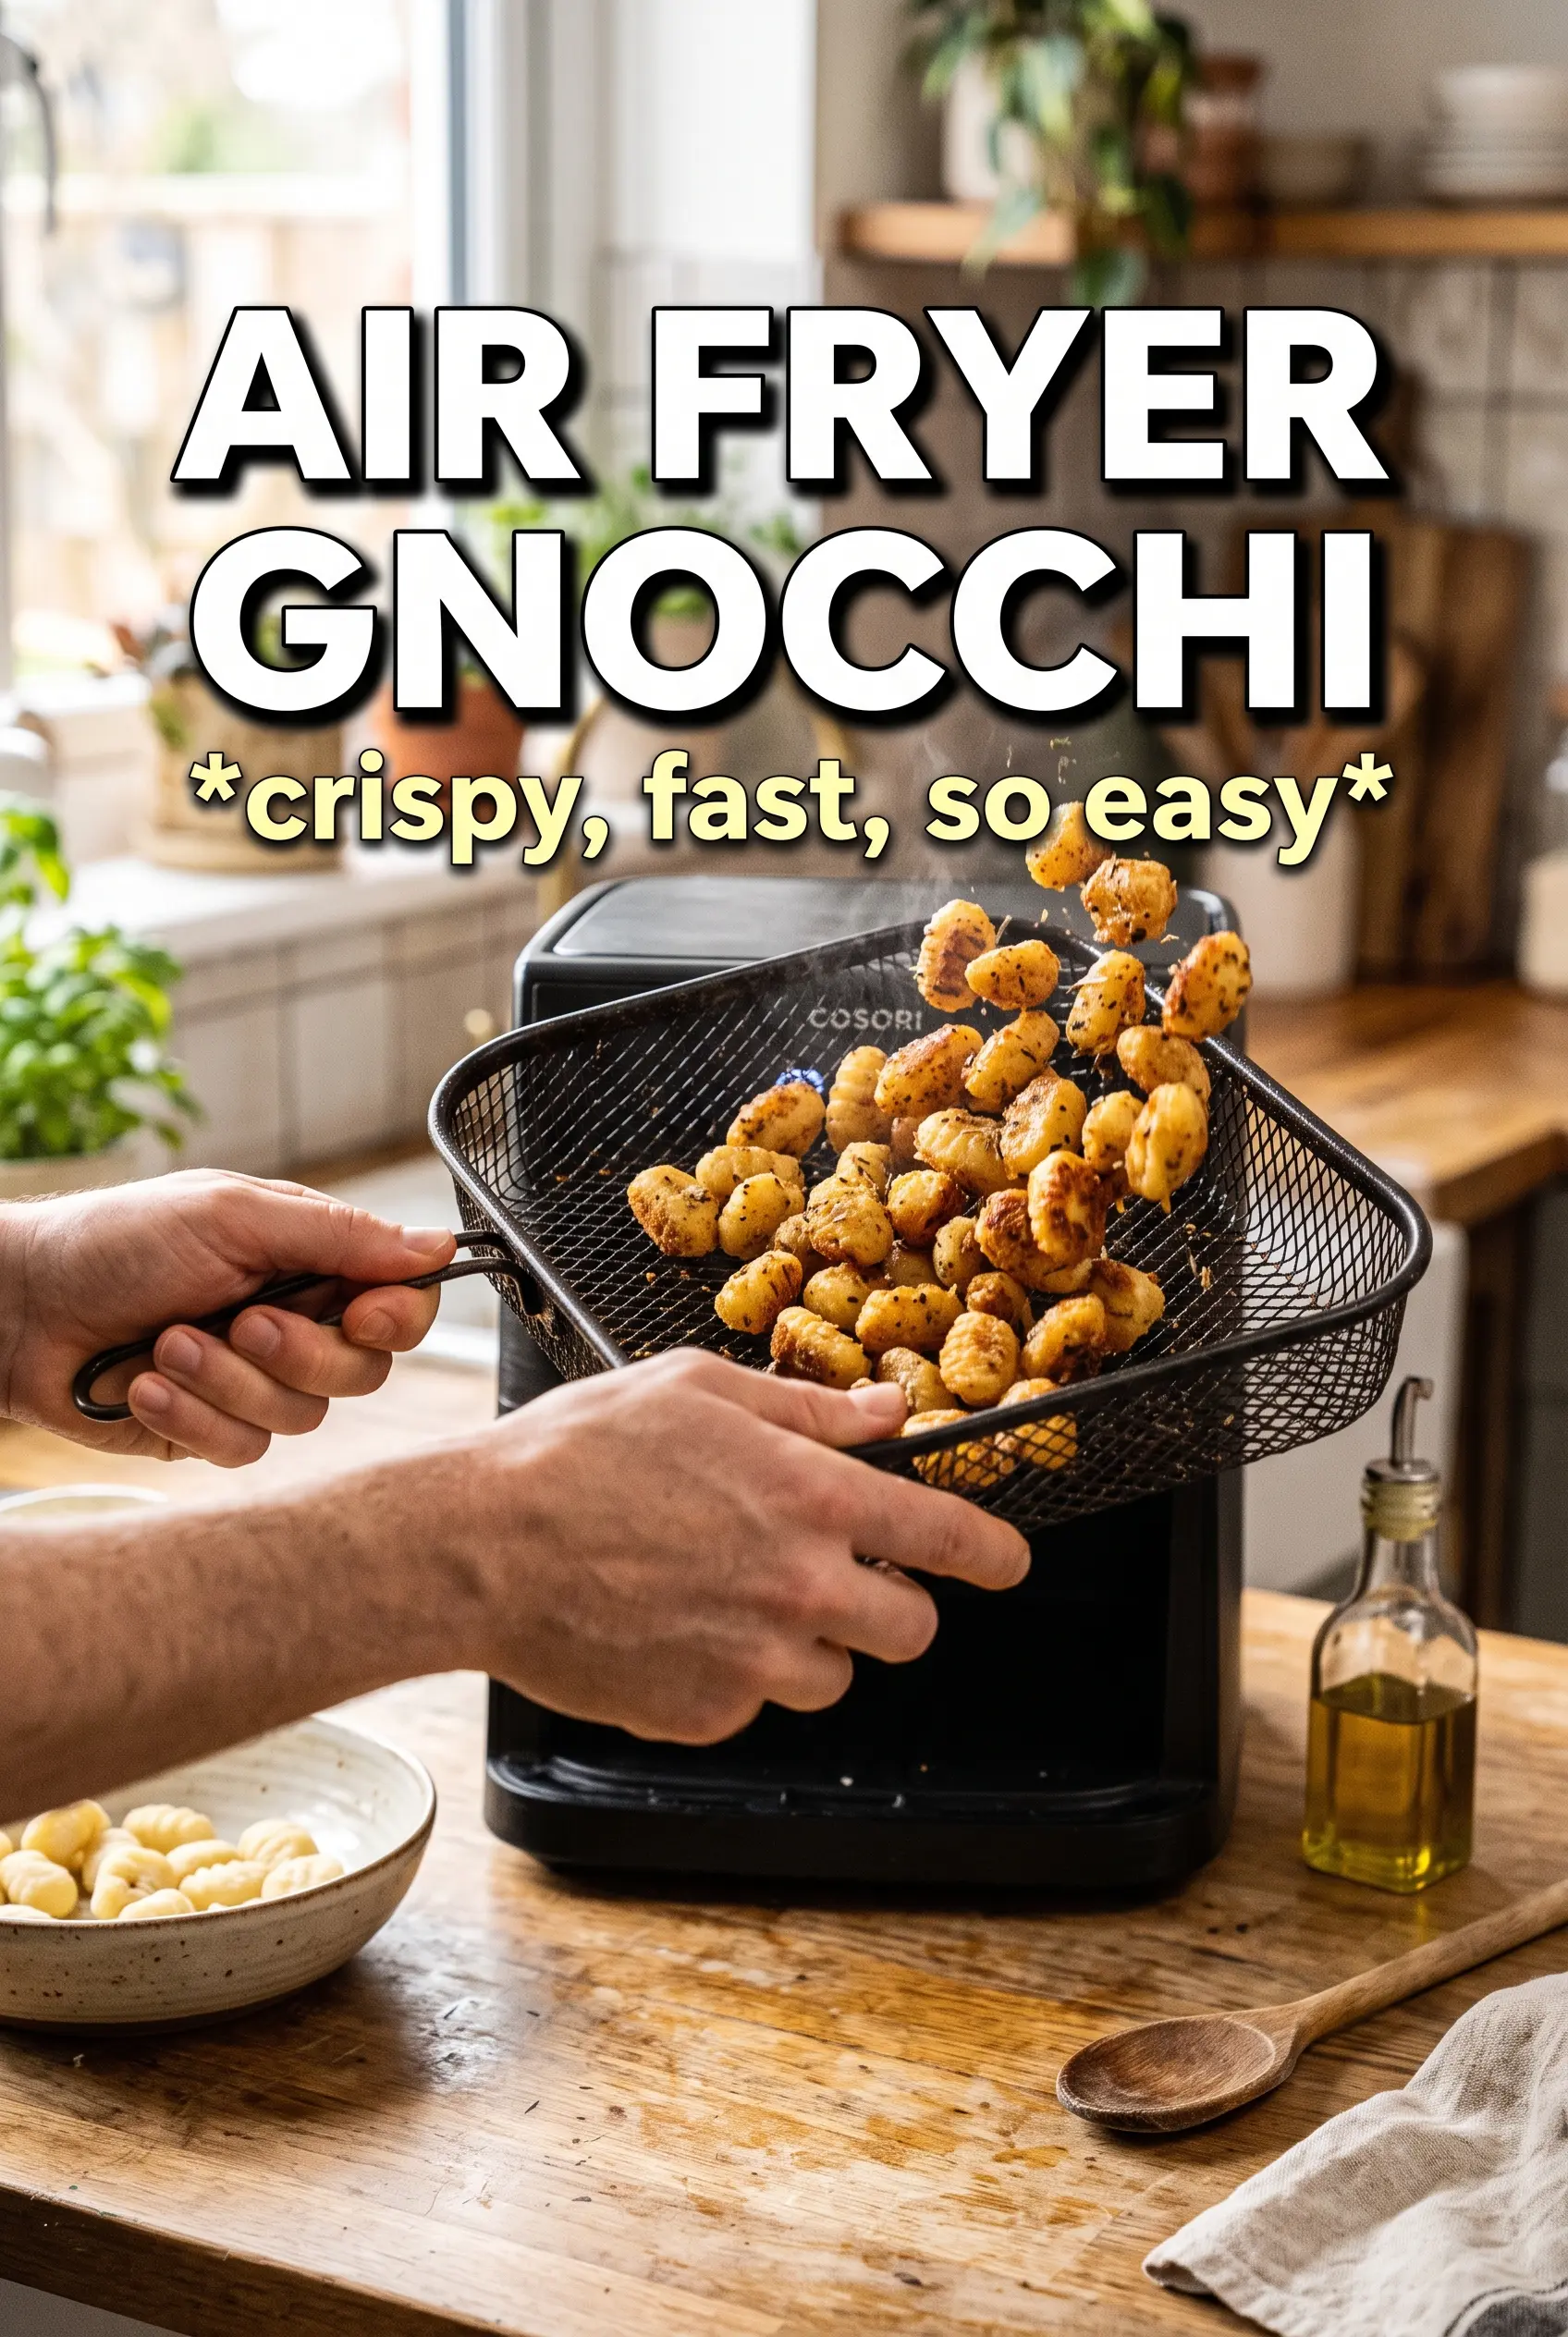
Preheat the air fryer to 400°F so the gnocchi hits hot air right away. Spread them in one layer and shake the basket halfway through to expose new surfaces to the heat. They’re done when the outside is deep golden with little blistered spots and the centers still feel light when you bite in. If they look pale at 12 minutes, give them a few more minutes rather than raising the heat, which can darken the outside before the inside catches up.
Finishing With Garlic Butter
Melt the butter with the minced garlic in a skillet for just 1 to 2 minutes, until the garlic smells sweet and sharp, not browned. Toss the hot gnocchi in the butter right away so the coating slips over the crisp surface instead of sitting in the pan. Finish with parsley and parmesan while everything is still warm so the cheese softens slightly and clings. Serve immediately; this is at its best in the first few minutes after cooking.
How to Adapt Air Fryer Gnocchi for Different Nights
Make it dairy-free
Skip the butter and finish the gnocchi with extra olive oil, chopped parsley, and a dairy-free parmesan if you like. The texture stays crisp, but you lose the rich coating that makes the garlic cling a little more. A squeeze of lemon at the end helps replace some of that missing brightness.
Turn it into a gluten-free side
Use gluten-free gnocchi from the store and keep the rest of the method the same. Some gluten-free brands brown a little faster and can soften sooner, so start checking a minute or two early. Pull them when the outside is crisp and don’t wait for them to look dry all over.
Add a sauce for dipping
Serve the gnocchi with warm marinara on the side instead of tossing everything together. That keeps the crispy coating intact longer and gives you a pizza-adjacent snack that works well for sharing. If you coat them in sauce too early, the crust softens fast.
Storage and Reheating
- Refrigerator: Store leftovers for up to 3 days. The gnocchi will soften as they sit, especially after the butter goes on.
- Freezer: I don’t recommend freezing the finished dish. The texture turns mealy once it thaws and reheats.
- Reheating: Reheat in the air fryer at 375°F for 3 to 5 minutes, just until warmed through and crisp again. Avoid the microwave if you want any texture left at all.
Questions I Get Asked About This Recipe
Air Fryer Gnocchi
Ingredients
Equipment
Method
- In a bowl, toss the potato gnocchi with olive oil, garlic powder, Italian seasoning, smoked paprika, salt, and black pepper until evenly coated, with no dry spots visible.
- Spread the seasoned gnocchi in a single layer so the pieces have space around them for browning.
- Preheat the air fryer to 400°F, then add the gnocchi in a single layer.
- Air fry for 12-15 minutes, shaking the basket halfway through, until the gnocchi are golden and crispy on the outside with visible blistering.
- While the gnocchi air-fry, melt the butter with minced garlic in a skillet for 1-2 minutes, stirring until fragrant but not browned.
- Toss the crispy gnocchi in the garlic butter, then top with fresh parsley and parmesan for a freshly speckled, savory finish.
- Serve immediately as a side, or with marinara for dipping.