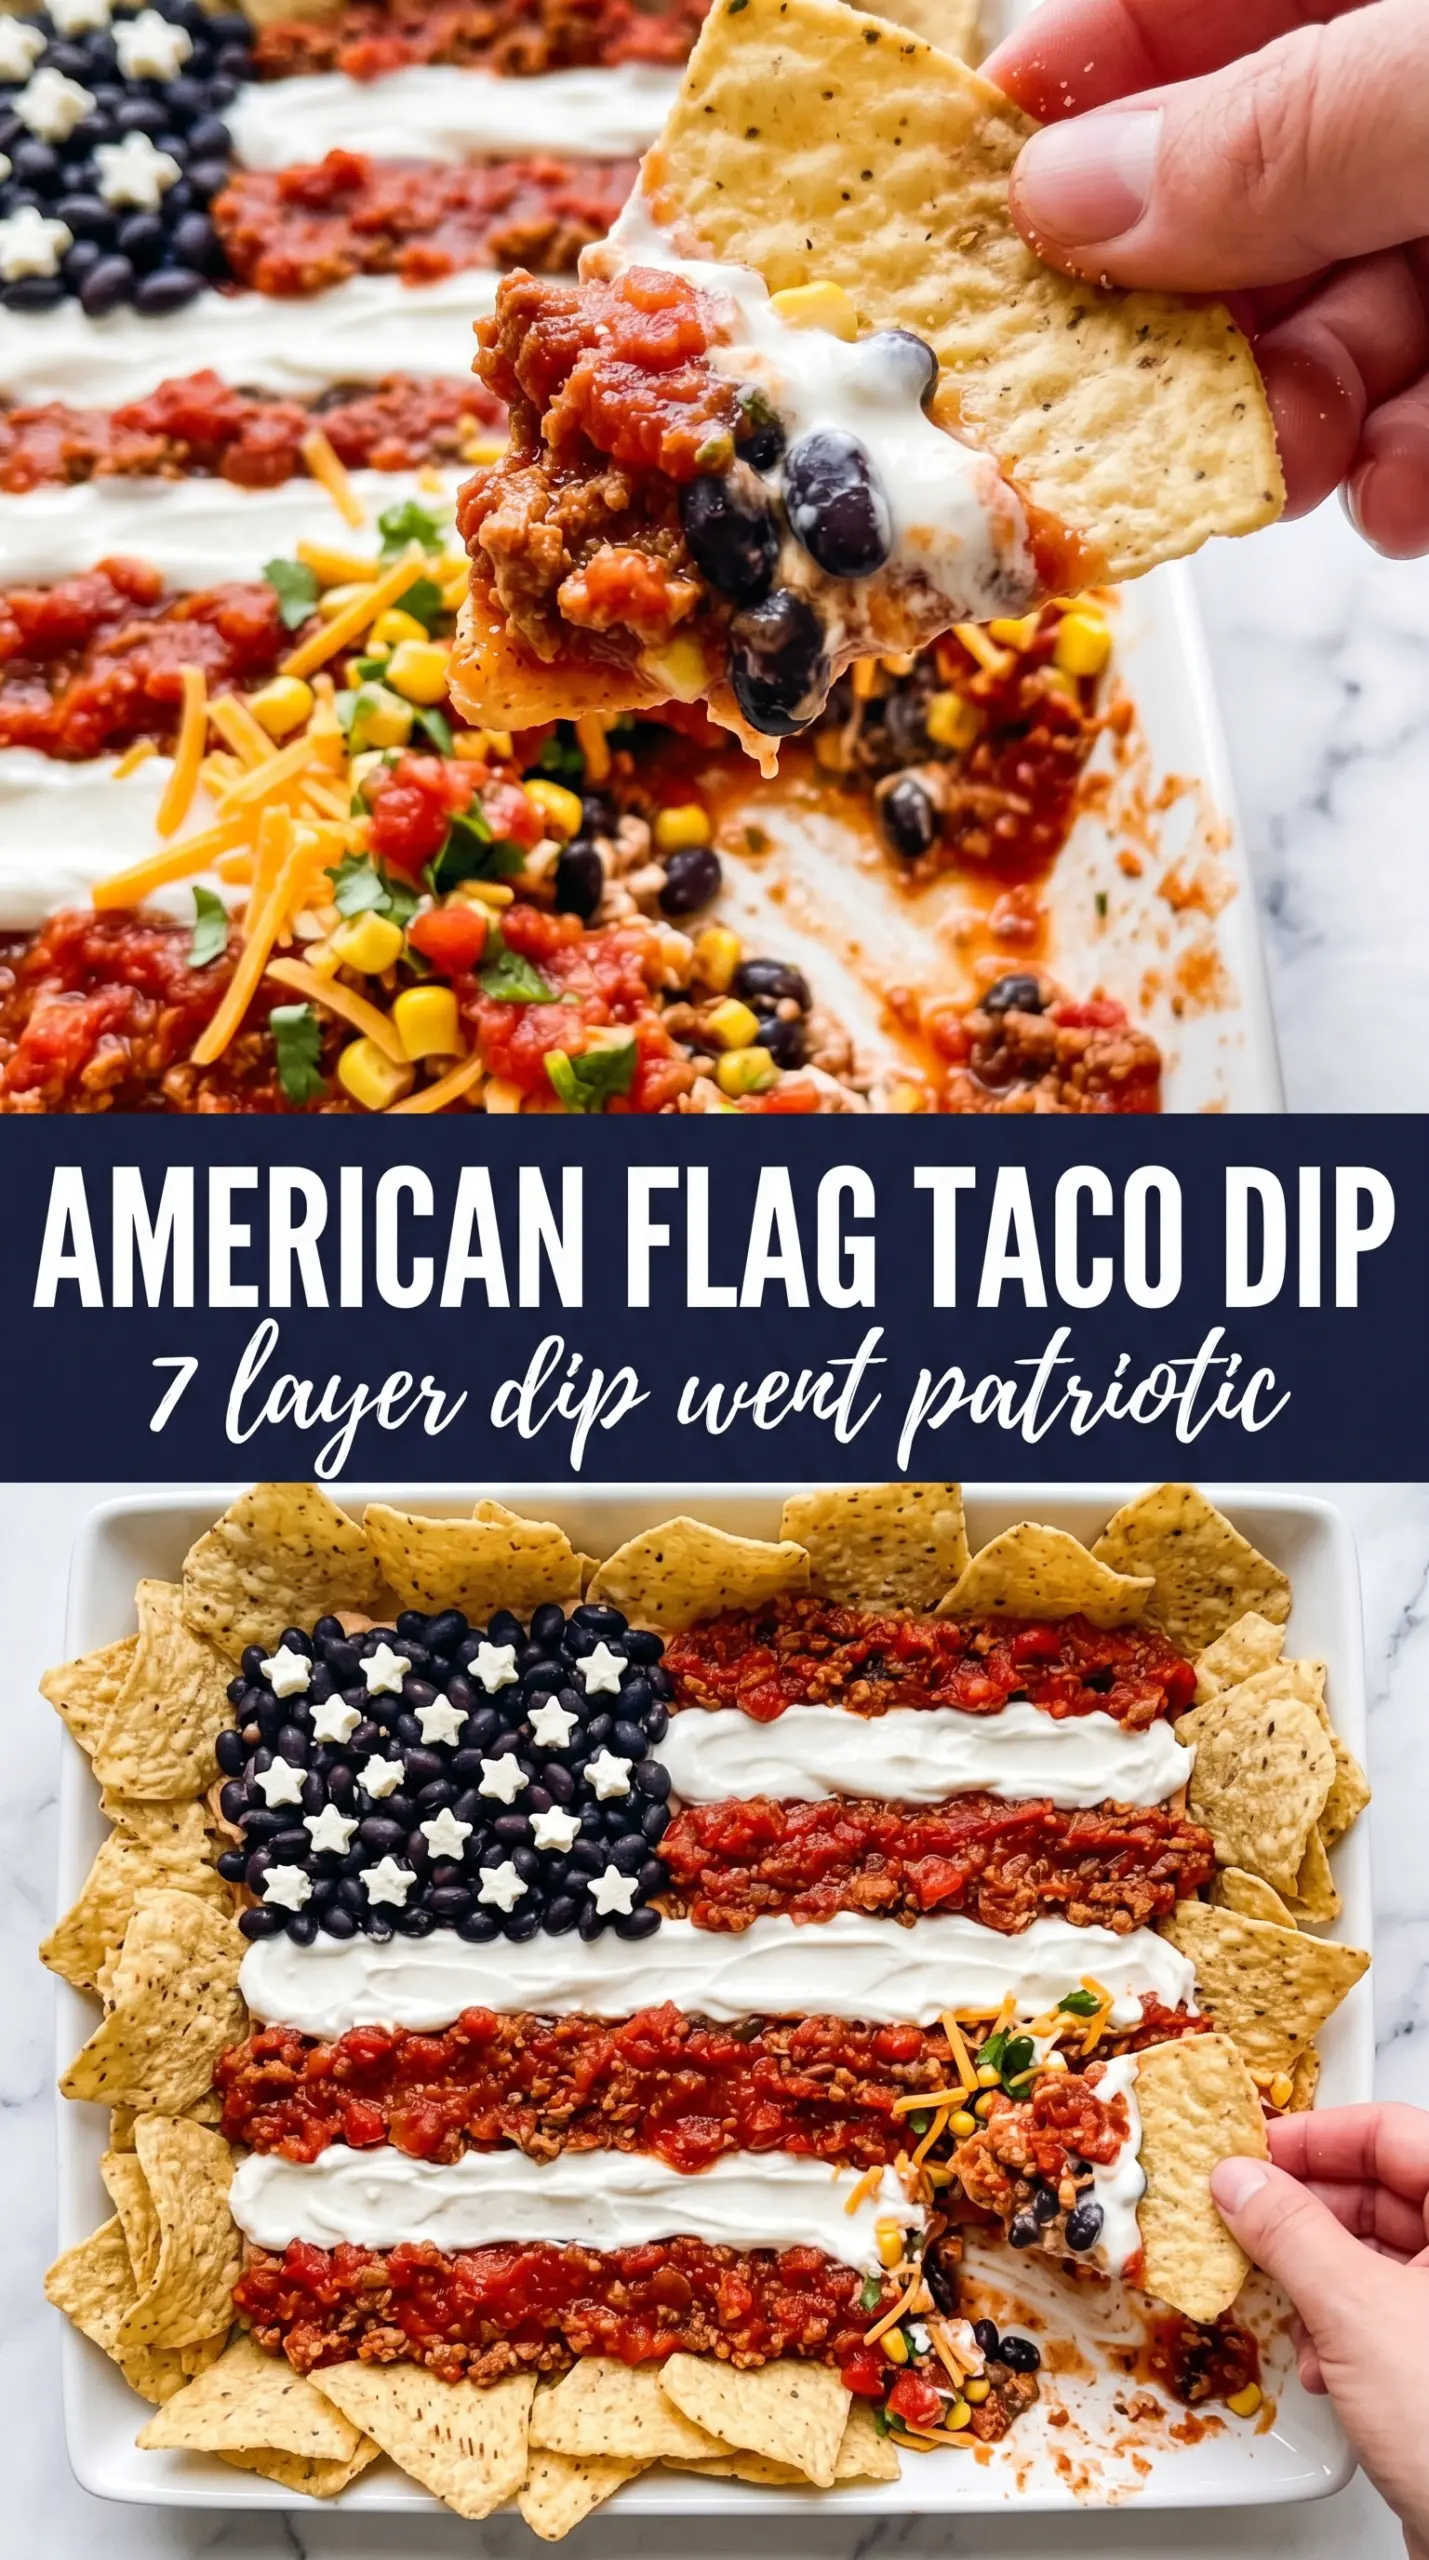
American Flag Taco Dip brings all the best parts of a layered taco dip into one cold, colorful party tray, and the flag design makes it disappear fast. You get the creamy, tangy, salty layers everyone expects, but the finished top does the work of the centerpiece before anyone even takes a chip. It’s one of those appetizer recipes that looks like you spent a long time on it, even though the actual hands-on work stays simple.
The key is keeping each layer distinct and chilled enough to hold its shape. Softened cream cheese blends smoothly with taco seasoning, the guacamole stays tucked in instead of muddying the dip, and the sour cream stripes look sharp if the dip has a little chill before serving. A rectangular dish matters here because the flag needs clean edges to read well.
Below, I’ll walk through the small details that keep the layers from sliding around, plus a few smart swaps if you want to use tomatoes, olives, or a different cheese blend.
The layers stayed neat even after chilling, and the sour cream stripes held up until the last scoop. I used the olives for the blue corner and it looked just like the photo.
Like this American Flag Taco Dip? Save it to Pinterest for your next 4th of July spread or potluck appetizer board.
The Trick to Keeping the Flag Layers Clean Instead of Blending Into One Another
The biggest mistake with layered taco dip is rushing the assembly and expecting soft ingredients to behave like frosting. They won’t. If the cream cheese is still stiff, it tears the bean layer; if the guacamole is too loose, it slides into the cheese; if the sour cream goes on before the dip chills, the stripes lose definition. The fix is simple: soften the cream cheese fully, spread each layer in a thin, even blanket, and chill the finished tray before adding the most visible toppings.
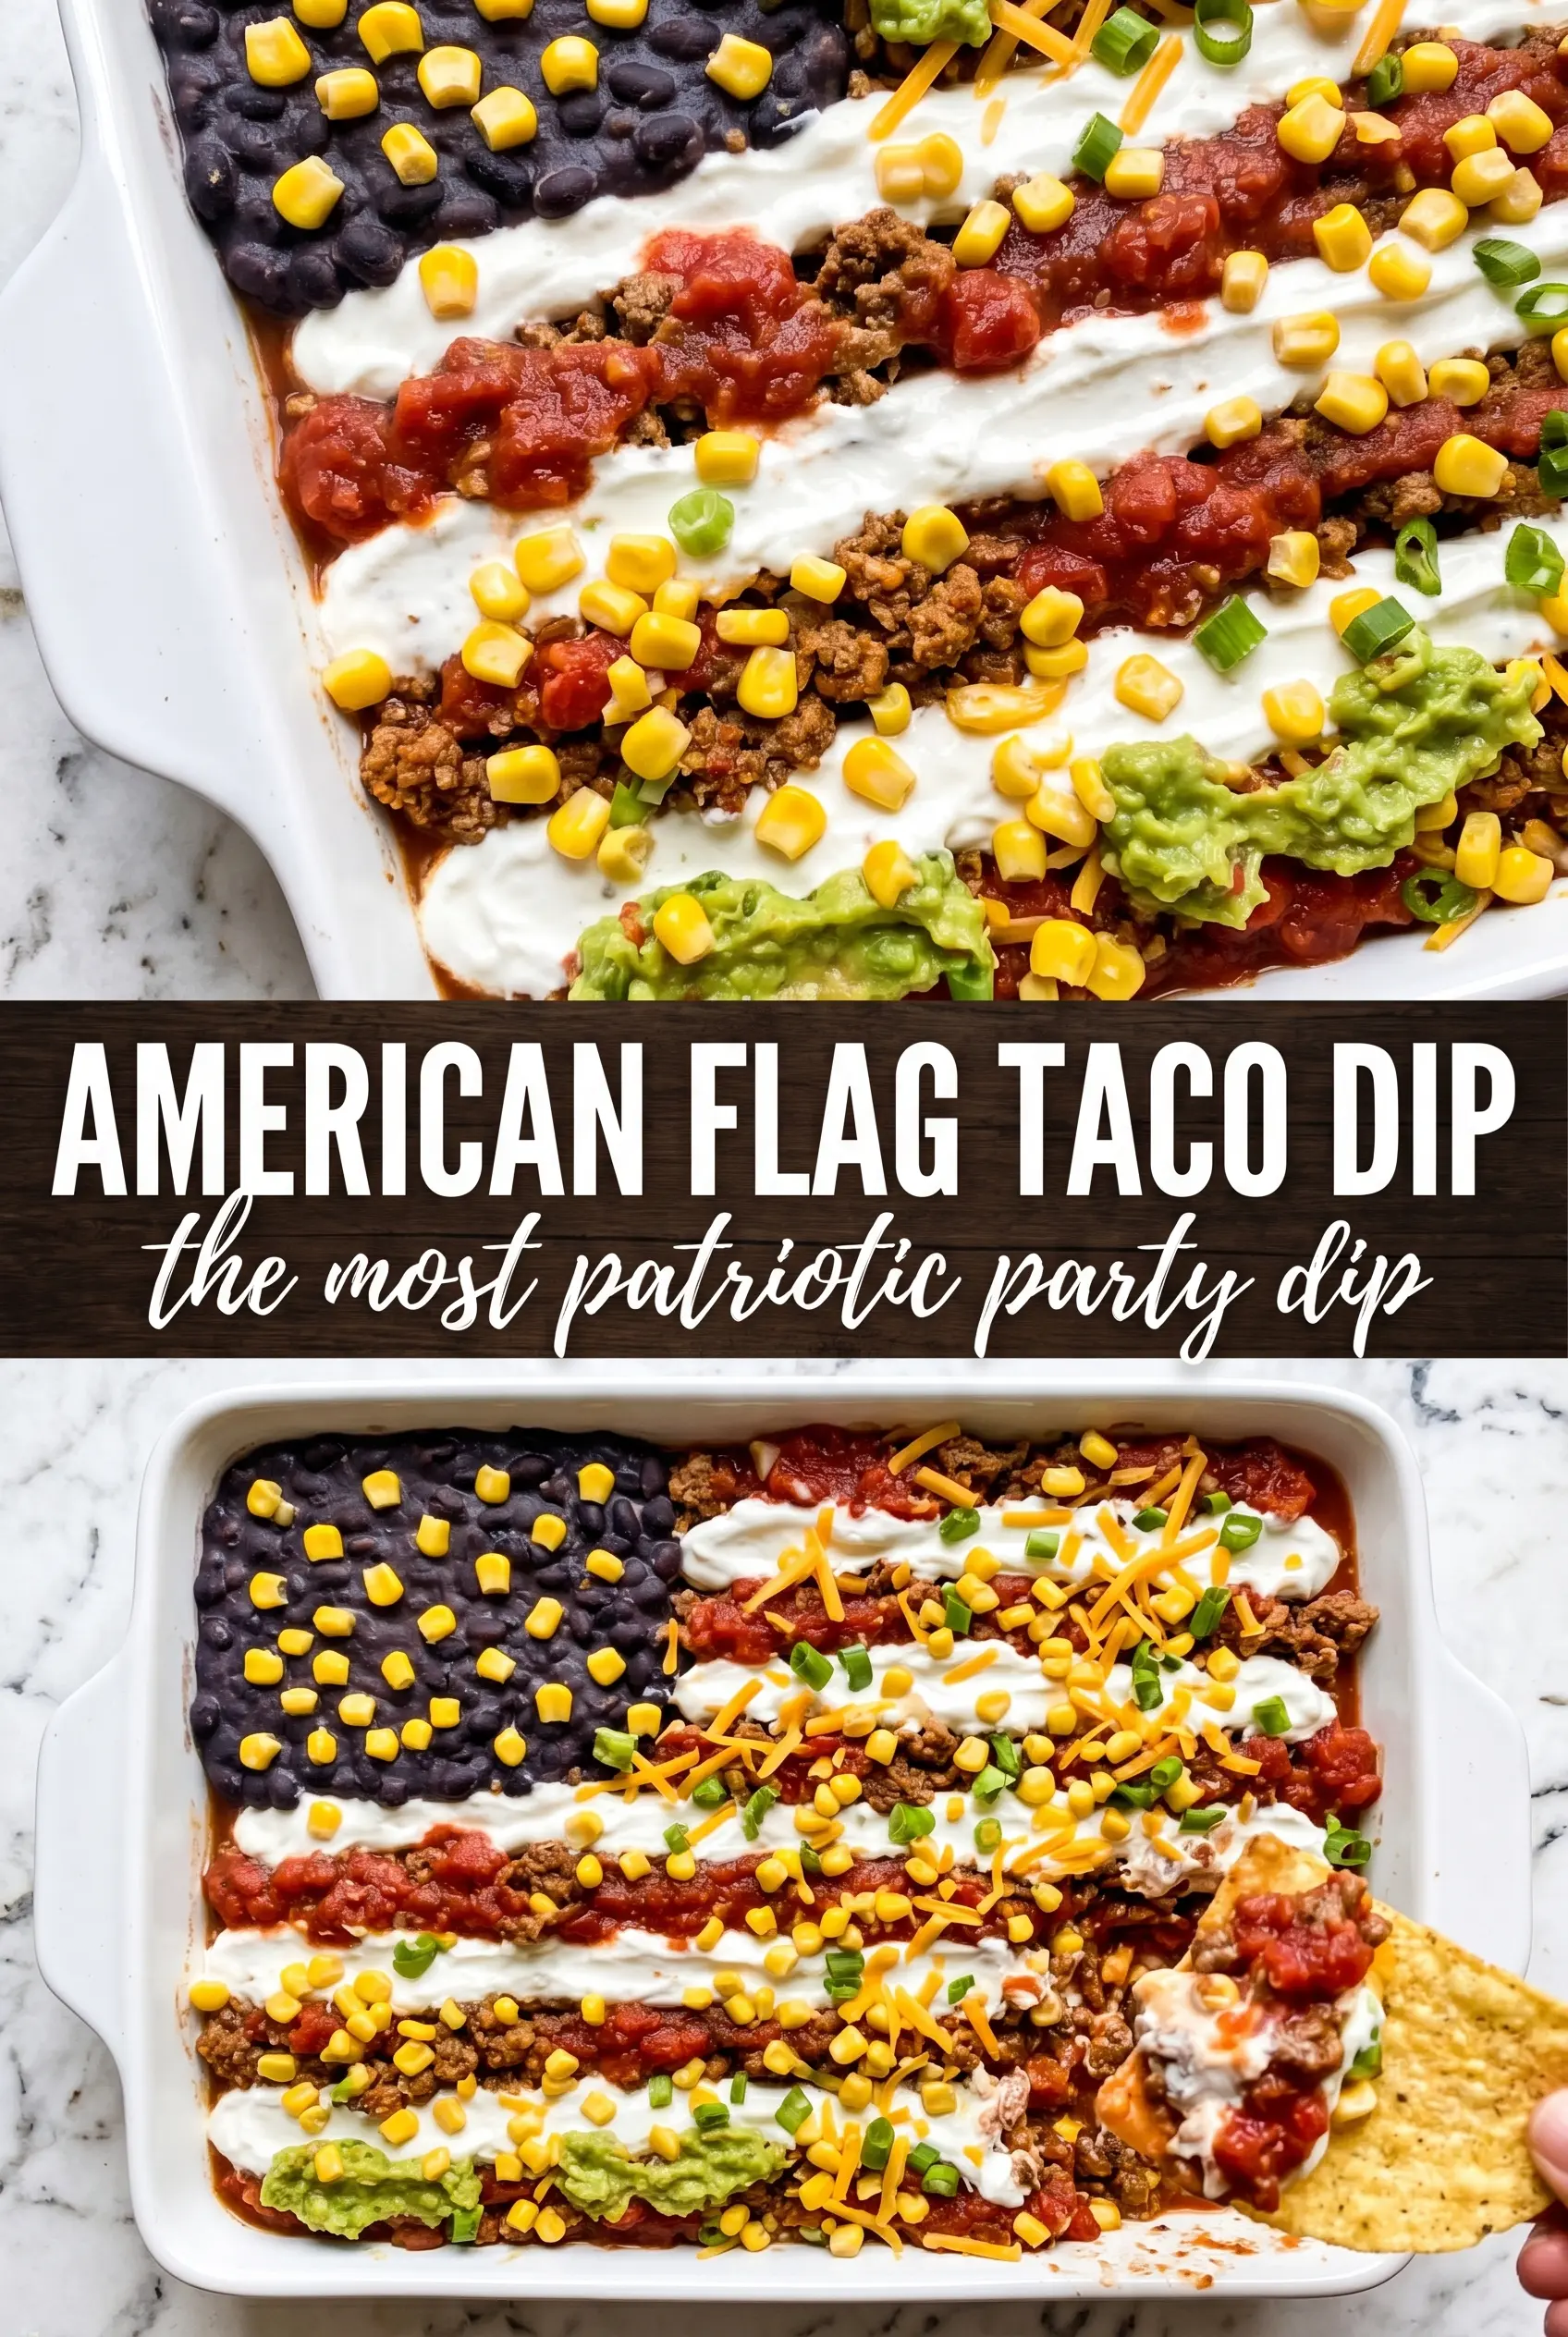
A rectangular dish helps the design read like an actual flag. Deep bowls or round platters make the pattern look cramped and messy. You want enough surface area for the white stripes, red rows, and blue corner to sit clearly on top of the layers underneath.
What Each Layer Is Doing in This Flag Dip
- Refried beans — This is the base that anchors everything. Use canned beans here; homemade is fine, but the canned version is thicker and steadier for a party tray.
- Cream cheese — Softened cream cheese gives the dip its body and keeps the middle layer from tasting flat. If it’s cold, it’ll drag the beans up with it and leave patches behind.
- Taco seasoning — This does the heavy lifting for flavor. A store-bought packet works perfectly, though if yours runs salty, use a little less than the full packet and taste the cream cheese layer before spreading it.
- Guacamole — This adds richness and a fresh, buttery layer between the creamy base and the cheese. Thick guacamole holds better than a very smooth one, so if yours is loose, let it sit uncovered in the fridge for a few minutes before layering.
- Sour cream and salsa — These create the flag stripes and give the top its bright contrast. Chunky salsa or pico de gallo works better than a thin salsa because it sits on the surface instead of puddling.
- Black olives and red toppings — The olives make the blue canton effect, while tomatoes or red bell pepper keep the color bright and crisp. Dice the red toppings small so they don’t roll off the sour cream stripes.
How to Layer It So the Toppings Stay Sharp
Build the base first
Spread the refried beans in an even layer all the way to the corners of the dish. An offset spatula or the back of a spoon works fine, and the goal is a flat surface with no deep ridges. If the beans are too thick in one spot, the top layers start to tilt and the flag pattern looks lopsided.
Mix the middle until it’s smooth
Stir the softened cream cheese and taco seasoning until the mixture is completely uniform, with no pale streaks left behind. That blend should spread easily without tearing the bean layer. If it still feels stiff, give it a few more minutes at room temperature; forcing cold cream cheese across the dish just pulls the beans with it.
Pipe the flag, don’t spoon it
Use a piping bag or a zip-top bag with the corner snipped to make the sour cream stripes. Piping keeps the lines cleaner and gives you more control than a spoon. Add the salsa or diced red tomato between the white stripes, then press the olives into the upper-left corner tightly so the blue section looks filled in instead of patchy.
Chill before serving
Thirty minutes in the fridge makes a bigger difference than people expect. The layers settle, the top firms up, and the pattern holds when the first chips go in. Serve it cold, and keep the chips nearby but separate so the surface stays neat until the tray hits the table.
How to Adapt This Dip for a Different Crowd
Dairy-Free Flag Dip
Use dairy-free cream cheese and sour cream, then check that your taco seasoning packet doesn’t contain milk solids. The texture stays close to the original, though the top may be a little softer, so keep the chilling time on the full side.
Lower-Carb Party Tray
Swap the refried beans for a thinner layer of seasoned cream cheese and guacamole, then keep the rest of the flag design as written. You lose some of the classic taco dip heft, but the tray still eats like a rich, scoopable appetizer.
No Piping Bag, No Problem
A zip-top bag with one tiny corner snipped works just as well as a piping bag for the sour cream stripes. Cut less than you think you need; a small opening gives you cleaner lines and keeps the stripes from turning into puddles.
Storage and Reheating
- Refrigerator: Cover and chill for up to 3 days. The flag pattern softens over time, but the flavor stays good.
- Freezer: Don’t freeze the finished dip; the sour cream, guacamole, and cream cheese layers turn grainy and watery after thawing.
- Reheating: This dip is served cold, so reheating isn’t part of the game. If you make it ahead, let it sit in the fridge until just before serving so the stripes stay defined.
Questions I Get Asked About This Recipe
American Flag Taco Dip
Ingredients
Equipment
Method
- Spread refried beans in an even layer across the bottom of a large rectangular baking dish or serving tray.
- Mix cream cheese with taco seasoning until smooth, then spread evenly over the bean layer.
- Spread guacamole over the cream cheese layer, then top with the shredded Mexican cheese blend.
- Spoon sour cream into a piping bag or zip-lock bag with a corner snipped and pipe horizontal white stripes across the top of the dip.
- Add rows of salsa or diced red tomato between the sour cream stripes to create the red stripe effect.
- In the upper left corner, arrange sliced black olives tightly to form the blue canton rectangle.
- Scatter green onions across the top of the dip.
- Chill the dip for 30 minutes to help the layers set, then serve with tortilla chips.