Amish apple crisp bakes up with a deep layer of tender apples underneath a thick, craggy topping that turns golden at the edges and stays chewy in the middle. What makes it stand out is the balance: the filling cooks down into a spoonable, cinnamon-spiced base while the oat crumble keeps enough structure to give every bite a little crunch. It’s the kind of dessert that disappears fast because it tastes familiar in the best way, but still feels generous and old-fashioned.
The filling leans on a mix of granulated and brown sugar, plus a little flour, so the apples release their juices without turning soupy. I like using a blend of tart and sweet apples if I can, because the crisp stays brighter and doesn’t go one-note. The topping uses both butter and, if you want the traditional route, lard for extra richness and bigger crumbly pieces. Cold fat matters here. Warm butter blends too evenly and you lose that rustic, nubby texture.
Below, I’ve broken down the one step that keeps the topping crisp instead of sandy, plus the swaps that still give you a solid result when you need to work with what’s in the kitchen.
The crumble stayed thick and crunchy even after baking, and the apple layer bubbled up around the edges exactly like you said. I served it with vanilla ice cream and the pan was scraped clean.
Like this Amish apple crisp? Save it for the nights when you want a thick oat crumble and bubbling spiced apples under a scoop of vanilla ice cream.
The One Thing That Keeps the Crumble Thick Instead of Sandy
The mistake that ruins a lot of fruit crisps is overworking the topping. Once the butter starts melting into the dry ingredients, the whole mixture can turn pasty and bake up flat. You want uneven clumps, some bigger than a walnut, because those are the pieces that brown deeply and give you the contrast against the soft apples.
This recipe also uses a generous amount of topping on purpose. Amish-style crisps aren’t shy about the crumble. Press it down only lightly after spooning it over the fruit, just enough so it doesn’t sit in a loose pile. If you pack it in, the top turns dense instead of nubby and crisp.
- Cold butter holds the topping in clumps long enough to bake into crunchy ridges. If it softens too much, the flour and oats absorb it like dough.
- Lard, if you use it, gives a more traditional texture and a slightly shorter crumble. It’s rich and rustic, but extra butter still works well if that’s what you have.
- Flour in the filling thickens the apple juices so the bottom doesn’t turn watery. Skip it and you’ll get a loose puddle under the topping.
What Each Ingredient Is Doing in the Apple Layer and the Crumble
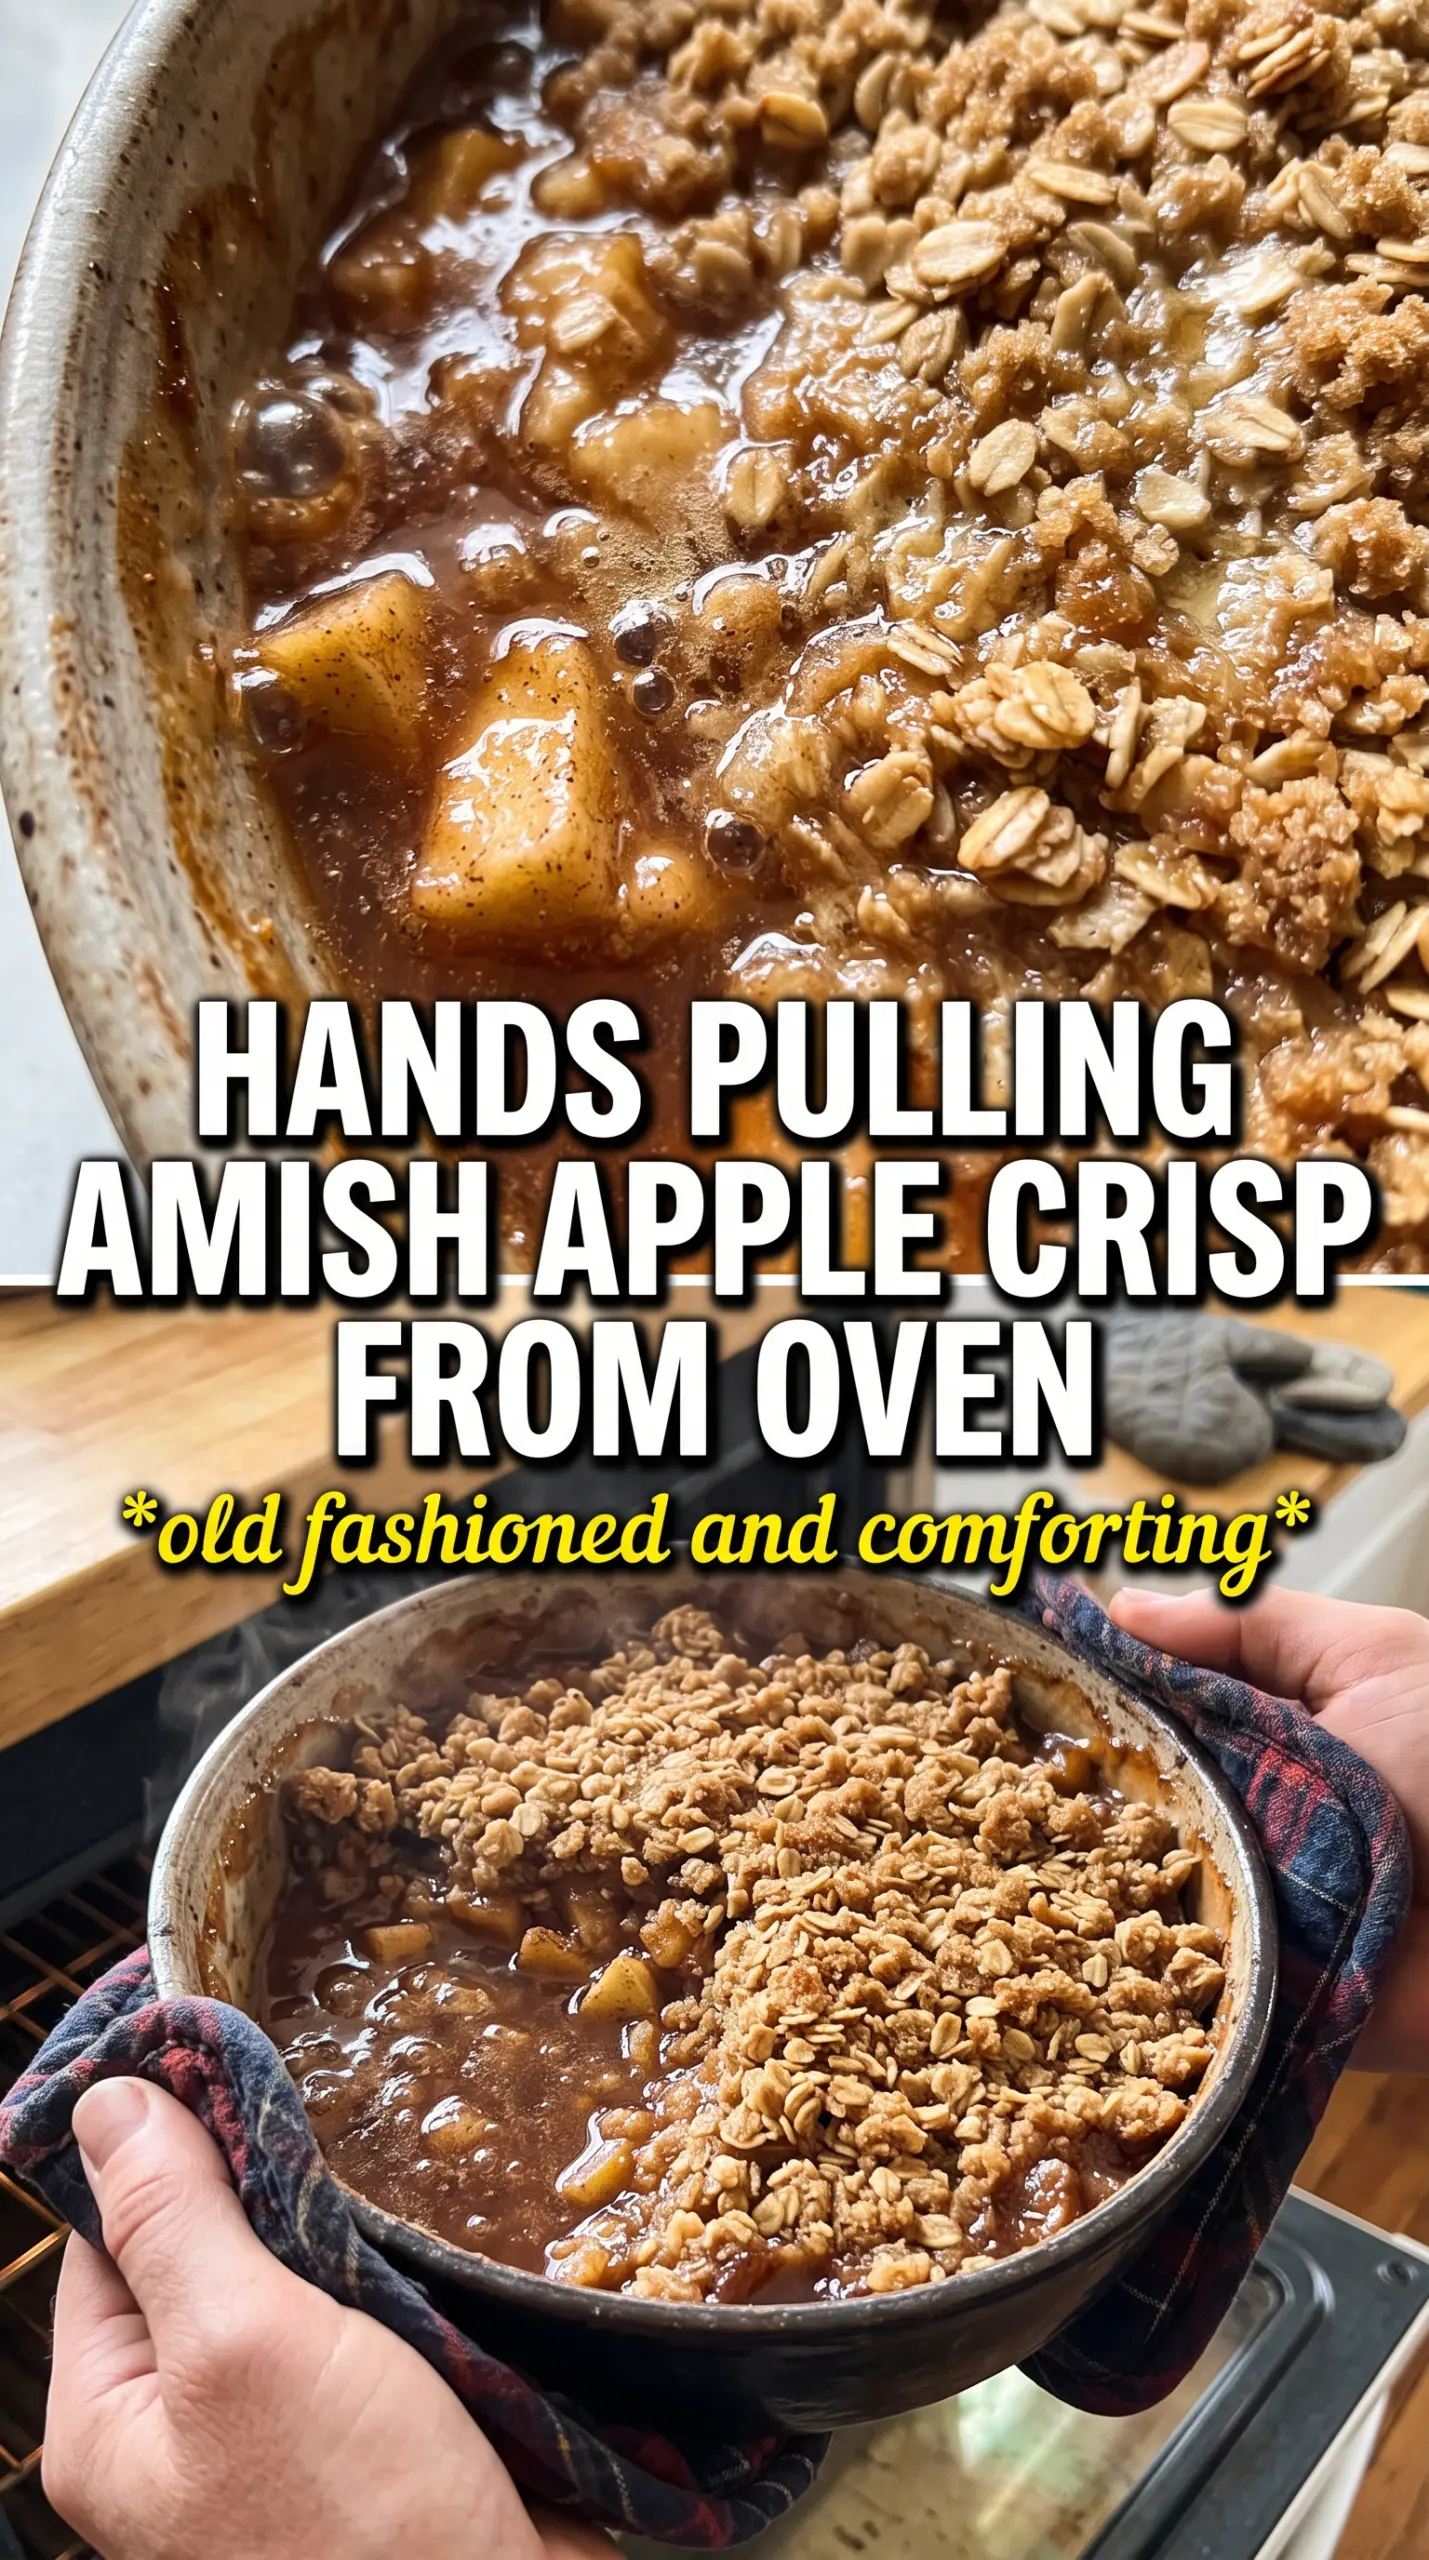
- Apples are the backbone, so use ones that hold shape. Granny Smith, Honeycrisp, Braeburn, or a mix all work. Very soft apples break down too fast and leave the filling muddy.
- Brown sugar in both layers adds depth and helps the filling taste caramelized instead of just sweet. White sugar alone works, but it reads sharper and less rounded.
- Rolled oats give the topping its chew and rustic texture. Quick oats can work in a pinch, but the crumb will be finer and less defined.
- Nutmeg and allspice push the apple flavor forward without making the crisp taste like pie filling. Don’t overload them; the spices should support the apples, not bury them.
- Lemon juice keeps the apples bright and slows browning while you mix. It doesn’t make the crisp taste lemony, but it keeps the fruit from going flat.
Building the Layers So the Apples Stay Tender and the Top Stays Crisp
Season the apples first
Toss the sliced apples with the sugars, spices, flour, and lemon juice until every piece is coated. You want the slices glossy and evenly seasoned, not sitting in a dry pile at the bottom of the pan. Spread them in the dish in a deep, even layer so they cook at the same rate. If the apples are stacked unevenly, the top layer can stay firm while the bottom turns mushy.
Cut the crumble until it forms clumps
Work the cold butter and optional lard into the dry ingredients with your fingers until the mixture looks like rough pebbles and clumps, not damp sand. Stop before it turns smooth. That rough texture is what bakes into a crisp topping with edges that actually shatter a little under the spoon. If the kitchen is warm, chill the bowl for a few minutes before topping the fruit.
Bake until the juices bubble at the edges
The crisp is done when the top is deeply golden and the filling is visibly bubbling around the sides, not just in the middle. That bubbling matters because it tells you the apples have released enough liquid and the flour has thickened it. Pull it too early and the filling can taste raw and watery. Let it rest after baking so the juices settle instead of running all over the plate.
Gluten-Free Amish Apple Crisp
Swap the all-purpose flour in both the filling and topping for a good 1:1 gluten-free baking blend. The texture stays close to the original, though the crumble can be a little more delicate. Certified gluten-free oats matter here if you’re serving someone with celiac disease.
All-Butter Version
Use the full amount of butter instead of lard if you want a simpler pantry version. The topping still bakes up rich and crisp, just a little less short and old-fashioned than the traditional version. If the butter is cold and the clumps are uneven, you’ll still get excellent texture.
Extra-Spiced Filling
Add a pinch of cloves or cardamom if you want the filling to lean warmer and more aromatic. Go light. Too much spice flattens the apple flavor instead of lifting it, and this dessert works because the fruit stays front and center.
Storage and Reheating
- Refrigerator: Store covered for up to 4 days. The topping softens a little, but the flavor stays strong.
- Freezer: Bake, cool completely, then freeze in portions or as a whole pan wrapped well. It freezes fine, though the topping won’t stay as crisp after thawing.
- Reheating: Warm in a 325F oven until heated through and the topping perks back up. The microwave makes the crumble soft, so use it only if you don’t mind losing texture.
Questions I Get Asked About This Recipe
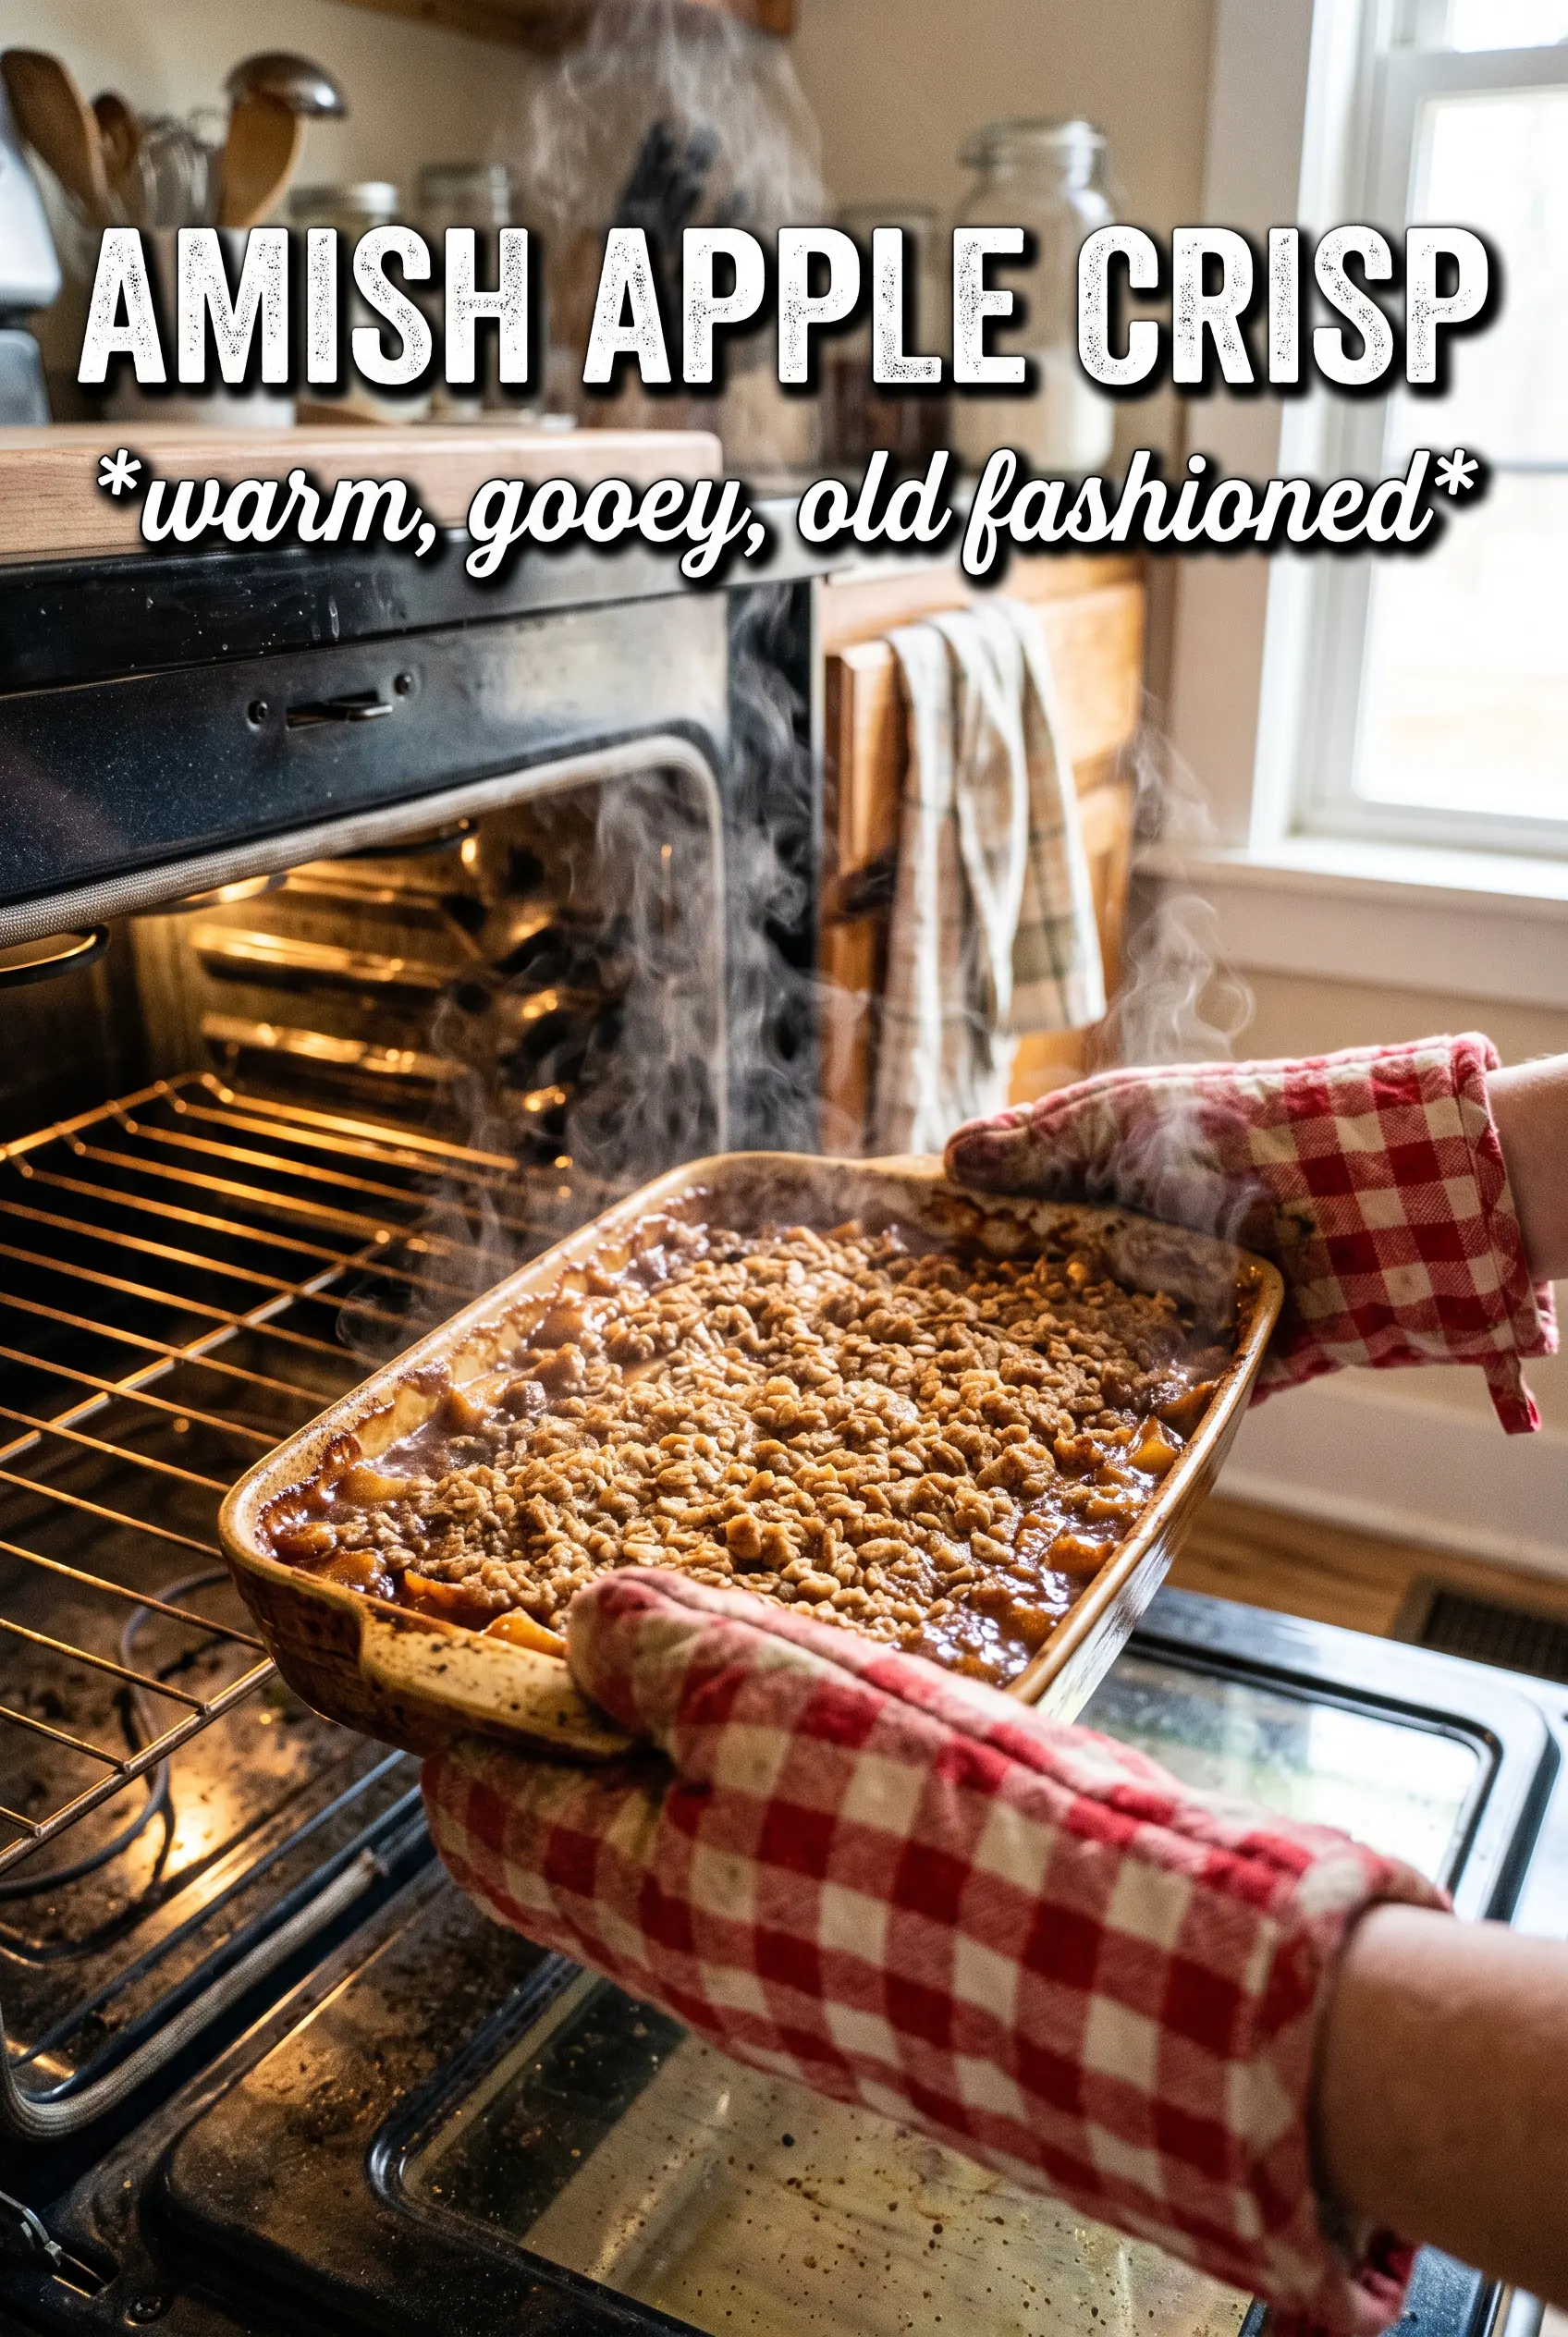
Amish Apple Crisp
Ingredients
Equipment
Method
- Preheat the oven to 350°F, then grease a large 10x15 roasting pan or 9x13 baking dish.
- Toss the apple slices with granulated sugar, brown sugar, cinnamon, nutmeg, allspice, all-purpose flour, and lemon juice until evenly coated, then spread in the prepared pan in a deep layer.
- Combine all-purpose flour, rolled oats, both sugars, cinnamon, and salt, then cut in the cold unsalted butter (and lard if using) with your hands until large crumbly clumps form.
- Spread the crumble thickly over the apples and press very gently so the topping holds together, then bake for 50-55 minutes until the topping is deeply golden and the apple filling bubbles all around at 350°F.
- Rest the Amish apple crisp for 15 minutes, then serve with vanilla ice cream and a pour of cold heavy cream.