Apple Betty bakes into a dish that lands somewhere between crisp, tender, and spoonable, with buttery breadcrumbs on top and soft spiced apples underneath. The top turns deeply golden and crackly in the oven, while the apples collapse just enough to soak into the layers without turning to mush. It’s the kind of dessert that looks humble coming out of the oven and disappears fast once it hits the table.
What makes this version work is the balance between moisture and texture. The breadcrumbs are coated in melted butter before they ever touch the fruit, which helps them toast instead of going soggy. A little cider or water in the layers keeps the apples juicy, and the lemon juice and zest keep the filling bright so the brown sugar and spices don’t taste flat.
Below, I’ve included the layering order that keeps the topping crisp, plus a few notes on which apples hold up best and how to adapt the recipe if you’re working with what’s already in your kitchen.
The breadcrumbs baked up crisp on top and stayed a little chewy in the middle where they met the apples, which was exactly what I wanted. I made it on a weeknight and my kids kept sneaking spoonfuls straight from the pan.
Save this Apple Betty for the nights when you want a crisp, buttery topping and soft cinnamon apples without rolling out pie dough.
The Reason the Topping Stays Crisp Instead of Turning Soggy
The biggest mistake with Apple Betty is treating the breadcrumb layer like a crumble topping and piling it all on at once. That gives you a thick blanket of crumbs on top and damp bread underneath. This version works because the buttered breadcrumbs are layered around the apples, so some of them toast directly against the heat while others catch the fruit juices and stay tender in the best way.
The other thing that matters is not overloading the dish with liquid. The cider is there to keep the apples from drying out and to help the bottom layers soften, but just a little is enough. If the apples look wet before baking, you’ve already gone too far — the filling should be coated and juicy, not swimming.
- Day-old bread crumbs — Fresh breadcrumbs turn paste-like faster. Stale bread gives you a lighter, toastier finish and a topping that actually crisps in the oven.
- Butter — This is what helps the crumbs brown and taste rich. Olive oil won’t give the same flavor or the same clean crunch.
- Apples — Use firm apples that hold their shape, like Granny Smith, Honeycrisp, or Braeburn. Softer apples can work, but the texture will lean more jammy.
- Lemon juice and zest — The juice keeps the apples from tasting one-note, and the zest adds a brighter top note that keeps the dessert from feeling heavy.
What Each Layer Is Doing in the Baking Dish
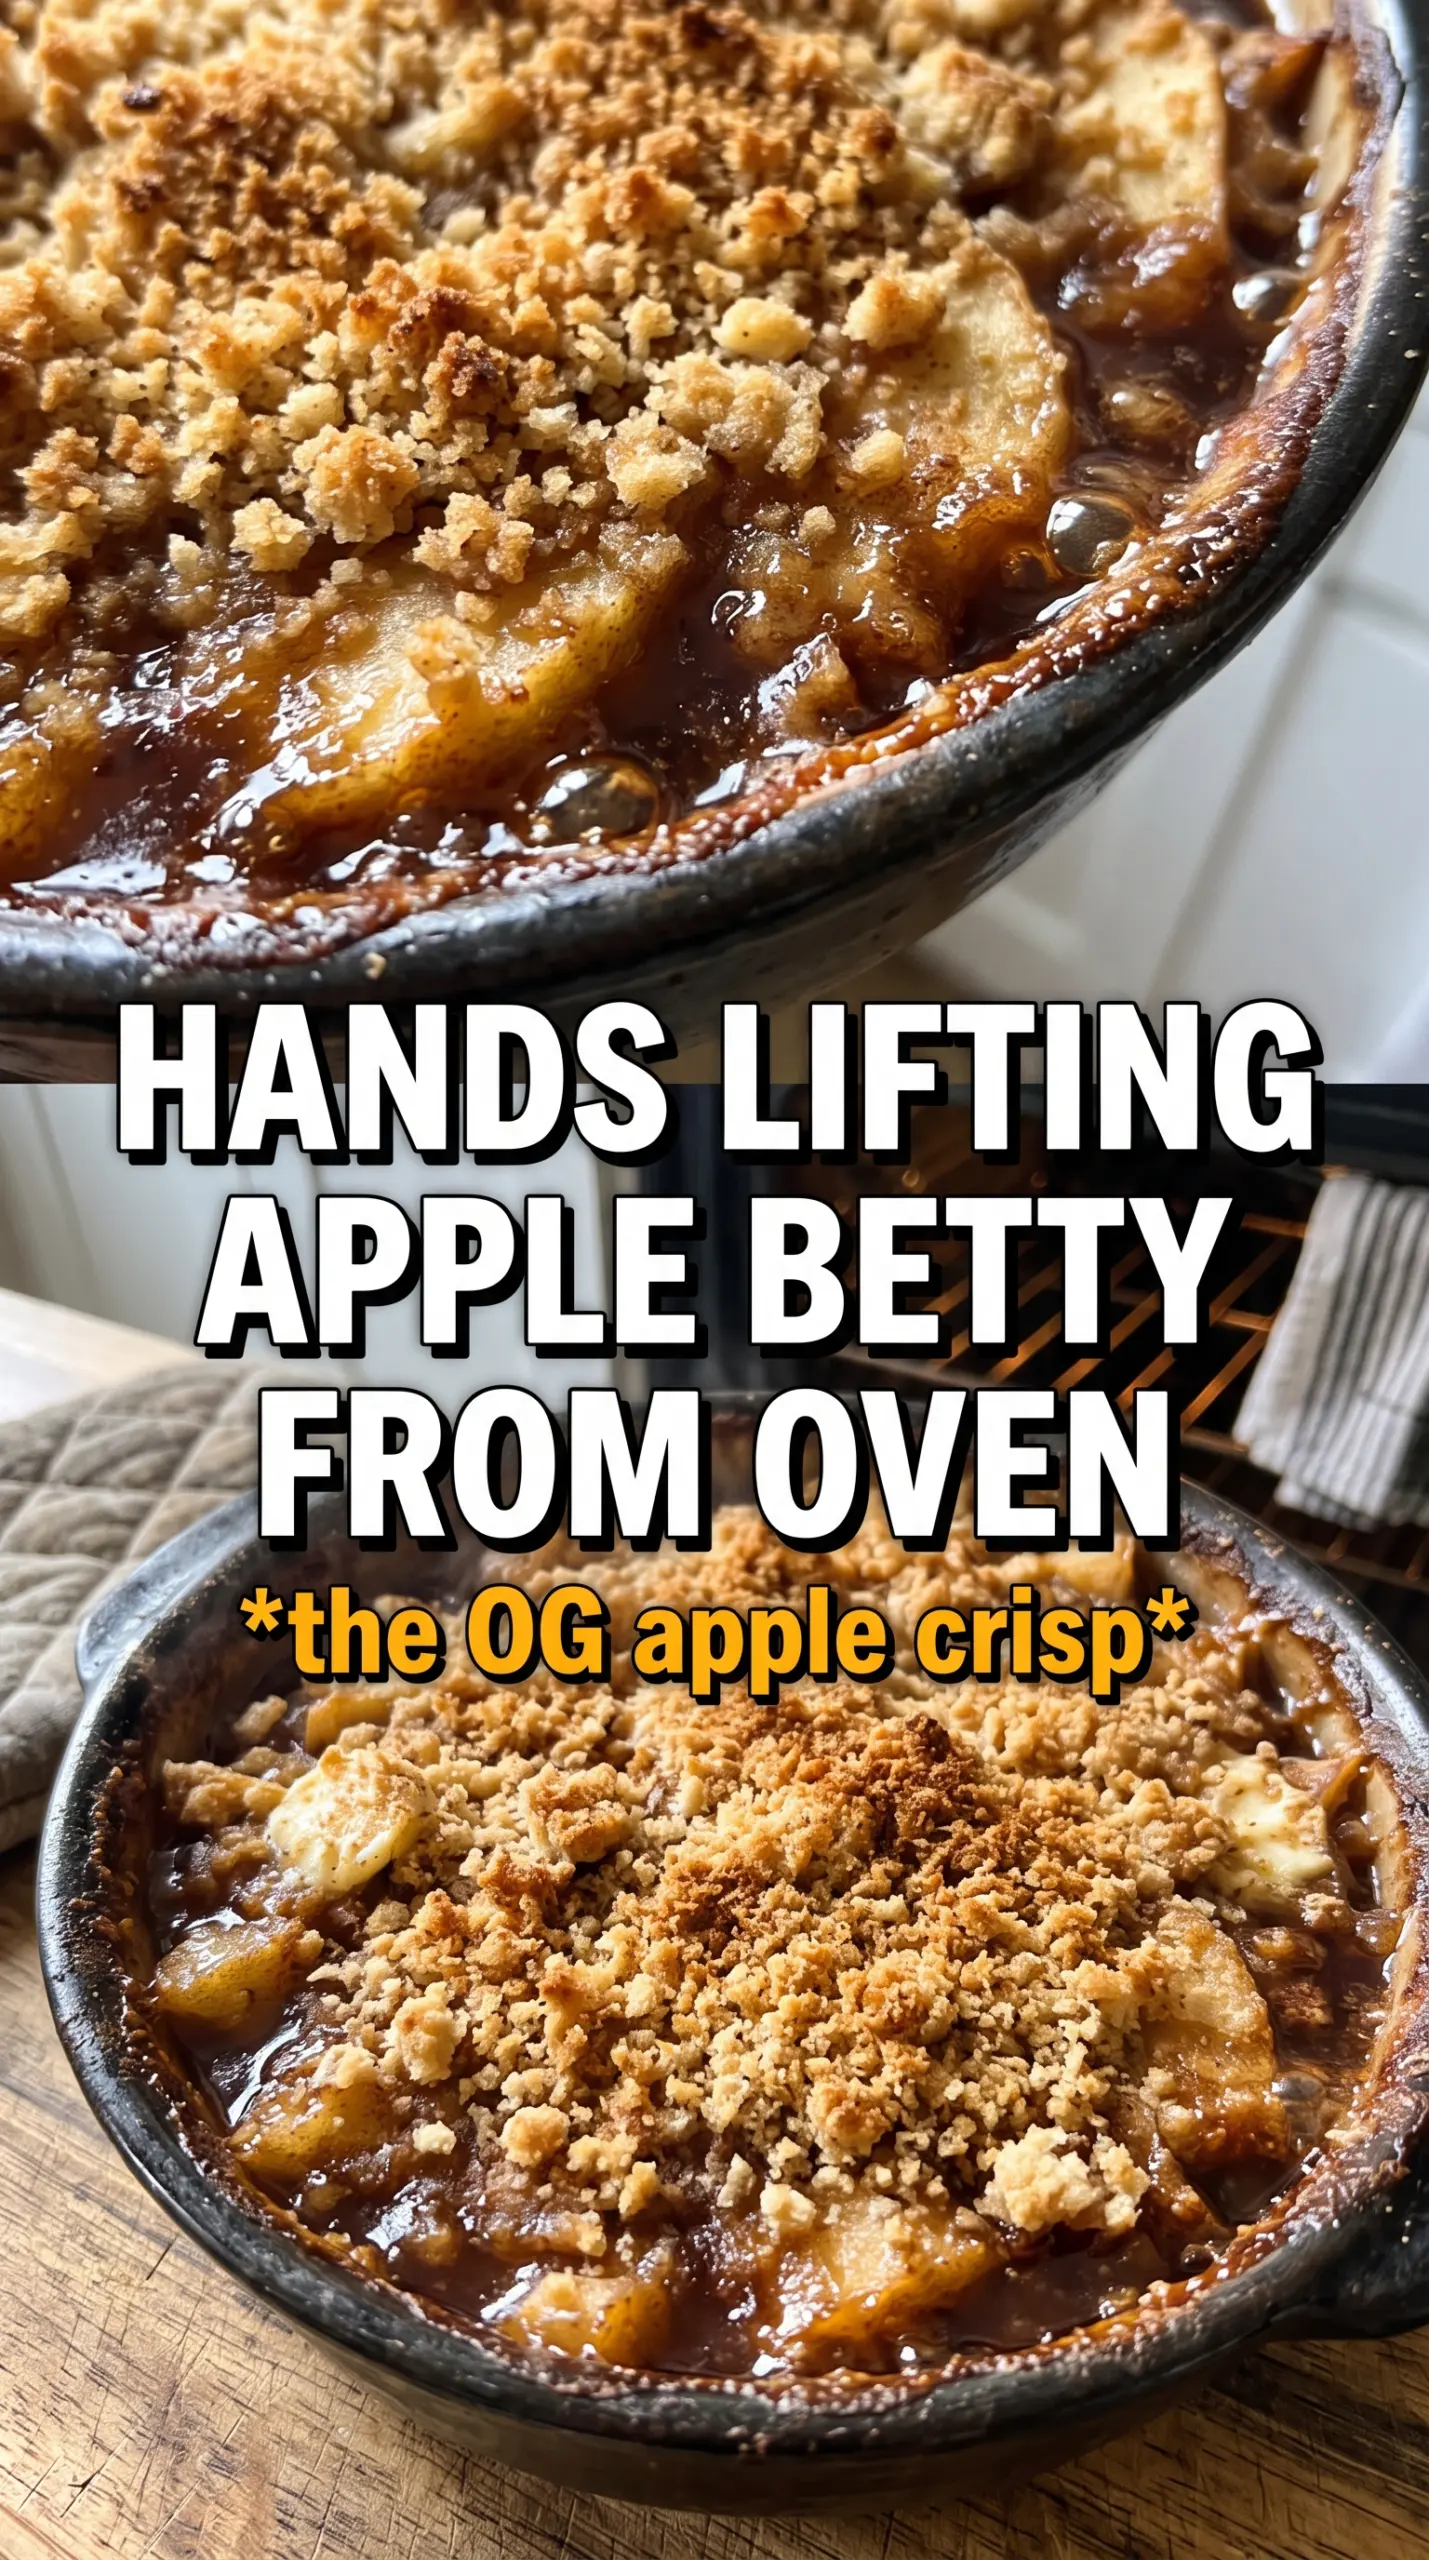
- Butter-coated breadcrumbs — Toss them until every crumb looks lightly slick, not drenched. That thin coating is what helps them toast into a crisp topping instead of drying out and tasting dusty.
- Brown sugar — This melts into the apples and gives the filling a molasses depth that white sugar can’t match. Pack it lightly; you want sweetness, not syrup.
- Cinnamon, nutmeg, and allspice — Cinnamon carries the flavor, nutmeg rounds it out, and allspice gives the filling that old-fashioned bakery taste. Don’t skip the allspice if you want the dessert to taste complete.
- Apple cider or water — Cider gives the filling a deeper apple note, but water works if that’s what you have. Either way, use the small amount called for so the bottom layers steam gently without turning soupy.
Layering It So the Bottom Doesn’t Go Mushy
Building the Base
Start with a 9×13 dish greased well enough that the sugars don’t glue themselves to the pan. Spread one-third of the buttered breadcrumbs across the bottom in an even layer. This base soaks up some juice from the apples, which is the point, but it should still have enough butter on it to bake into a firm, lightly crisp layer. If the crumbs clump in wet patches before baking, separate them with your fingers now so the bottom doesn’t bake up dense.
Stacking the Apples
Mix the apples with the sugar, spices, lemon juice, and lemon zest until every slice is coated. Then layer half of that mixture over the breadcrumbs and drizzle with half the cider. Repeat with the second layer, then finish with the last layer of breadcrumbs on top. Don’t press the layers down hard; a little looseness lets the heat move through the dish and keeps the topping from turning heavy.
Watching for the Right Finish
Bake until the top is deeply golden and the apples are tender when pierced through the center. If the top looks brown but the fruit still feels firm, cover the dish loosely with foil and give it a little more time. The goal is a crisp lid with soft apples underneath, not burnt crumbs over undercooked fruit. Let it rest for 10 minutes before serving so the layers settle and the juices thicken slightly.
Use Pears for Half the Fruit
Swap two or three of the apples for firm pears if that’s what you have. The flavor turns a little softer and more perfumed, and the filling will be slightly silkier, so keep an eye on it near the end of baking.
Make It Dairy-Free
Use a good plant-based butter with a similar fat content. Coconut oil will work in a pinch, but it brings a noticeable coconut note and the crumbs won’t taste as classic.
Gluten-Free Version
Use gluten-free bread for the breadcrumbs and dry them out well before crushing. Softer gluten-free bread can bake up cakier, so the drier the crumbs are before buttering, the better the topping will hold.
Storage and Reheating
- Refrigerator: Store covered for up to 4 days. The topping softens, but the flavor holds up well.
- Freezer: Freeze baked portions tightly wrapped for up to 2 months. The crumbs won’t stay as crisp after thawing, but the dessert still reheats well.
- Reheating: Warm in a 325F oven until heated through, uncovered if possible. Microwaving makes the topping limp, which is the main thing people fight here.
Questions I Get Asked About This Recipe
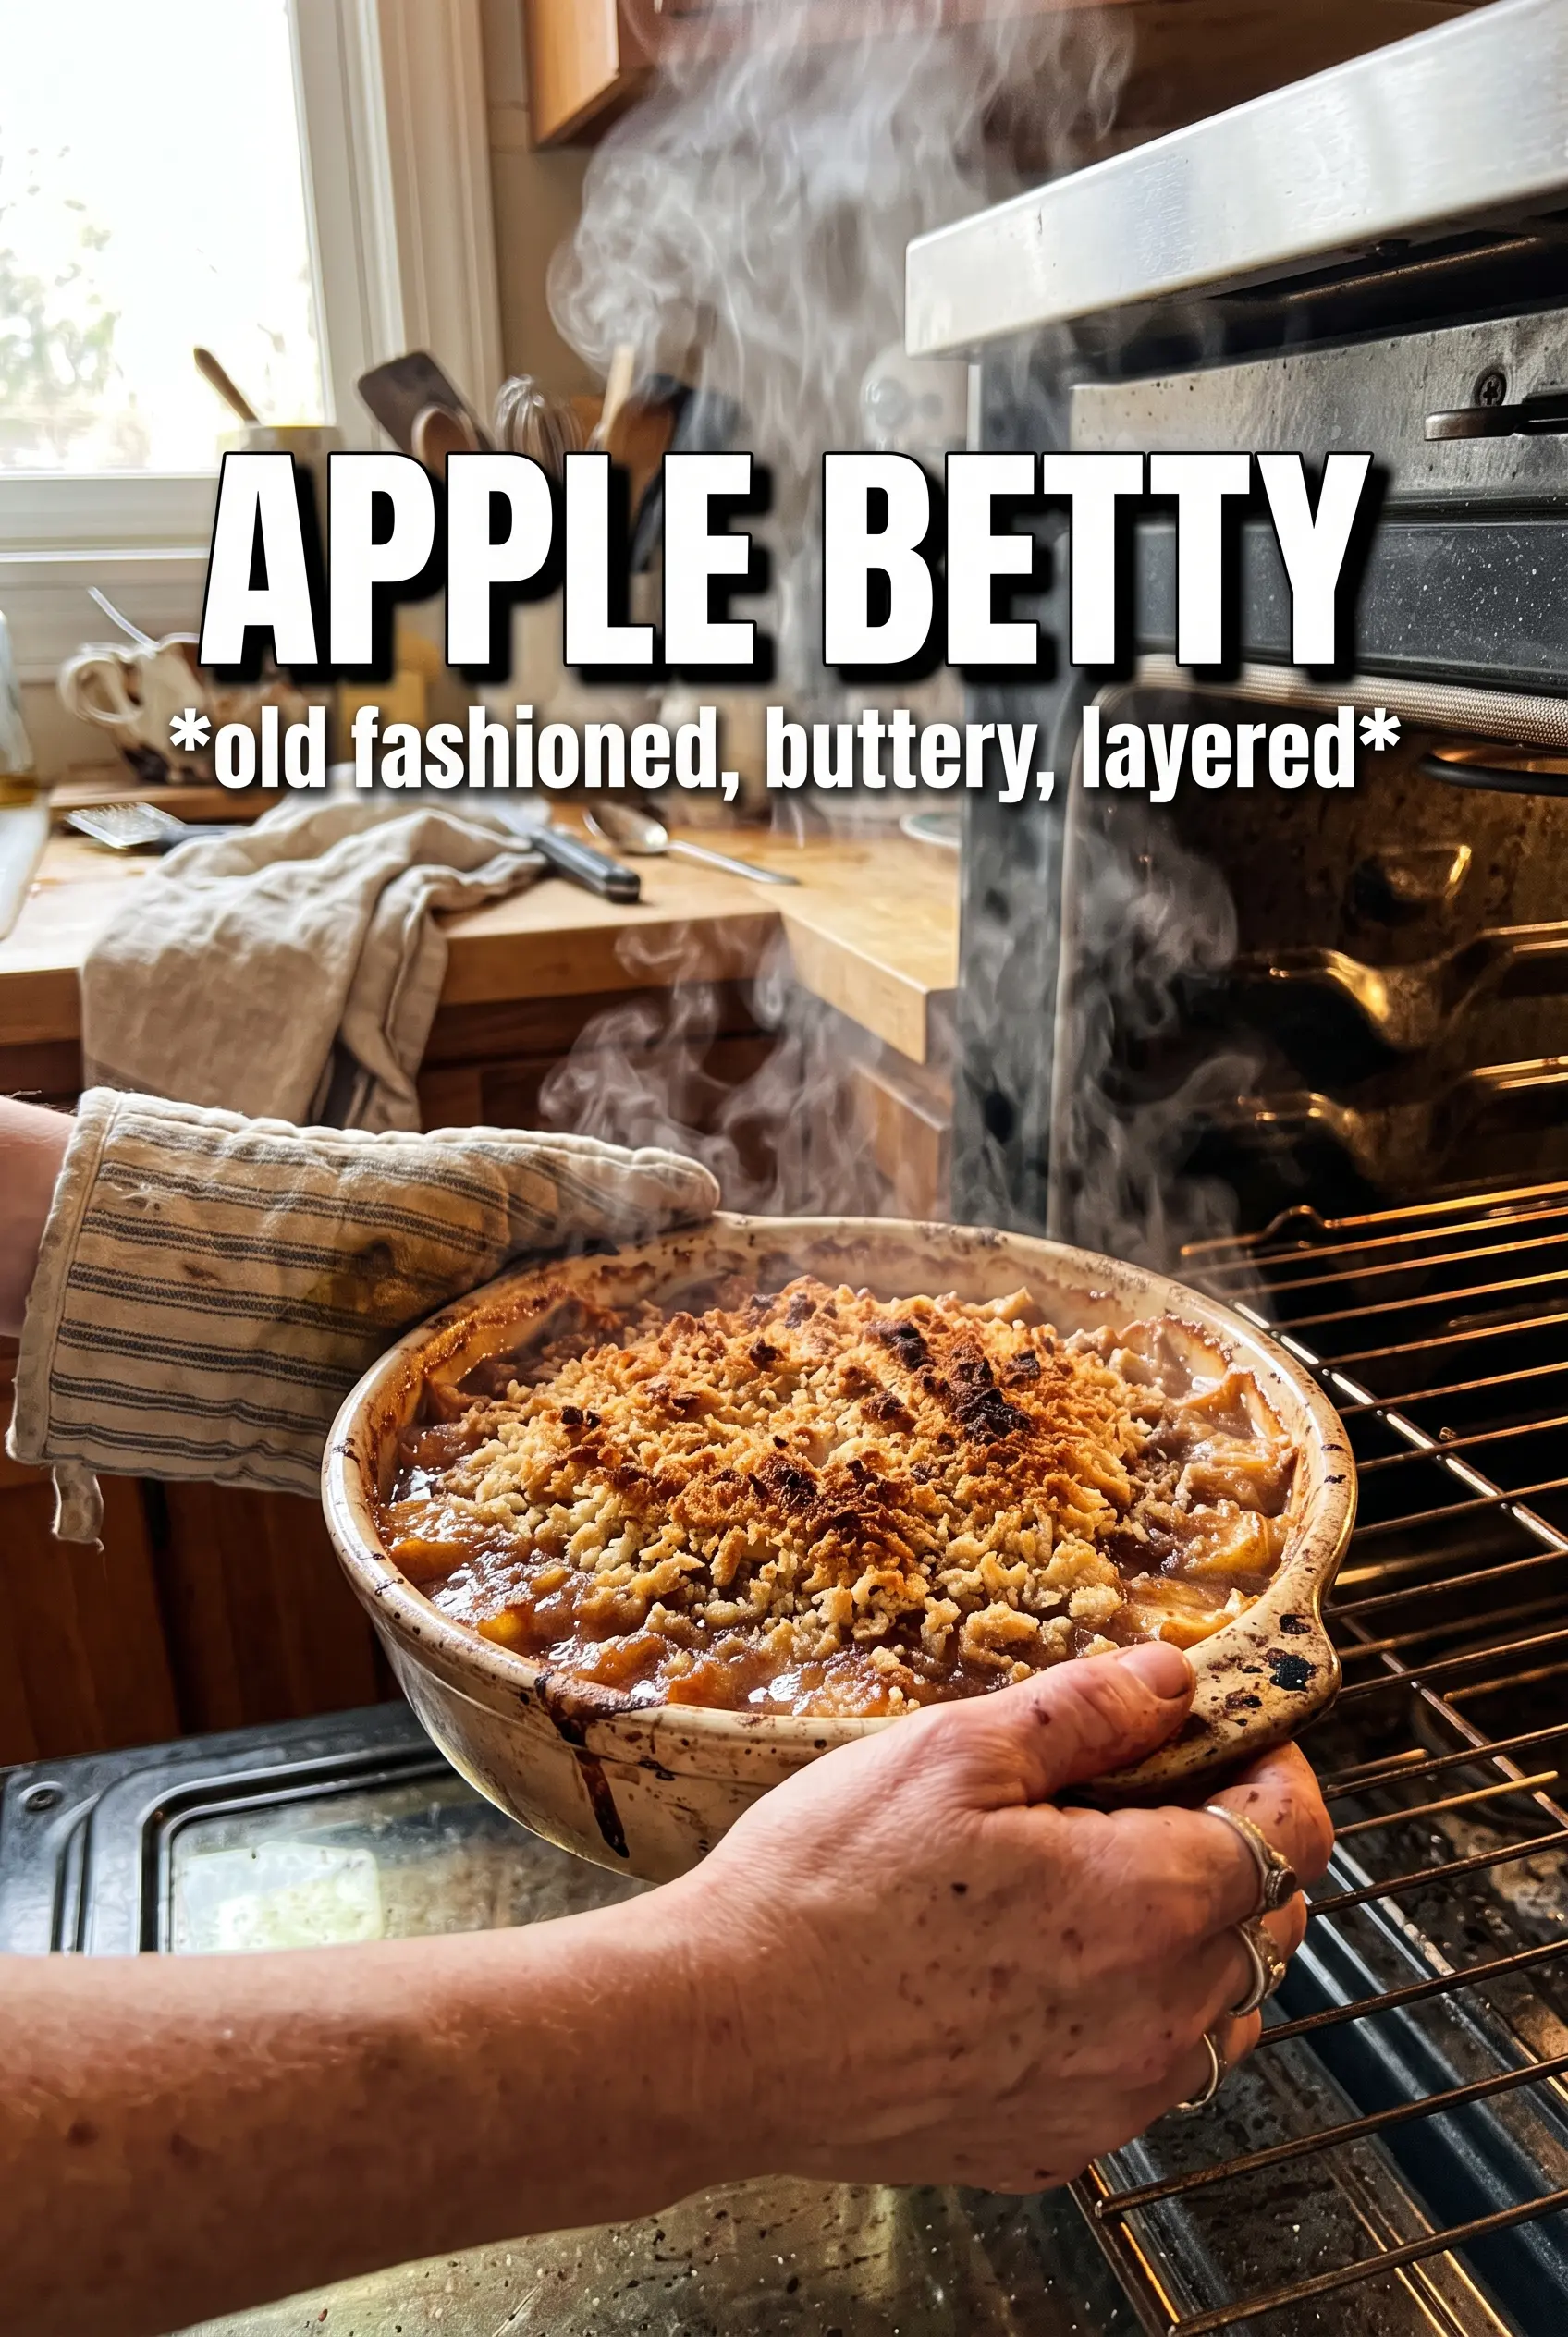
Apple Betty
Ingredients
Equipment
Method
- Preheat the oven to 375F and grease a 9x13 baking dish. Set the dish aside for layering.
- Toss the fresh breadcrumbs with melted unsalted butter until evenly coated. The crumbs should look glossy and hold together when pressed.
- Mix the apple slices with brown sugar, cinnamon, nutmeg, allspice, lemon juice, and lemon zest. Coat the slices thoroughly so the spices cling to the apples.
- Spread 1/3 of the buttered breadcrumbs in the bottom of the dish. Press lightly to form an even base.
- Layer half the apple mixture over the breadcrumbs and drizzle with half the apple cider or water. Distribute so most apples touch the base.
- Repeat with another layer of breadcrumbs, remaining apples, remaining cider, and finish with the final layer of breadcrumbs on top. Keep the top layer even for a consistent crispy crust.
- Bake for 40-45 minutes at 375F until the top is deeply golden and crispy and the apples are tender. Look for bubbling at the edges and a firm, browned breadcrumb surface.
- Serve warm with vanilla ice cream or heavy cream. Portion while the layers are still hot and lightly set.