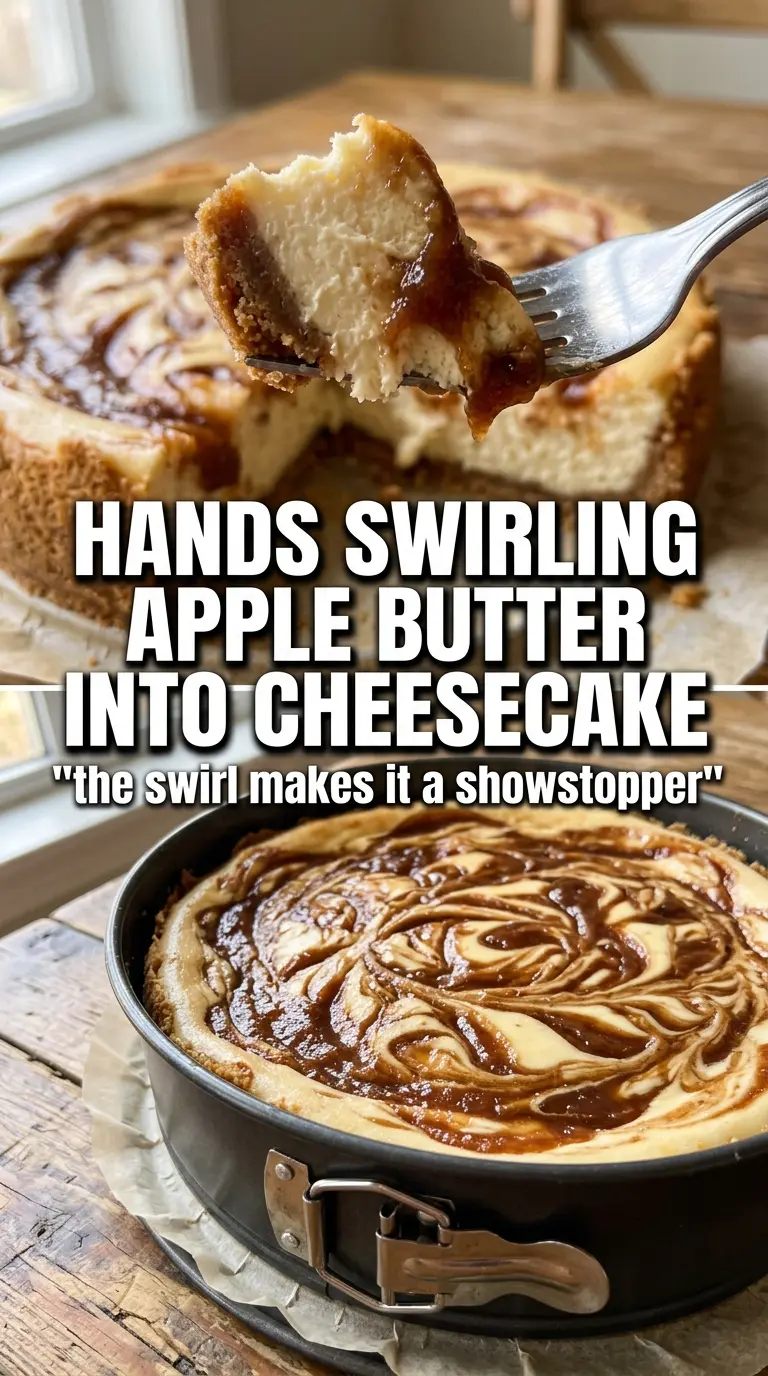
Apple butter cheesecake lands in that sweet spot between familiar and special: a deep, spiced crust, a silky cream cheese filling, and warm ribbons of apple butter running through every slice. The swirl gives each bite a soft burst of cooked apple flavor without turning the whole cheesecake loose or watery, which is where a lot of fruit cheesecakes go wrong.
This version works because the apple butter is used as a swirl, not folded into the batter. That keeps the texture dense and creamy instead of thinning out the filling, and it lets the apple spice stay distinct against the tang of the cream cheese. A water bath helps the cheesecake bake evenly and stay custardy from edge to center, so you don’t end up with cracks or a dry ring around the pan.
Below, I’ll walk through the small details that matter most: how to keep the batter smooth, how to swirl without overmixing, and how to get clean slices after the long chill.
The swirl set up beautifully and the filling stayed creamy all the way through. I used graham crackers instead of gingersnaps, and the apple butter still came through in every slice.
Save this apple butter cheesecake for the moment you want a creamy baked dessert with a spiced swirl and a clean graham cracker crust.
The Part That Keeps the Swirl from Disappearing
The biggest mistake with apple butter cheesecake is treating the swirl like batter. Apple butter is thick, concentrated, and already cooked down, which makes it perfect for marbling but not for blending into the filling. If you stir it through, the whole cheesecake turns one muddy color and the apple flavor gets lost behind all that cream cheese.
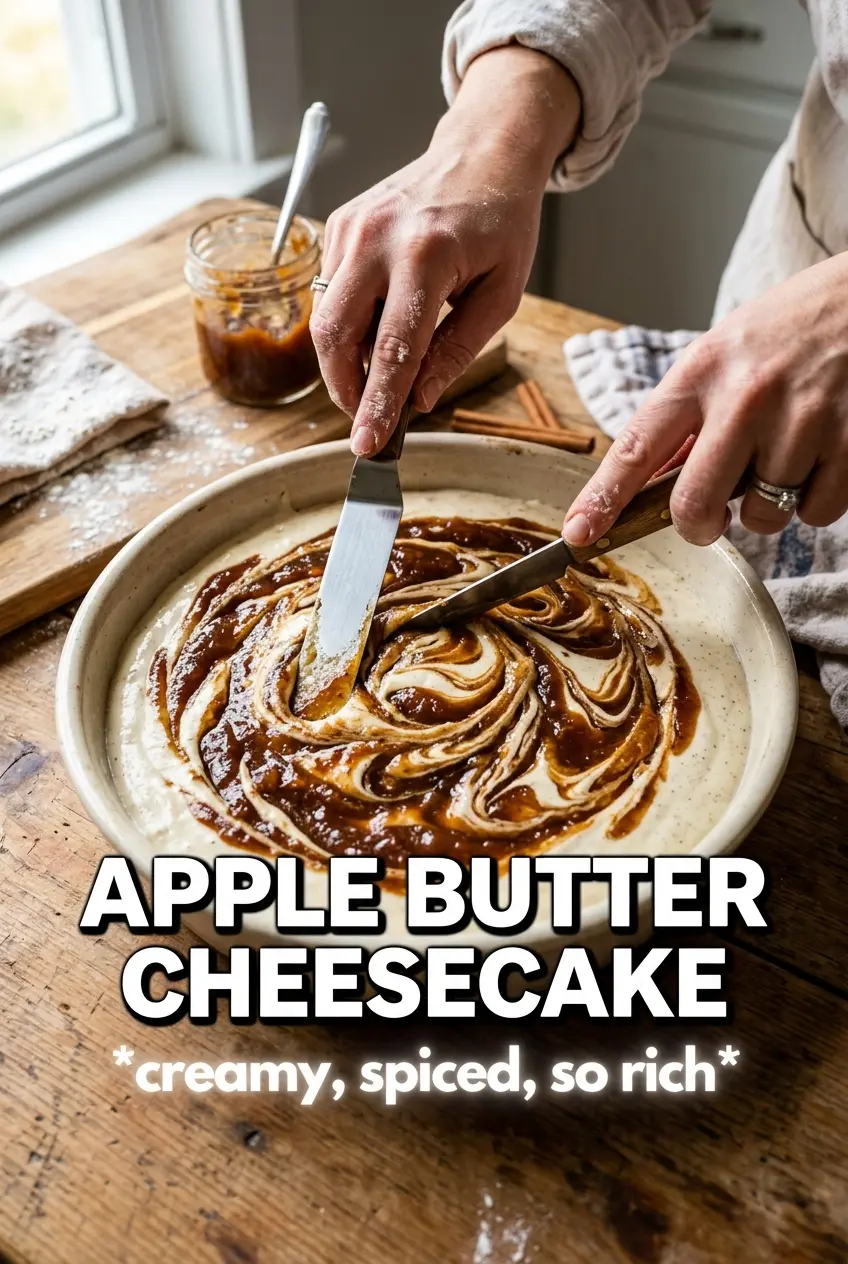
The trick is to layer most of the batter first, then dollop the apple butter on top and cover it with the remaining batter. A light knife swirl is enough. You want visible ribbons, not a fully mixed pan. That gentle contrast is what gives each slice those dramatic streaks without compromising the cheesecake’s structure.
- Gingersnap or graham cracker crumbs — Gingersnaps give the crust extra spice and a little more snap, while graham crackers stay milder and more classic. Either works, but if your apple butter is strongly spiced, graham crackers keep the crust from getting too busy.
- Cream cheese — Use full-fat cream cheese and soften it all the way. Cold cream cheese leaves tiny lumps that never fully disappear, even after baking. This is the ingredient worth buying in the good version.
- Apple butter — Thick apple butter is what makes the swirl stay defined. If yours is loose or watery, cook it down briefly on the stove until it mounds on a spoon. That small step keeps the filling from turning soft in the center.
- Sour cream — This adds tang and loosens the batter just enough for a smooth, custardy texture. Plain full-fat Greek yogurt can work in a pinch, but it bakes a little firmer and less silky.
What Each Ingredient Is Actually Doing in This Recipe
- Primary ingredient (the star) — Quality matters most. Choose the best you can find.
- Cooking medium (oil, butter, or broth) — This carries flavors and prevents dryness.
- Seasonings (salt, pepper, spices, herbs) — Layer flavors so nothing overpowers. Build depth gradually.
- Aromatics (garlic, onion, herbs) — Cook with fat to bloom flavors. Become the foundation.
- Supporting ingredients — Complement the main ingredient without overpowering it.
- Sauce or liquid (if applicable) — Brings flavors together. Balance richness with acid.
- Acid (lemon, vinegar, wine, or other) — Brightens and prevents flat-tasting results.
- Final finish (garnish, glaze, or sauce) — Prevents one-dimensional taste and adds visual appeal.
Building the Cheesecake So It Bakes Evenly
Pressing the Crust Firmly
Mix the crumbs, sugar, cinnamon, and melted butter until every crumb looks evenly moistened, then press the mixture into the pan in a tight, even layer. The crust should feel compact when you tap it with the back of a spoon; if it’s loose, it will crumble when you slice the cheesecake. Bake it just long enough to set and smell fragrant, not long enough to darken much.
Whipping the Batter Smooth
Beat the cream cheese with both sugars until the mixture looks satiny before the eggs go in. If the base is still lumpy at that point, the finished cheesecake will stay lumpy. Add the eggs one at a time and stop mixing as soon as each one disappears, then mix in the sour cream, vanilla, and cinnamon just until combined. Overmixing traps extra air, and that air is what can puff the top and then collapse it.
Swirling and Baking in the Water Bath
Pour most of the batter over the crust, add the apple butter in spoonfuls, then cover with the rest of the batter. Drag a knife through the top in a few wide passes. Don’t keep going once the swirls start to blur. Set the pan in a water bath and bake until the edges look set and the center still has a slight wobble. If the middle looks firm all the way across, it’s already overbaked.
Cooling for Clean Slices
Cool the cheesecake completely before it goes into the refrigerator. If you chill it while it’s still warm, condensation can form on the surface and make the top sticky. After at least six hours, or better yet overnight, run a thin knife around the edge and slice with a hot, dry knife for the cleanest cuts.
How to Adapt This Apple Butter Cheesecake Without Losing the Texture
Gingersnap Crust for a Spicier Finish
Swap the graham crackers for gingersnaps if you want the crust to echo the apple butter’s warm spice. It gives the cheesecake a deeper, sharper edge, but it can overpower a very mild apple butter, so I use this version when the filling has plenty of cinnamon character.
Gluten-Free Crust That Still Holds Together
Use certified gluten-free graham-style crumbs or gluten-free gingersnaps and keep the butter measurement the same. The filling doesn’t need any changes, and the texture stays nearly identical. The only thing to watch is the crust: press it firmly so the smaller crumb structure doesn’t fall apart when sliced.
Lighter Tang with Greek Yogurt
You can swap the sour cream for full-fat plain Greek yogurt if that’s what you have. The cheesecake will bake a touch firmer and taste a little brighter, which works well if your apple butter is very sweet. I wouldn’t use nonfat yogurt here; the filling loses the richness that makes it slice cleanly.
Storage and Reheating
- Refrigerator: Store covered for up to 5 days. The crust softens a little by day two, but the filling stays creamy.
- Freezer: This freezes well. Chill until solid, wrap slices tightly, then freeze for up to 2 months. Thaw overnight in the refrigerator for the best texture.
- Reheating: Cheesecake is best served cold or slightly cool, not hot. If you want to take the chill off a slice, let it sit at room temperature for 20 to 30 minutes. Microwaving can make the filling grainy and the crust soggy.
Questions I Get Asked About This Recipe
Apple Butter Cheesecake
Ingredients
Equipment
Method
- Preheat the oven to 325F, then press gingersnap crust crumbs into a 9-inch springform pan to form an even layer.
- Bake the crust for 10 minutes, just to set it before filling.
- Beat the softened cream cheese and both sugars until completely smooth, then add eggs one at a time until fully incorporated.
- Mix in the sour cream, vanilla extract, and cinnamon until just combined, stopping as soon as no dry streaks remain.
- Pour most of the batter over the crust, then dollop the apple butter over the top in spoonfuls.
- Drop the remaining batter over the apple butter so it partially covers the swirl.
- Swirl gently with a knife to create a marbled effect without fully mixing the apple butter in.
- Bake in a water bath at 325F for 60-65 minutes, until the center is just set with a slight jiggle.
- Cool the cheesecake completely at room temperature before chilling to prevent condensation and texture changes.
- Refrigerate 6 hours or overnight before slicing for clean cuts and a firm, creamy slice.