Apple cider braised pork shoulder turns into the kind of dinner that quietly takes over your rotation: deeply browned on the outside, spoon-tender inside, and tucked into a sauce that tastes like pork, apples, and herbs all got along a little too well in the oven. The cider doesn’t make it sweet. It gives the braising liquid a clean, round fruitiness that keeps the finished sauce bright instead of heavy.
The real trick is starting with a hard sear and then braising low and slow in a lidded Dutch oven. That first browning builds the base flavor, and the long covered cook gives the shoulder time to relax into shreds without drying out. The apples go in near the end on purpose so they hold their shape and don’t disappear into the sauce.
Below, I’ve included the details that matter most: how to keep the braising liquid balanced, when to add the apples, and what to do if you want to make this a day ahead. If you’ve ever had pork shoulder turn out bland or stringy, this version fixes both problems.
The pork shredded beautifully after the full braise, and the cider sauce reduced into this glossy, savory-sweet finish that was even better the next day.
Save this apple cider braised pork shoulder for the kind of dinner where tender pork, soft apples, and thyme-rich sauce do all the work.
The Part That Keeps Braised Pork Shoulder Juicy Instead of Stringy
Pork shoulder can go from perfect to dry-looking if it’s rushed, but the problem usually isn’t the cut. It’s the braise. Shoulder needs enough time for the connective tissue to relax, and that only happens when the heat stays low and the pot stays covered. If you lift the lid too often, you lose steam and stretch out the cooking time for no gain.
The other place people miss is the liquid balance. This isn’t a soup, and it isn’t a roast sitting in a shallow pool. You want enough braising liquid to come partway up the meat, not drown it. That keeps the top from steaming while the bottom turns silky.
- Boneless pork shoulder — This is the cut that gives you shreddable texture. Pork loin won’t behave the same way; it cooks lean and dry. If your shoulder comes in one large slab instead of two pieces, cut it into big chunks so more surface can brown.
- Apple cider — Use real cider, not filtered apple juice if you can help it. Cider gives the sauce depth and gentle acidity. Apple juice works in a pinch, but the finished braise tastes flatter and sweeter.
- Dijon mustard and apple cider vinegar — These keep the sauce from tasting one-note. Dijon melts into the braising liquid and helps it emulsify a little at the end, while vinegar sharpens the finish after all that slow cooking.
What Each Ingredient Is Actually Doing in the Pot
- Smoked paprika — A small amount adds warmth and helps the pork look and taste more deeply seasoned from the start. Regular paprika works if that’s what you have, but smoked paprika gives the braise a fuller edge.
- Onion and garlic — These build the savory base under the cider. Slice the onion rather than dicing it so it softens into the sauce without disappearing completely. Smash the garlic instead of mincing it so it infuses the liquid without scorching.
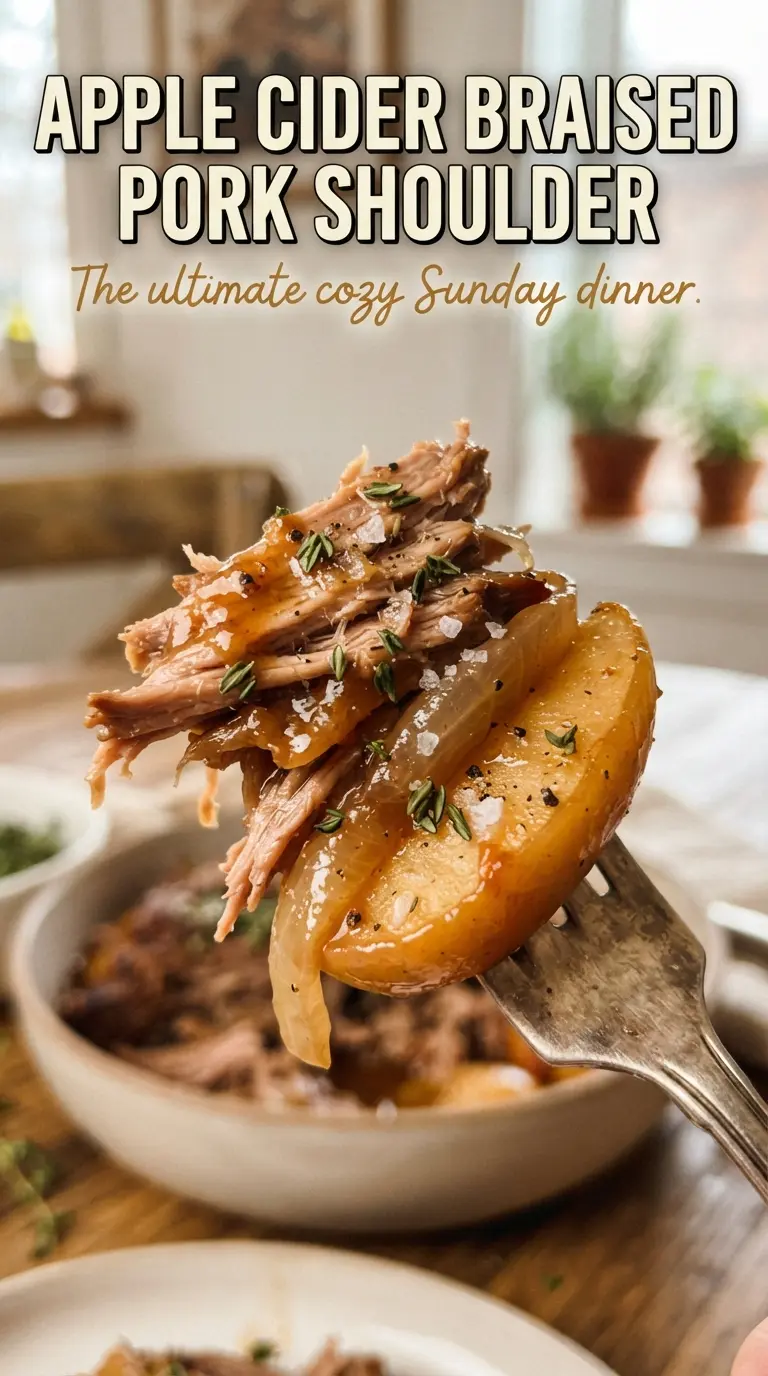
- Apples — Use a firm apple that holds its shape, like Honeycrisp, Pink Lady, or Fuji. Soft baking apples turn mushy in the final 45 minutes and blend into the sauce. The goal here is wedges that stay tender but still look like apples.
- Thyme and rosemary — Fresh herbs matter here. Their woodsy flavor stands up to the long braise better than dried herbs, which can taste dusty if overused. If you must use dried, cut the amount by about two-thirds.
Building the Braise So the Sauce Finishes Rich, Not Watery
Get the pork properly browned first
Season the pork all over, then sear it in hot oil until the surface is deep brown and releases easily from the pot. That takes about 4 to 5 minutes per side, and it’s worth every minute. If the meat sticks, it’s not ready to turn yet. The browned bits left behind are the foundation of the sauce, so don’t rush the sear or crowd the pan.
Cook the onions until they pick up color
Once the pork comes out, the onions go into the same pot and soften in the rendered fat and oil. After about 5 minutes, they should look glossy and pick up a little color around the edges. Add the garlic only for the last minute so it doesn’t burn and turn bitter. This is where the sauce starts tasting like more than just cider.
Let the oven do the hard part
After you stir in the cider, broth, vinegar, Dijon, and brown sugar, scrape the bottom of the pot until all the brown fond dissolves. Return the pork, tuck in the herbs, cover, and braise at 325F until the meat starts to give when you press it with a fork. The first long braise is about 2 1/2 hours. If your oven runs hot, check once near the end so the liquid isn’t reducing too fast.
Add the apples late so they stay intact
The apples go in for the last 45 minutes. That timing keeps them tender instead of collapsing into the sauce. By the end, the pork should shred easily and the apples should still hold their edges. Shred the meat into large pieces, then simmer the liquid on the stove for about 10 minutes to tighten it up before serving.
Three Ways to Adjust This Braised Pork Shoulder Without Breaking It
Gluten-Free Version
This recipe is naturally gluten-free as written, as long as your broth and Dijon are certified gluten-free. The texture and flavor stay exactly the same, which is rare and handy for a braise.
Make It a Little More Savory
If you want the sauce less sweet, cut the brown sugar to 1 tablespoon or leave it out entirely. The cider and onions still give plenty of roundness, and the finished sauce will taste more pork-forward and less glazed.
Dairy-Free and Crowd-Friendly Serving Style
This dish is already dairy-free, so the easiest way to scale it up is to braise two smaller shoulders in a larger Dutch oven or roasting pan with a tight cover. The cooking time may stay close, but the real test is still the same: the meat should shred without resistance.
What to Do If You Only Have Pork Butt
Pork butt and pork shoulder are close cousins, and either one works here. If the piece is thicker or more irregular, expect the braise to take a little longer. Don’t judge by time alone; wait for the meat to pull apart easily with a fork.
Storage and Reheating
- Refrigerator: Store the pork and sauce in an airtight container for up to 4 days. The flavor deepens overnight, and the sauce usually thickens as it chills.
- Freezer: It freezes well for up to 3 months. Cool it completely, portion it with enough sauce to keep the meat moist, and thaw it overnight in the fridge before reheating.
- Reheating: Warm it gently on the stove over low heat or in a covered dish in a 300F oven with a splash of broth if needed. High heat dries out the shredded pork and can make the apples fall apart.
Questions I Get Asked About This Recipe
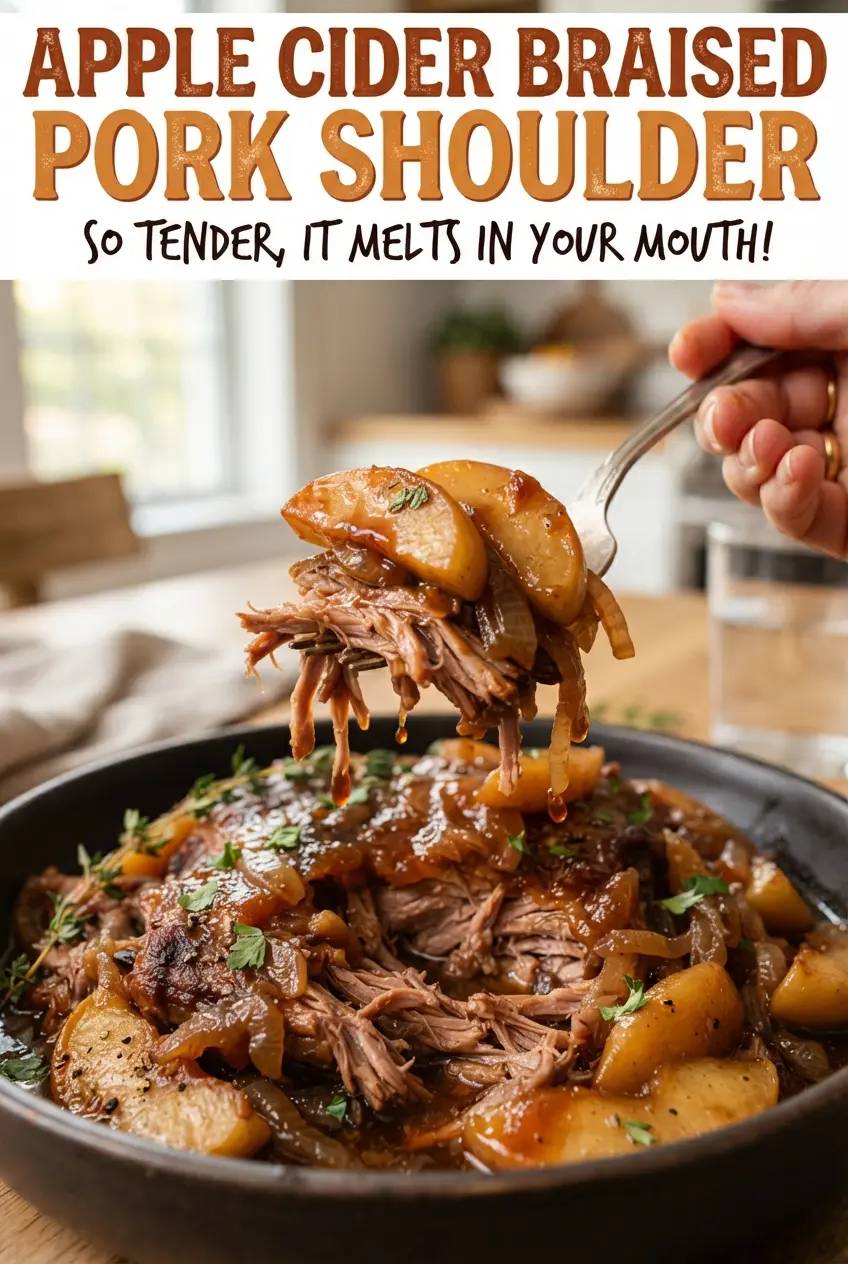
Apple Cider Braised Pork Shoulder
Ingredients
Equipment
Method
- Preheat oven to 325°F, then season pork with salt, black pepper, and smoked paprika.
- Heat olive oil in a Dutch oven over high heat, sear pork until well browned, 4-5 minutes per side, then remove.
- Add sliced onion to the Dutch oven and cook until softened, about 5 minutes, then add smashed garlic and cook 1 minute.
- Pour in apple cider, chicken broth, apple cider vinegar, Dijon mustard, and brown sugar, scraping up the browned bits from the bottom of the pot.
- Return pork to the pot, add fresh thyme and rosemary, cover, and braise until starting to tender, 2 1/2 hours at 325°F.
- Add apple wedges to the Dutch oven and braise uncovered just enough to keep sauce bubbling, 45 minutes more, until pork is fork-tender.
- Shred the pork into large pieces and return it to the sauce.
- Simmer the liquid on the stove to reduce, 10 minutes, until slightly thickened, then serve pork with the sauce and apples.