Apple cider cake bakes up with a soft, tender crumb and a spiced apple finish that tastes like the cider itself was worked straight into the batter. The layers stay moist for days, and the cream cheese frosting gives each slice that tangy, rich contrast that keeps you going back for another forkful. It’s the kind of cake that feels special enough for company but still familiar enough to make on a random weekend.
What makes this version work is the reduced cider. Cooking it down first concentrates the apple flavor without watering down the batter, and cooling it completely keeps the butter mixture from seizing or turning greasy. The sour cream also earns its place here; it adds moisture and a little structure, which keeps the cake soft instead of heavy. The result is a cake with actual apple-cider character, not just a spice cake wearing a fall label.
Below, I’ll walk through the one step that matters most for flavor, the ingredient choices that make the crumb stay tender, and a few variations if you want to make it ahead or adjust it for different diets.
The cider reduction made such a difference. The cake baked up fluffy but still felt rich, and the frosting with a little cider in it tasted like apple pie and cheesecake had a baby.
Love the soft cider layers and cream cheese frosting? Save this Apple Cider Cake for the next time you want a spiced layer cake with real apple flavor.
The Secret to Apple Flavor That Actually Shows Up in the Cake
The biggest mistake with apple cider cake is assuming the cider can go in straight from the bottle and still give you strong flavor. It usually can’t. Once cider is folded into a batter with flour, butter, eggs, and sugar, the flavor gets muted fast, which is why reducing it first matters so much. You’re concentrating the apple notes before they ever hit the mixing bowl.
That reduction also changes the texture in a good way. A half cup of reduced cider brings flavor without thinning the batter, so the crumb stays plush instead of loose or gummy. If the cider is still warm when you add it to the butter mixture, it can melt the butter and make the batter look curdled. Let it cool all the way down first.
- Reduced apple cider — This is the difference between a cake that tastes like spice cake and one that tastes like apple cider. Reduce it to a thickened half cup, then cool it completely before using it.
- Sour cream — It keeps the cake tender and adds moisture without making the batter heavy. Plain full-fat Greek yogurt can work in a pinch, but the texture is a little firmer and the flavor is slightly tangier.
- Brown sugar — It brings a deeper, almost caramel-like sweetness that fits the cider and spices better than white sugar would. Light brown sugar is fine here.
- Cream cheese frosting — The tang balances the sweet, spiced cake and gives the layers a clean finish. Use full-fat block cream cheese, not the whipped tub kind, or the frosting can turn loose.
What Each Ingredient Is Actually Doing in This Recipe
- Primary ingredient (the star) — Quality matters most. Choose the best you can find.
- Cooking medium (oil, butter, or broth) — This carries flavors and prevents dryness.
- Seasonings (salt, pepper, spices, herbs) — Layer flavors so nothing overpowers. Build depth gradually.
- Aromatics (garlic, onion, herbs) — Cook with fat to bloom flavors. Become the foundation.
- Supporting ingredients — Complement the main ingredient without overpowering it.
- Sauce or liquid (if applicable) — Brings flavors together. Balance richness with acid.
- Acid (lemon, vinegar, wine, or other) — Brightens and prevents flat-tasting results.
- Final finish (garnish, glaze, or sauce) — Prevents one-dimensional taste and adds visual appeal.
Building the Batter Without Losing the Air You Worked For
Start by beating the butter and brown sugar until it looks noticeably lighter and fluffy. That step traps air, which helps the cake rise without turning dense. If you stop too soon, the crumb will bake up tighter and heavier than it should.
Reducing the Cider
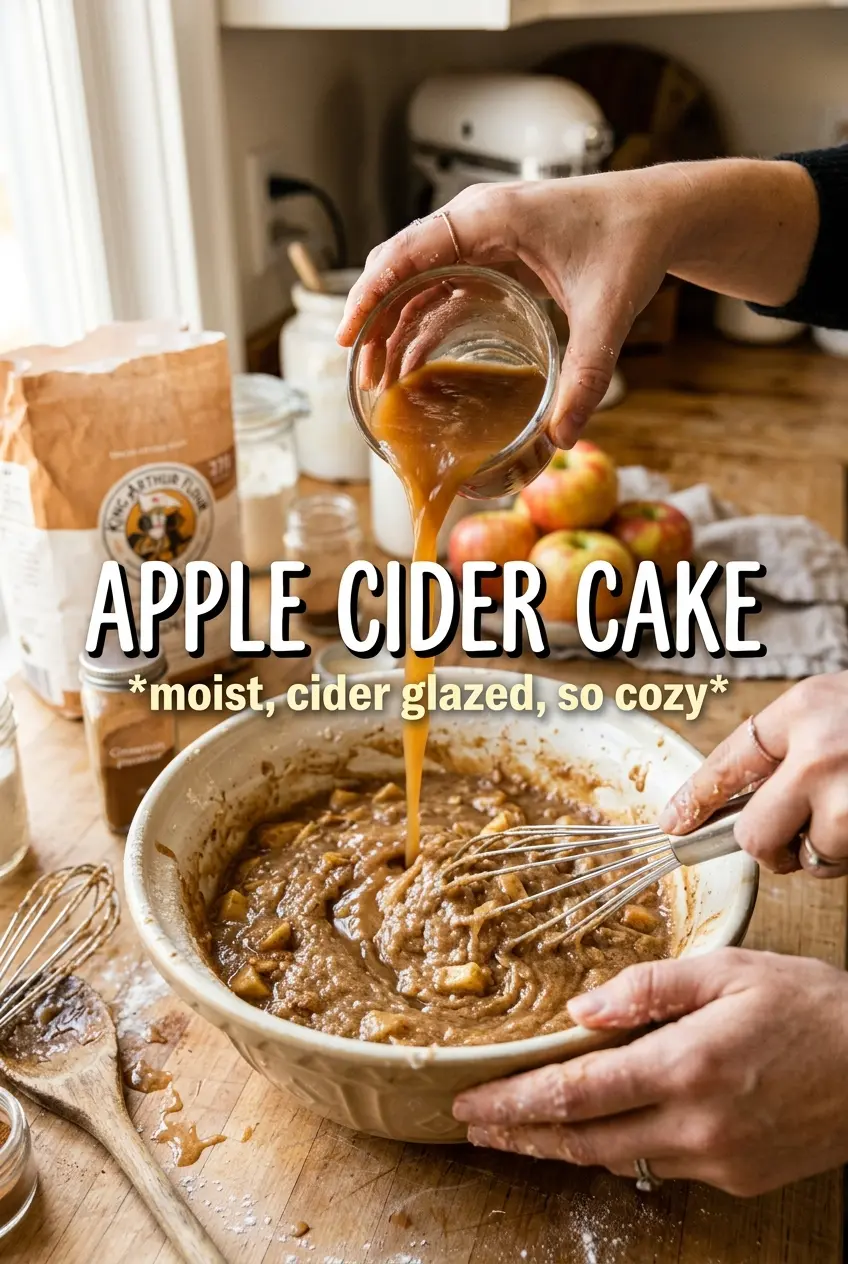
Pour the cider into a small saucepan and simmer it over medium heat until it drops to half a cup. You’re looking for a more concentrated aroma and a slightly syrupy look, not a thick glaze. Cool it completely before it touches the butter, or the batter can lose structure and separate.
Mixing the Dry Base
Whisk the flour, baking powder, baking soda, salt, cinnamon, nutmeg, and allspice together before they go into the bowl. This keeps the spices evenly distributed, so you don’t end up with one slice that tastes bold and another that tastes flat. A quick whisk also breaks up any baking powder clumps that would leave little bitter pockets in the cake.
Finishing the Batter
Add the eggs one at a time and beat well after each one so the batter stays smooth. Then alternate the dry ingredients with the sour cream, starting and ending with the flour mixture. That pattern keeps the batter from breaking and helps it stay silky instead of overmixed.
How to Adapt This Cake for Different Pans and Diets
Make it a Sheet Cake
Bake the batter in a greased 9×13-inch pan instead of layers. Start checking a few minutes early, since the cake will bake a little faster and the center should spring back lightly when touched. You’ll lose the layered look, but you gain easier serving and less frosting pressure.
Dairy-Free Version
Use plant-based butter and a thick dairy-free yogurt in place of the sour cream. The cake will still be moist, though the crumb won’t be quite as rich. For the frosting, use a dairy-free cream cheese alternative that’s meant for baking, since soft spreadable versions can stay too loose.
Gluten-Free Swap
A cup-for-cup gluten-free flour blend works best here. Choose one that includes xanthan gum so the layers hold together when sliced. The cake may need a few extra minutes in the oven, and it should cool fully before frosting so the layers don’t crumble.
Storage and Reheating
- Refrigerator: Store covered for up to 5 days. The frosting stays stable, and the cake actually gets a little better after a day as the spice settles in.
- Freezer: Freeze unfrosted layers tightly wrapped for up to 2 months. Thaw them in the refrigerator before frosting; freezing the finished frosted cake can make the frosting grainy once it thaws.
- Reheating: If you want a slice slightly warmed, let it sit at room temperature for 20 minutes or microwave it for just 8 to 10 seconds. Too much heat softens the frosting and makes the crumb feel greasy.
Questions I Get Asked About This Recipe
Apple Cider Cake
Ingredients
Equipment
Method
- Reduce the apple cider to 1/2 cup over medium heat, then cool completely.
- Let the reduced cider cool to room temperature so it won’t melt the batter.
- Preheat the oven to 350F and grease two 9-inch round cake pans.
- Whisk together the all-purpose flour, baking powder, baking soda, salt, cinnamon, nutmeg, and allspice until evenly combined.
- Beat the softened unsalted butter and packed brown sugar until very fluffy.
- Add the eggs one at a time, then beat in the vanilla extract and the reduced cider.
- Alternate adding the flour mixture and sour cream, mixing just until the batter is smooth.
- Divide the batter between the prepared pans.
- Bake for 35–40 minutes, until a toothpick comes out clean.
- Cool the cakes completely before frosting.
- Make the cream cheese frosting by beating cream cheese and butter until smooth.
- Beat in powdered sugar and vanilla, then add the 2 tbsp cider and mix until spreadable.
- Frost with cream cheese frosting between the layers and over the top of the cake.