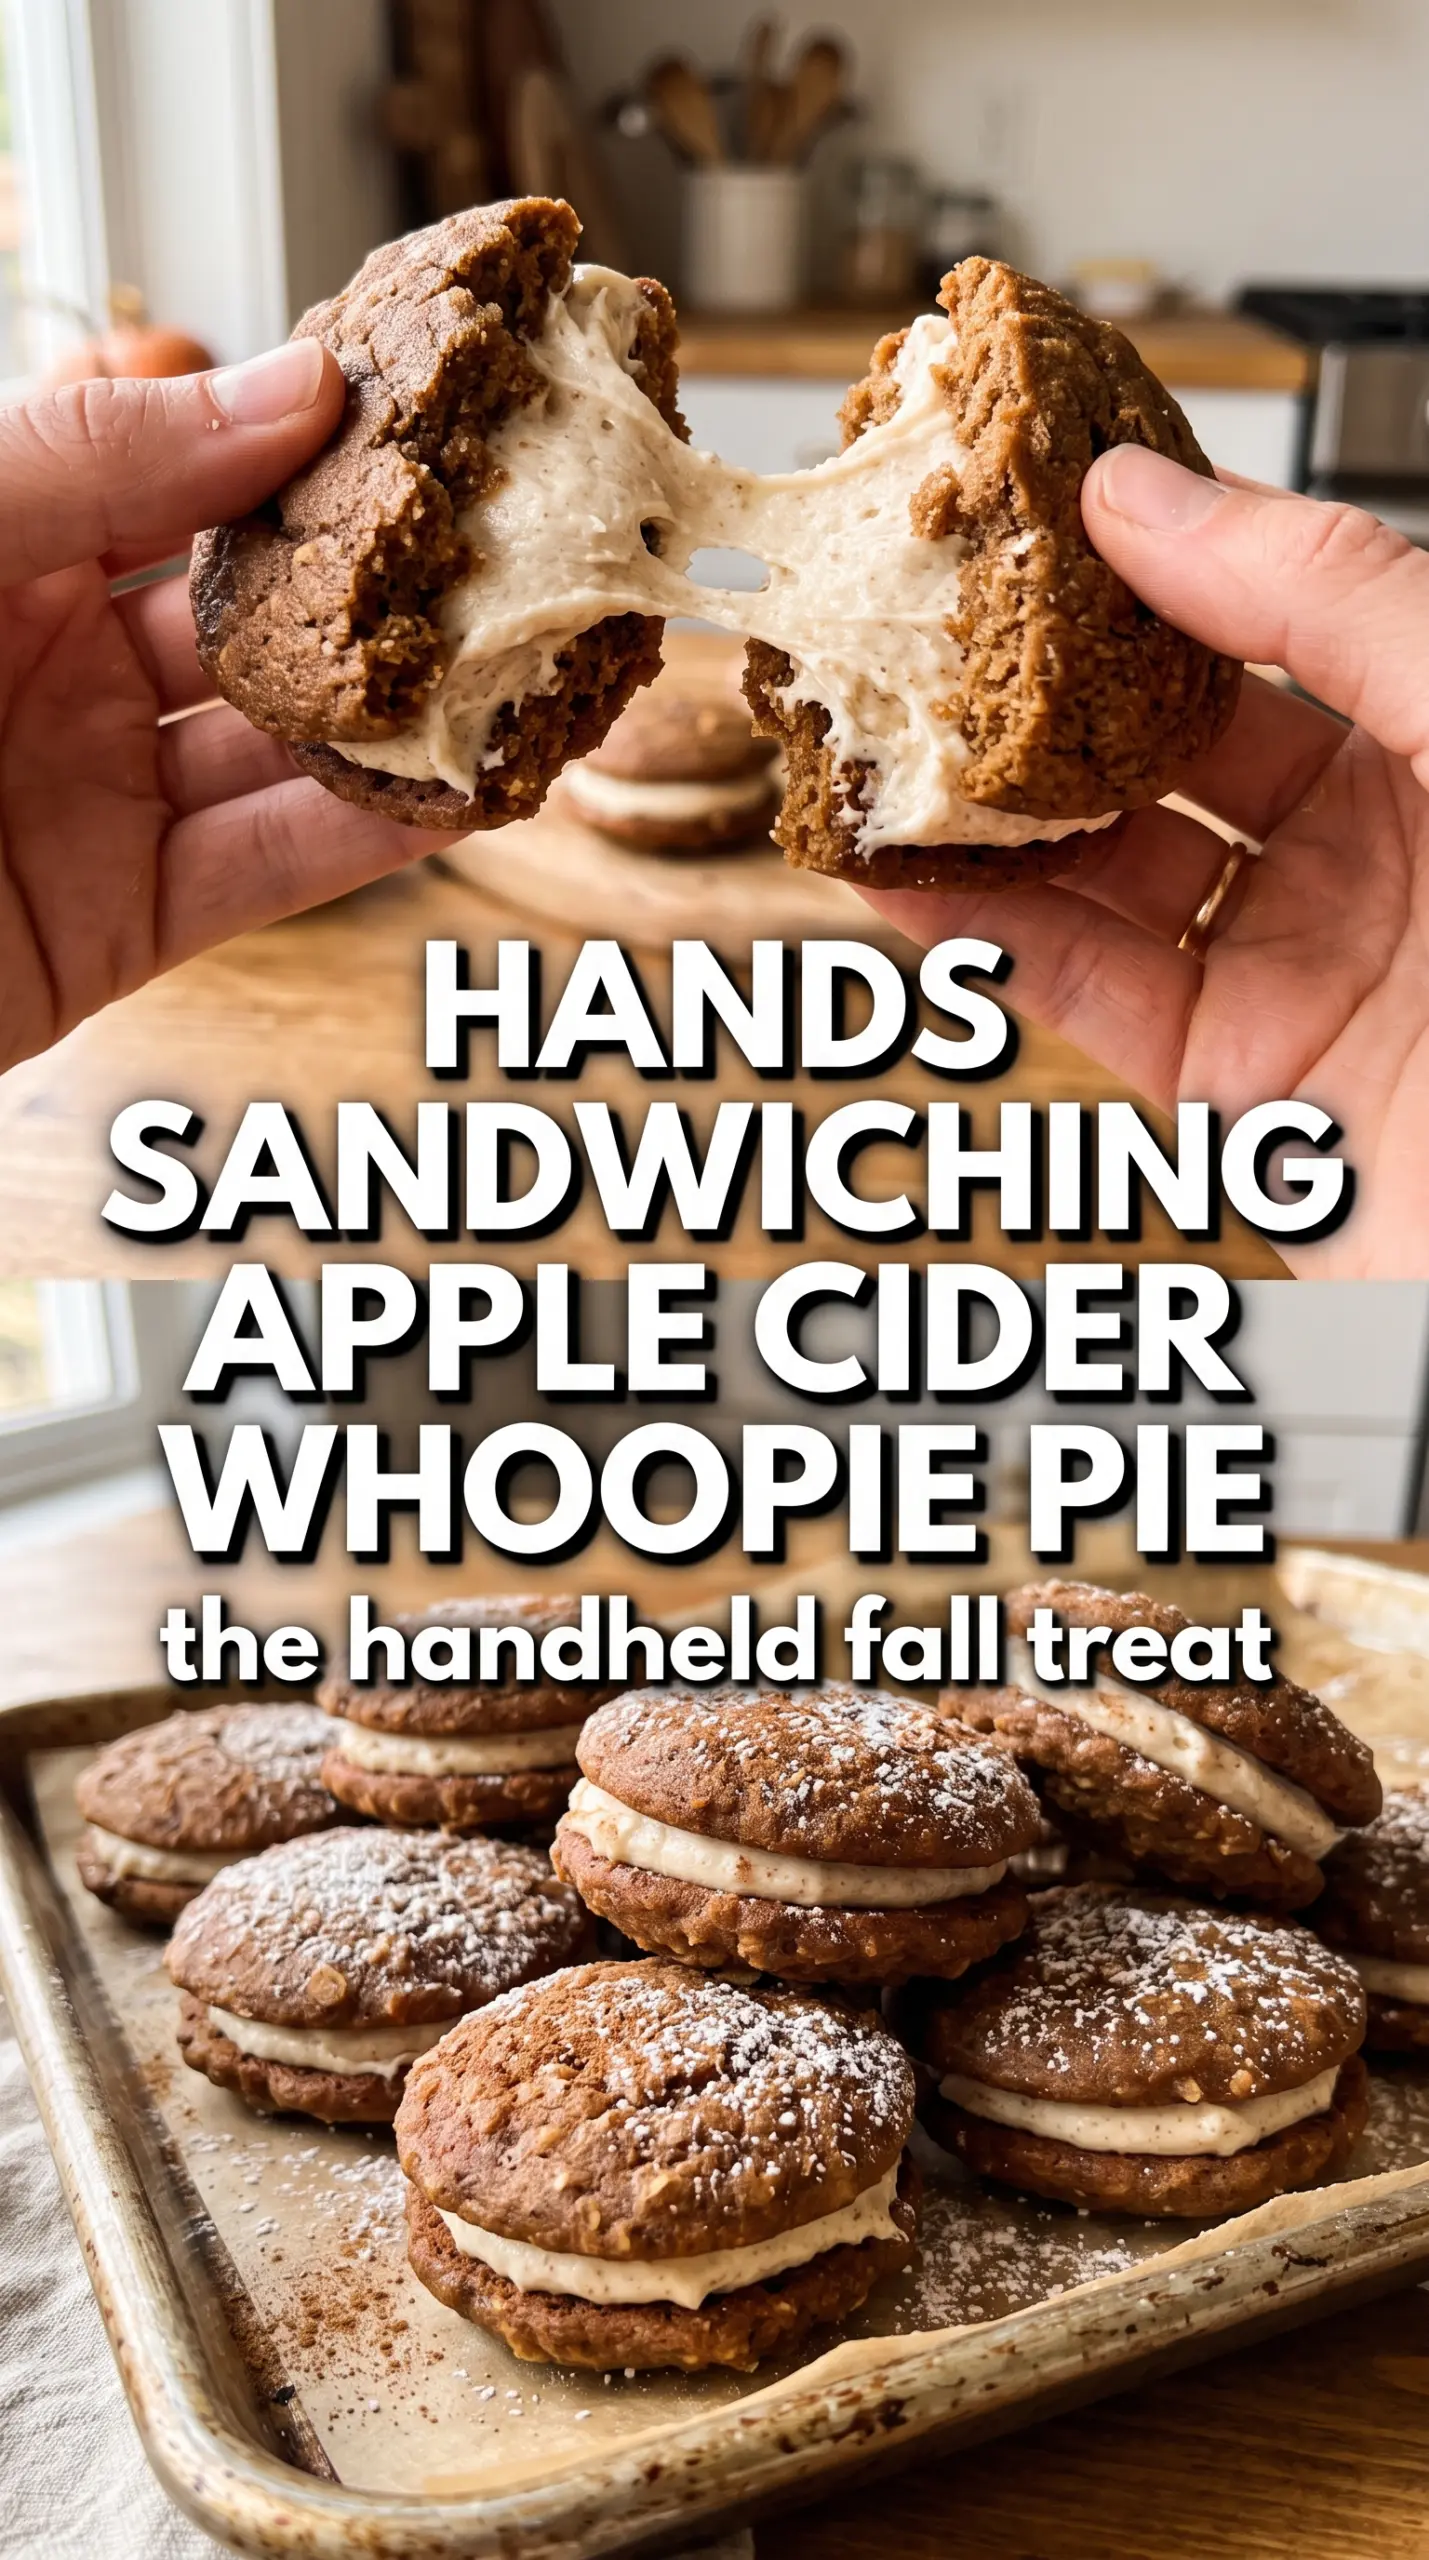
Soft, spiced apple cider whoopie pies bake up with tender cake-like rounds, a plush cream cheese filling, and just enough cinnamon and clove to make each bite taste like a bakery treat. The cider gives these more than plain spice cookies ever could; it adds a mellow apple note and a little tang that keeps the cakes from tasting heavy.
The trick is reducing the cider before it goes into the batter. That concentrates the flavor without watering down the dough, and it helps the cakes stay fluffy instead of spreading flat. Sour cream plays the other important role here, giving the batter moisture and a soft crumb that holds up when you sandwich the cookies together.
Below you’ll find the small details that make the biggest difference: how to keep the rounds evenly shaped, how to avoid overbaking them, and why the filling should be smooth and stiff enough to stay put.
The reduced cider made these taste like real apple, not just spice, and the filling stayed thick enough that I could stack them without everything squeezing out the sides.
Save these apple cider whoopie pies for the days when you want soft spice cake, tangy cream cheese filling, and that reduced-cider flavor in every bite.
The Part That Keeps These Whoopie Pies from Going Flat
Whoopie pies look simple, but the texture depends on restraint. If the batter gets too loose, the rounds spread instead of puffing, and you end up with thin cookies that can’t hold the filling cleanly. Reducing the cider is what keeps the apple flavor present without adding excess moisture, and the batter should still look thick enough to mound when dropped onto the sheet.
The other place people go wrong is baking them until they look fully set in the center. These should come out when the tops spring back lightly and the edges are just set. If you wait for deep color, they’ll dry out and the filling can’t rescue them.
- Reduced apple cider — This is the flavor engine. Start with 3/4 cup and cook it down to about 1/3 cup, then cool it before adding it to the batter. Hot cider can soften the butter too much and make the dough greasy.
- Sour cream — This keeps the cakes tender and gives the crumb a little bounce. Plain Greek yogurt works in a pinch, but it brings a sharper tang and a slightly tighter texture.
- Brown sugar — Brown sugar gives these a deeper, almost caramel-like sweetness that pairs well with the spices. White sugar will work, but the cookies lose some of that warm bakery character.
What Each Ingredient Is Actually Doing in the Batter and Filling
- Flour, baking soda, and spices — The flour gives the cakes structure, while baking soda helps them rise and stay light. Cinnamon, ginger, and cloves build the cider-pie flavor, and the cloves are potent enough that you don’t want to increase them casually.
- Butter and brown sugar — Creaming these together traps air, which helps the cakes bake up soft and lifted. Use softened butter, not melted butter, or the texture turns dense.
- Egg and vanilla — The egg binds the batter, and vanilla rounds out the spice. A good vanilla matters more in the filling, but it helps the cakes taste finished here too.
- Cream cheese filling — Full-fat cream cheese gives the filling the structure to hold between the cakes. Lower-fat cream cheese tends to loosen as it sits, which makes sandwiching messy.
- Powdered sugar — This sweetens and stiffens the filling at the same time. Add it gradually so the mixture stays smooth instead of turning grainy or clumpy.
Building the Batter and Filling So They Stay Soft, Not Heavy
Reducing the Cider First
Pour the cider into a small saucepan and simmer it until it measures about 1/3 cup. It should smell concentrated and look a little darker, almost like apple syrup. Let it cool before it touches the butter mixture; warm cider can loosen the batter and make the cookies spread too much. If you skip this step, the apple flavor gets lost and the dough ends up wetter than it should.
Mixing the Batter Without Overworking It
Beat the butter and brown sugar until they look fluffy and lighter in color, then mix in the egg, vanilla, and cooled cider. Add the dry ingredients and sour cream in alternating additions, stopping as soon as the batter looks even. Overmixing develops the flour and makes the cakes tougher than a whoopie pie should be. The batter should be thick, soft, and easy to drop from a spoon.
Baking for a Tender Crumb
Drop the batter in 2-tablespoon portions so the rounds stay uniform and pair up easily. Bake just until the tops spring back and the centers feel set when touched lightly. They should not be deeply browned; that usually means they went too far. Let them cool completely on the pan or a rack before filling, because warm cakes will melt the filling and slide apart.
Whipping the Filling Smooth
Beat the cream cheese and butter until there are no lumps left, then add the powdered sugar, cinnamon, and vanilla. The filling should be fluffy enough to spread but thick enough to hold a ridge when you lift the spoon. If it looks loose, a little more powdered sugar tightens it up. If it starts to feel gritty, keep beating a bit longer before adding more sugar.
Make Them a Little More Spiced
Add an extra 1/4 teaspoon cinnamon if you want the spice to sit more forward than the apple. I wouldn’t push the cloves higher unless you like a sharper, darker spice note, because cloves can take over fast in a delicate cake like this.
Dairy-Free Version
Use plant-based butter in both the cakes and filling, plus a dairy-free cream cheese that holds its shape well. The texture will still be soft, but the filling may be a touch less tangy, so a tiny splash of lemon juice can help wake it up.
Freezer-Friendly Make-Ahead Option
Bake the cakes and freeze them unfrosted, then thaw and fill them the day you want to serve. The filling can be made ahead too, but it needs a brief rewhip after chilling so it spreads smoothly again.
Storage and Reheating
- Refrigerator: Store assembled whoopie pies in an airtight container for up to 4 days. The cakes soften a little more as they sit, which is part of the charm here.
- Freezer: Freeze the assembled pies individually wrapped for up to 2 months, or freeze the unfrosted cakes and fill them later. If you freeze them already assembled, separate layers with parchment so the filling doesn’t stick.
- Reheating: These aren’t a reheating dessert. Let refrigerated pies sit at room temperature for 15 to 20 minutes before serving so the filling loses its chill and the cake texture feels soft again.
Questions I Get Asked About This Recipe
Apple Cider Whoopie Pies
Ingredients
Equipment
Method
- Reduce the apple cider until it measures 1/3 cup, then let it cool completely before using.
- Preheat the oven to 350F and line baking sheets so the cookie rounds bake evenly.
- Beat the butter and brown sugar until creamy, then beat in the egg, vanilla, and the reduced apple cider.
- Stir together the flour, baking soda, cinnamon, ginger, cloves, and salt.
- Alternate adding the flour mixture and sour cream to the butter mixture, mixing just until the batter comes together.
- Drop 2-tablespoon rounds onto the lined baking sheets with space between them.
- Bake at 350F for 10-12 minutes, until the cakes puff and the centers are set.
- Cool the whoopie cake rounds completely before filling, so the cream cheese won’t melt.
- Beat the cream cheese and butter until smooth, then beat in powdered sugar, cinnamon, and vanilla until creamy.
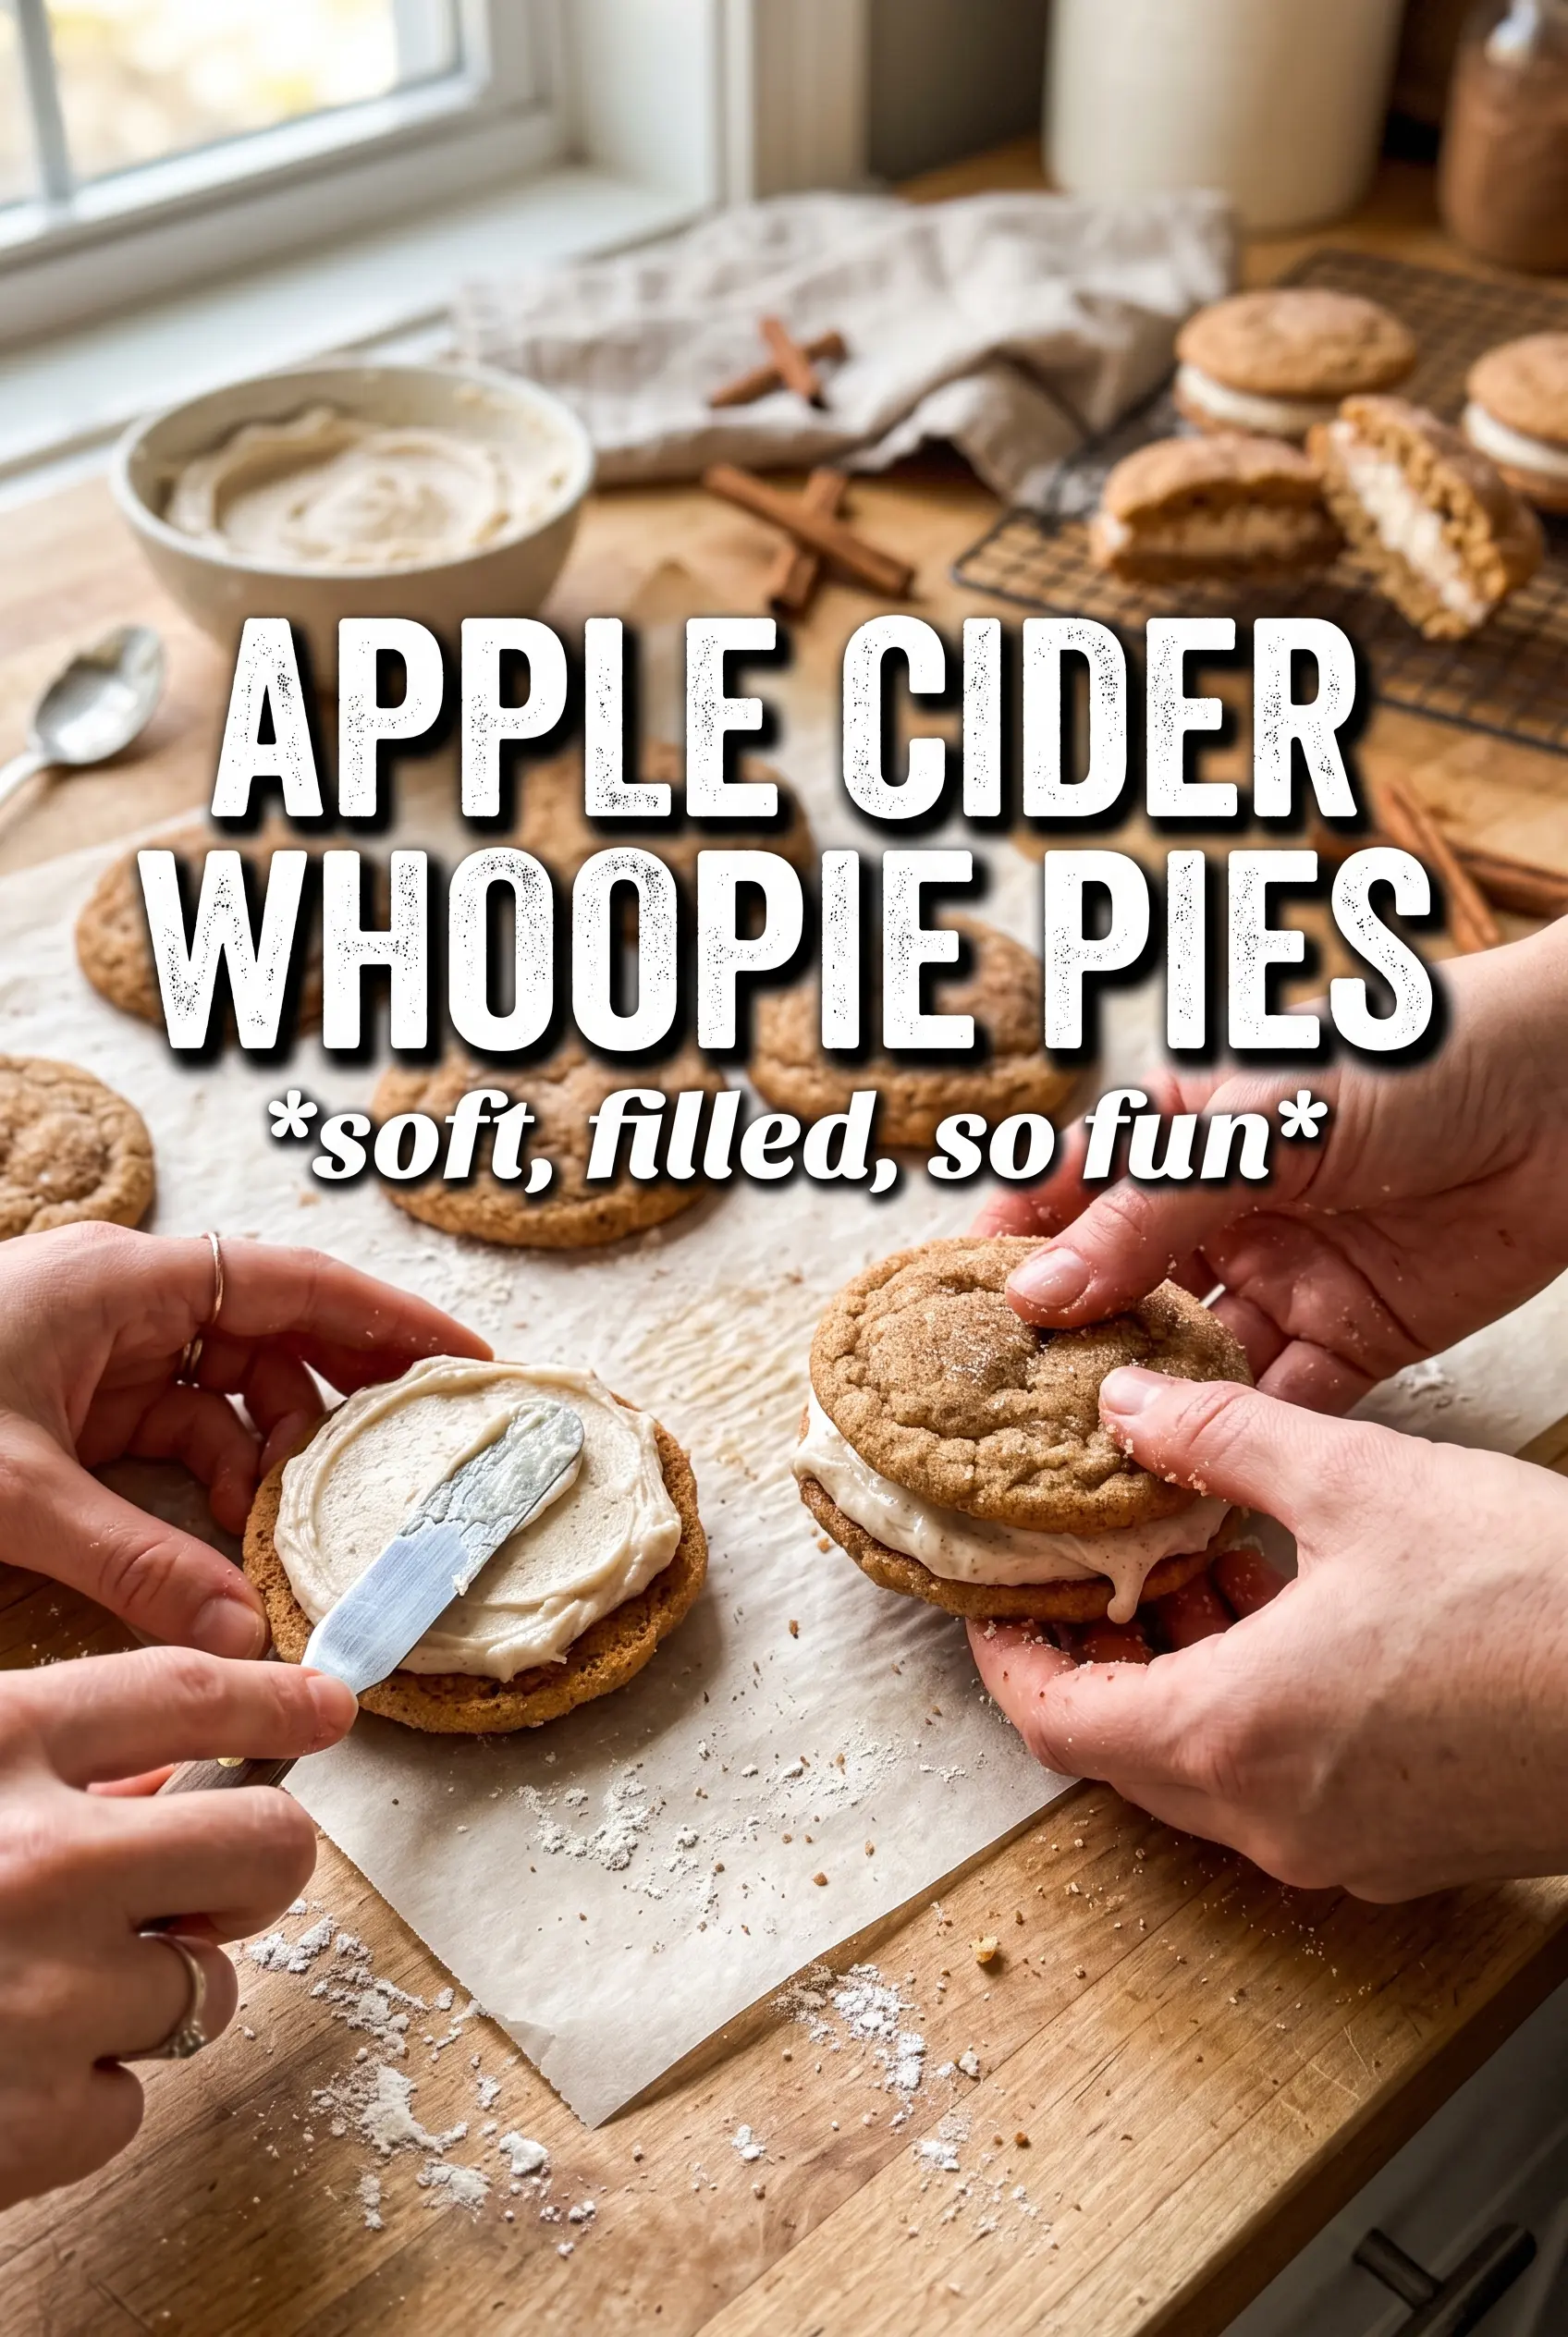
- Sandwich filling between two cooled cakes, pressing gently to spread the filling to the edges.