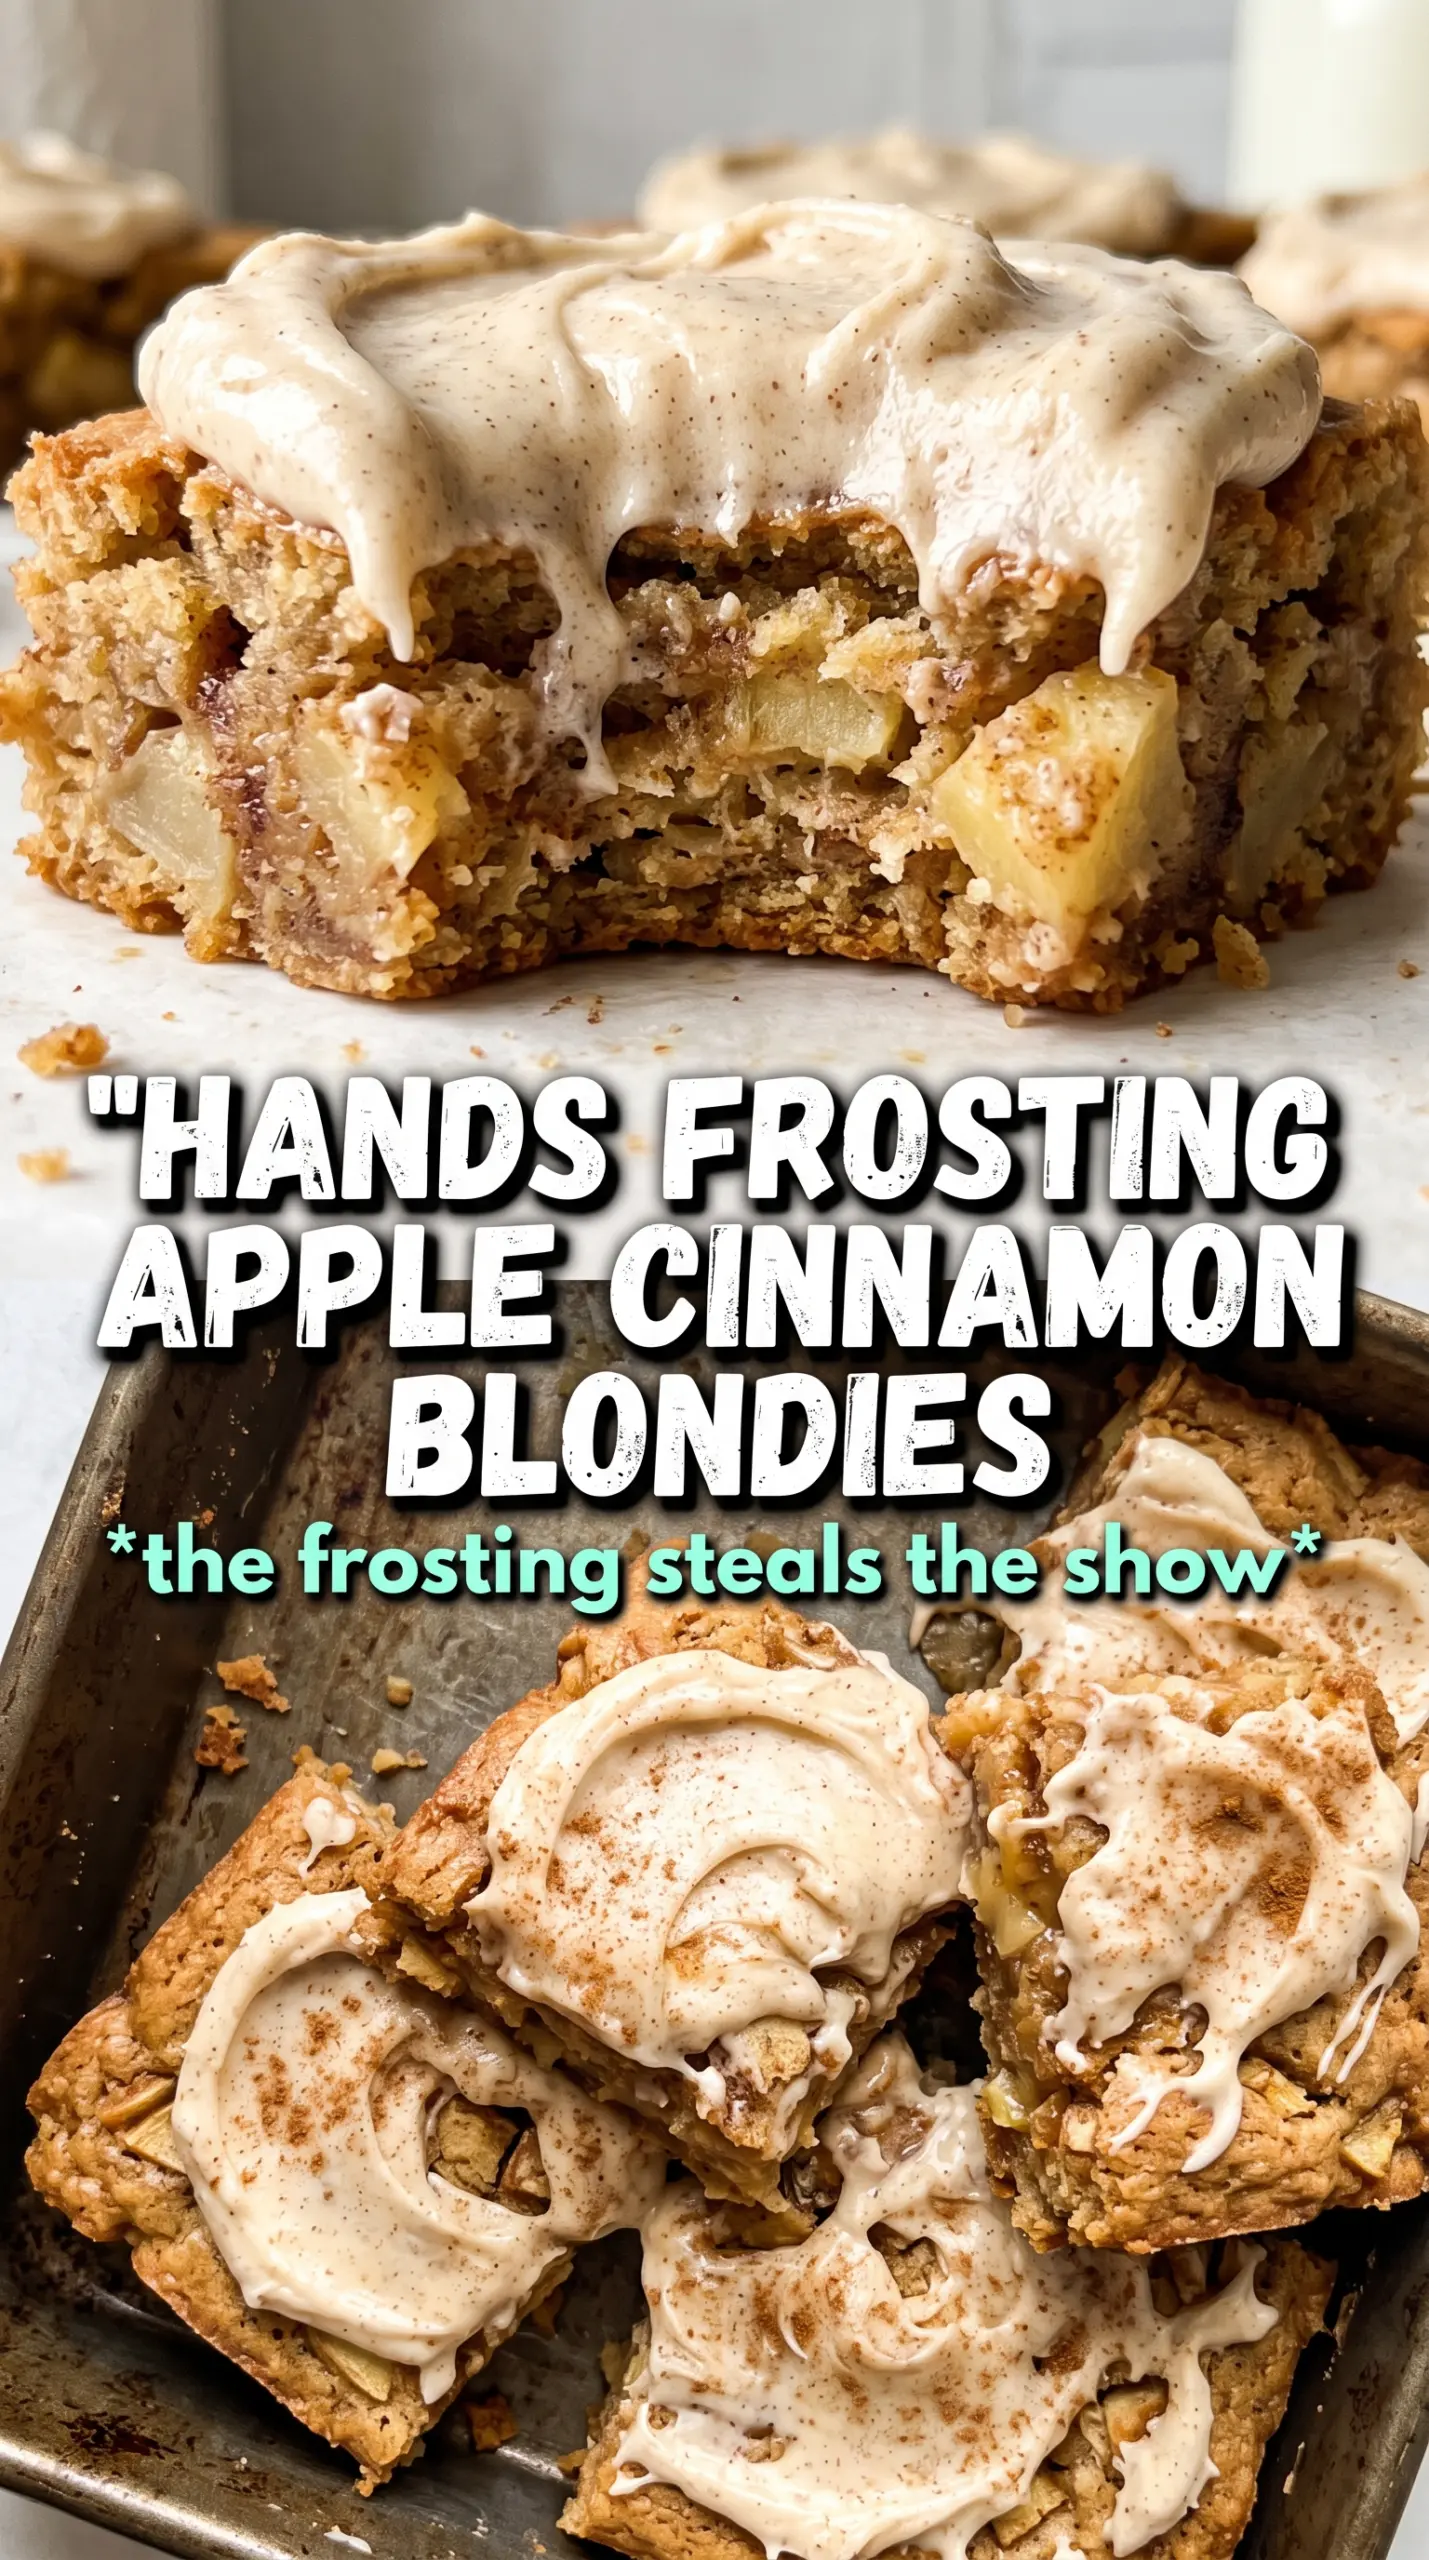
Apple cinnamon blondies bake up with a soft, chewy center, crisp-edged corners, and just enough spice to keep each bite warm and interesting. The browned butter gives them a deeper, almost toffee-like base, while the diced apples melt into little pockets of moisture that keep the bars from turning dry. Then the maple cream cheese frosting comes in with a cool tang and a smooth sweetness that settles right into the top of the blondies instead of sitting on it like an afterthought.
What makes this version work is balance. Browned butter adds flavor without adding extra steps that don’t earn their place, and the apples are chopped small enough to bake through without making the bars soggy. The batter stays thick, which helps the blondies rise in a dense, fudgy layer instead of spreading into a thin cake. The frosting leans on pure maple syrup, not just sugar, so you get that maple note cleanly instead of a generic sweet finish.
The browned butter and maple frosting made these taste like something from a bakery, and the apples kept the bars soft for days. I cut mine after chilling them, and the frosting held its shape perfectly.
Save these apple cinnamon blondies with maple cream cheese frosting for the days when you want chewy bars, browned butter, and a frosting that sets up beautifully.
The Secret to Blondies That Stay Chewy Instead of Turning Cake-Like
The biggest mistake with blondies is overbaking them until they set like bars of dry cake. These need to come out when the center still has a few moist crumbs clinging to the toothpick, because they finish setting as they cool in the pan. That short bake keeps the middle dense and chewy while the edges pick up a little structure.
Browned butter helps here, too. It adds flavor without adding extra liquid, which matters when you already have apples folding into the batter. If your butter is still hot when it goes into the eggs, you’ll end up with streaky batter or softly scrambled bits, so let it cool until it’s warm rather than steaming. That small pause protects the texture of the blondies and keeps the batter glossy and even.
What the Apples, Maple, and Browned Butter Are Actually Doing Here
- Browned butter — This is the flavor base. It brings a nutty, toasted note that plain melted butter can’t match. Let it cool just enough so it doesn’t cook the eggs, but don’t let it solidify.
- Brown sugar — The molasses in brown sugar keeps the bars moist and gives the blondies their caramel depth. White sugar makes these flatter and less rich.
- Apples — Peel and dice them small so they soften into the batter instead of staying crunchy in the middle. A firmer apple like Honeycrisp, Pink Lady, or Granny Smith holds its shape best.
- Cream cheese frosting — Use full-fat cream cheese if you want a frosting that spreads smoothly and sets up with body. Low-fat versions tend to go loose, especially once the maple syrup is mixed in.
- Walnuts — Optional, but they add a nice crackle against the soft bars. If you skip them, nothing else needs to change.
Building the Batter So the Apples Don’t Sink or Water It Down
Brown the Butter and Let It Cool
Melt the butter in a saucepan and keep cooking until the milk solids turn golden and smell nutty. Pull it off the heat the moment it goes from golden to deeply amber, because it can go from perfect to burnt fast. Pour it into a mixing bowl and let it cool for a few minutes before you add the sugar and eggs. If it’s too hot, the eggs can start to curdle and the batter loses that smooth, glossy look.
Whisk the Dry Ingredients First
Flour, baking powder, cinnamon, nutmeg, and salt should be combined before they touch the wet ingredients. That keeps the spice evenly distributed, so you don’t end up with one bite that tastes like all the cinnamon and another that tastes plain. A quick whisk also breaks up any little flour clumps that would otherwise show up in the finished bars. This step takes seconds and pays off in a more even crumb.
Fold in the Apples at the End
Once the batter comes together, fold in the diced apples and walnuts just until they’re dispersed. If you stir too hard or too long, the batter gets overworked and the bars can bake up tough around the edges. The apples should look evenly dotted through the dough, not mashed into it. Scrape the batter into the pan and press it into an even layer so it bakes at the same rate from corner to corner.
Watch for Moist Crumbs, Not a Clean Toothpick
Bake until the top is set and lightly golden, and a toothpick comes out with moist crumbs instead of wet batter. A completely clean toothpick means you’ve gone too far for blondies this style. Let the pan cool all the way before frosting or the maple cream cheese layer will slide instead of spreading in a smooth blanket. Cooling also gives the bars the chewiness that makes them worth making.
How to Change These Blondies Without Losing What Makes Them Good
Make them nut-free
Leave out the walnuts and bake the blondies exactly the same way. You won’t lose structure, only a little crunch, and the bars stay just as chewy and apple-forward.
Use pears instead of apples
Firm pears can replace the apples for a softer, more floral sweetness. Dice them small and use fruit that still has some firmness, or the bars can turn too wet.
Make the frosting dairy-free
Use dairy-free cream cheese and plant-based butter, then beat them with the powdered sugar and maple syrup as written. The texture will be a little softer, so chill the frosting if it feels loose before spreading it on the cooled bars.
Storage and Reheating
- Refrigerator: Store covered for up to 5 days. The frosting stays best chilled, and the bars get a little denser after a day.
- Freezer: Freeze unfrosted blondies for up to 2 months, tightly wrapped. Thaw in the fridge, then frost after they come to room temperature for the cleanest texture.
- Reheating: These are best served at room temperature. If you want a slightly warm bar, warm an unfrosted piece for a few seconds in the microwave, then add frosting after heating. Frosted blondies should not be reheated or the topping will soften and slide.
Answers to the Questions Worth Asking
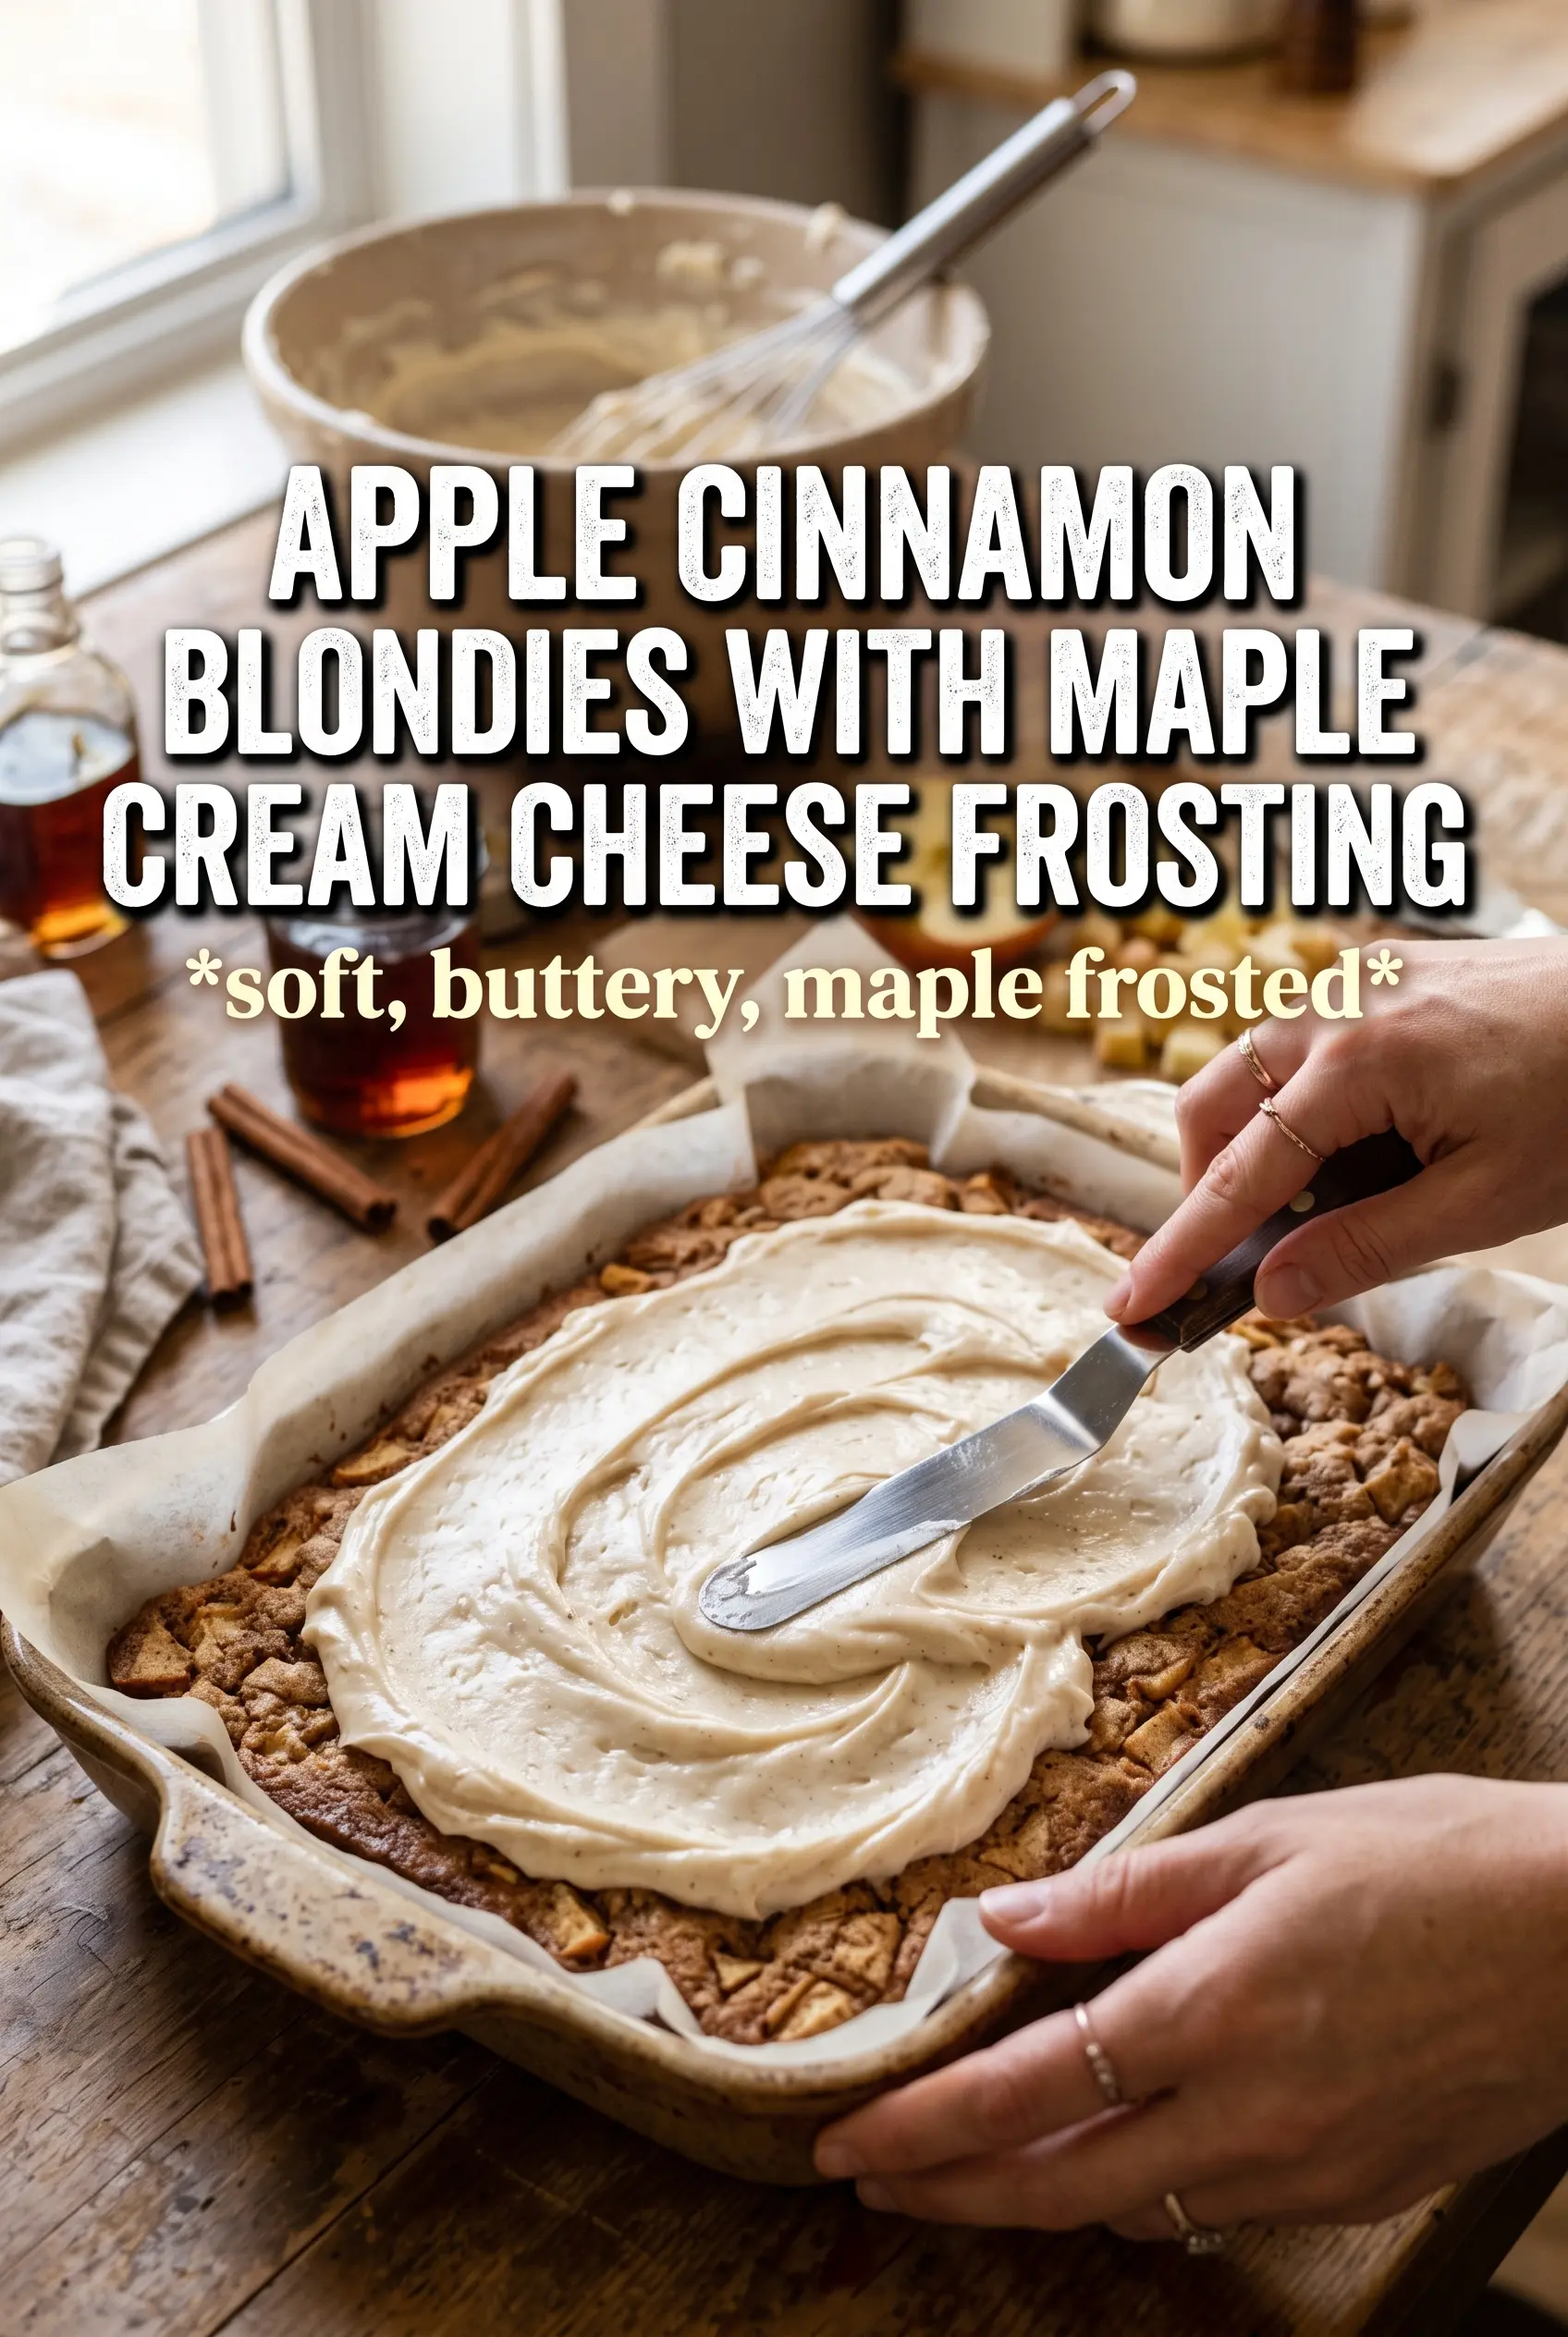
Apple Cinnamon Blondies With Maple Cream Cheese Frosting
Ingredients
Equipment
Method
- Preheat the oven to 350F and grease a 9x13 pan so the blondies release cleanly.
- Brown the butter in a saucepan until golden and nutty-smelling, then cool slightly so it won’t cook the eggs.
- Whisk together flour, baking powder, cinnamon, nutmeg, and salt until evenly combined.
- Whisk the browned butter and brown sugar, then mix in the eggs and vanilla extract until glossy.
- Fold the flour mixture into the wet ingredients until just combined, with no dry streaks.
- Fold in the apples and walnuts so the fruit and pieces are distributed throughout the batter.
- Bake for 25-30 minutes at 350F until a toothpick comes out with moist crumbs.
- Cool completely before frosting so the topping spreads without melting.
- Beat the softened cream cheese and softened butter until smooth.
- Beat in powdered sugar, maple syrup, cinnamon, and vanilla until thick and spreadable.
- Spread the frosting over the cooled blondies and swirl the top for a decorative finish.