Warm apple cobbler lands somewhere between pie and biscuit bake, but the best versions lean into the contrast: soft, cinnamon-spiced apples underneath and a golden topping that breaks open with a tender crumb instead of turning heavy or doughy. This one earns its place because the filling starts cooking before the topping goes on, which gives the apples a head start and keeps the bottom from tasting underdone while the top browns properly.
The biscuit topping is the part that makes this cobbler worth repeating. Cold butter gets cut into the flour so the topping bakes up with little flaky pockets instead of a dense cake layer, and the hot apple filling helps the spoonfuls of dough set on contact at the bottom while the tops still turn crisp. A little lemon juice sharpens the apples and keeps the sweetness in check, which matters when you serve it with vanilla ice cream.
Below you’ll find the timing trick that keeps the filling bubbling without overbaking the topping, plus a few swaps for different apples and dairy-free baking.
The filling thickened right up and the biscuit topping stayed crisp on top while soaking up just enough juice underneath. I used a mix of Granny Smith and Honeycrisp, and it baked in the exact time listed.
Save this apple cobbler for the nights when you want bubbling cinnamon apples and a biscuit topping that bakes crisp on the edges.
The Secret to Keeping the Bottom from Going Mushy
The biggest mistake with cobbler is piling raw fruit straight into the pan and covering it with topping before the apples have any chance to soften. That traps extra juice under the biscuit dough, and the bottom turns soggy before the top finishes browning. Baking the filling first changes the whole texture of the dish. The apples start releasing juice and the cornstarch begins thickening it, so by the time the topping goes on, you’re working with fruit that already has structure.
That short head start also helps the apples cook evenly. If you use a mix of tart and sweet apples, you get better flavor and a filling that doesn’t taste flat. The cornstarch needs that first bake to start its job; if you skip it, the filling often looks fine at the edge and still comes out loose in the center.
What Each Ingredient Is Actually Doing in This Cobbler
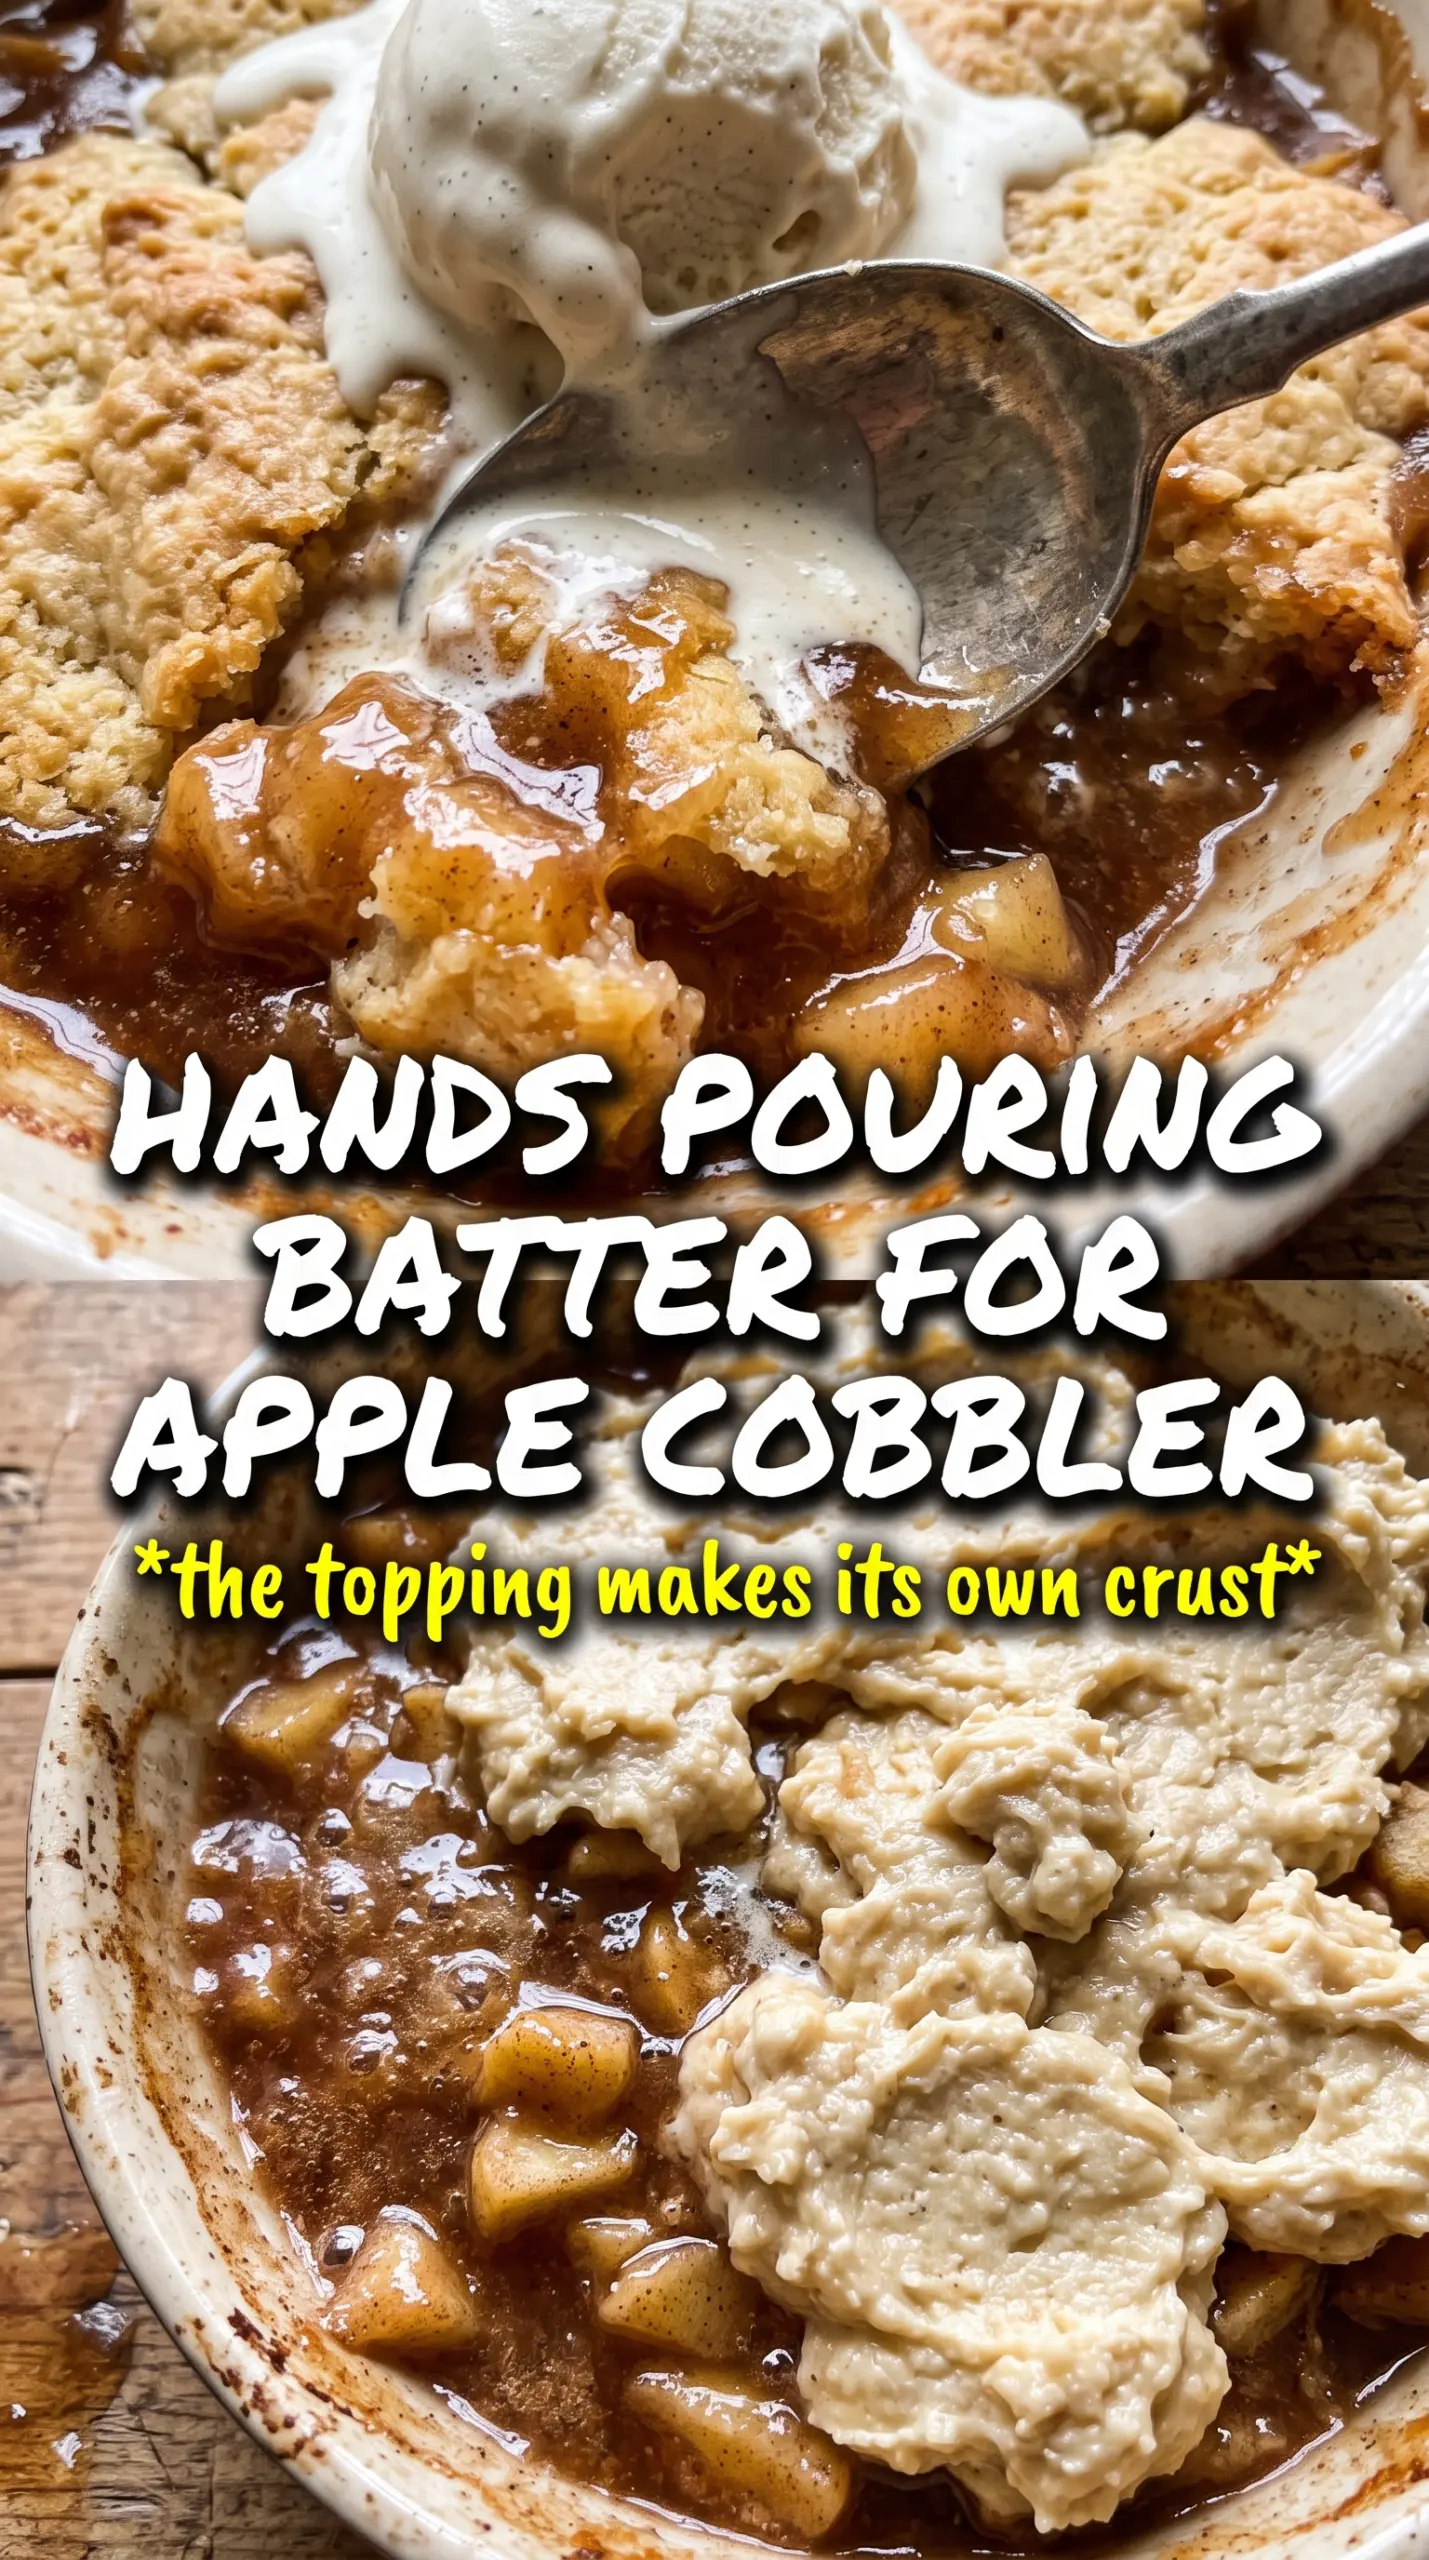
- Apples — Use firm baking apples that hold shape, not soft eating apples that collapse into sauce. Granny Smith gives structure and tang; Honeycrisp, Braeburn, or a mix adds sweetness and a fuller apple flavor.
- Cornstarch — This thickens the juices as the filling bakes. Flour works in a pinch, but it can cloud the filling and needs a little more baking time to lose the raw taste.
- Cold butter — In the topping, cold butter is what creates those tender, biscuit-like layers. If it melts before baking, the topping turns pasty instead of crumbly.
- Buttermilk or whole milk — Buttermilk brings a slight tang and a softer crumb, while whole milk gives a milder, classic biscuit top. Either one works as long as you stir just until the dough comes together.
- Egg and vanilla — These enrich the biscuit topping and help it bake up with a little more body and flavor. Don’t skip the vanilla; it rounds out the butter and cinnamon without making the cobbler taste like dessert filler.
Building the Filling and Topping Without Overmixing
Start the Apples First
Toss the sliced apples with sugar, cinnamon, nutmeg, cornstarch, and lemon juice until every piece looks lightly coated. Spread them in the baking dish and dot the top with butter before the first bake. That butter melts into the fruit and helps the juices cook into something glossy instead of watery. If the apples are piled too high, they won’t soften evenly, so use a dish that gives them room to settle in a loose layer.
Cut the Butter Into the Flour
Whisk the dry ingredients for the topping, then cut in the cold butter until the mixture looks like coarse crumbs with a few pea-sized bits left. Those bits matter. They melt in the oven and create the tender pockets you want in a biscuit topping. If you keep going until the mixture looks sandy and uniform, the topping loses that flaky texture and bakes up flat.
Mix the Dough Just Enough
Whisk the milk, egg, and vanilla together, then stir it into the flour mixture only until the dry spots disappear. The dough should look thick and a little rough. That is what you want. Overmixing develops too much gluten and turns the topping chewy, which is the fastest way to ruin the contrast between the soft fruit and the biscuit crust.
Finish with a Strong Bake
Drop spoonfuls of dough over the hot filling, leaving gaps so steam can escape and the apples can bubble up around the edges. Sprinkle the cinnamon sugar over the top and bake until the biscuits are deep golden and the filling is visibly bubbling in the gaps. If the topping browns before the center bubbles, the oven is running hot; if the topping looks pale and the juices never break through, it needs a few more minutes. Let it sit briefly before serving so the filling settles instead of running onto the plate.
How to Adapt This for Different Apples, Dairy, or Serving Styles
Use all Granny Smith for a sharper cobbler
All Granny Smith apples give you the firmest texture and the brightest flavor, but the filling will lean more tart. If you like a less sweet dessert, this is the best route. If you want a rounder flavor, mix in a sweeter apple so the filling tastes fuller without adding extra sugar.
Make it dairy-free without losing the biscuit texture
Swap the butter in the filling for a plant-based butter and use a solid vegan butter alternative in the topping. Use unsweetened non-dairy milk with a little acidity, such as oat milk plus a teaspoon of lemon juice, if you want a similar lift to buttermilk. The topping won’t taste exactly the same, but it still bakes up tender and crisp on top.
Add oats for a more rustic crust
Replace up to 1/2 cup of the flour with quick oats for a heartier topping. The crust becomes a little more textured and less biscuit-like, with a warm, rustic feel that works well with extra cinnamon. Don’t push the oat swap too far or the topping starts to lose the tender crumb that makes cobbler good.
Storage and Reheating
- Refrigerator: Store covered for up to 4 days. The topping softens as it sits, but the flavor stays good.
- Freezer: Freeze baked cobbler in portions or the whole dish, well wrapped, for up to 2 months. Thaw in the refrigerator before reheating so the topping doesn’t steam itself apart.
- Reheating: Warm in a 325F oven until the center is hot and the topping crisps back up. The microwave works for a quick bowl, but it softens the biscuit crust, so use the oven when you want the best texture.
Answers to the Questions Worth Asking
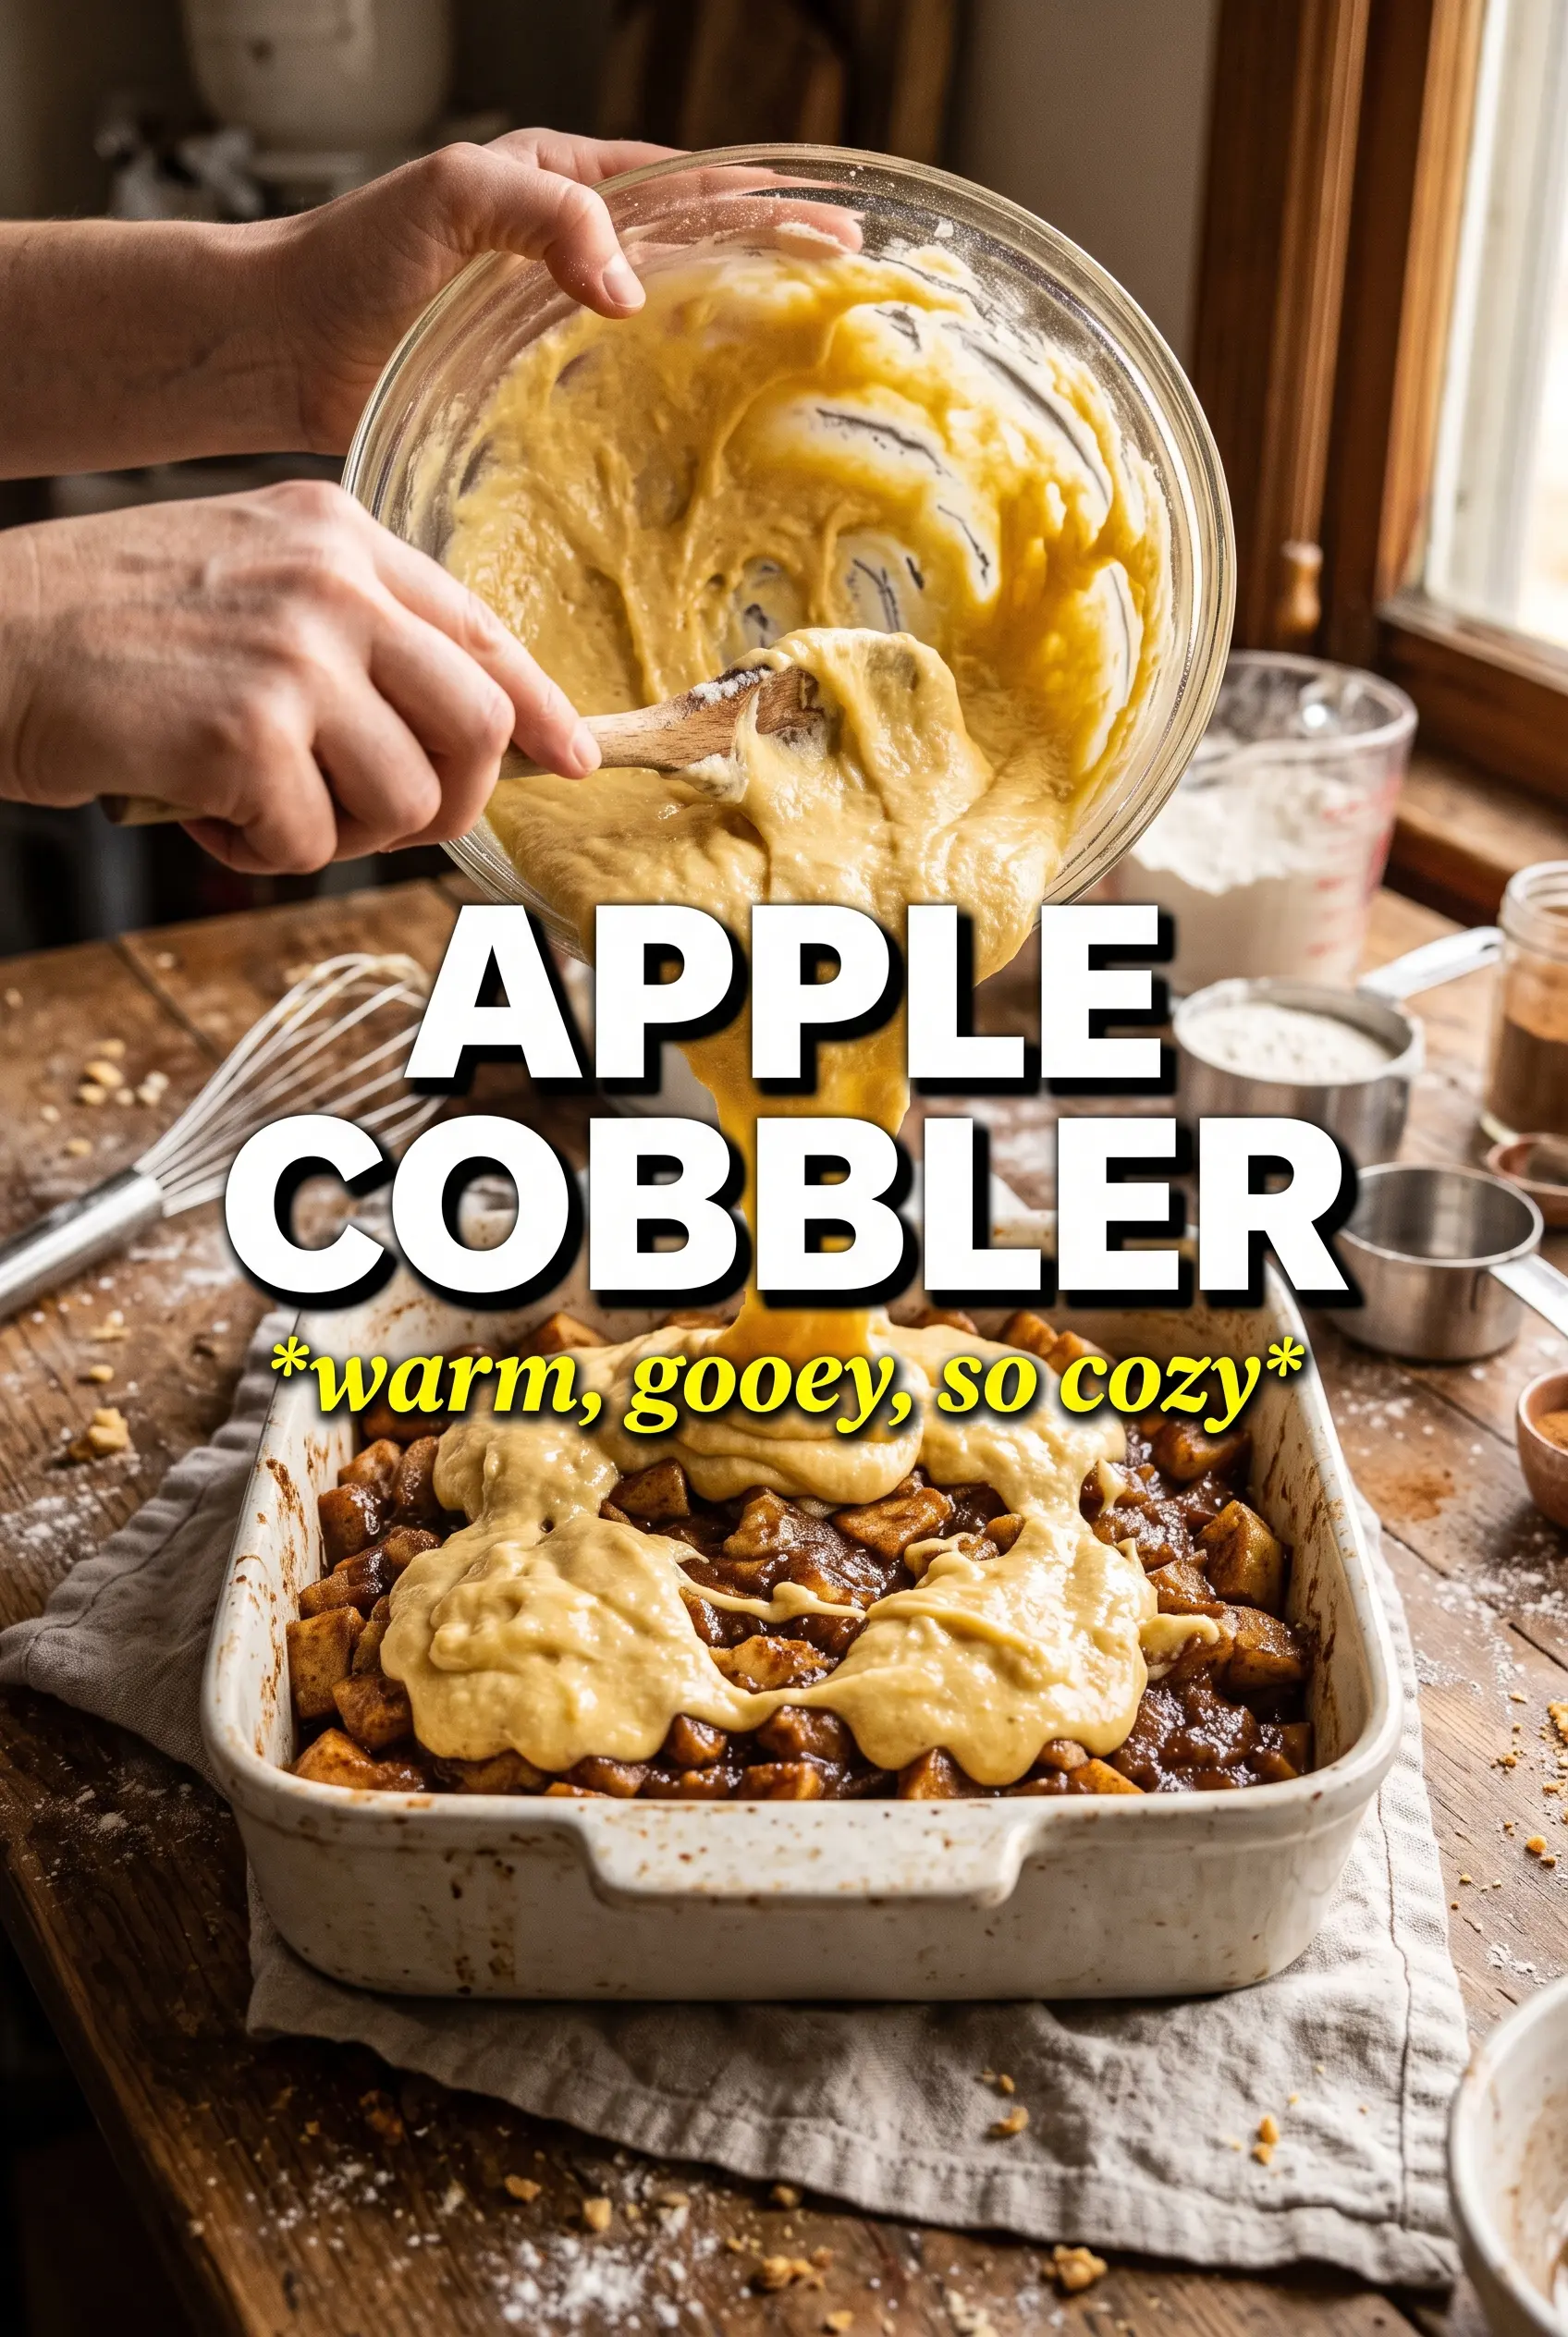
Apple Cobbler
Ingredients
Equipment
Method
- Preheat oven to 375F and grease a 9x13 baking dish so it won’t stick.
- Toss apple slices with granulated sugar, cinnamon, nutmeg, cornstarch, and lemon juice.
- Spread the coated apples in the baking dish and dot with unsalted butter.
- Bake the filling for 15 minutes.
- Whisk all-purpose flour, granulated sugar, baking powder, salt, and cinnamon in a bowl.
- Cut in cold unsalted butter until the mixture looks crumbly.
- Whisk whole milk or buttermilk, egg, and vanilla, then stir into the flour mixture until just combined.
- Drop spoonfuls of biscuit dough over the hot apple filling.
- Sprinkle the cinnamon sugar topping over the biscuits.
- Bake for 28-32 minutes at 375F until the biscuit topping is golden and the filling bubbles.
- Serve warm with vanilla ice cream.