Apple crisp baked apples give you the best parts of two desserts in one dish: tender baked apples, a buttery oat crumble, and enough warm cinnamon to make the whole kitchen smell like dessert is already done. The apples soften from the inside out, so every bite has that soft, juicy center under a golden topping that stays crisp at the edges instead of turning soggy.
What makes this version work is the balance. The apples are cored but left intact at the bottom, which keeps the filling inside and gives you a built-in bowl for the brown sugar and butter. A little cider in the baking dish adds steam, so the fruit turns tender before the topping burns. Cold butter in the crumble matters too; it melts in the oven and leaves those little clumps that bake up into the crunchy part everyone goes after first.
Below, I’ve included the one detail that keeps the topping from sliding off, plus a few swaps and storage notes so you can use the apples you have and still get a great result.
The crumble stayed crisp on top and the apples held their shape instead of collapsing. I used Honeycrisp, and the caramel sauce with vanilla ice cream made it taste like apple crisp and baked apples had a dessert baby.
Save these apple crisp baked apples for the night you want tender baked fruit and a crunchy oat topping in one pan.
The Trick That Keeps the Apples Tender Without Turning the Crumble Soggy
The biggest mistake with baked apples is treating them like a full apple pie. If you overfill the pan or skip the liquid in the bottom, the fruit can dry out before the center softens. On the other hand, if the dish is flooded, the topping steams and loses that crisp edge that makes this dessert worth making.
The sweet spot is a small layer of apple cider or water under the fruit. It creates enough steam to soften the apples from below while the tops brown in dry oven heat. That’s why the apples stay intact and the crumble gets golden instead of pasty.
- Leave the bottom intact when you core the apples — that keeps the filling inside and gives you a clean little pocket for the brown sugar and butter.
- Use medium apples, not oversized ones — bigger apples take longer to soften, which can overbake the topping before the centers are tender.
- Choose firm varieties — Honeycrisp and Braeburn hold their shape best. Softer apples can collapse before the crumble finishes.
- Keep the butter cold for the topping — warm butter blends in too smoothly and you lose the clumpy texture that bakes into crisp bits.
What Each Ingredient Is Actually Doing in This Dessert
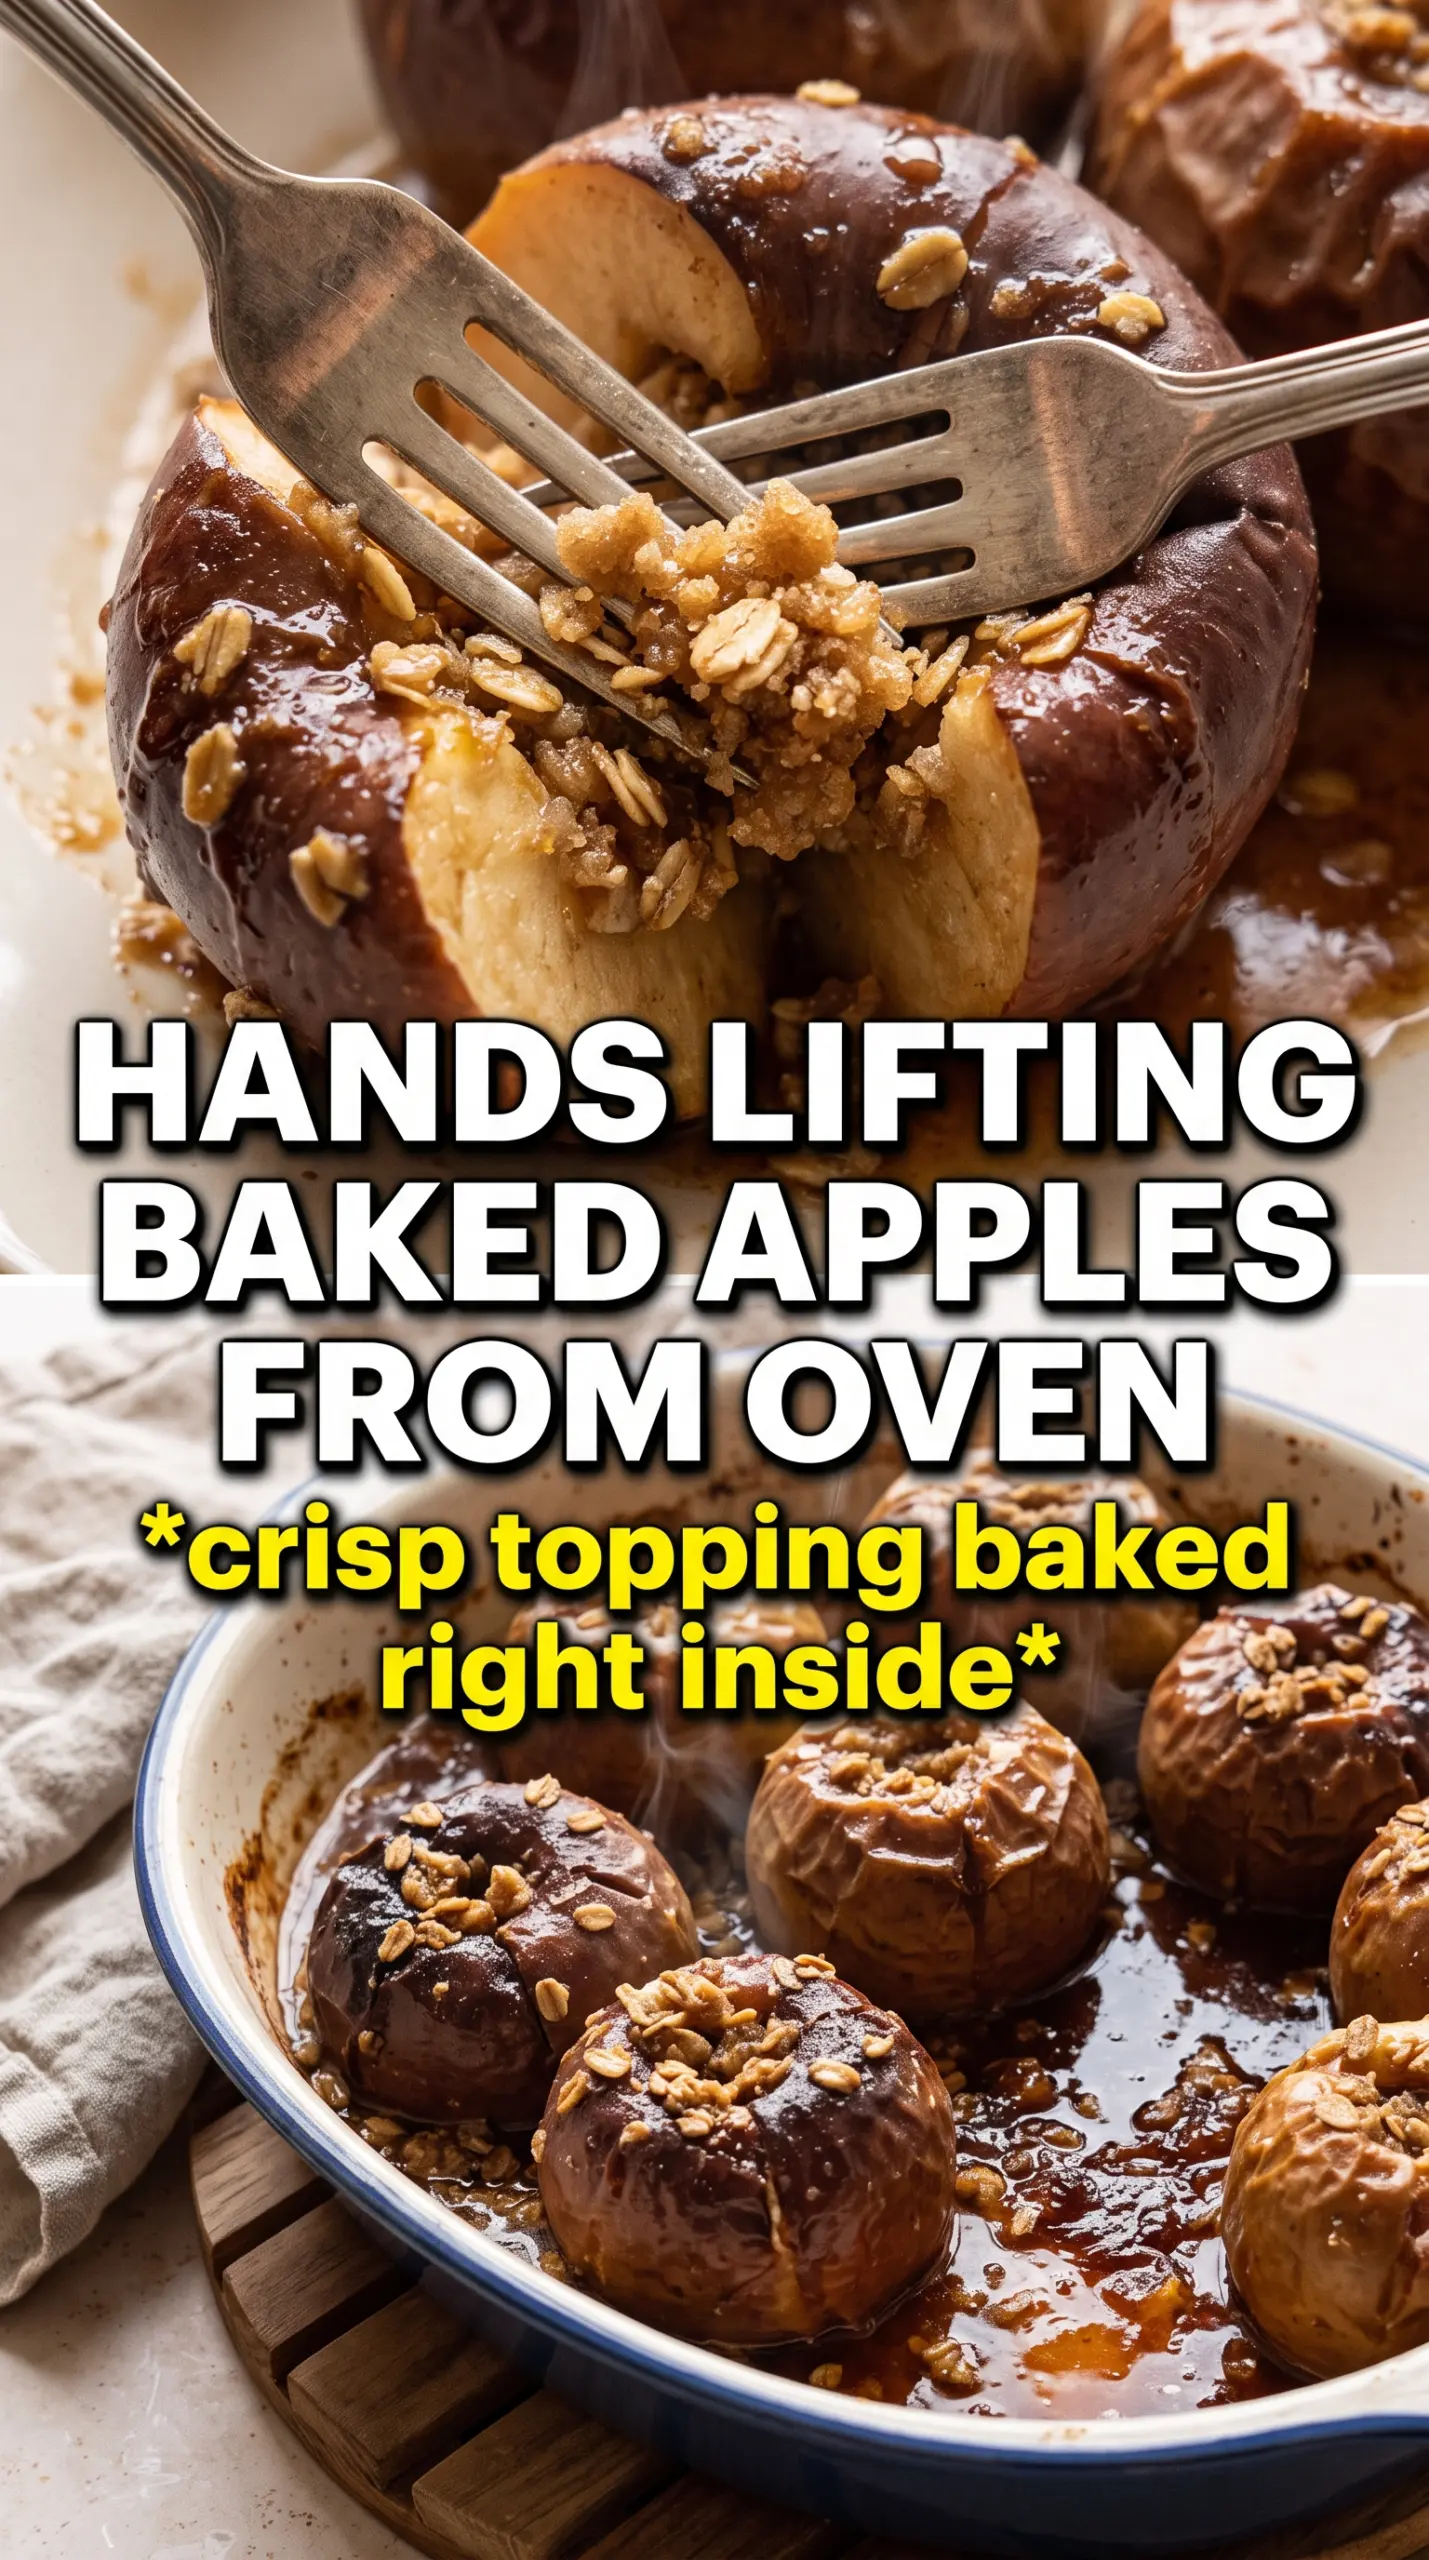
- Honeycrisp or Braeburn apples — These stay firm enough to bake through without turning mushy. If you use a softer apple, expect a more collapsed texture and a looser presentation.
- Rolled oats — They give the topping its crisp, hearty bite. Quick oats work in a pinch, but the texture will be finer and less crunchy.
- All-purpose flour — This binds the crumble so it clumps instead of scattering into sand. A 1:1 gluten-free flour blend can work if you need the topping to be gluten-free.
- Brown sugar — It melts into the apples and deepens the crumble with caramel notes. White sugar will sweeten the dish, but it won’t give the same warmth or moisture.
- Cold unsalted butter — This is what turns the dry mix into crisp topping. Salted butter works if that’s what you have; just skip or reduce the added salt a little.
- Apple cider or water — Cider adds extra apple flavor and a little sweetness. Water still works if that’s what’s in the kitchen; the apples will carry the flavor.
Building the Filling and Topping So They Bake at the Same Pace
Preparing the Apple Shells
Preheat the oven and pour the cider or water into the baking dish before anything else. Core each apple from the top, but stop before you cut through the bottom, or the filling will leak out and the apple will slump as it bakes. The cavity should be wide enough to hold the brown sugar mixture, but not so wide that the apple becomes a hollow shell.
Sweetening the Center
Drop a little brown sugar and cinnamon into each cavity, then top it with a piece of butter. That butter melts down into the apple as it bakes, creating a syrupy center instead of a dry one. If you pack the cavity too full, the filling can bubble over early and burn on the edge of the dish, so keep it modest and let the crumble do the heavy lifting.
Making the Oat Crumble
Mix the oats, flour, brown sugar, cinnamon, nutmeg, and salt first, then cut in the cold butter until you have uneven clumps. Those clumps are what bake into crunchy patches. If the mixture turns into a paste, the butter was too warm; chill it for a few minutes and break it up with your fingers or a fork.
Baking Until the Apples Yield
Pack the crumble into and over the top of each apple, then bake until the topping is deep golden and the apples give easily when pierced with a knife. The exact time depends on the size and firmness of the apples, so use tenderness as your cue, not the clock alone. If the topping browns too quickly, lay a loose piece of foil over the dish for the last 10 minutes.
How to Adapt These Baked Apples for Different Kitchens and Diets
Gluten-Free Version
Swap the all-purpose flour for a 1:1 gluten-free baking blend. The topping will still clump and crisp, though it may brown a little faster, so watch the last 10 minutes closely.
Dairy-Free Version
Use a plant-based butter that bakes well and holds its shape when cold. The crumble won’t taste exactly the same, but you’ll still get that crisp topping and a rich baked filling.
Make It a Little More Caramel-Like
Replace the water in the baking dish with apple cider and add a small drizzle of caramel sauce just before serving. That gives you a deeper, sweeter finish without changing the structure of the dessert.
Storage and Reheating
- Refrigerator: Store leftovers covered for up to 3 days. The topping softens a bit, but the flavor stays good.
- Freezer: These freeze best after baking and cooling completely. Wrap each apple tightly and freeze for up to 1 month, though the crumble will lose some crunch after thawing.
- Reheating: Warm in a 325F oven until heated through, about 15 to 20 minutes. The microwave works for speed, but it softens the topping, so use the oven if you want to bring back any crispness.
Questions I Get Asked About This Recipe
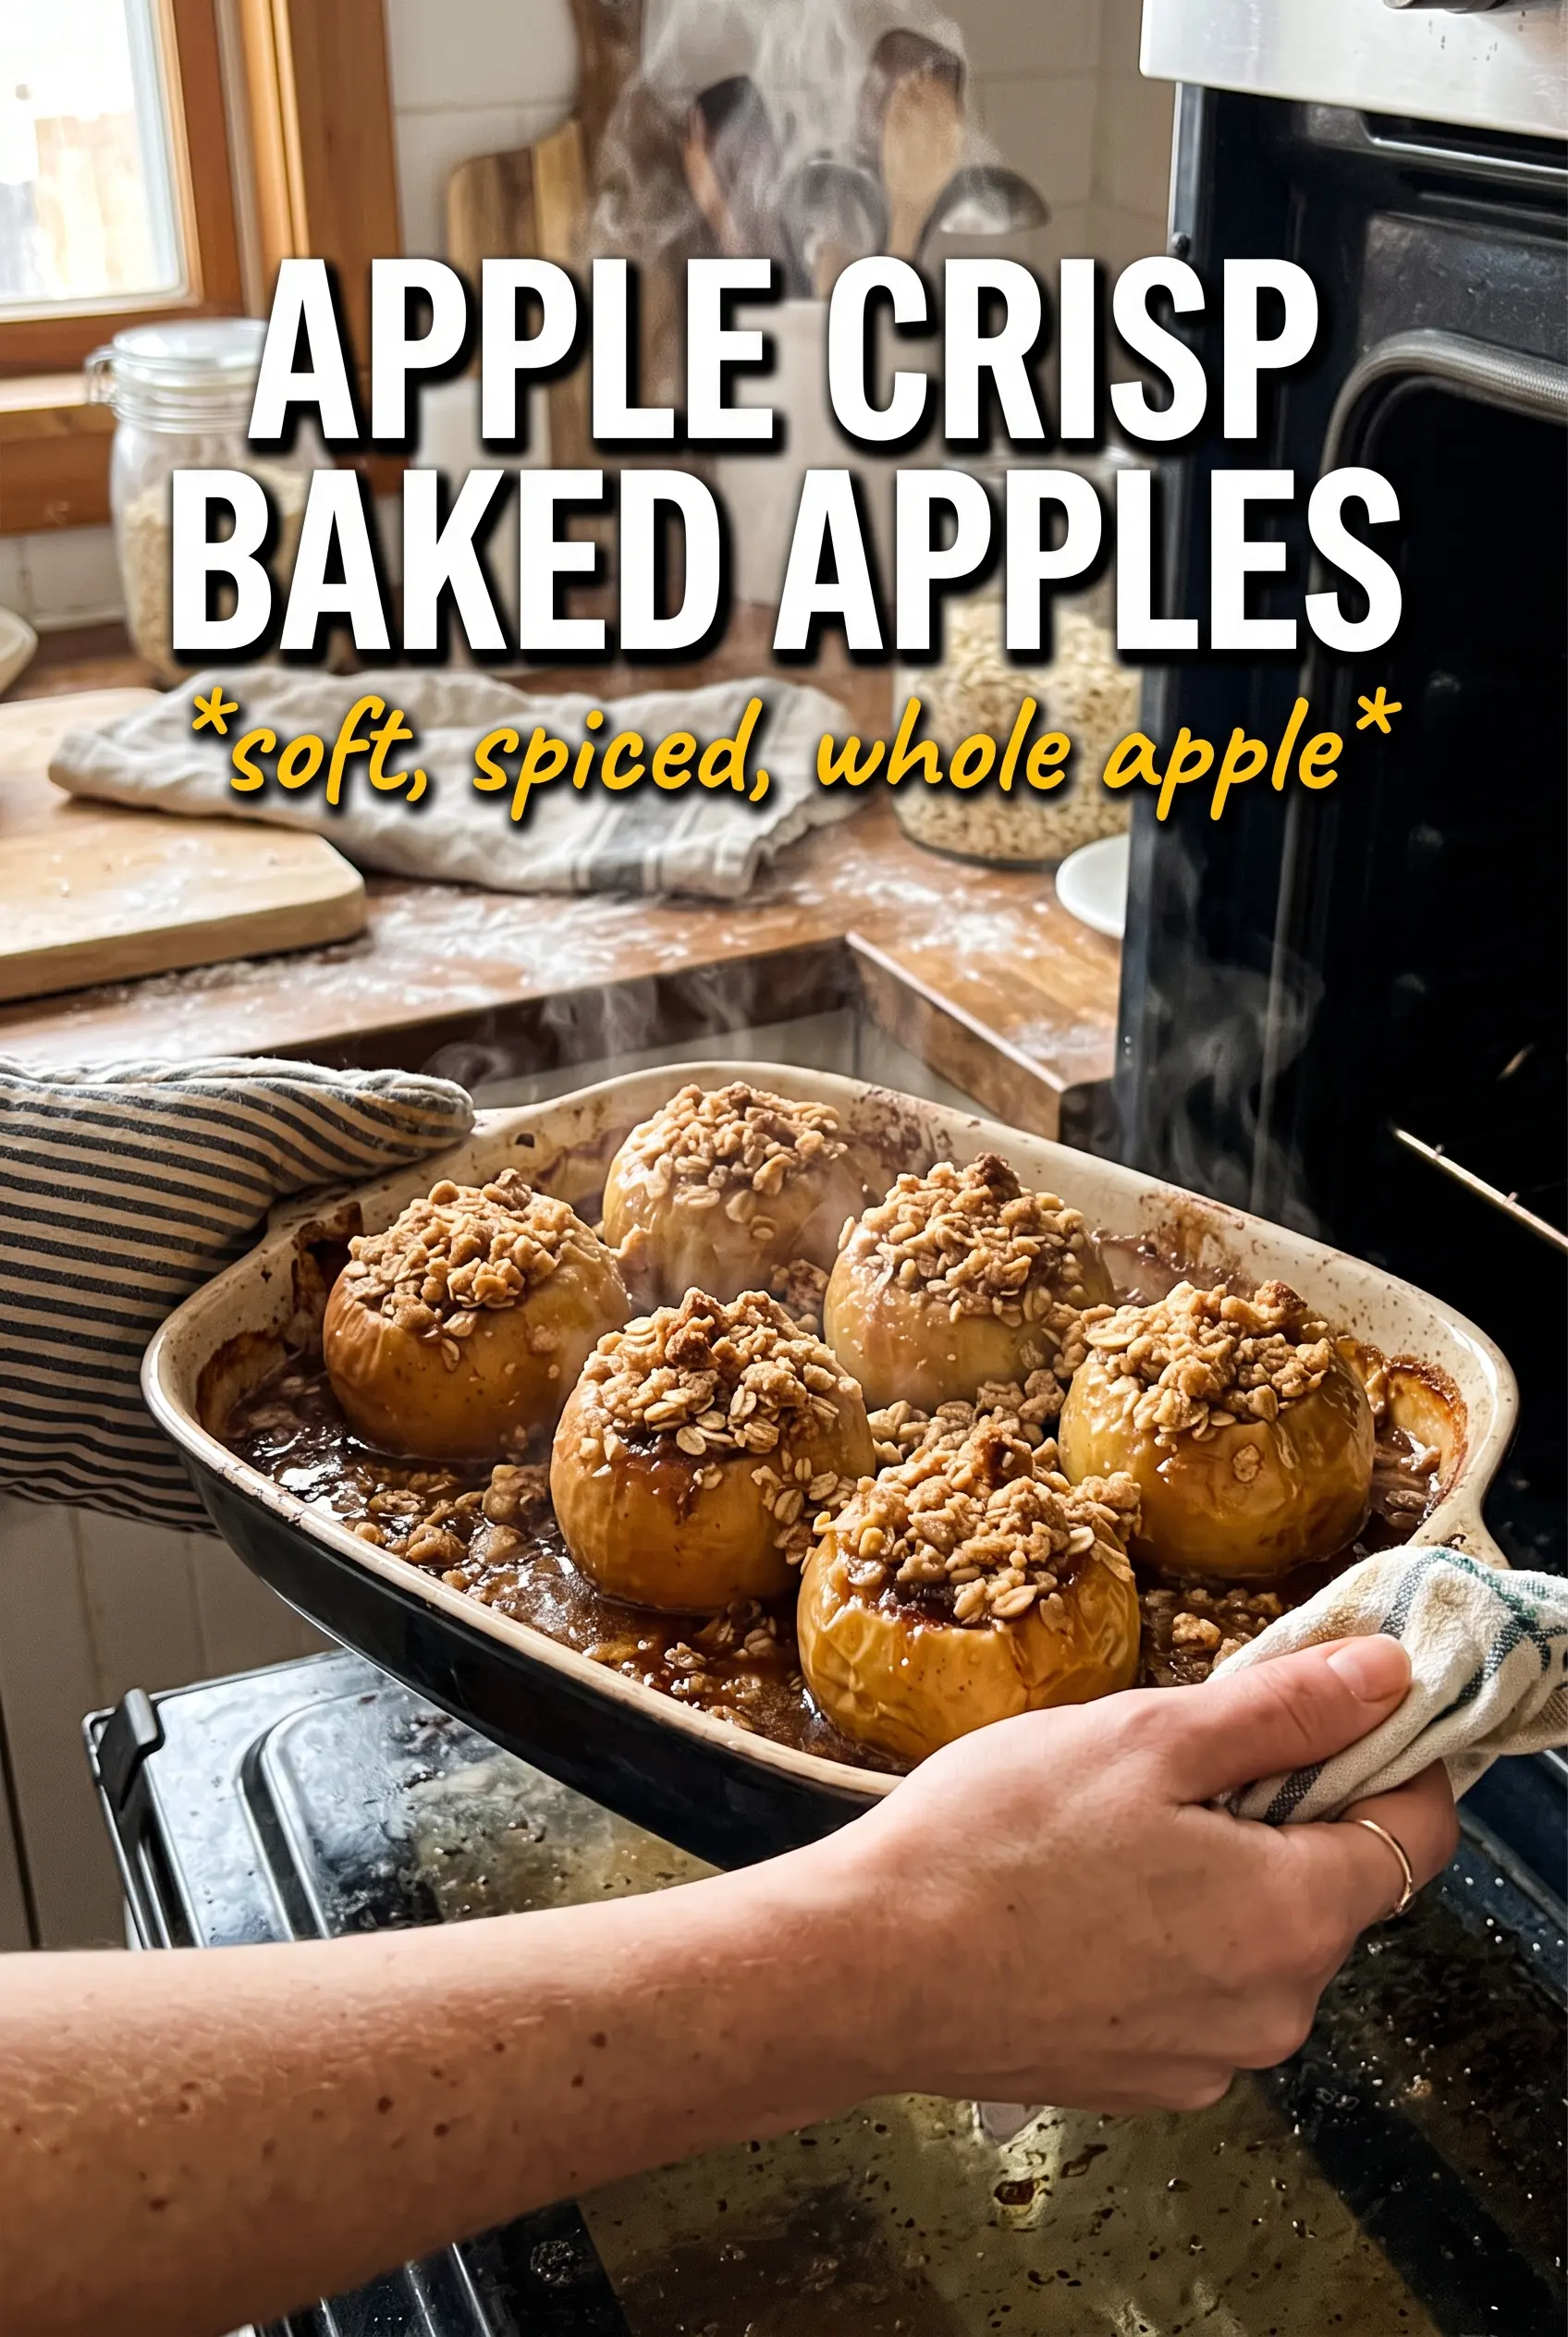
Apple Crisp Baked Apples
Ingredients
Equipment
Method
- Preheat oven to 375F. Pour apple cider or water into the bottom of a baking dish and place it in the oven to heat while you prep the apples.
- Core apples from the top, leaving the bottom intact to create a cavity about 1-1/2 inches wide. Keep the apples upright so the filling stays in the center during baking.
- Mix brown sugar (for apple cavities) and cinnamon (for apple cavities) together. Place a pinch into each apple cavity followed by one piece of butter.
- Combine rolled oats, all-purpose flour, brown sugar (packed), cinnamon, nutmeg, and salt in a bowl. Cut in cold unsalted butter until the mixture looks clumpy and no dry flour remains.
- Pack crumble into and over the top of each apple, pressing lightly so it adheres. Arrange apples on a sheet pan and bake 35-40 minutes at 375F until apples are tender and the crumble is golden.
- Let the baked apples stand for 5 minutes so juices thicken slightly. Serve immediately with vanilla ice cream and caramel sauce.