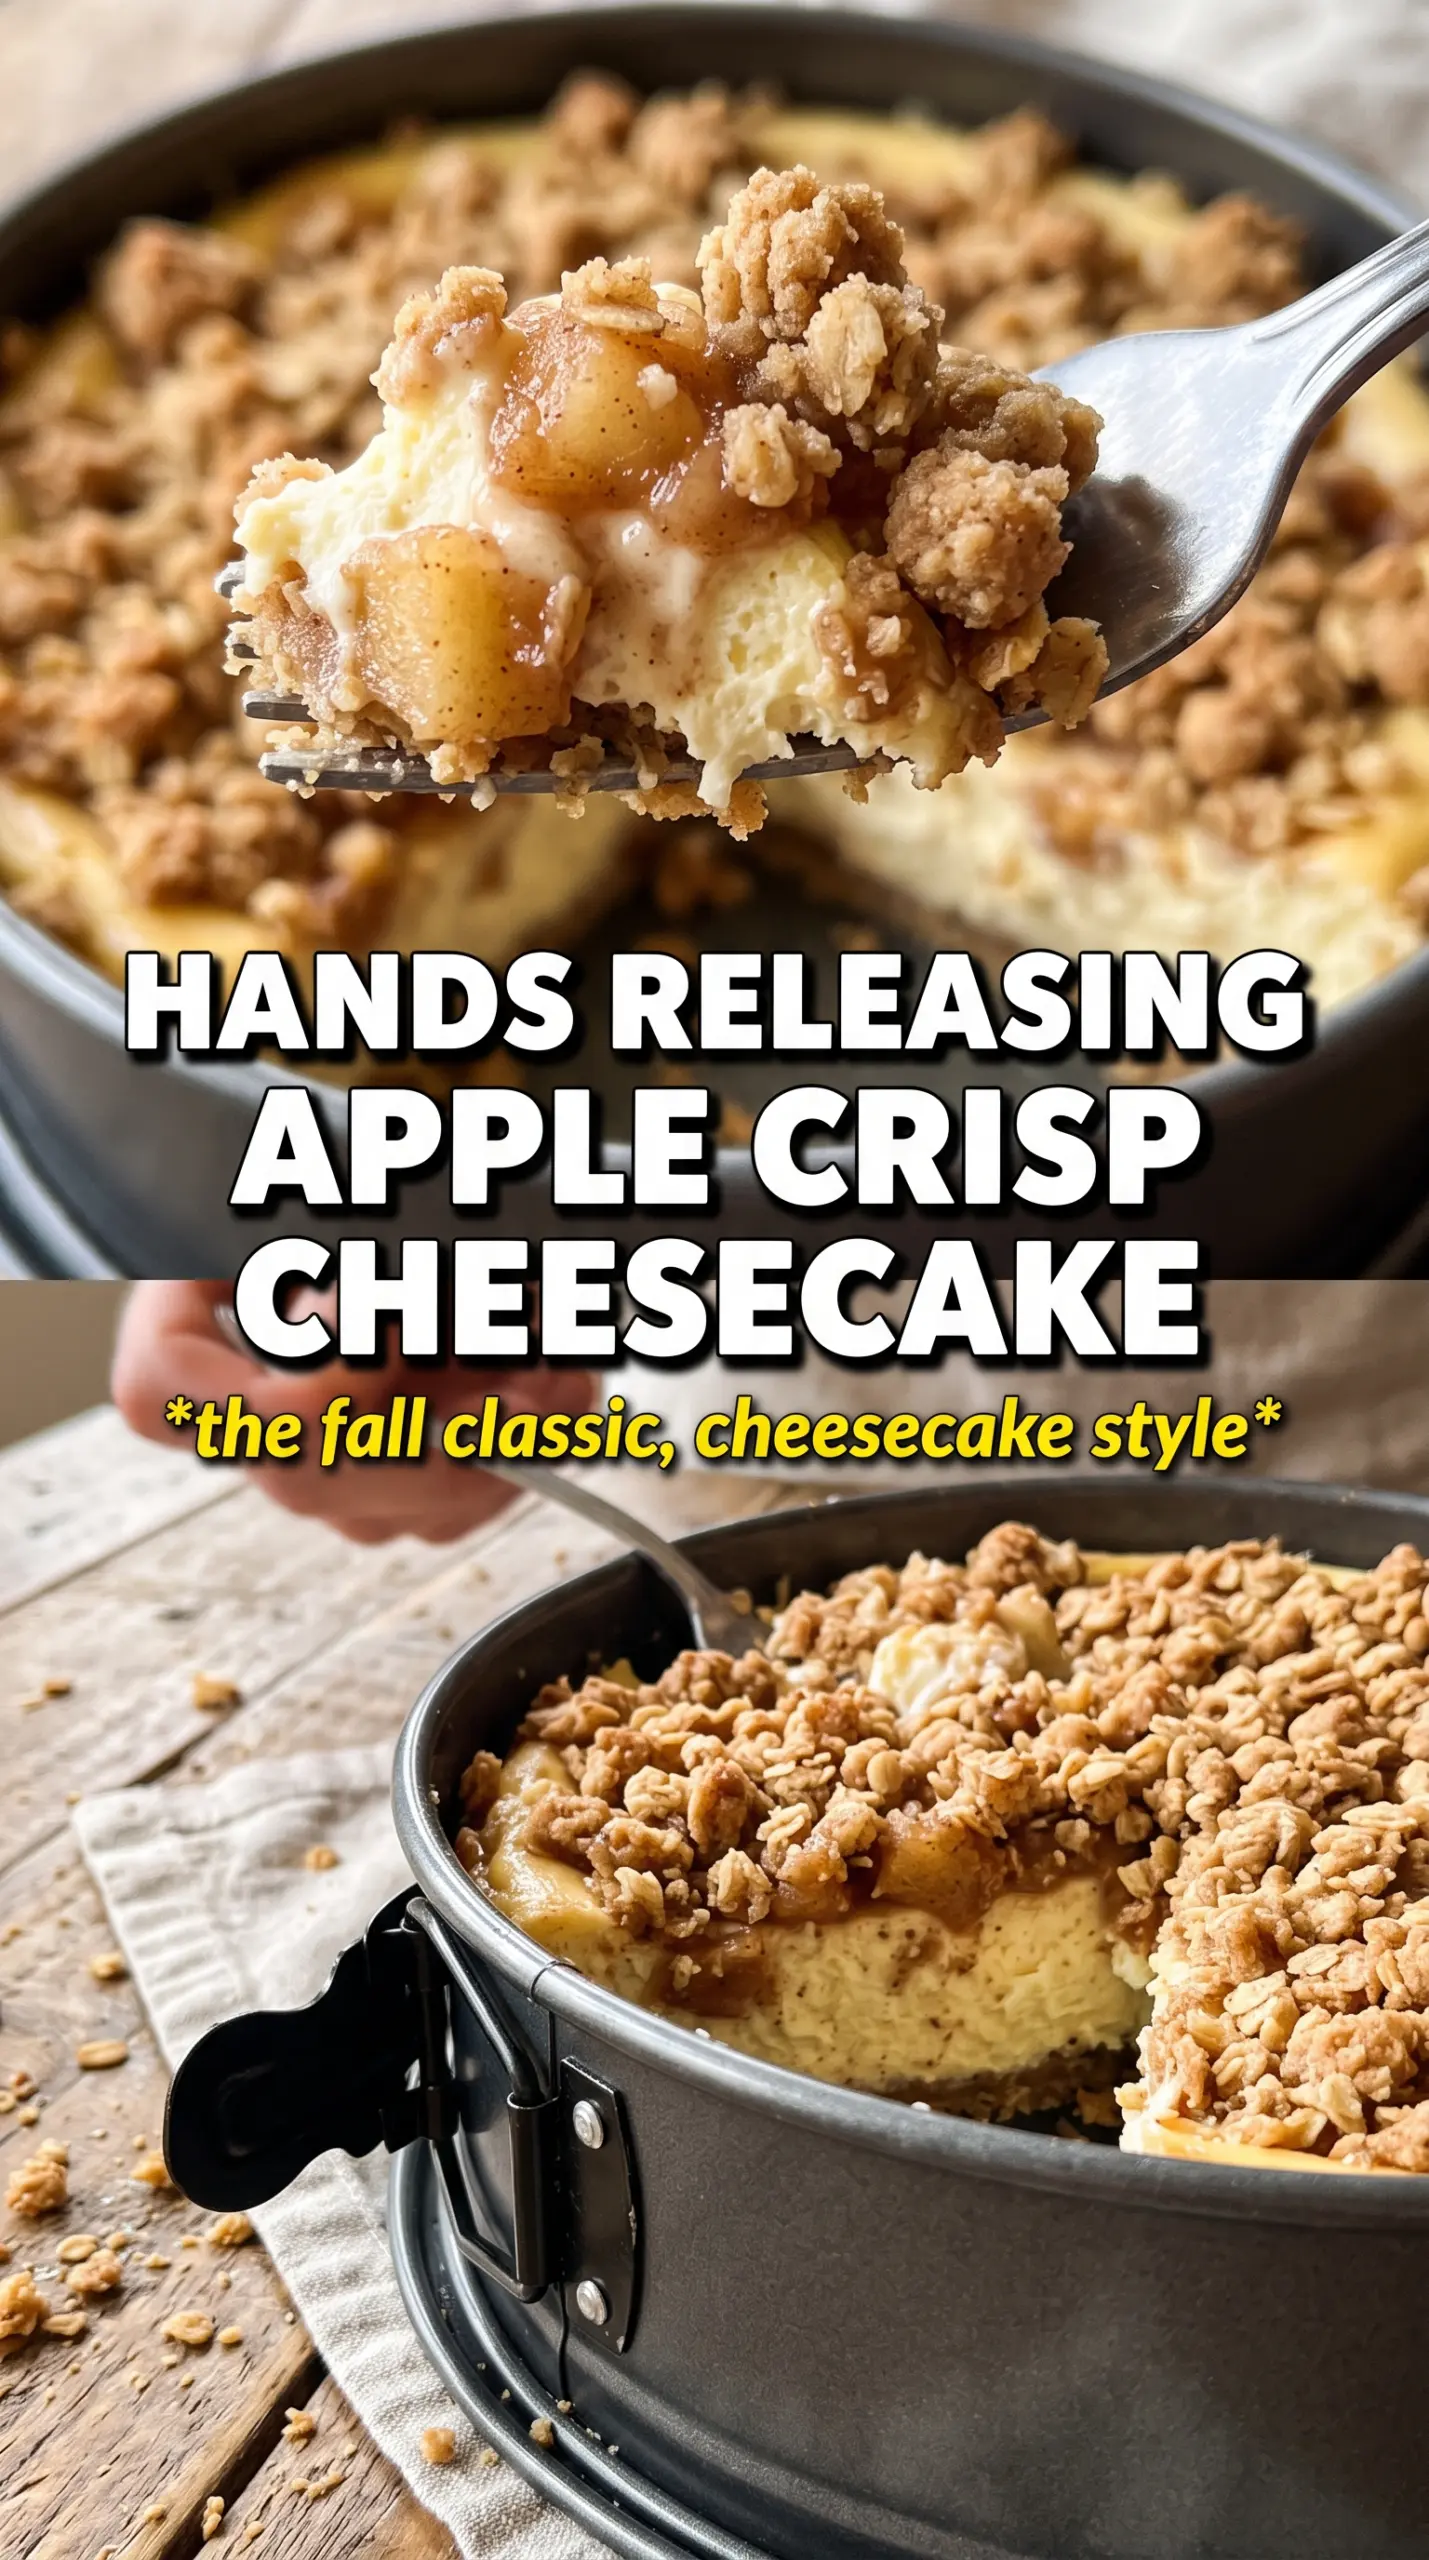
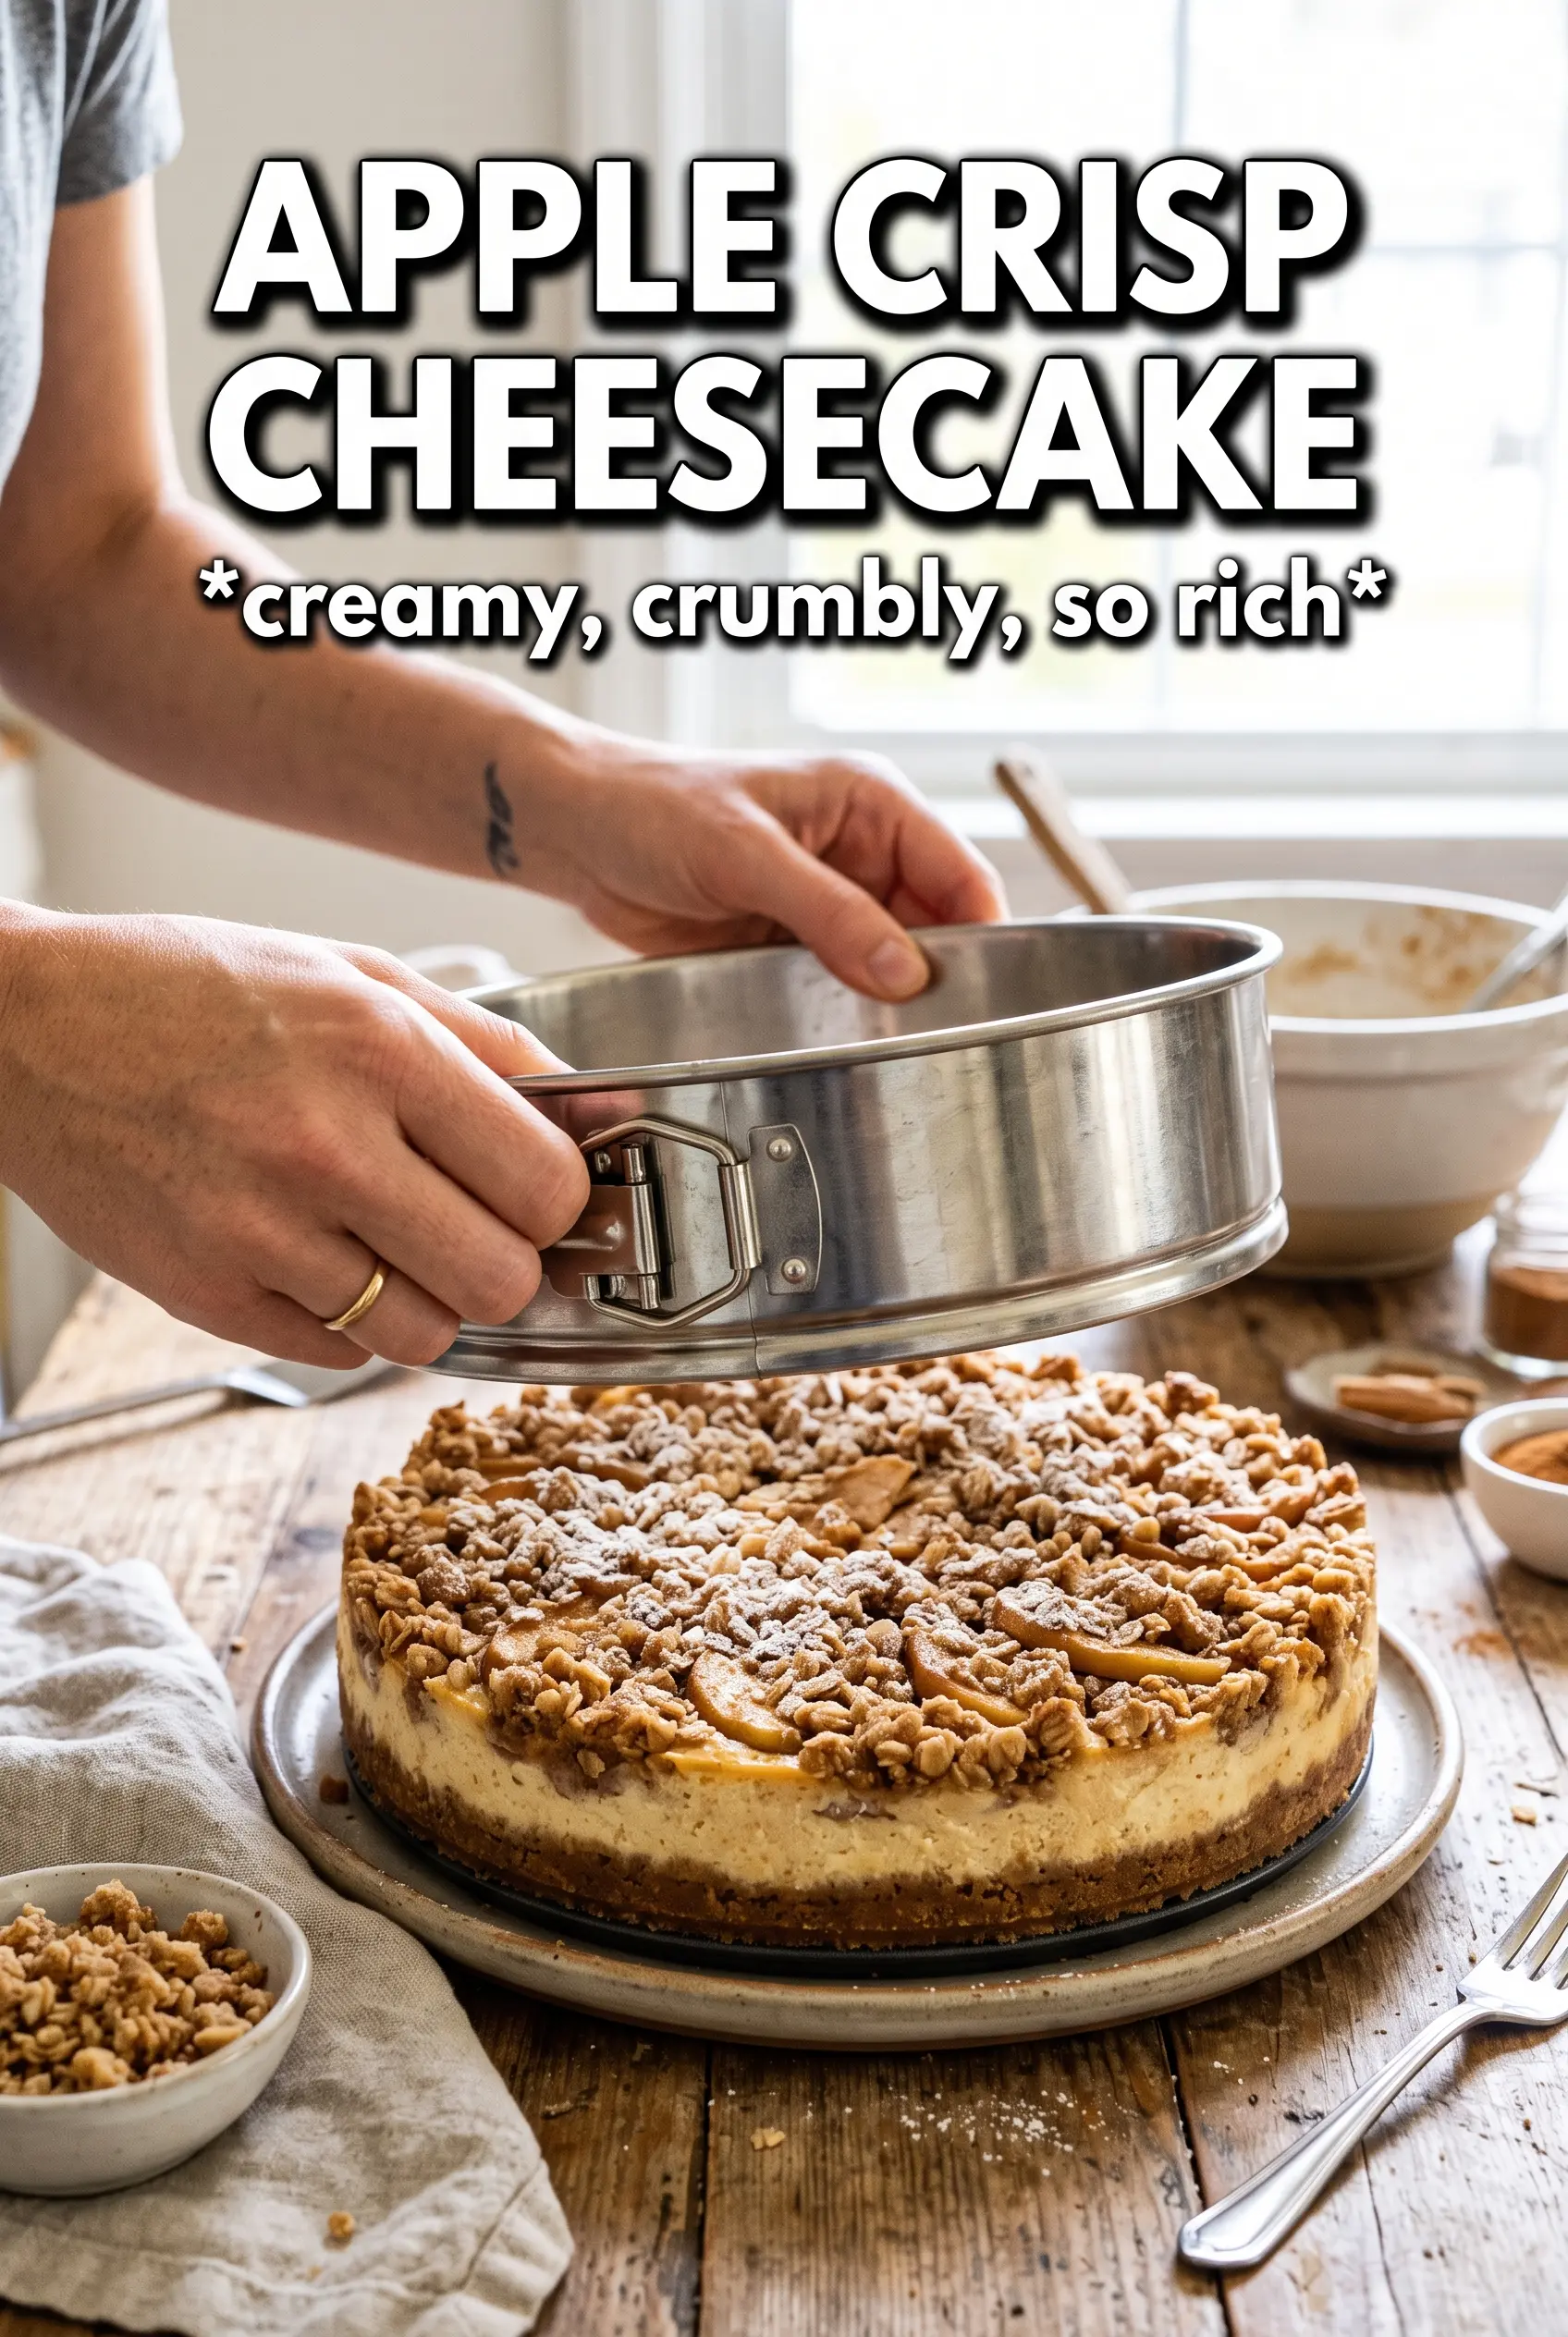
Apple Crisp Cheesecake delivers the kind of slice that stops people mid-conversation: a buttery graham crust, silky cinnamon cheesecake, tender spiced apples, and a golden oat crumble that stays crisp on top instead of melting into the filling. Each layer pulls its weight, and together they taste like two desserts that were always meant to share the same pan.
What makes this version work is the order. The crust gets a quick pre-bake so it holds under the filling, the apples are cooked just enough to soften their sharp edges, and the cheesecake batter stays simple so it bakes up smooth instead of heavy. The oat topping is mixed separately and scattered on last, which keeps those craggy bits from disappearing into the apples.
Below, I’ll walk through the part that matters most for clean slices: how to keep the cheesecake from cracking, how to know when the center is done, and what to change if you need to work around your pantry without losing that classic apple crisp feel.
The oat topping stayed crunchy even after chilling, and the apple layer didn’t make the cheesecake soggy at all. I followed the water bath and the center set up perfectly with no cracks.
Like this apple crisp cheesecake? Save it to Pinterest for the dessert nights when you want a creamy cheesecake center and a crunchy oat topping in one pan.
The Crumble Needs Its Own Pan Mindset
Apple crisp cheesecake falls apart when the topping is treated like a garnish. The oats and butter need to bake into their own little crust of crumbs so they stay distinct after chilling, which is why the cold butter matters more here than in a standard crumble. If the butter softens too much before baking, you get a pasty layer instead of those crisp, nubby bits that hold their texture on top of the apples.
The other place people run into trouble is moisture. Apples release juice as they bake, and cheesecake already brings its own softness. Cooking the apples first pulls off some of that excess water before they ever meet the batter, which keeps the filling from turning loose around the edges and helps the topping brown instead of steam.
- Cool the apples before layering. Hot apples can start loosening the cheesecake base before the pan even hits the oven.
- Use a water bath. It buffers the heat and keeps the cheesecake from baking too fast at the edges.
- Stop at just set. The center should still have a slight wobble when you remove it; it finishes as it cools.
What Each Layer Is Doing in the Pan
- Graham cracker crumbs — These give the crust that classic cheesecake base without fighting the apple layer. A standard boxed graham crumb works fine here, but crush them finely so the crust presses together evenly and doesn’t crumble when sliced.
- Cream cheese — Full-fat cream cheese is nonnegotiable if you want a dense, smooth slice that holds the apple topping. It needs to be softened all the way through, or you’ll chase lumps forever and risk overmixing the batter.
- Sour cream — This adds the slight tang that keeps the filling from tasting flat. Plain Greek yogurt can work in a pinch, but the texture will be a little less lush.
- Apples — Firm apples matter more than sweet ones. Use something that keeps shape, like Honeycrisp, Gala, or Granny Smith, because mealy apples turn mushy under the topping.
- Rolled oats — Old-fashioned oats give the crisp its real texture. Quick oats will work, but the topping will bake up finer and less crunchy.
Building the Layers Without Losing the Crunch
Pressing the Crust
Mix the graham crumbs, sugar, and melted butter until the texture looks like damp sand, then press it firmly into the springform pan. A flat measuring cup helps get the base even and tight, which matters because a loose crust tends to break apart when you release the ring. Bake it until it smells toasty and the edges darken slightly, then cool it while you handle the filling.
Cooking the Apples First
Cook the diced apples with butter, brown sugar, and cinnamon just until they begin to soften around the edges. They should still hold their shape; if they turn to sauce in the pan, they’ll sink too much and make the center soggy. Let them cool completely before spooning them over the filling so they don’t warm the cheesecake batter.
Mixing the Cheesecake Batter
Beat the cream cheese and sugar until smooth before adding the eggs one at a time. That part matters because eggs mixed into a lumpy base stay lumpy, and overbeating after the eggs go in can trap too much air and lead to cracks. Stir in the sour cream, vanilla, and cinnamon just until the batter looks uniform and glossy.
Layering and Baking the Top
Pour the filling over the crust, spread the apples across the surface, then scatter the oat crumble over the top. Don’t press the topping down; leave it loose so the oven can turn it into a proper crisp. Bake in the water bath until the outer ring looks set and the center gives just a small jiggle when you nudge the pan.
How to Adapt This Without Losing the Dessert
Gluten-Free Crust and Crisp
Use gluten-free graham-style crackers for the crust and a 1:1 gluten-free flour blend in the topping. The dessert still slices the same, but the oat topping may brown a little faster, so start checking it near the end of baking.
Dairy-Free Version
Swap in dairy-free cream cheese, plant-based butter, and a thick dairy-free sour cream alternative. The filling won’t taste quite as tangy, but the cinnamon apple layer and crisp topping still carry the dessert well if you use a brand that bakes firmly.
Tart Apples for a Brighter Bite
If you like more contrast against the sweet filling, use half Granny Smith and half a sweeter apple. The tart apples keep the flavor sharper and stop the whole dessert from reading as one-note sweet.
Storage and Reheating
- Refrigerator: Store covered for up to 5 days. The topping softens slightly, but the cheesecake stays clean and sliceable.
- Freezer: Freeze individual slices wrapped tightly for up to 1 month. Thaw overnight in the refrigerator for the best texture; freezing the whole cheesecake works, but the topping loses some crunch.
- Reheating: Serve it cold or let a slice sit at room temperature for 15 to 20 minutes. Warm cheesecake tends to slump, and the topping can go greasy if you try to reheat it in the microwave.
Answers to the Questions Worth Asking
Apple Crisp Cheesecake
Ingredients
Equipment
Method
- Preheat oven to 325F. Press graham cracker crumbs mixture firmly into a 9-inch springform pan and bake for 8 minutes.
- Remove the crust from the oven and set it aside to cool while you prepare the filling and topping.
- In a pot, cook diced apples with butter, brown sugar, and cinnamon for 5 minutes until softened. Spread the apples out to cool completely.
- Beat softened cream cheese and granulated sugar until smooth. Add eggs one at a time, then mix in sour cream, vanilla, and cinnamon until just combined.
- Pour the cheesecake filling over the baked crust and top with the cooled apples. Scatter the apples evenly so the surface is covered.
- Make the oat topping by combining rolled oats, flour, brown sugar, and cinnamon. Cut in cold cubed butter until clumpy, then scatter the oat crumble over the apples.
- Set the springform pan in a water bath on a sheet pan and bake at 325F for 60–65 minutes, until the center is just set. Look for a slight jiggle in the middle when you gently shake the pan.
- Cool the cheesecake completely at room temperature. Refrigerate for 6 hours before releasing and slicing for clean cuts.