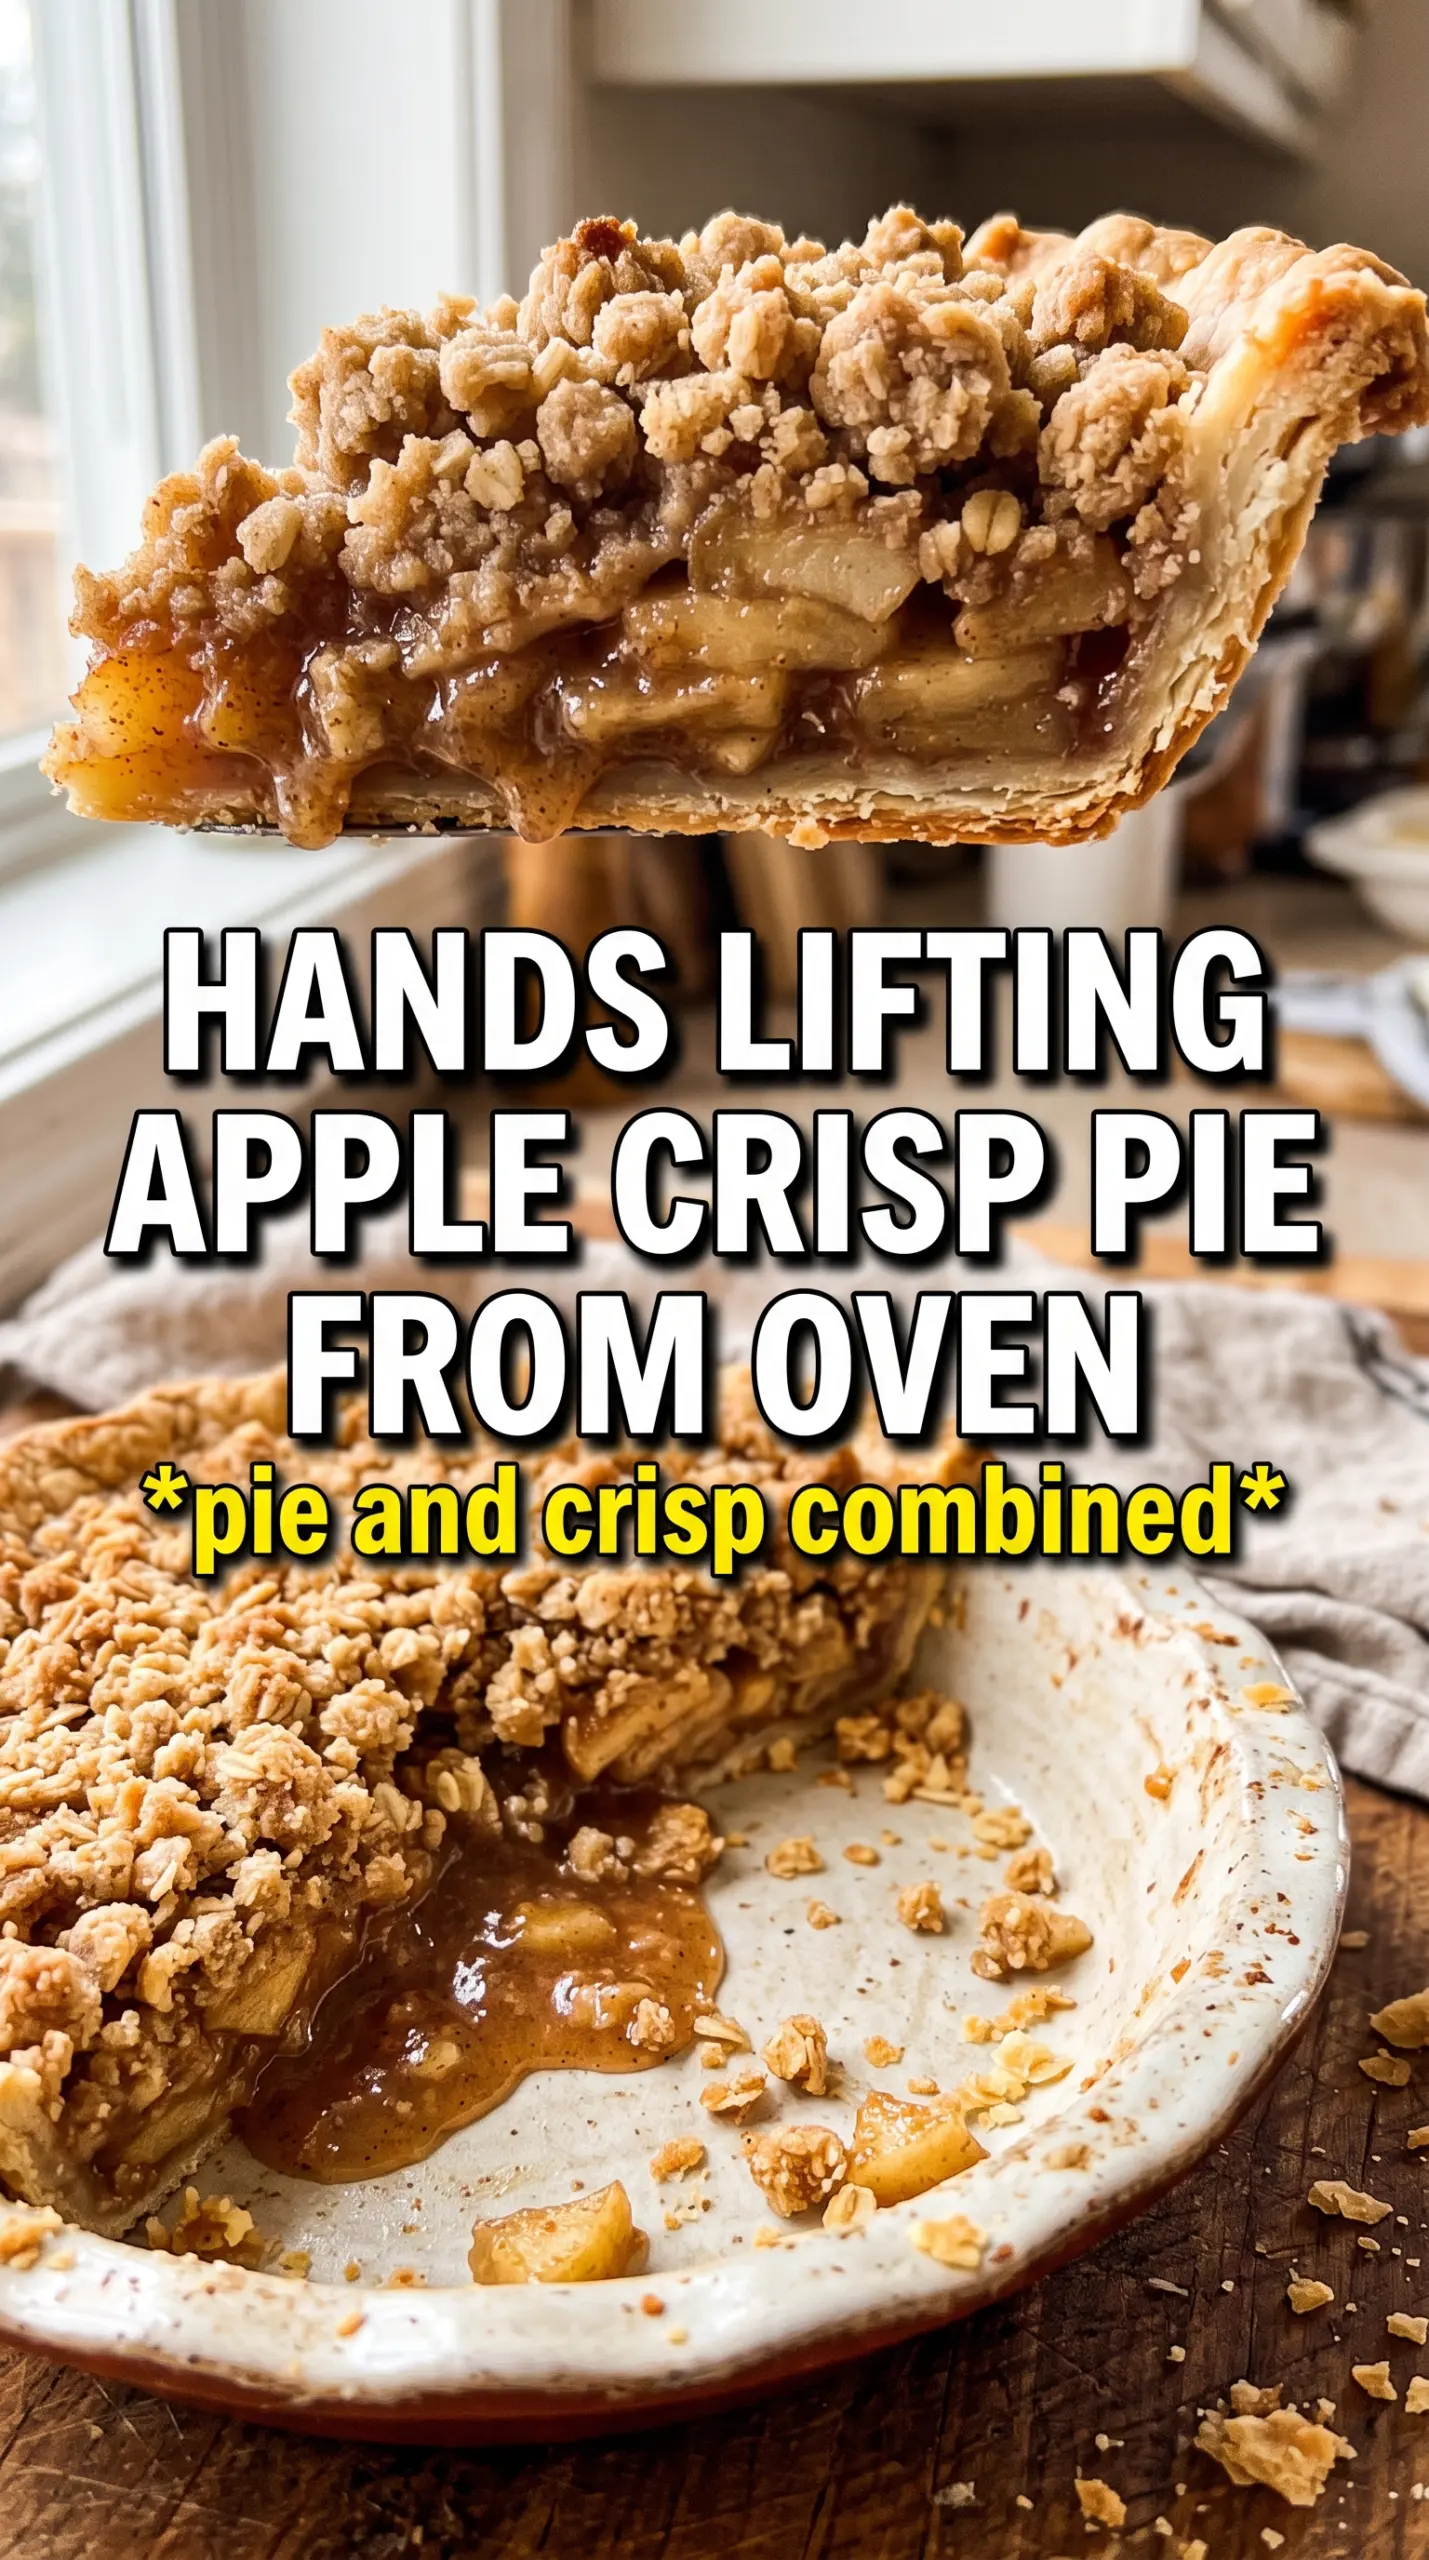
Apple Crisp Pie bakes up with the best parts of two desserts in one pan: a tender, syrupy apple filling under a thick oat crumble that turns bronzed and nubbly in the oven. The bottom crust catches all the juices, the topping stays craggy instead of sandy, and every slice gives you that mix of soft fruit, buttery crunch, and caramel at the edges.
The trick here is keeping the apple filling loose enough to bubble but thick enough to slice. Cornstarch handles the juices from the apples, and the caramel sauce adds depth without making the filling taste heavy. Cold butter in the crumble matters too; it melts in pockets as it bakes, which is what gives you those golden clusters instead of a flat topping.
Below you’ll find the small details that keep the crust from getting soggy and the topping from overbrowning before the apples are done. That timing is what makes this pie worth repeating.
The topping stayed crisp even after cooling, and the apple filling set up instead of running all over the plate. The caramel in the filling gave it that bakery-style taste without making it too sweet.
Save this Apple Crisp Pie for the dessert nights when you want a bubbling fruit filling and a thick oat crumble with real caramel flavor.
The Part That Keeps the Filling From Running
Most fruit pies fail for one of two reasons: the apples release too much juice, or the filling gets thickened before it has a chance to bubble. This pie avoids both problems by using cornstarch in the filling and baking until the juices are visibly bubbling at the edges. That bubbling matters. It tells you the cornstarch has fully activated, which is what gives you a sliceable filling instead of apple soup.
The other detail that matters is the mix of apples. Use firm baking apples that hold their shape after a long bake. If you use a soft apple that collapses early, the filling turns mushy under the crumble before the crust is done. The caramel sauce helps round out the flavor, but the apples still need enough structure to carry the dessert.
- Apples — Firm baking apples are worth it here. They keep their shape and give you soft slices instead of applesauce texture. If you only have a softer variety, mix it with a firmer one so the filling still has some structure.
- Cornstarch — This is the thickener that keeps the juices in check. Flour won’t thicken as cleanly in a fruit pie, and you’ll usually end up with a cloudier filling. Toss it thoroughly with the apples so it doesn’t clump at the bottom.
- Caramel sauce — Use a good jarred sauce if that’s what you have, but choose one that tastes like caramel, not just sugar syrup. It deepens the apple flavor without taking over. Save the extra for drizzling after baking so the topping stays crisp.
- Cold butter — This is what creates those big crumble clumps. If the butter softens before it hits the oven, the topping turns pasty and flat. Cube it cold and cut it in just until the mixture forms rough clusters.
What Each Ingredient Is Actually Doing in This Recipe
- Primary ingredient (the star) — Quality matters most. Choose the best you can find.
- Cooking medium (oil, butter, or broth) — This carries flavors and prevents dryness.
- Seasonings (salt, pepper, spices, herbs) — Layer flavors so nothing overpowers. Build depth gradually.
- Aromatics (garlic, onion, herbs) — Cook with fat to bloom flavors. Become the foundation.
- Supporting ingredients — Complement the main ingredient without overpowering it.
- Sauce or liquid (if applicable) — Brings flavors together. Balance richness with acid.
- Acid (lemon, vinegar, wine, or other) — Brightens and prevents flat-tasting results.
- Final finish (garnish, glaze, or sauce) — Prevents one-dimensional taste and adds visual appeal.
Building the Crumble So It Stays Crisp
Coating the Apples First
Toss the sliced apples with both sugars, cinnamon, nutmeg, cornstarch, lemon juice, and caramel until every piece looks lightly coated. The lemon juice keeps the apples from tasting flat, and the cornstarch needs to be evenly distributed before the fruit goes into the shell. If you see dry white patches, keep tossing; those spots can turn gummy in the oven.
Making the Oat Topping in Clumps
Combine the oats, flour, brown sugar, cinnamon, and salt, then cut in the cold butter until large clumps form. Stop before the mixture turns sandy. You want some pieces the size of peas and some bigger chunks, because those are the bits that bake into a crisp, craggy top. If it looks too dry, keep working the butter in a little longer rather than adding liquid.
Baking Until the Filling Bubbles
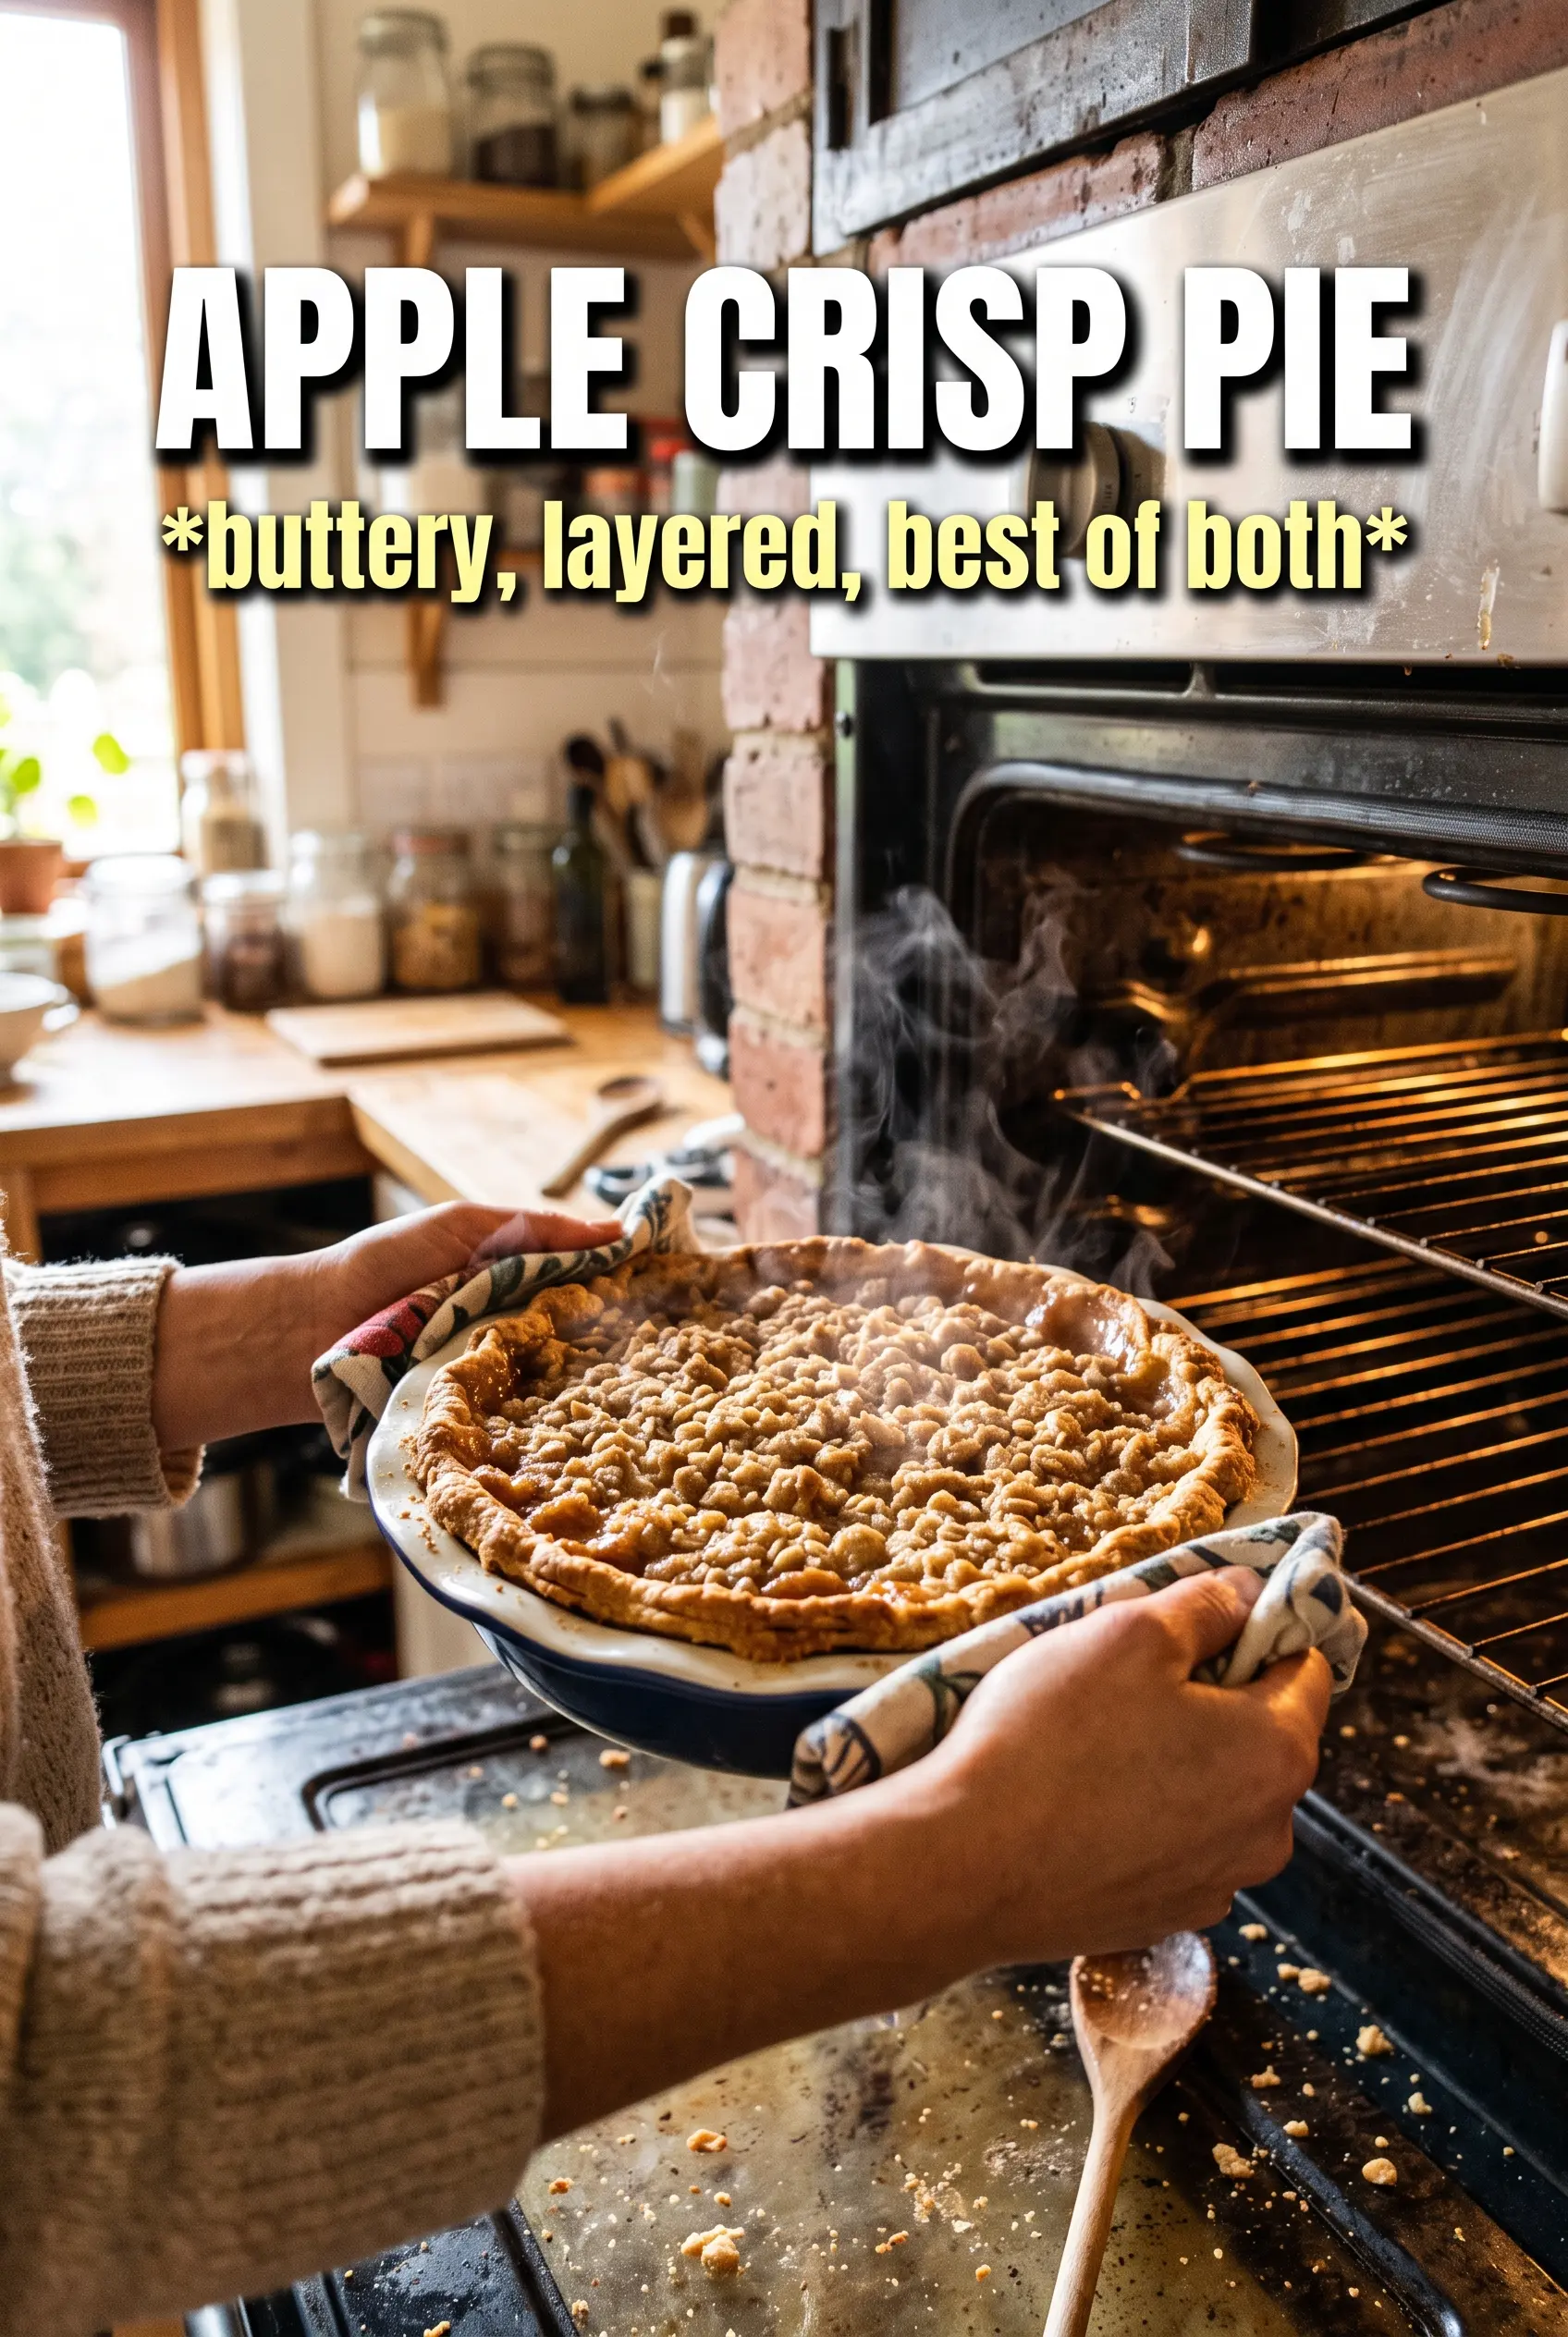
Pile the crumble generously over the apples and press it down very gently so it stays put. Bake until the topping is deeply golden and the filling bubbles around the edges, usually 60 to 65 minutes. If the crumble browns too fast, tent it loosely with foil after about 40 minutes. Pull it too early and the filling won’t be set; wait for that bubbling center.
Use Pears for a Softer, Fragrant Twist
Replace half of the apples with firm pears for a more delicate filling. Pears release a little more juice, so keep the cornstarch in place and don’t skip the full bake time. The result is softer and more floral, with less sharp fruit flavor and a silkier bite.
Make It Gluten-Free
Swap the pie shell and all-purpose flour for certified gluten-free versions. The oat topping still works well as long as the oats are certified gluten-free, and the texture stays crisp with only a slight change in tenderness. Don’t use a gluten-free flour blend that gets gummy; you want a dry, sandy crumble that can clump around the butter.
Skip the Dairy
Use a plant-based butter that bakes well and keeps its shape cold. The topping won’t taste exactly the same, but you still get the oat crunch and the buttery aroma if you choose a good one. Avoid soft tub spreads; they melt too fast and make the crumble greasy.
Make It Ahead for Easier Serving
You can assemble the pie a few hours ahead and refrigerate it before baking. For the best texture, don’t add the crumble too far in advance or it can start softening from the fruit juices. Bake it straight from the fridge and add a few extra minutes if the filling is very cold.
Storage and Reheating
- Refrigerator: Store covered for up to 4 days. The topping softens a little, but the filling holds well.
- Freezer: This pie freezes well after baking. Cool completely, wrap tightly, and freeze for up to 2 months. Thaw in the fridge before reheating.
- Reheating: Warm slices in a 325F oven until the topping crisps again, about 10 to 15 minutes. The microwave will heat the filling, but it turns the crumble soft.
Questions I Get Asked About This Recipe
Apple Crisp Pie
Ingredients
Equipment
Method
- Preheat the oven to 375F, then fit the unbaked 9-inch deep dish pie shell into a deep-dish pie plate and crimp the edge decoratively. Place the pie plate on a sheet pan for easier handling.
- Toss the apple slices with the granulated sugar, brown sugar, cinnamon, nutmeg, cornstarch, lemon juice, and caramel sauce until evenly coated. Pile the apples into the shell, mounding well.
- Combine the rolled oats, all-purpose flour, packed brown sugar, cinnamon, and salt in a bowl. Add the cold cubed unsalted butter and cut it in until large clumps form.
- Pile the crumble generously over the apples and press very gently so the topping adheres. Keep an even layer to help it bake into crisp clusters.
- Bake for 60-65 minutes at 375F until the crumble is deeply golden and the filling bubbles at the edges. If the top is browning too quickly after 40 minutes, tent it with foil.
- Drizzle the pie with extra caramel and serve. Slice while warm so the filling stays gooey and the topping remains crisp.