Golden oat crumble over bubbling apple filling is the kind of dessert that disappears fast, especially when the topping bakes into those crisp little ridges that crack under a spoon. Using canned apple pie filling keeps this dessert in the weeknight-friendly lane, but the final result still tastes like you paid attention. The lemon juice and warm spices wake up the filling, and the cold butter in the topping gives you those chunky, toasted crumbs that make apple crisp worth making in the first place.
The trick is not to treat the canned filling like it’s already finished. A little cinnamon, nutmeg, allspice, and lemon juice sharpens the flavor and keeps the apples from tasting flat or overly sweet. On the topping side, rolled oats and flour give structure, while brown sugar and cold butter create the crunch. If the butter is too soft, you’ll get a paste instead of a crumble, and the topping will bake up dense instead of crisp.
Below, I’ve included the specific cue I watch for when the crisp is done, plus a few smart swaps if you need to adjust the filling or make it dairy-free.
The topping turned out crisp and buttery, and the lemon juice kept the canned filling from tasting too sweet. I served it warm with vanilla ice cream, and the edges were still bubbling like a bakery dessert.
Save this apple crisp with canned filling for the nights when you want a bubbling dessert and a crunchy oat topping without peeling a single apple.
The Part That Keeps Canned Filling From Tasting Flat
Most of the work here happens before the crisp ever goes into the oven. Canned apple pie filling already has sweetness and body, but it can taste one-note if you pour it straight into the dish. Stirring in cinnamon, nutmeg, allspice, and lemon juice wakes it up and gives the apples a brighter edge, which matters because the topping is sweet too. If you skip that step, the dessert still bakes, but it can come out heavy instead of balanced.
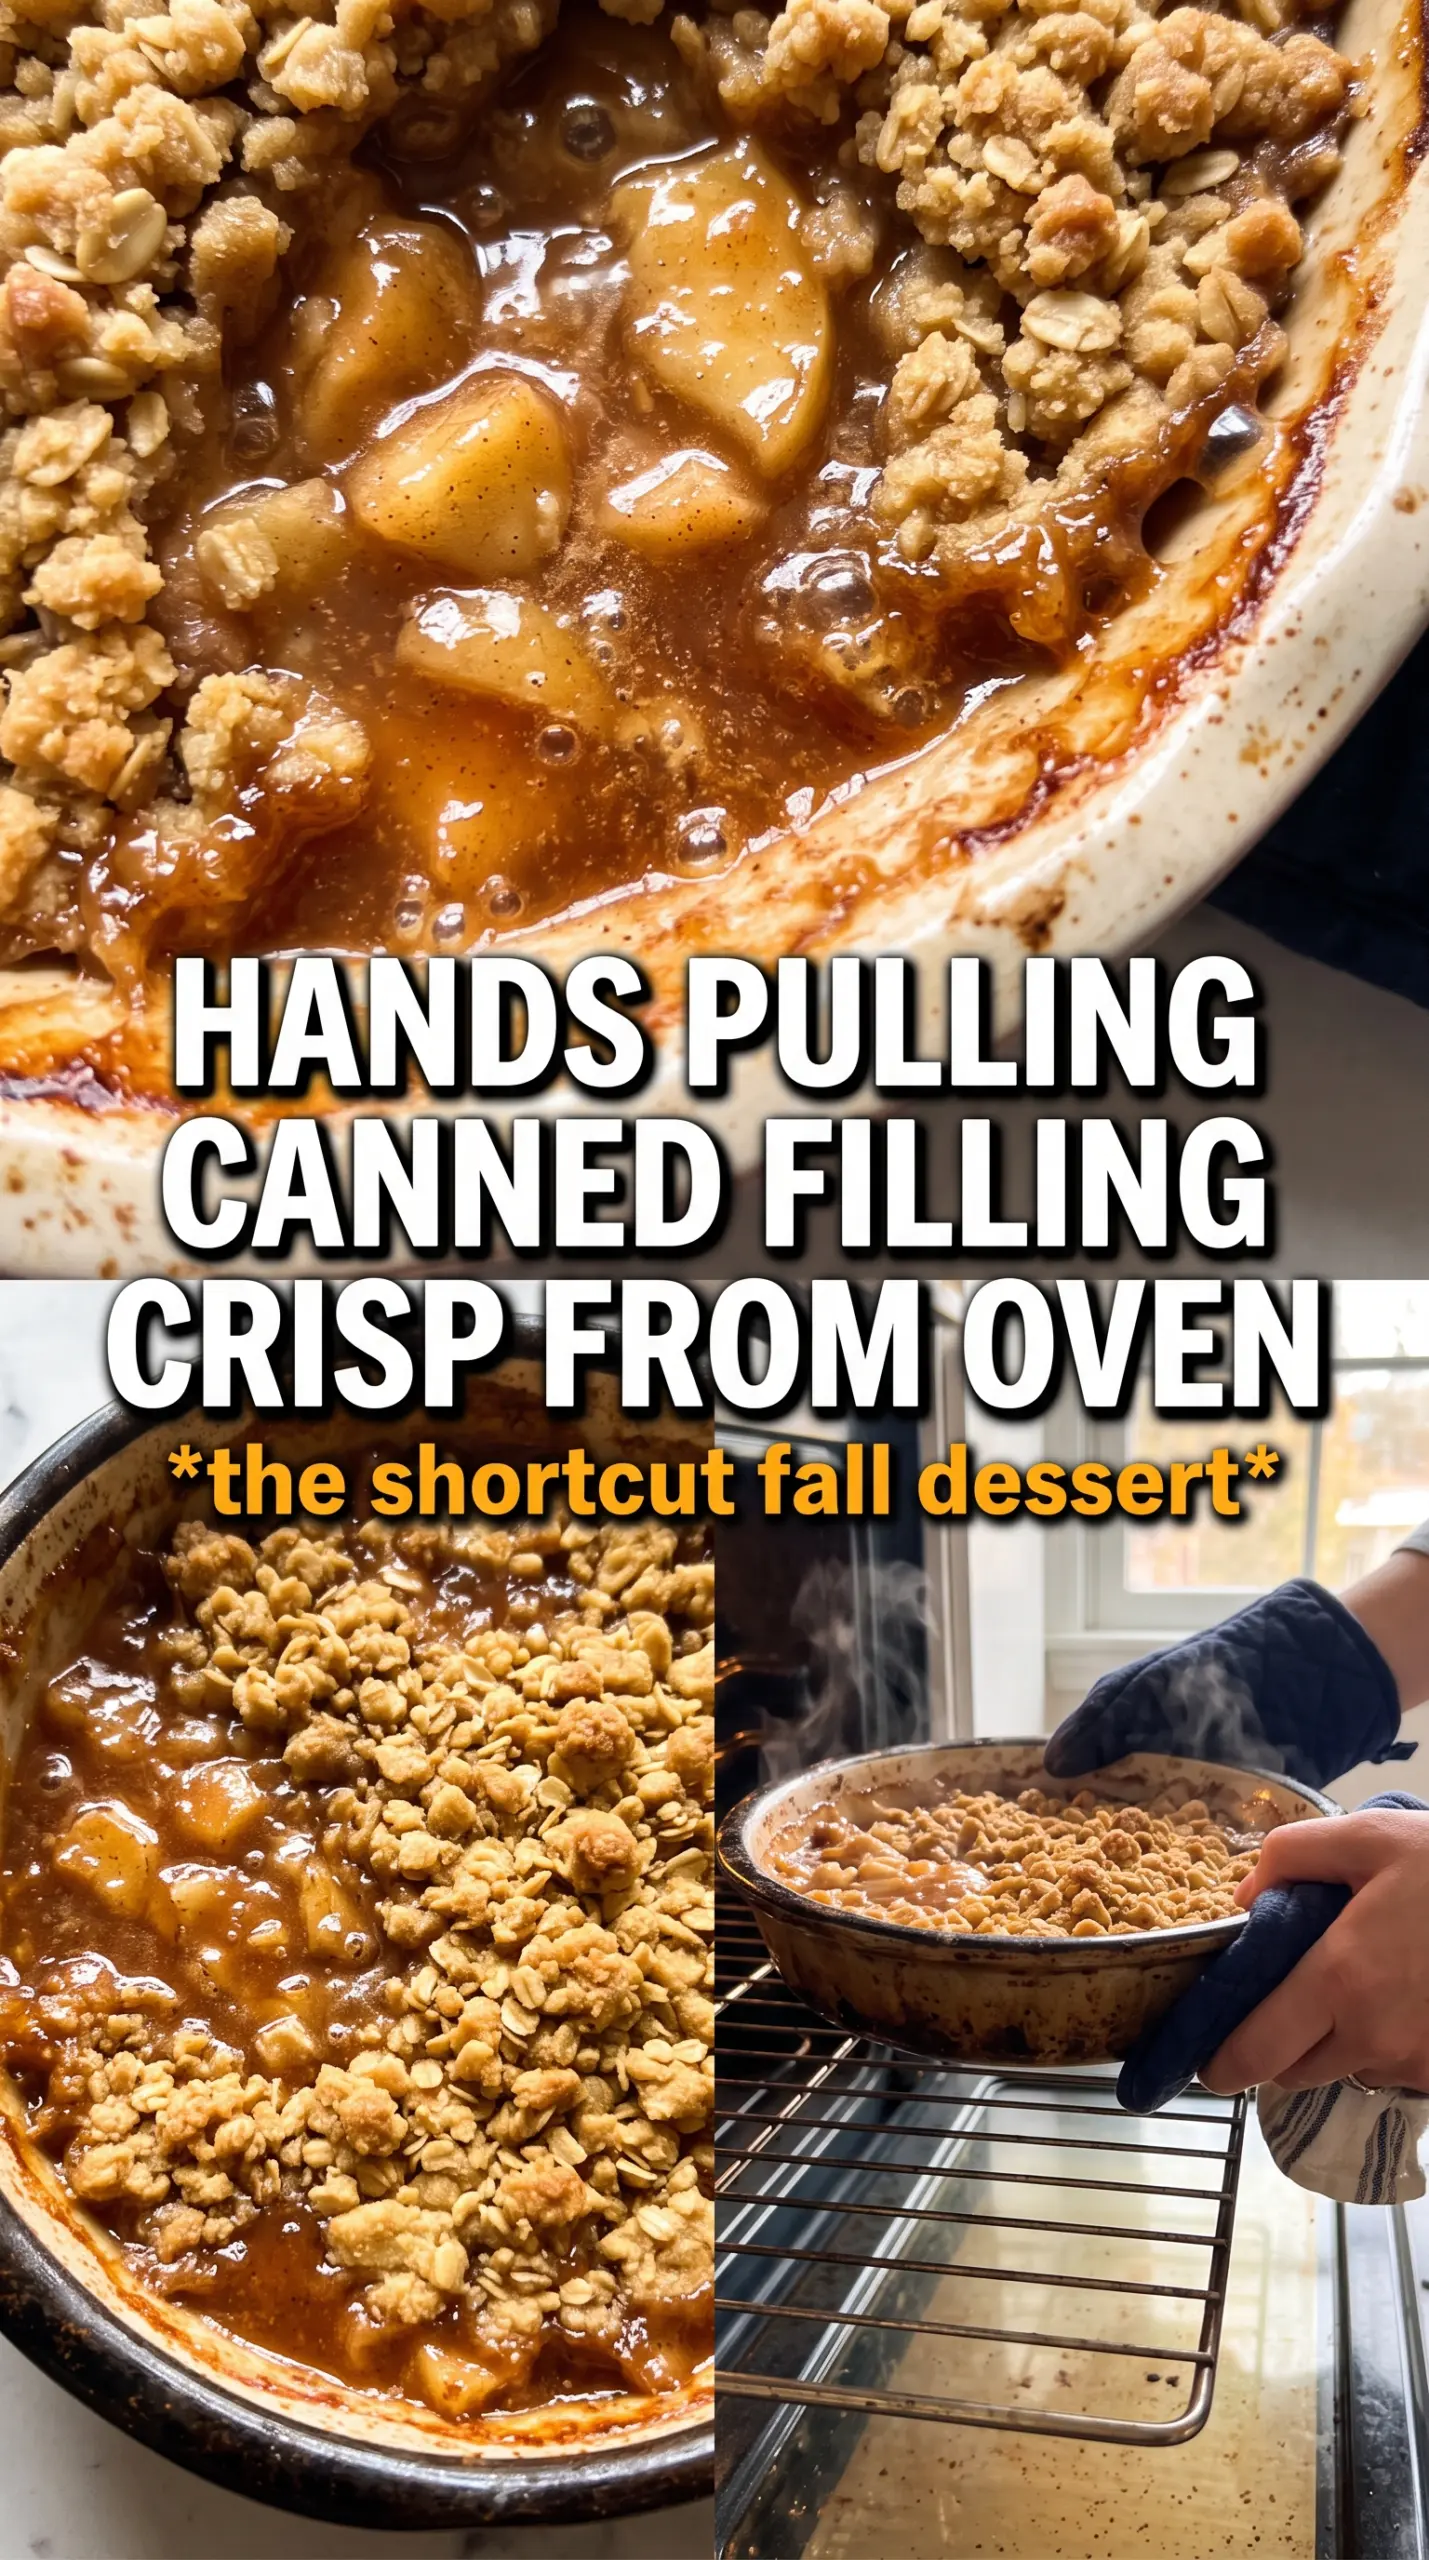
The other mistake is using too much filling in a thin layer and then burying it under a dry topping. Spread it in an even layer so it bubbles at the edges while the topping browns. That bubbling is your signal that the filling is hot enough to thicken under the crumble instead of sitting there as syrup.
What the Oats, Flour, and Cold Butter Are Actually Doing
- Rolled oats — These give the topping that classic craggy, toasty texture. Quick oats work in a pinch, but they bake up finer and softer, so the crumble loses some of its chew and definition.
- All-purpose flour — Flour helps bind the topping so it bakes into clusters instead of sandy crumbs. You need enough structure to hold the butter in place as it melts, which is what gives you those crunchy little peaks.
- Brown sugar — Brown sugar adds the caramel note that makes the topping taste deeper than plain white sugar would. Light or dark both work; dark brown sugar gives a stronger molasses flavor.
- Cold unsalted butter — Cold butter is non-negotiable here. If it softens too much before baking, the topping spreads into a paste instead of staying chunky, and you lose the crisp texture.
- Apple pie filling — This is where the shortcut pays off. Choose a brand with actual apple slices that still hold some shape; overly broken-down filling turns mushy once it bakes again.
Building the Crisp So the Topping Stays Crunchy
Season the Filling First
Stir the cinnamon, nutmeg, allspice, and lemon juice directly into the canned filling before it goes in the baking dish. That distributes the flavor evenly, and the lemon keeps the sweetness from feeling heavy. Spread the mixture into a greased 9×13 dish in an even layer so it heats through at the same pace. If the filling piles up in the middle, the center stays soupy while the edges overbake.
Cut in the Butter Until You See Clumps
Combine the oats, flour, brown sugar, cinnamon, and salt, then work in the cold butter until the mixture forms chunky clumps. You’re looking for pieces that hold together when squeezed, not a smooth dough. Those uneven bits are what bake into a crisp, craggy top. If the mixture looks greasy or pasty, the butter got too warm, and the topping will bake up dense.
Bake Until the Edges Bubble
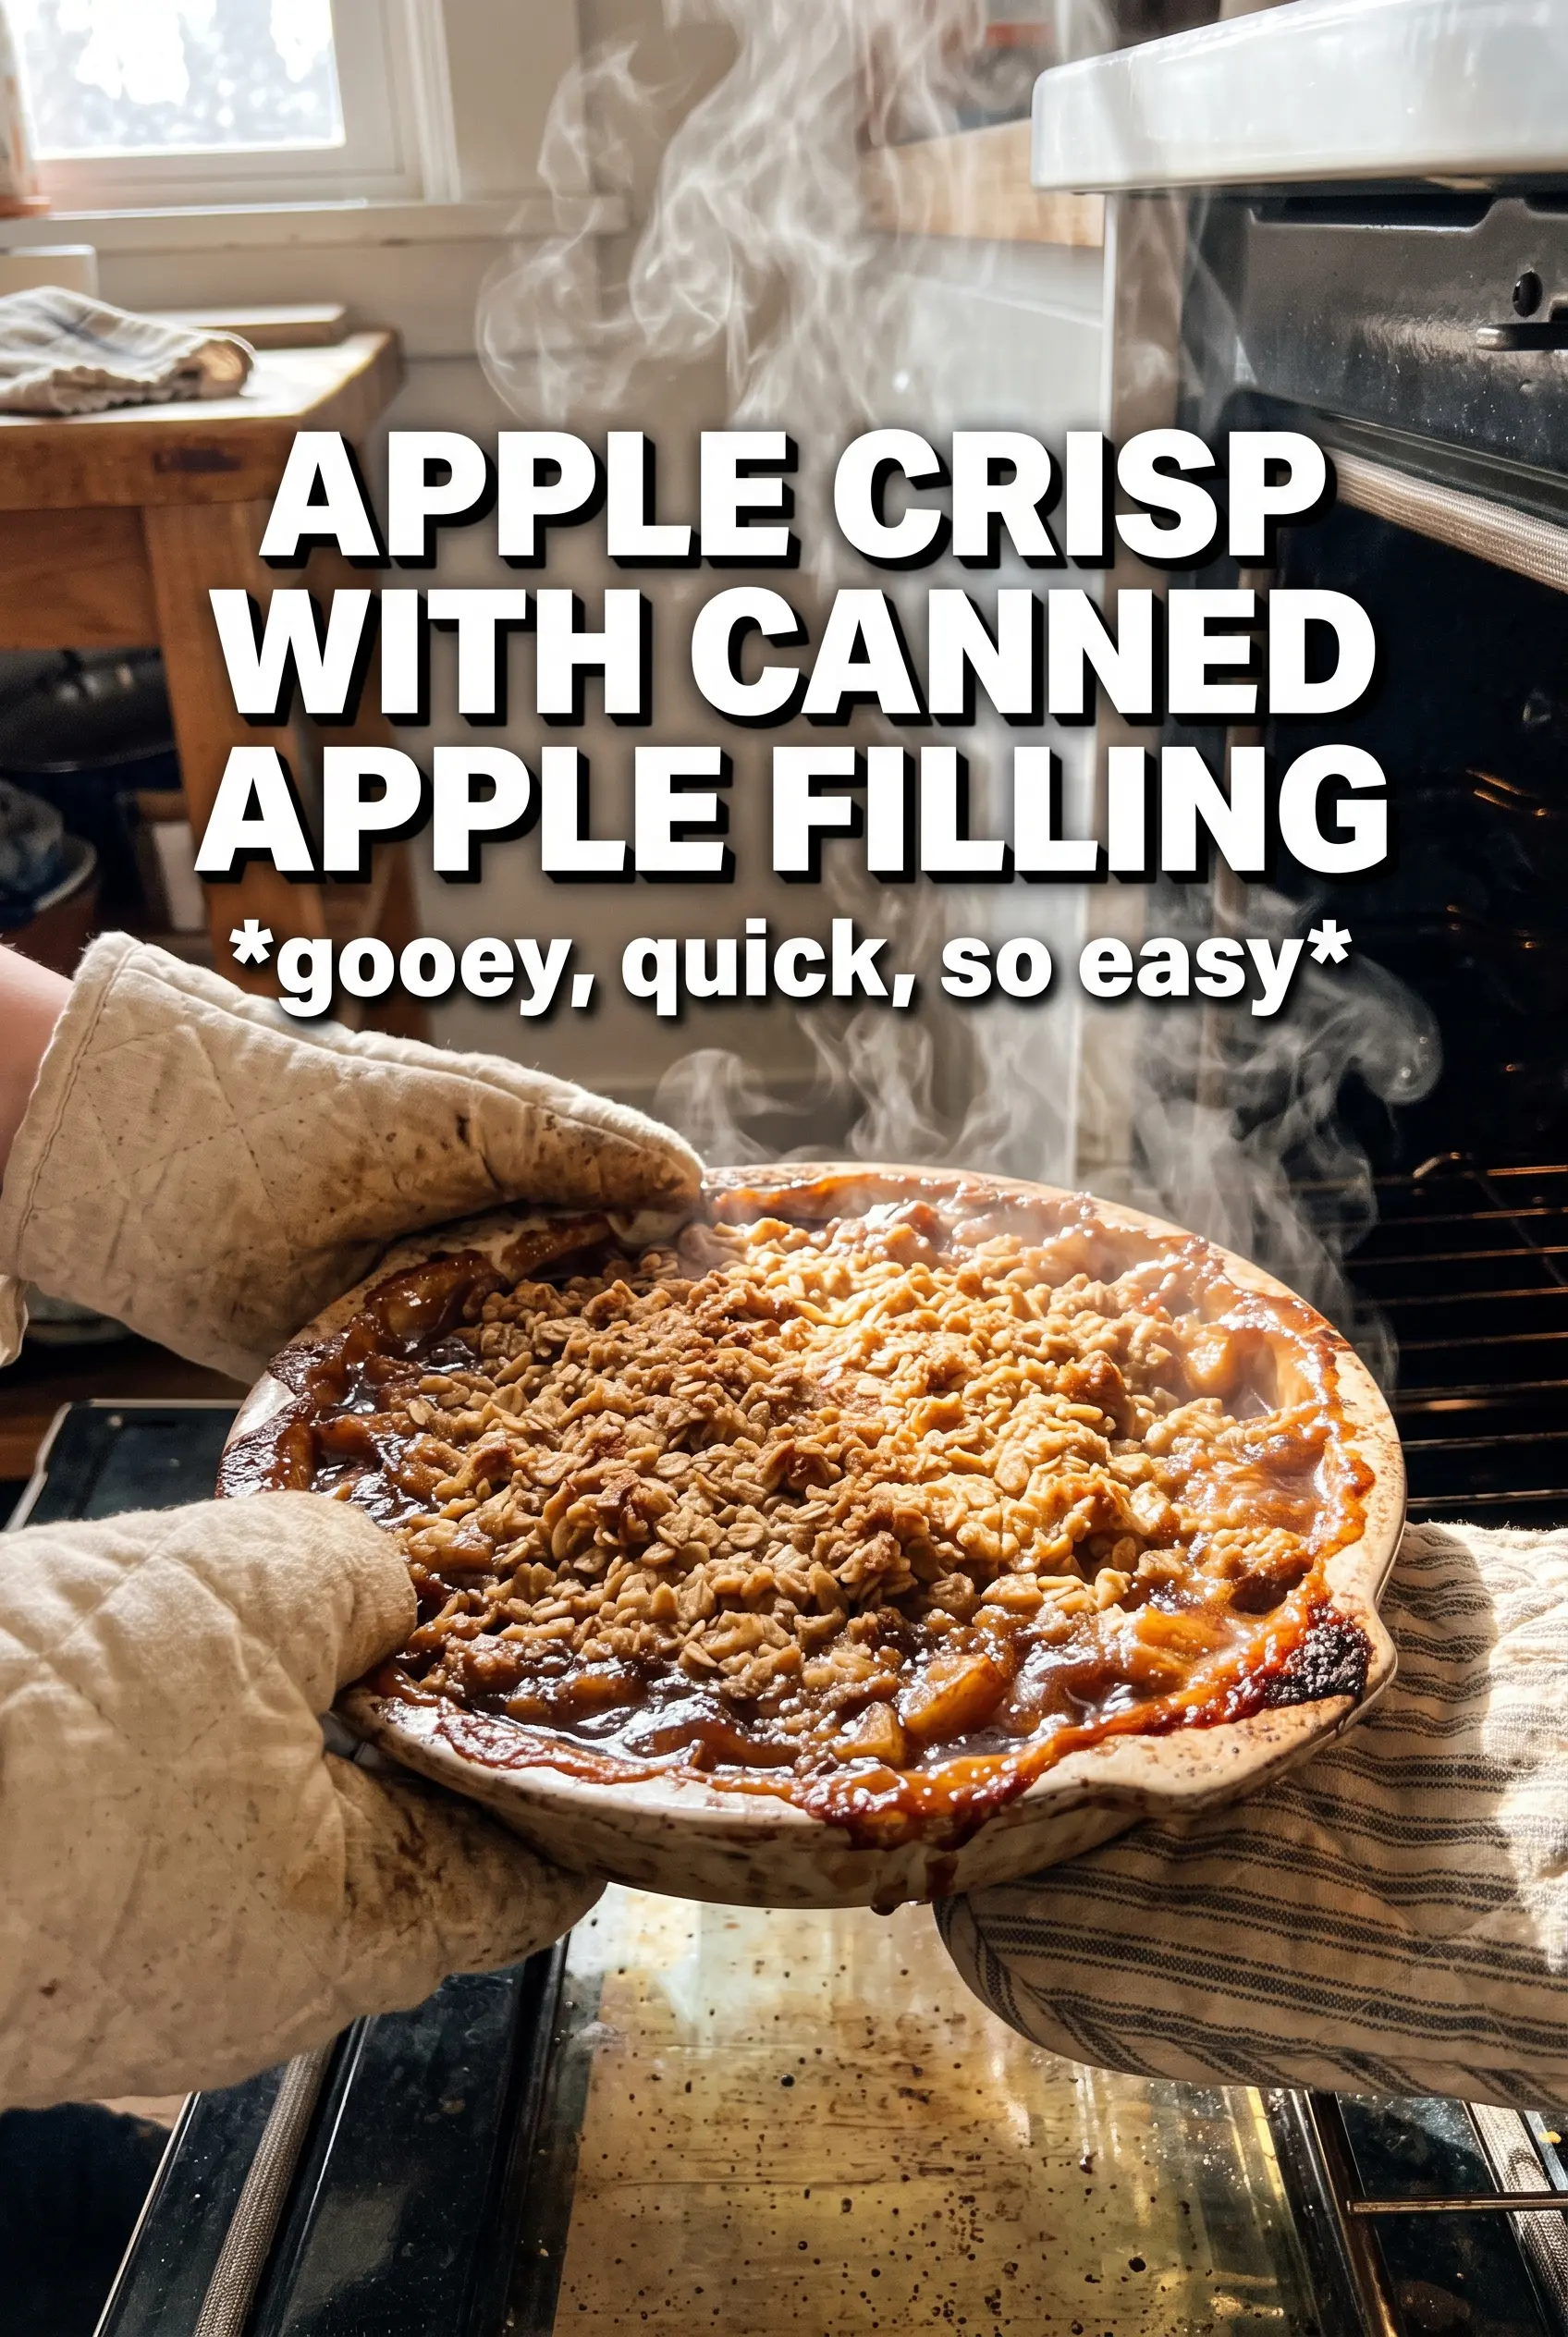
Scatter the topping generously over the apples and bake at 375°F until the top is golden and the filling bubbles around the edges, usually 30 to 35 minutes. That bubbling tells you the fruit filling is hot enough to thicken properly under the crumble. Pull it when the topping is deeply golden, not pale blonde, because it browns a little more as it cools. Let it rest for five minutes before serving so the filling settles instead of running all over the plate.
How to Adjust This Crisp Without Losing the Texture
Make It Dairy-Free
Use a plant-based butter that bakes firmly, not a soft tub spread. The topping will still crisp, but the flavor is a little less rich, so don’t skip the brown sugar and cinnamon. The texture holds up well as long as the butter stays cold before baking.
Use Fresh Apples Instead of Canned Filling
If you want to start from scratch, use peeled apples tossed with sugar, lemon juice, and extra cinnamon, then bake a little longer until the fruit softens. You’ll get a firmer, less glossy filling with more distinct apple pieces. The tradeoff is time, but the topping stays the same.
Make It Gluten-Free
Swap the all-purpose flour for a good 1:1 gluten-free baking blend. The oats are already naturally gluten-free, but check the package if cross-contamination matters to you. The crumble will be a touch more delicate, yet still nicely crisp if the butter is cold and the topping bakes fully.
Add a Nutsy Topping
Fold in chopped pecans or walnuts for extra crunch and a deeper toasted flavor. Keep the amount modest so the topping still clumps instead of falling apart. Nuts brown fast, so watch the last few minutes in the oven if you add them.
Storage and Reheating
- Refrigerator: Store covered for up to 4 days. The topping softens a little in the fridge, but the flavor stays good.
- Freezer: Freeze baked crisp in an airtight container for up to 2 months. Thaw in the refrigerator before reheating for the best texture.
- Reheating: Warm in a 325°F oven until the filling is hot and the topping re-crisps, about 15 to 20 minutes. The microwave works, but it turns the crumble soft, which is the main thing you’re trying to avoid.
Answers to the Questions Worth Asking
Apple Crisp With Canned Apple Filling
Ingredients
Equipment
Method
- Preheat oven to 375F and grease a 9x13 baking dish.
- Stir cinnamon, nutmeg, allspice, and lemon juice into the canned apple pie filling, then spread it evenly in the prepared dish.
- In a bowl, combine rolled oats, all-purpose flour, brown sugar, cinnamon, and salt.
- Add cold unsalted butter cubes and cut in until chunky clumps form.
- Scatter crumble generously over the apple filling.
- Bake 30-35 minutes until the topping is golden and the filling is bubbling around the edges.
- Rest 5 minutes, then serve warm with vanilla ice cream.