Warm apples under a thick oatmeal crumble are one of those desserts that disappear fast because they hit every note at once: soft fruit, buttery crunch, and just enough spice to keep each bite interesting. The topping bakes into crisp, golden clumps instead of turning sandy, and that texture is what makes this version worth repeating.
The real key here is the butter. It has to stay cold while you work it into the oats and flour, or the topping melts into a paste before it ever reaches the oven. A little cornstarch in the filling gives the apples a glossy, spoonable sauce instead of a watery puddle at the bottom of the dish, and the lemon juice keeps the flavor bright so the dessert tastes like apples, not just sugar and spice.
Below, I’ve included the cue I watch for when the crisp is done, plus a few smart swaps if you need to work with different apples or make it ahead.
The topping baked up in big crunchy pieces instead of getting mushy, and the apples were tender but not runny. I served it after 10 minutes with vanilla ice cream and the filling held together perfectly.
Save this apple crisp with oatmeal for the nights when you want a buttery crumble and bubbling spiced apples under a scoop of ice cream.
The Small Detail That Keeps the Topping Crispy Instead of Soft
The topping on an apple crisp can go one of two ways: crisp and craggy, or soft and cakey. The difference usually comes down to how the butter is worked in. You want visible clumps of butter-coated oats and flour, not a uniform paste, because those rough pockets bake into the crunchy ridges everyone wants on top.
The apples matter too, but not in a fussy way. Use a firm baking apple that can hold some shape under heat, and slice it evenly so the filling cooks at the same pace. If the slices are all over the place, you’ll end up with some apples collapsing into sauce while others stay firm.
- Cold butter — This is what creates the chunky topping. If the butter softens before baking, the crumble spreads and loses its texture.
- Cornstarch — It thickens the juices from the apples into a glossy filling. Flour can work in a pinch, but it tends to make the filling cloudier and less clean-tasting.
- Old-fashioned oats — These hold their shape and give the topping its chew and crunch. Quick oats turn the crumble finer and softer.
- Lemon juice — A small amount keeps the filling from tasting flat. It also helps balance sweeter apples and brown sugar.
What Each Ingredient Is Actually Doing in This Crisp
- Apples — A mix of tart and sweet apples gives the filling more depth, but any firm baking apple works. Softer apples break down faster, so use those only if you want a looser, jammy filling.
- Brown sugar — This adds molasses richness to both the filling and the topping. White sugar alone will still sweeten the dessert, but it won’t give the same warm caramel note.
- Cinnamon and nutmeg — Cinnamon carries most of the spice, while nutmeg adds a quieter background warmth. Don’t overdo the nutmeg; too much makes the filling taste muddy instead of fresh.
- Rolled oats and flour — The oats bring structure and crunch, while the flour helps bind the topping into clusters. Swapping in all oats makes it looser; using too much flour makes it dense.
- Butter — Unsalted butter gives you control over the seasoning and creates the richest crumble. Salted butter works if that’s what you have, but cut back the added salt a little.
Building the Layers So the Filling Bubbles and the Crumble Stays Crunchy
Preparing the Apples
Toss the apple slices with the sugars, cinnamon, nutmeg, cornstarch, and lemon juice until every piece looks lightly coated. The cornstarch needs to be evenly distributed or you’ll get pockets of thin, watery juice. Spread the apples into the baking dish in a fairly even layer so they cook at the same rate. If the pile is mounded too high in the center, the middle stays underdone while the edges overbake.
Making the Crumble
Combine the oats, flour, brown sugar, cinnamon, and salt first, then cut in the cold butter until the mixture forms large, shaggy clumps. Those clumps are the goal. If the topping looks sandy, keep working in the butter just until you get pieces that hold together when squeezed. Stop before the butter melts from your hands, or the topping will bake up flat instead of crisp.
Baking Until the Edges Bubble
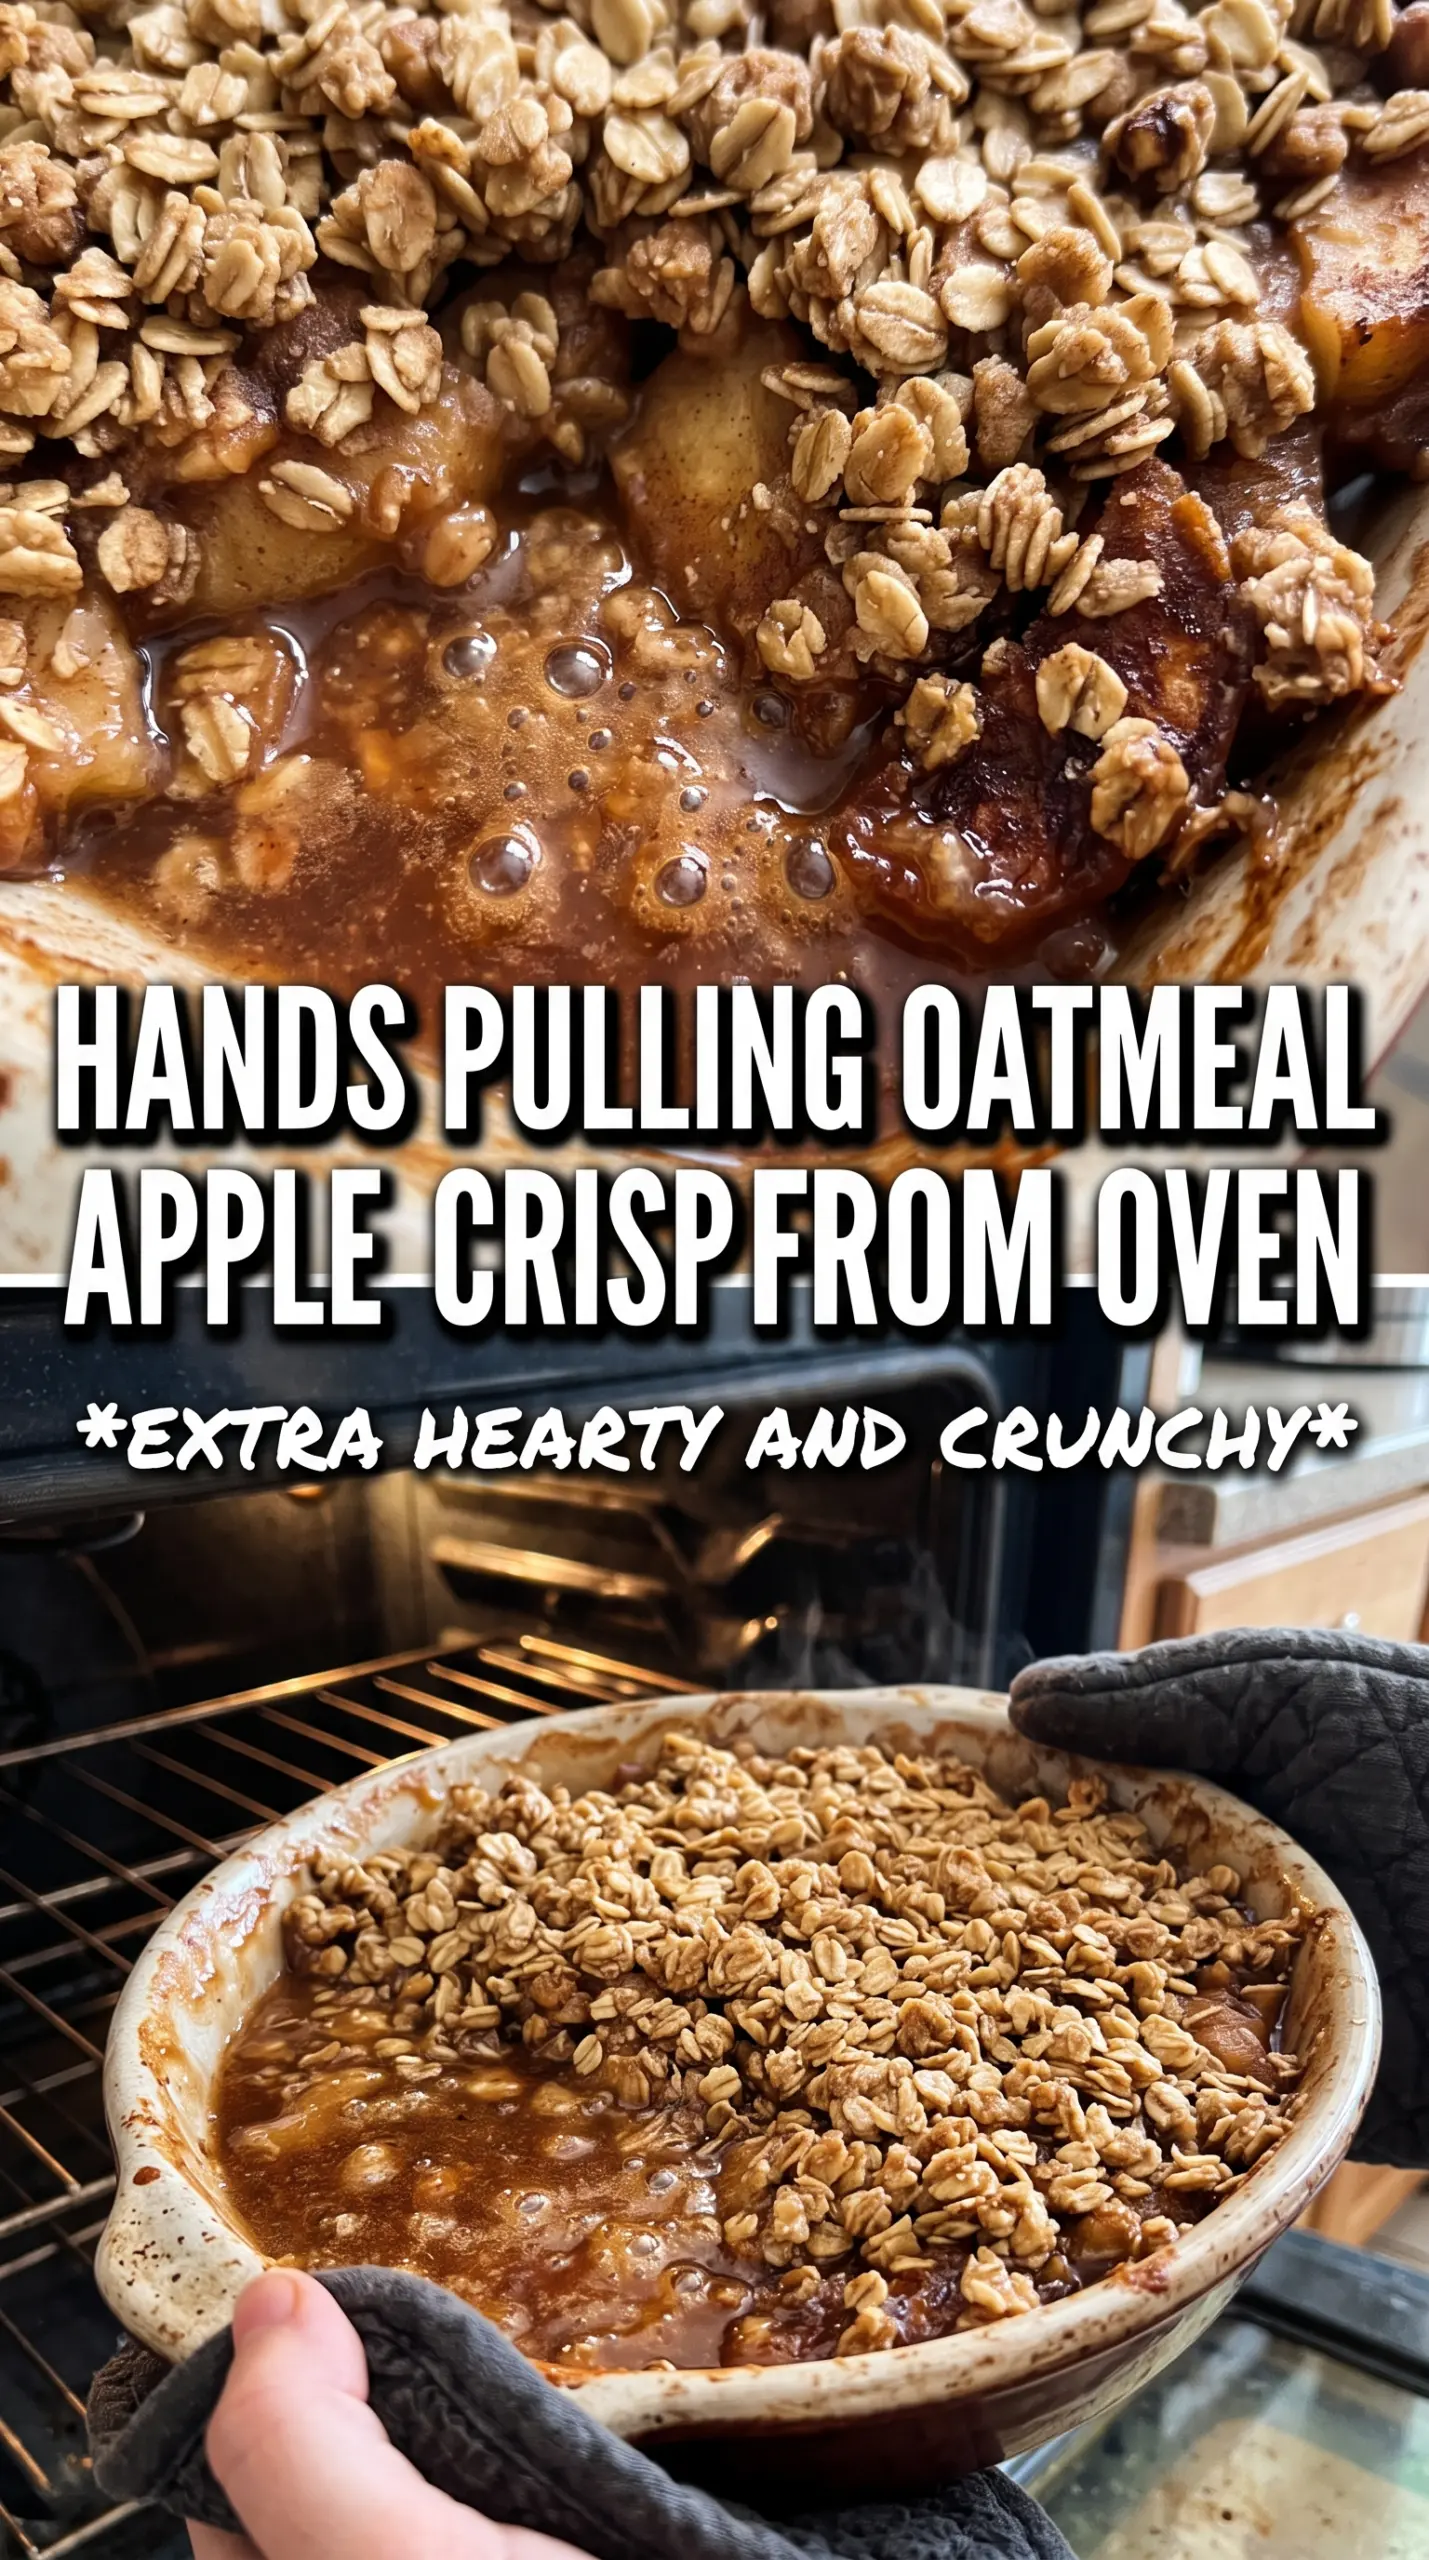
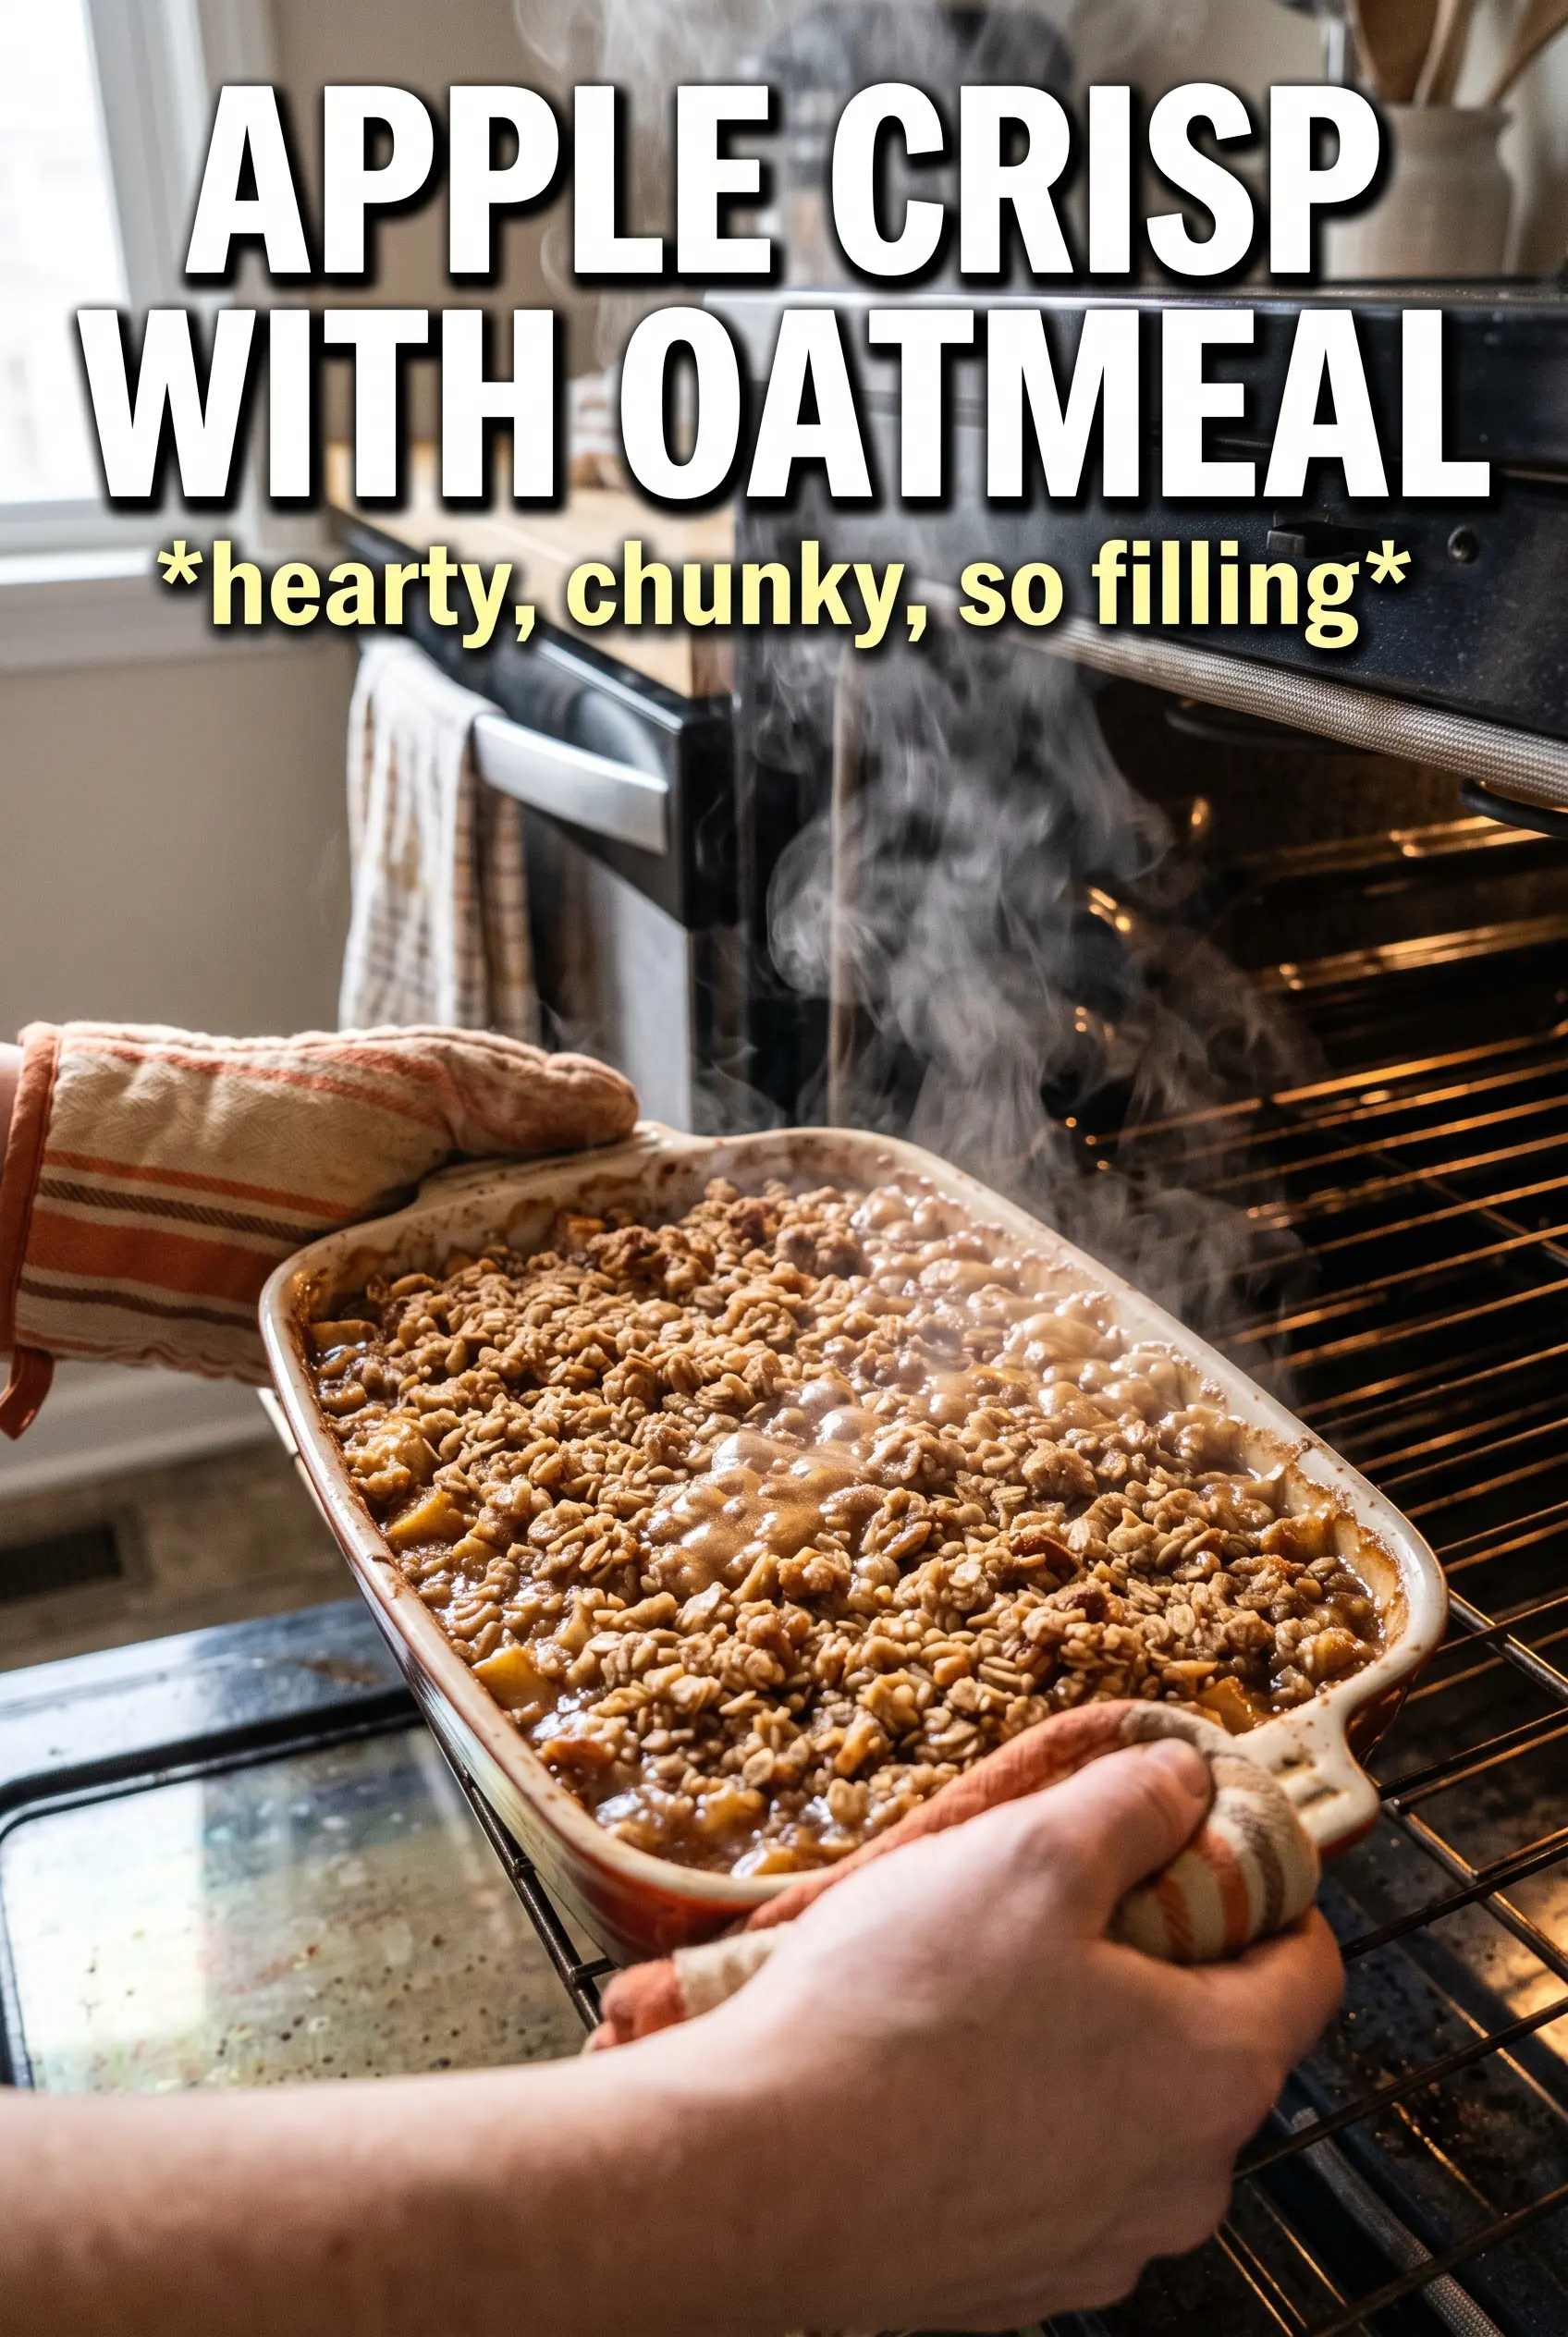
Scatter the crumble over the apples and cover every bit of fruit. Bake until the top is deeply golden and you can see the filling bubbling around the edges of the dish, which tells you the cornstarch has thickened properly. If the topping browns too fast before the apples are tender, lay a sheet of foil loosely over the dish for the last 10 to 15 minutes. Letting the crisp rest for 10 minutes matters, because the filling firms up as it cools and won’t run all over the plate.
How to Adapt This for Different Apples, a Lighter Finish, or a Bigger Batch
Use all Granny Smith for a tarter filling
Granny Smith apples hold their shape well and keep the dessert bright, but the filling will taste sharper. If you go this route, keep the sugar as written or add a little more brown sugar if you want the balance to lean sweeter.
Make it gluten-free with a simple flour swap
Use a 1:1 gluten-free baking flour in place of the all-purpose flour, and check that your oats are certified gluten-free. The topping stays crisp, though it may brown a little faster, so start checking a few minutes early.
Add chopped pecans for more crunch
Stir 3/4 cup chopped pecans into the crumble for a deeper, nuttier topping. They toast as the crisp bakes and give you extra texture, but they also make the topping a little more fragile, so don’t pack it down.
Storage and Reheating
- Refrigerator: Store covered for up to 4 days. The topping softens a bit as it sits, but the flavor stays good.
- Freezer: Freeze the baked crisp tightly wrapped for up to 2 months. Thaw overnight in the refrigerator before reheating, or the center will stay cold while the topping dries out.
- Reheating: Warm in a 350°F oven until the filling is hot and the top crisps back up, about 15 to 20 minutes. The microwave makes the topping soggy, which is the fastest way to lose the best part.
Answers to the Questions Worth Asking
Apple Crisp With Oatmeal
Ingredients
Equipment
Method
- Preheat the oven to 375F and grease a 9x13 baking dish.
- Arrange the apple slices in the prepared dish.
- Toss the apple slices with granulated sugar, brown sugar, cinnamon, nutmeg, cornstarch, and lemon juice until evenly coated.
- Spread the coated apples in an even layer and make sure the corners are not too dry.
- Combine rolled oats, all-purpose flour, brown sugar, cinnamon, and salt in a bowl.
- Cut the cold cubed butter into the dry mixture with your fingertips or a pastry cutter until large, chunky clumps form, with visible butter pieces.
- Scatter the crumble generously over the apples, covering every inch so no apple spots show.
- Bake for 40-45 minutes at 375F until the topping is deeply golden and the apple filling bubbles at the corners.
- Rest the apple crisp for 10 minutes so the filling thickens slightly.
- Serve warm with vanilla ice cream.