Apple crisp with oats earns its place on the table when the topping bakes into big, craggy clusters and the apples underneath turn soft, glossy, and bubbling around the edges. The contrast matters here: tender fruit, a crisp oat lid, and just enough syrupy juice to catch on a spoon without turning the whole dish watery.
The trick is in the balance. A mix of tart and sweet apples keeps the filling from tasting flat, while cornstarch thickens the juices as they bake so the crisp slices onto a plate instead of running everywhere. Cold butter is worked into the oat mixture just until clumps form, which is what gives you those golden nubs that stay crisp instead of sanding off into a dry layer of crumbs.
Below, you’ll find the small details that keep the topping crunchy and the filling thick, plus a few smart swaps if your pantry is missing something.
The topping baked up in those thick, crunchy oat clusters I was hoping for, and the filling set just enough after 10 minutes to scoop cleanly. My kitchen smelled like cinnamon for hours.
Like this apple crisp with oats? Save it to Pinterest for the nights when you want a bubbling fruit dessert with a thick, crunchy oat topping.
The Spot Where Apple Crisp Usually Turns Watery
The filling only stays spoonable if the apples have enough time and heat to release their juices before the topping fully sets. That’s why the dish needs to bake until the fruit is visibly bubbling at the corners, not just until the top looks done. If you pull it early, the cornstarch hasn’t finished thickening the juice and you end up with a loose, syrupy puddle under the crumble.
- The apple mix matters because tart apples keep their shape and sweet apples soften into the filling, giving you both structure and sweetness.
- Cornstarch is the thickener here. Flour works in a pinch, but it takes longer to thicken and the filling can taste duller.
- Lemon juice keeps the apples from tasting heavy and helps the fruit flavor stay bright after baking.
- Cold butter is non-negotiable for the topping. Warm butter melts into the flour too fast and you lose those crisp, chunky clumps.
What the Oats, Butter, and Spices Are Actually Doing
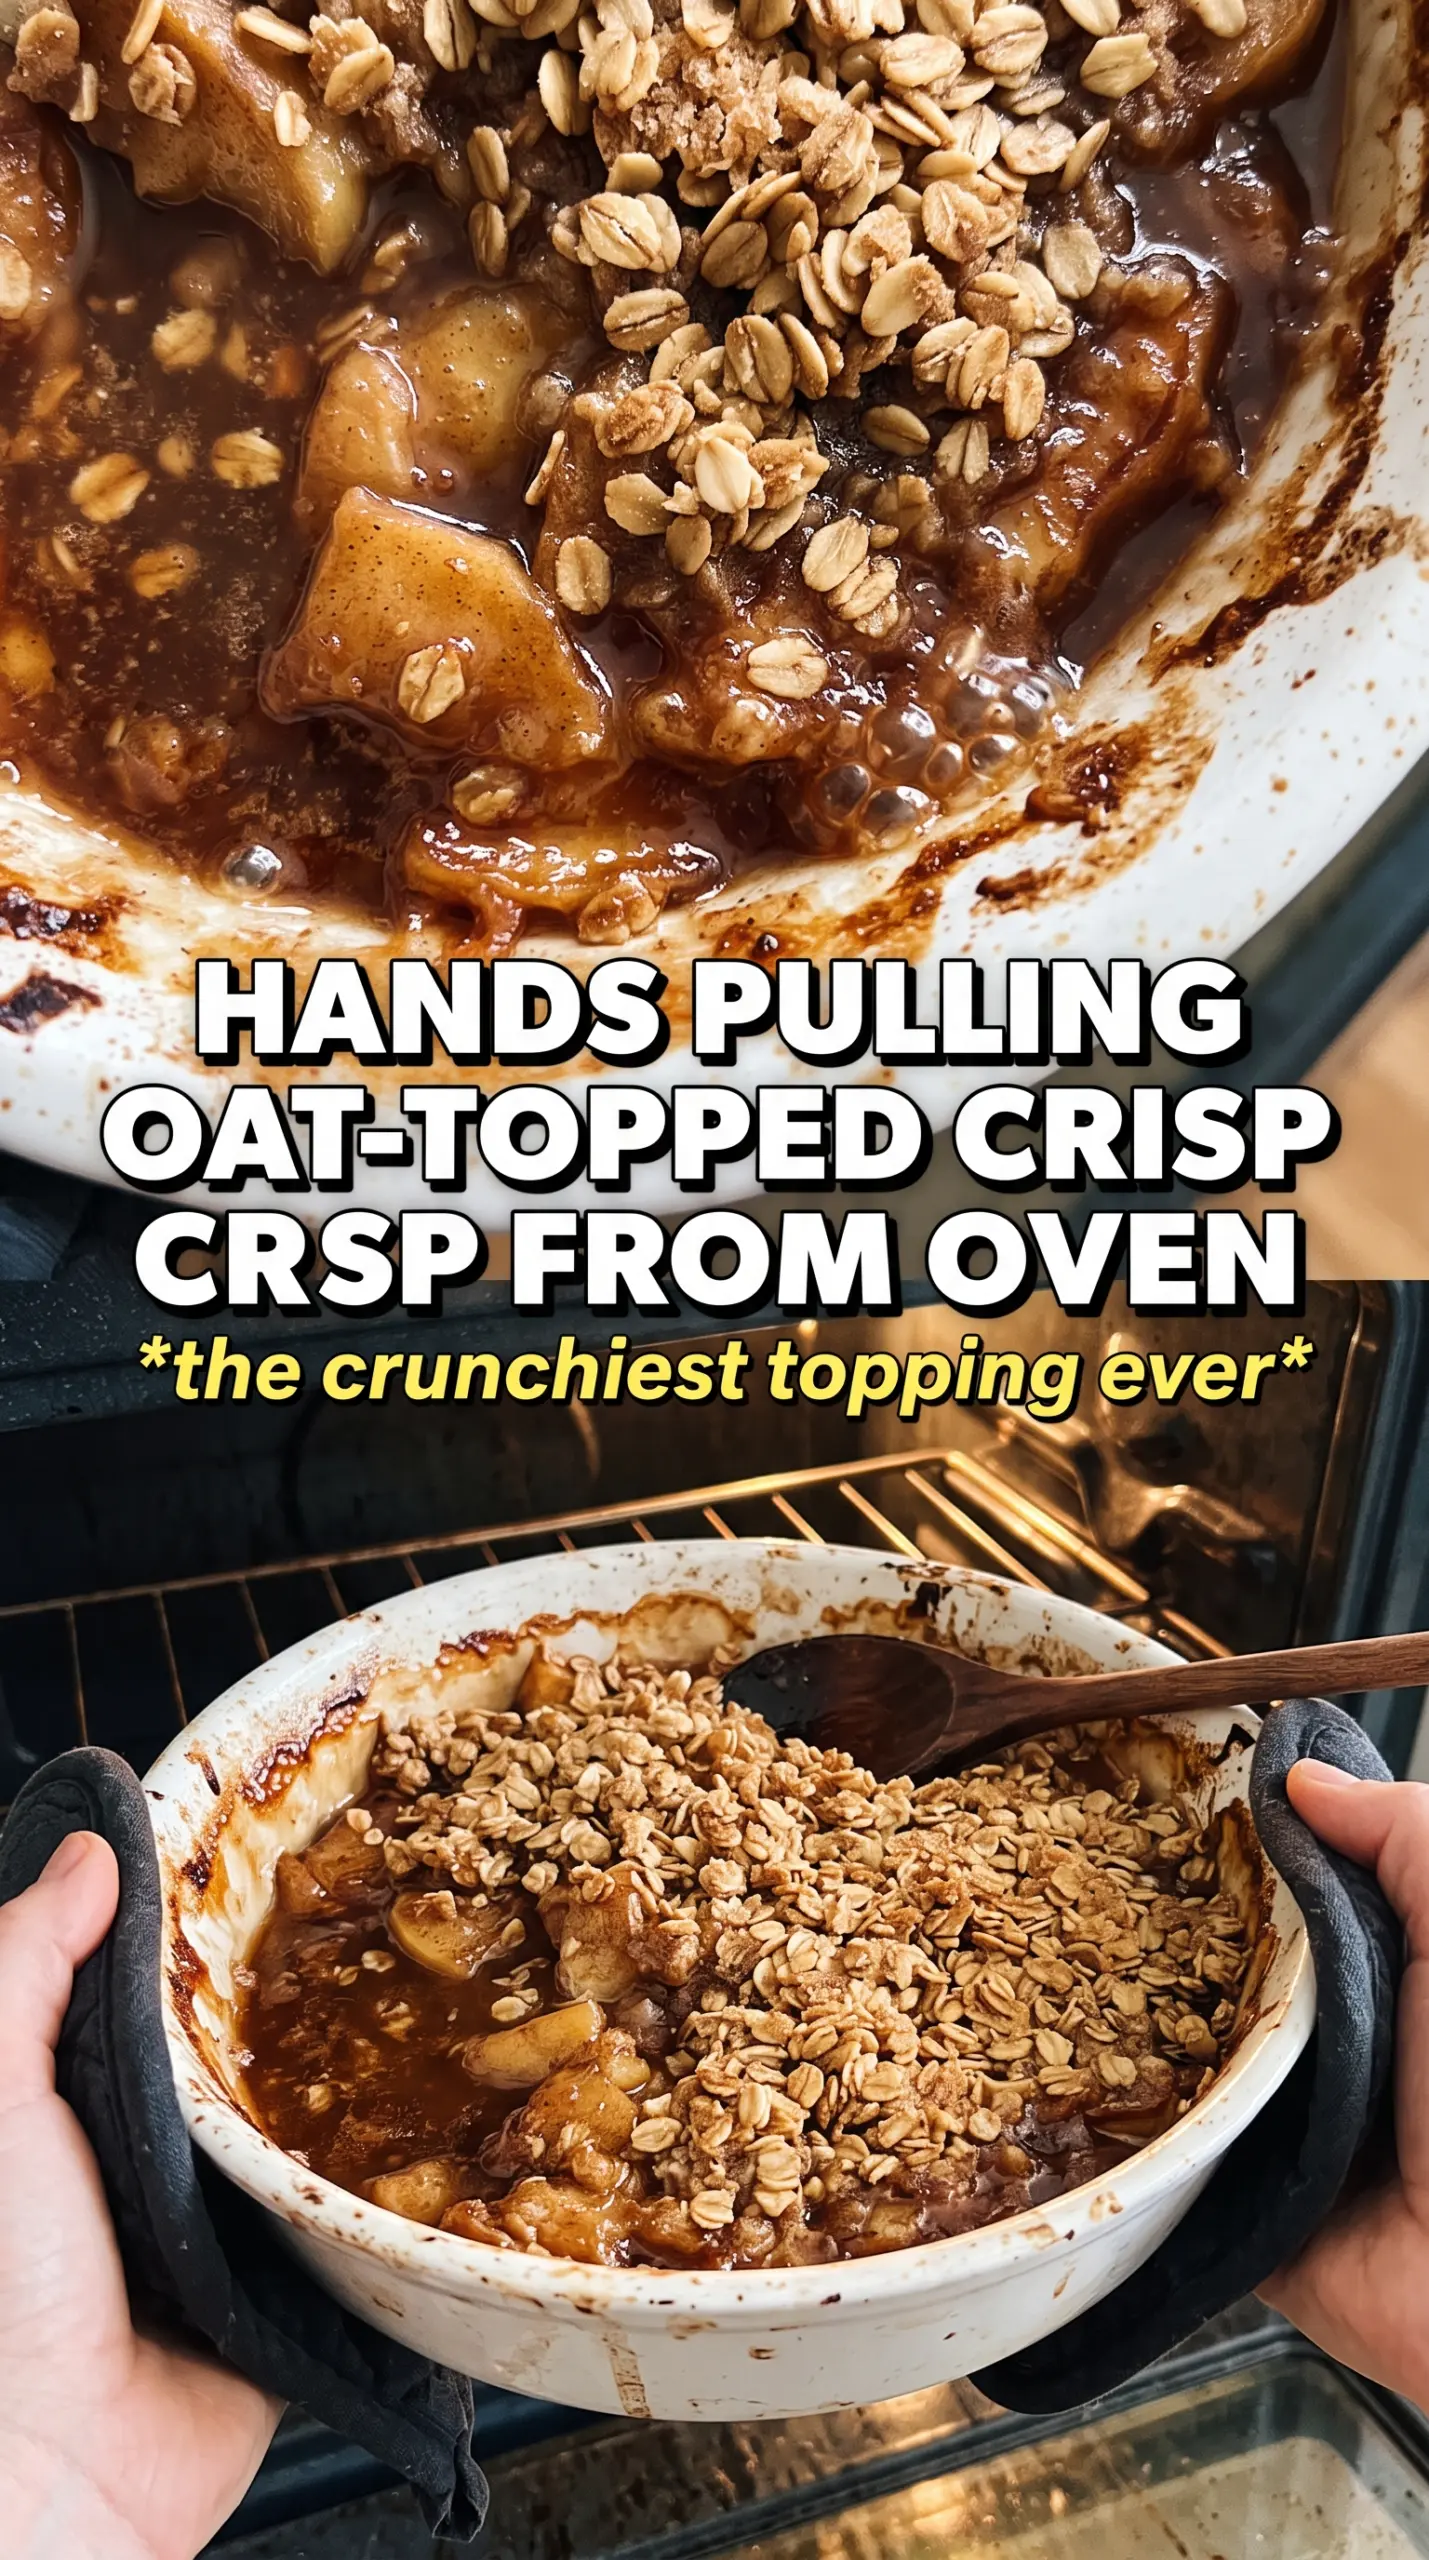
- Old-fashioned rolled oats — These give the topping its rugged texture. Quick oats break down too much and turn the crumble sandy instead of crisp.
- Brown sugar — This sweetens the topping and helps it bake into that toasted caramel color. Dark brown sugar will give you a deeper molasses note.
- All-purpose flour — This binds the topping so it clumps instead of scattering into loose crumbs. If you use only oats, the finish is too fragile.
- Cold unsalted butter — The butter coats the dry ingredients in little pockets that melt in the oven and leave behind crisp, golden clusters.
- Cinnamon, nutmeg, and allspice — Cinnamon leads, but the other spices keep the filling from tasting one-note. Use fresh spices if yours have been sitting in the cabinet for years; stale spice makes the whole pan flat.
Building the Crumble So It Bakes Up in Clusters
Season the apples first
Toss the sliced apples with both sugars, spices, cornstarch, and lemon juice until every piece is coated. The cornstarch needs to touch the fruit before baking, not after, or it won’t thicken the juices evenly. Spread the apples in the dish in an even layer so the filling cooks at the same pace from edge to center.
Work the butter into the dry mix by hand
Combine the oats, flour, brown sugar, cinnamon, and salt, then cut in the butter with your fingertips until the mixture forms uneven clumps. Stop when you still see some dry bits and some large chunks. If you keep going until it looks uniform, the topping bakes flat instead of crisp and craggy.
Watch for the bubbling edges
Scatter the crumble over the apples so the fruit is covered from edge to edge, then bake until the topping is deeply golden and the filling is bubbling through the sides. Those bubbles are the sign that the thickener has activated. Let it cool for 10 minutes before serving; the filling tightens as it sits, and cutting in too soon makes it run.
Make It Gluten-Free
Swap the all-purpose flour for a 1:1 gluten-free baking blend. The topping stays crisp and clumpy, though it may brown a little faster, so start checking the color near the end of the bake.
Make It Dairy-Free
Use a solid plant-based butter block instead of regular butter. The topping won’t taste exactly the same, but it will still bake into crisp chunks if the substitute is cold and firm when you cut it in.
Use All Tart Apples for a Brighter Filling
If you like a sharper dessert, use all Granny Smith or another tart apple and keep the sugar as written. The filling will taste less sweet and more apple-forward, but it still needs the full bake time so the juices thicken properly.
Storage and Reheating
- Refrigerator: Store covered for up to 4 days. The topping softens a bit in the fridge, but the flavor holds well.
- Freezer: Freeze baked portions for up to 2 months. Wrap tightly and thaw in the fridge before reheating.
- Reheating: Warm in a 350°F oven until heated through and the topping crisps back up. The microwave will soften the crumble, so use it only if you don’t mind losing the texture.
Questions I Get Asked About This Recipe
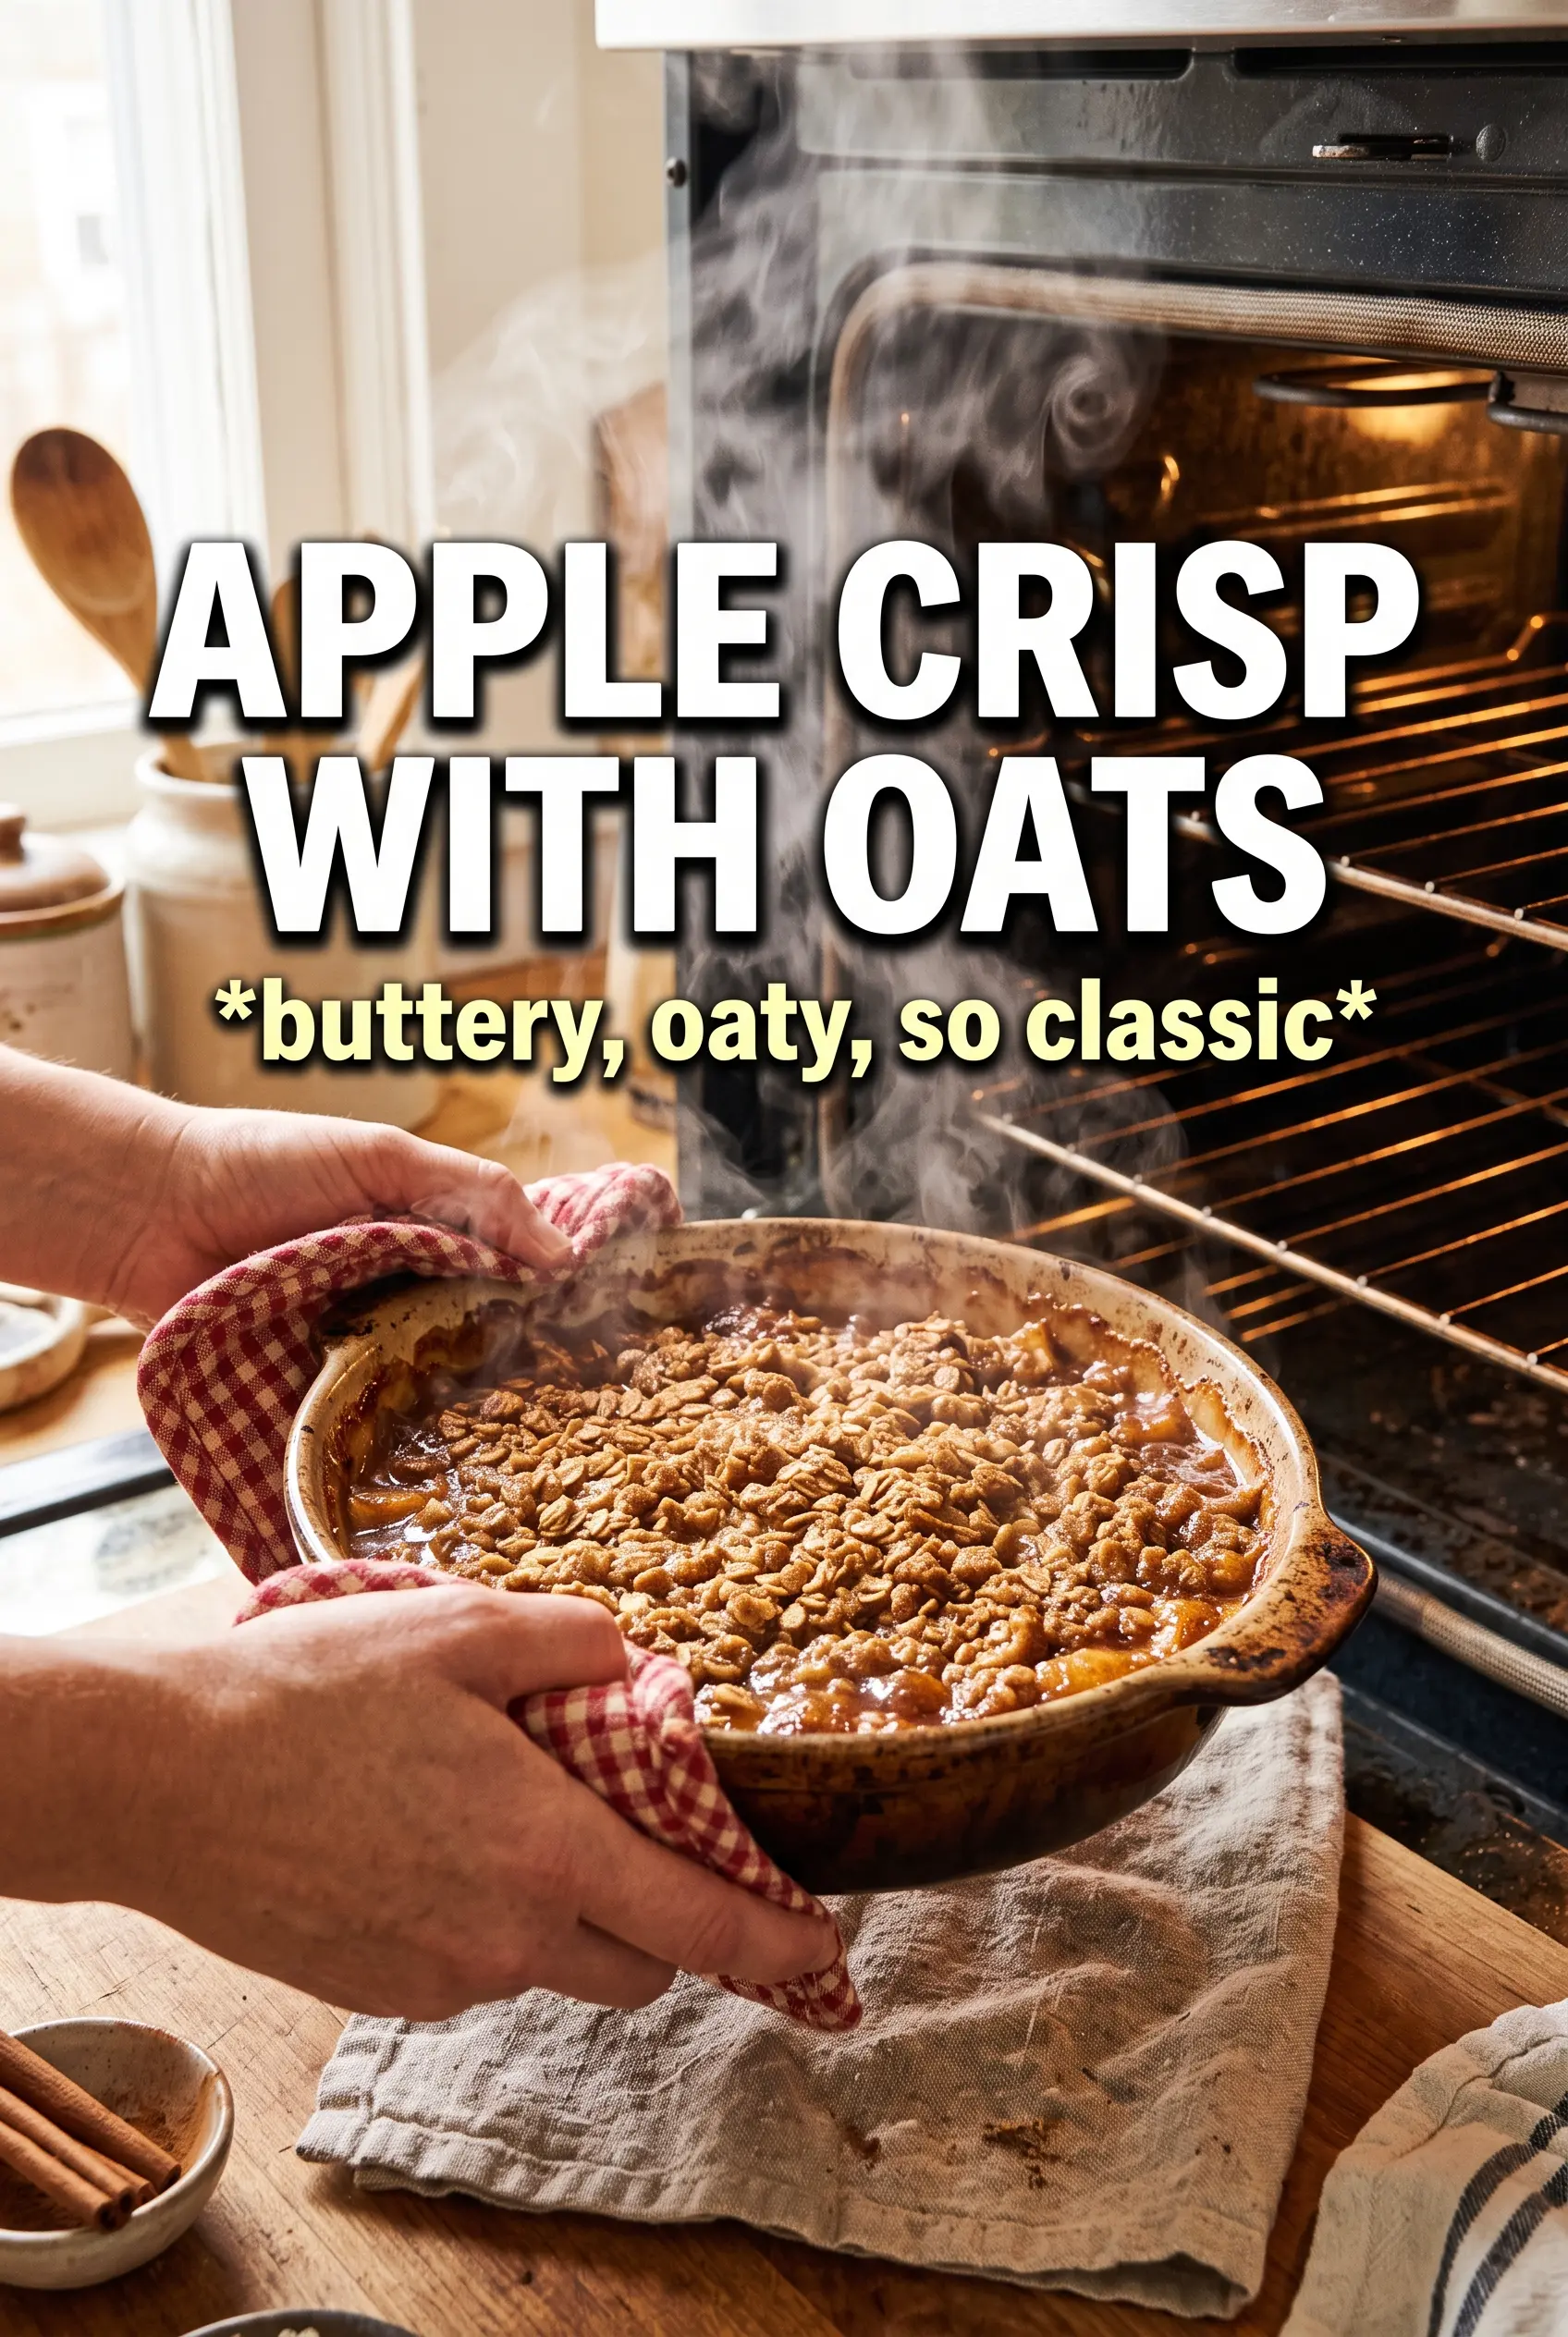
Apple Crisp With Oats
Ingredients
Equipment
Method
- Preheat oven to 375F and grease a 9x13 baking dish.
- Spread the sliced apples into the prepared dish.
- Toss apple slices with granulated sugar, brown sugar, cinnamon, nutmeg, allspice, cornstarch, and lemon juice until evenly coated.
- Spread the coated apples in the prepared dish in an even layer.
- In a mixing area, combine rolled oats, all-purpose flour, brown sugar, cinnamon, and salt.
- Cut the cold cubed butter into the dry mixture with your fingertips until it forms large chunks and clumps.
- Scatter the crumble evenly over the apples so every surface is covered.
- Bake for 40-45 minutes at 375F until the oat topping is deeply golden and the apple filling is bubbling at the corners.
- Cool for 10 minutes, then serve warm with vanilla ice cream or whipped cream.