Apple crisp without oats bakes into exactly the kind of dessert people go back for a second spoonful of before the pan has even cooled. The filling turns soft and jammy at the edges, the apples keep just enough shape to feel like fruit instead of sauce, and the topping stays sandy, crisp, and deeply browned without any of the chew oats can add. It’s the kind of crisp that lands on the table warm and bubbling and disappears in a hurry.
The key here is in the topping. Flour, butter, and sugar need to be worked together until the mixture forms clumps instead of a fine powder, because that’s what gives you those crunchy little shards on top after baking. The apples also need a little structure help from cornstarch, which keeps the juices from flooding the pan and turning the bottom soft. Lemon juice brightens the filling and keeps the flavor from tasting flat once the sugar and cinnamon melt in.
Below you’ll find the small details that matter most: how to keep the crumble from baking up dusty, which apples hold their shape best, and how to adjust the topping if you want nuts in the mix.
The topping baked up sandy and crisp all the way through, and the apple filling thickened instead of running everywhere. I used honeycrisp apples and it was gone before dinner was over.
Save this apple crisp without oats for a buttery, crunchy topping and soft cinnamon apples every time.
The Reason the Topping Stays Crisp Without Oats
Oats usually bring a little structure and chew to apple crisp, but they also change the way the topping bakes. Without oats, this topping depends on the ratio of flour, sugar, and cold butter to create a crumb that clumps, browns, and stays crisp after baking. If the butter gets too warm before it hits the oven, the topping turns pasty instead of crumbly. If you stop mixing too early, it stays dusty and won’t form those crunchy, golden patches people expect from a good crisp.
The other thing that matters is how evenly you scatter the topping. A few thicker spots are fine and actually help with texture, but the whole pan needs a fairly even layer so the butter can melt through and crisp instead of steaming. That’s what gives you a topping that holds its shape when you spoon into it.
What Each Ingredient Is Actually Doing in This Dish
- Apples — Use a firm baking apple so the slices soften without disappearing. Honeycrisp, Granny Smith, Braeburn, and Jonagold all hold up well. Softer apples turn mushy before the topping finishes browning.
- Cornstarch — This thickens the apple juices as the crisp bakes. You need it here because the filling releases a lot of liquid, and without it the bottom can slide into apple soup under the crumble.
- Brown sugar — This gives the topping depth and that caramel note you want in a crisp. You can swap in more granulated sugar if needed, but you’ll lose some of the richer flavor and the topping will taste a little flatter.
- Cold butter — This is what creates the crumbly texture. If it starts soft, the topping spreads before it crisps, so cube it cold and cut it in until the mixture looks like damp sand with larger clumps.
- Pecans or walnuts — Optional, but they add extra crunch and a toasted edge that works well with apples. Chop them roughly so they stay noticeable in the topping instead of disappearing into the flour.
How to Build a Crisp That Bakes Up Golden Instead of Gummy
Coating the Apples First
Toss the sliced apples with sugar, cinnamon, nutmeg, cornstarch, and lemon juice until every piece looks lightly coated. The cornstarch should disappear into the juices, not sit in white patches, or you’ll get pockets of chalky filling. Spread the apples into the dish in an even layer so they cook at the same rate. If you pile them unevenly, the center can stay firm while the edges collapse.
Turning Flour Into a Crumble
Mix the flour, both sugars, spices, and salt first, then cut in the cold butter until the mixture looks like coarse, sandy crumbs with some bigger clumps. Those larger pieces are what bake into the best crisp bits, so don’t chase a uniform powder. If the butter warms too much, pop the bowl in the fridge for a few minutes and keep going. Stir in the nuts at the end so they stay rough and distributed through the topping.
Baking Until It Bubbles at the Edges
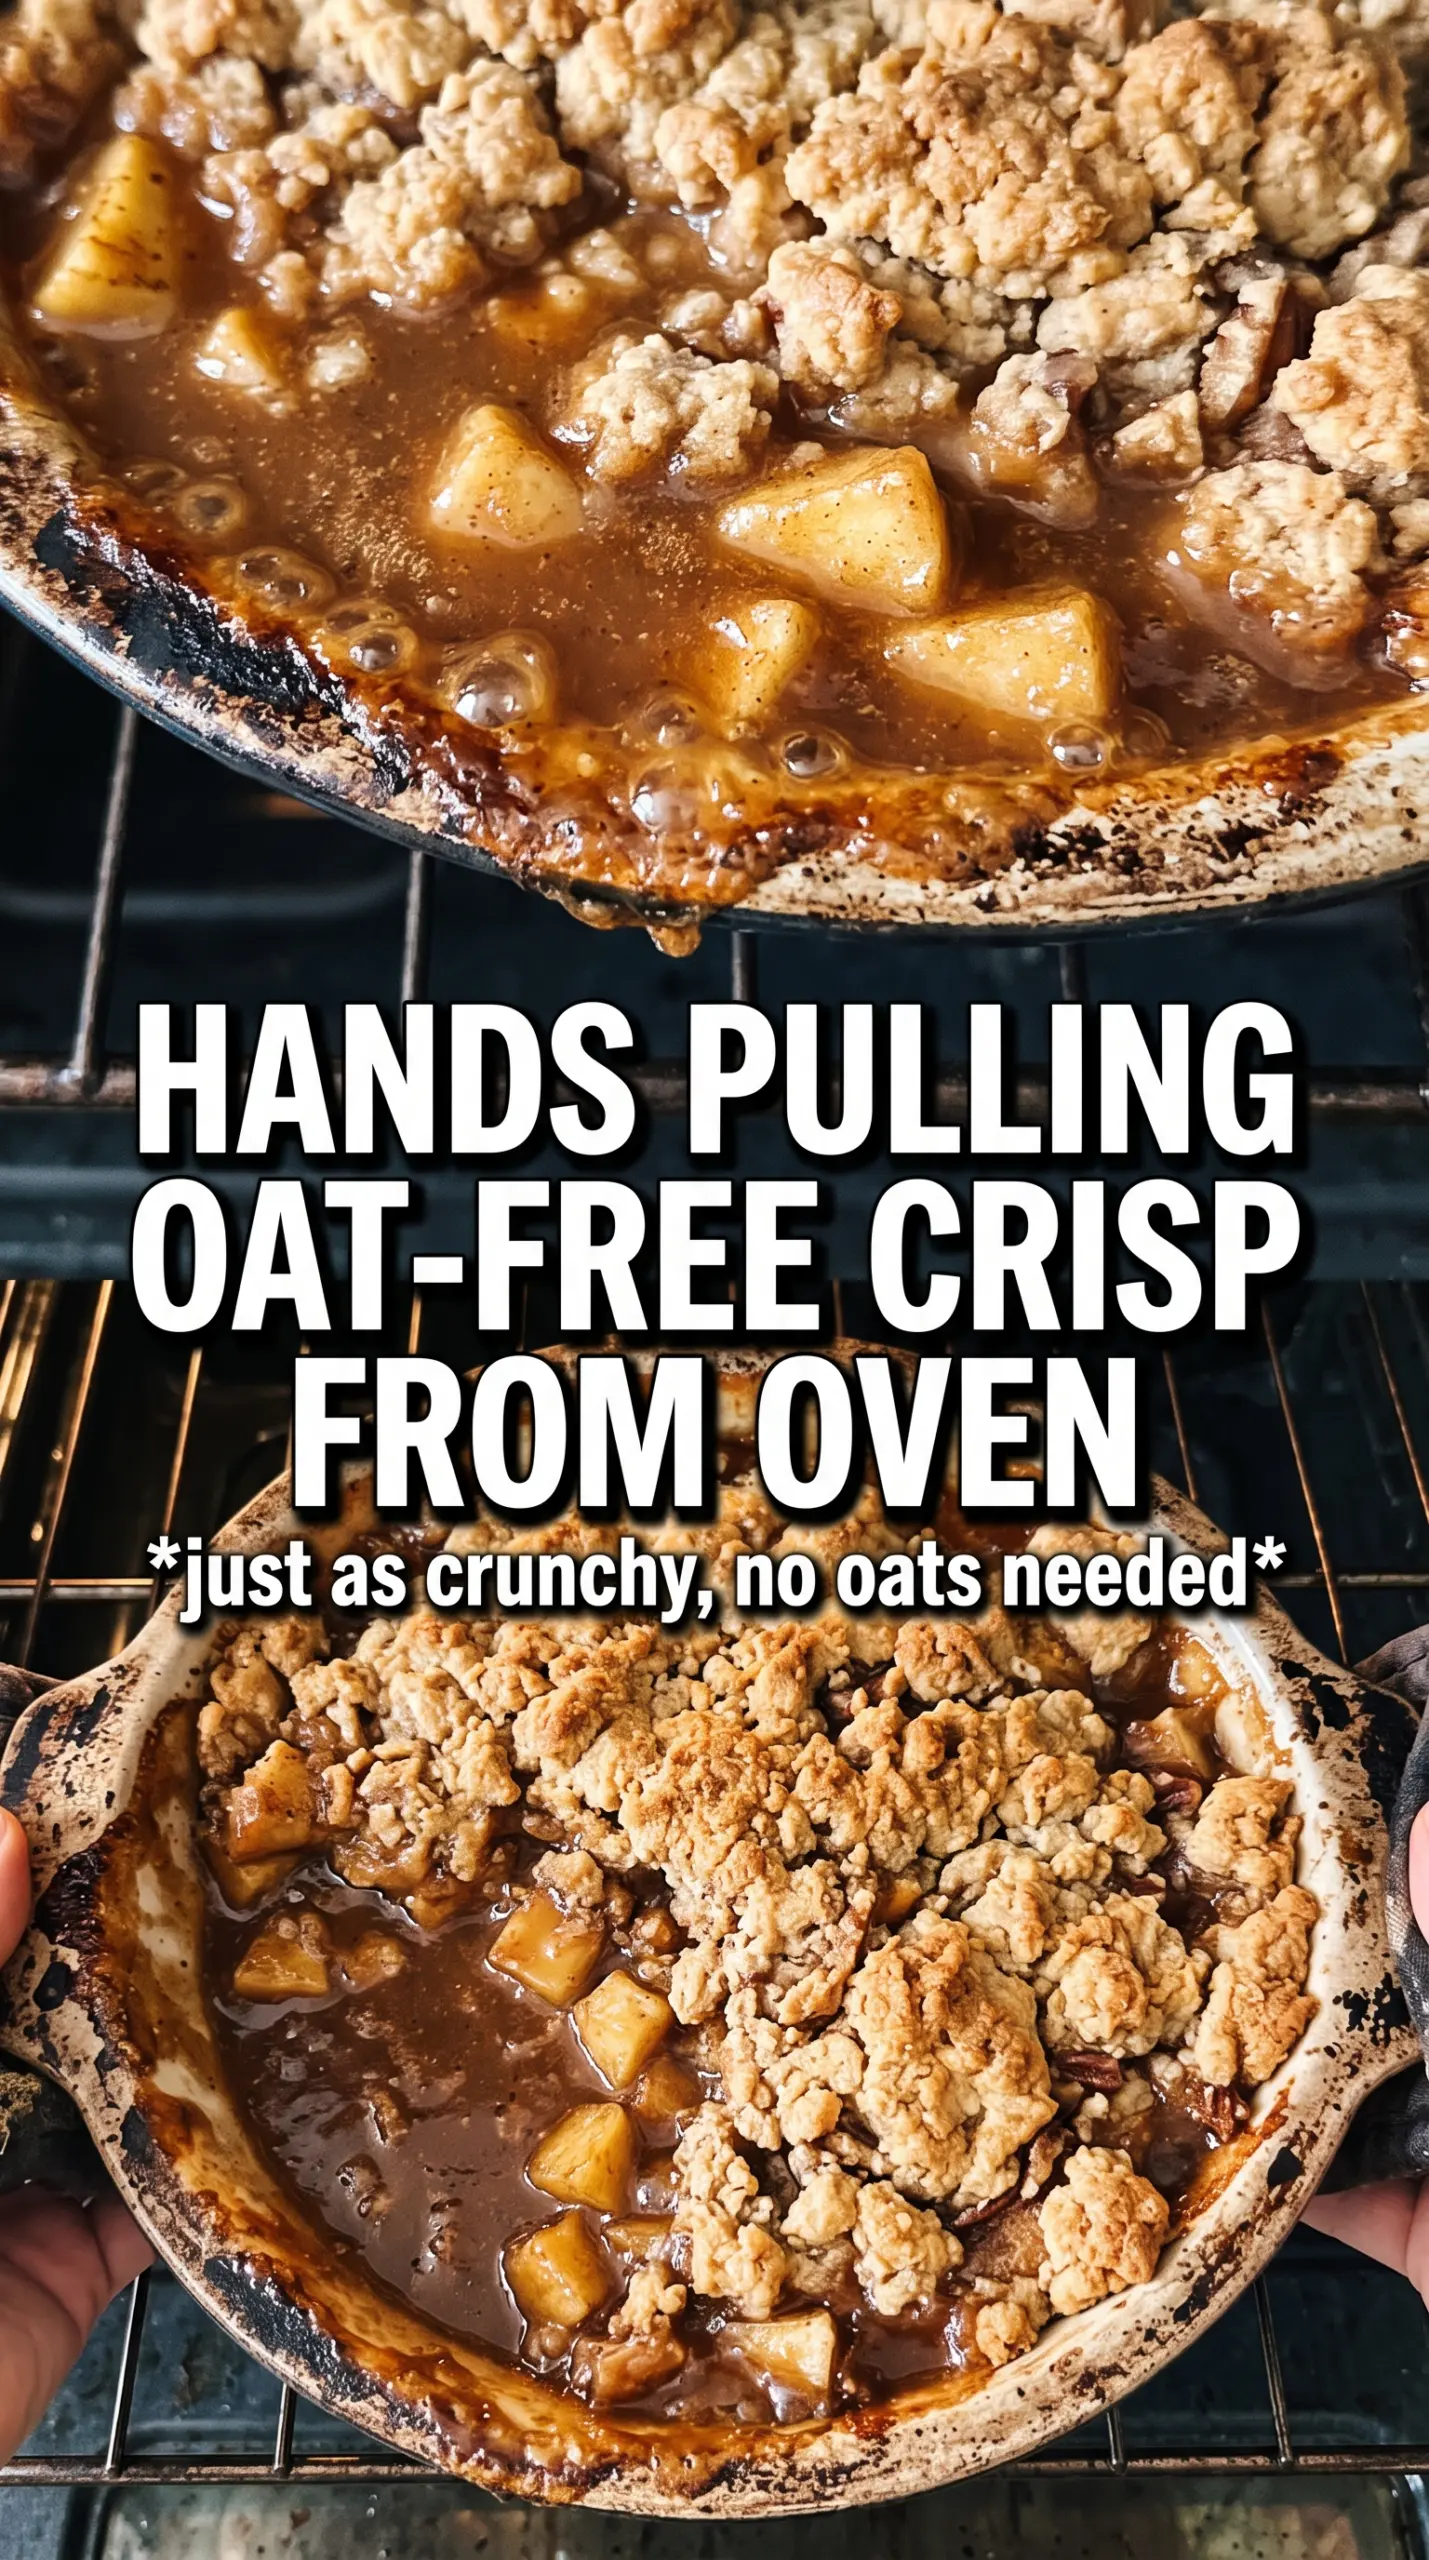
Scatter the crumble over the apples without pressing it down. Bake until the top is deeply golden and you see thick, slow bubbles coming up around the sides of the pan. Those bubbles tell you the filling has thickened. Pull it too early and the topping may look done while the apples underneath are still watery.
Letting It Set Before Serving
Give the crisp about 10 minutes on the counter before serving. That short rest lets the filling tighten just enough to spoon cleanly instead of running across the plate. It will still be warm, and that’s the point. Serve it with vanilla ice cream while the topping is crisp and the filling is still steaming.
How to Adapt This Apple Crisp Without Oats for Different Needs
Make it gluten-free
Swap the all-purpose flour for a good 1:1 gluten-free baking blend. The topping will still brown and crisp, but it may be a little more delicate when you spoon it out. Don’t use almond flour alone here; it won’t give you the same sandy crumble.
Skip the nuts without losing crunch
Leave out the pecans or walnuts and the crisp will still work. You’ll lose a little toasted flavor, but the topping stays crunchy as long as you keep the butter cold and don’t overmix it. If you want a little extra texture, use a few more crumbs instead of trying to replace the nuts with more flour.
Change the fruit mix
You can replace part of the apples with pears, but keep at least half the fruit as apples so the filling still has enough structure. Pears soften faster and release more juice, so the cornstarch becomes even more important. Use firm pears and slice them a little thicker than the apples.
Storage and Reheating
- Refrigerator: Store covered for up to 4 days. The topping softens a little in the fridge, but the flavor stays good.
- Freezer: It freezes well after baking. Cool completely, wrap tightly, and freeze for up to 2 months. Thaw in the refrigerator before reheating.
- Reheating: Warm in a 325F oven until the center is hot and the topping crisps back up. The biggest mistake is using the microwave, which softens the crumble and makes the apples watery.
Answers to the Questions Worth Asking
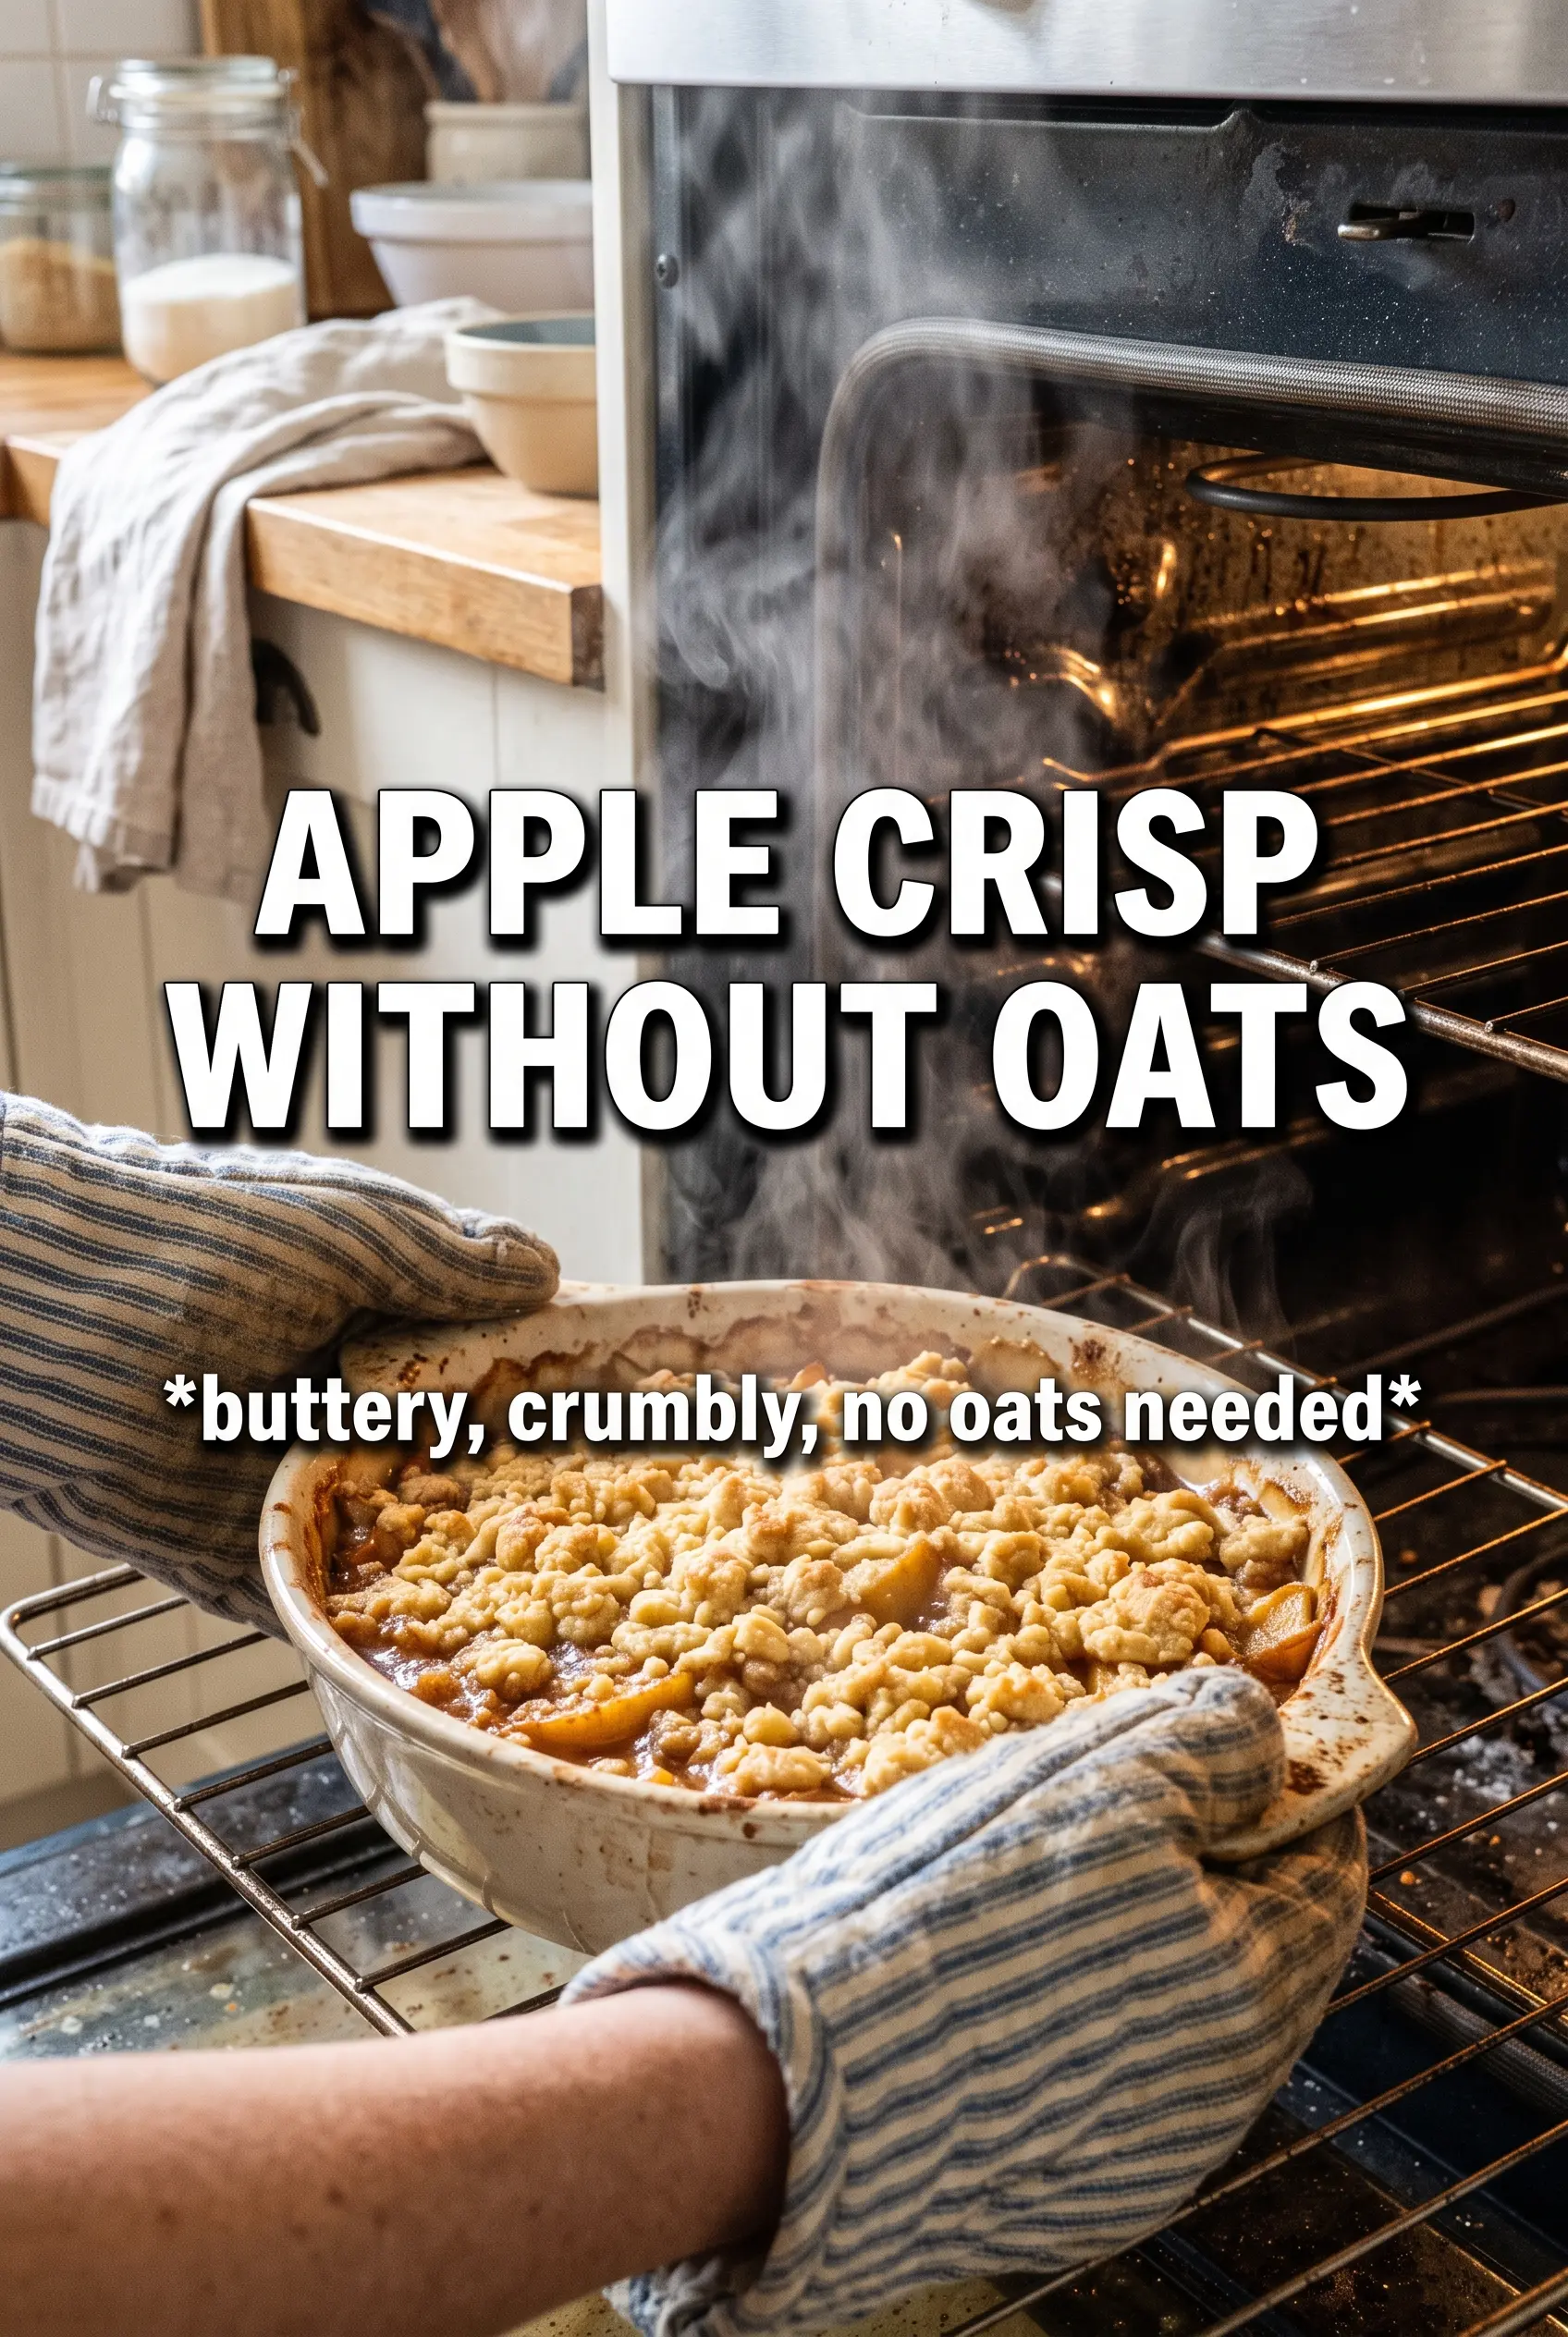
Apple Crisp Without Oats
Ingredients
Equipment
Method
- Preheat oven to 375F, then grease a 9x13 baking dish.
- Set the greased dish aside so it’s ready when the apples and crumble are assembled.
- Toss apple slices with granulated sugar, cinnamon, nutmeg, cornstarch, and lemon juice until evenly coated.
- Spread the apple mixture in the greased dish in an even layer.
- Combine all-purpose flour, both sugars, cinnamon, nutmeg, and salt, then mix until uniform.
- Cut the cold cubed butter into the dry ingredients until the mixture forms large sandy clumps.
- Stir in pecans or walnuts if using, then scatter the crumble evenly over the apples.
- Bake at 375F for 40-45 minutes, until the topping is golden and the filling bubbles at the edges.
- Keep baking at the same temperature if the center is still bubbling but the topping isn’t yet golden.
- Rest the apple crisp for 10 minutes so the filling thickens slightly.
- Serve warm with vanilla ice cream.