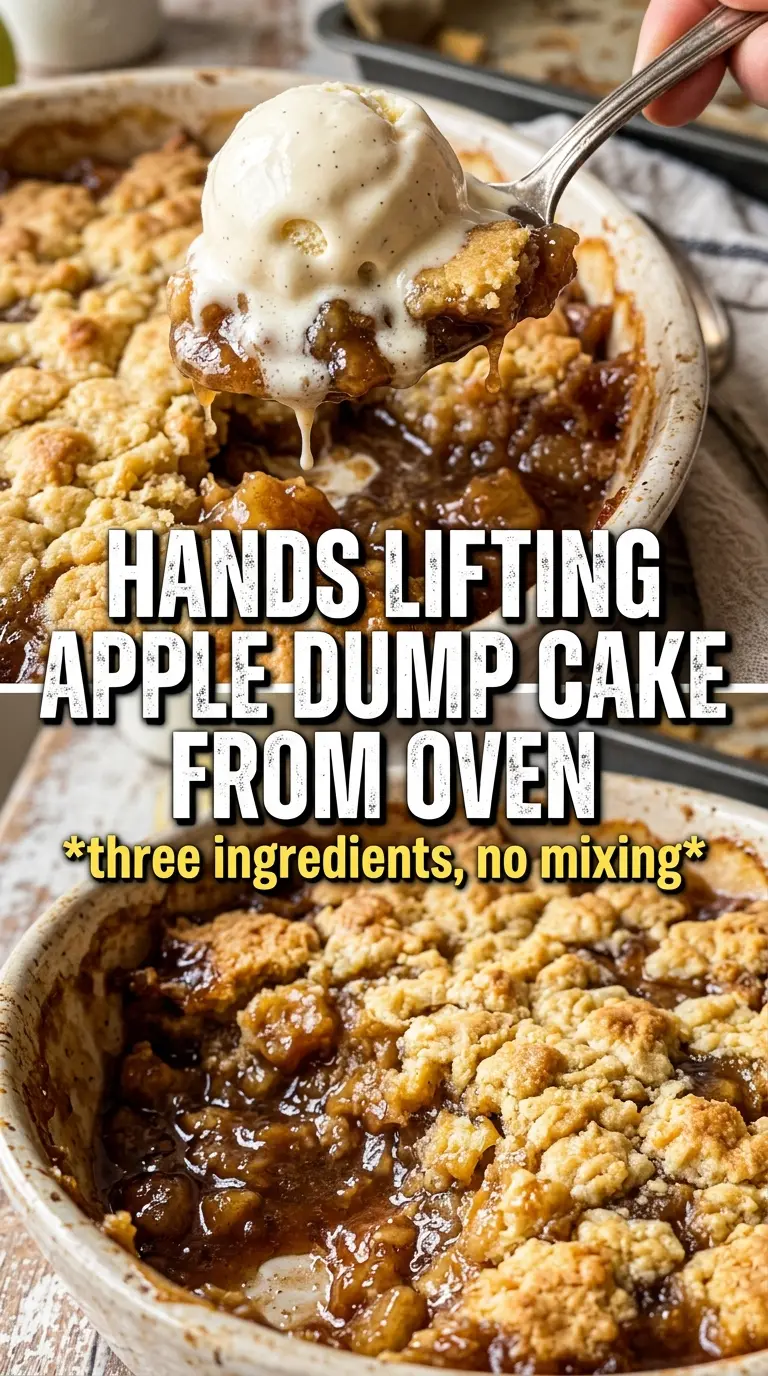
Golden, buttery, and spoonable in the middle, apple dump cake is the kind of dessert that disappears fast because it lands somewhere between a cobbler and a crisp without asking for any extra work. The top bakes up crunchy and deeply browned while the apple filling underneath turns soft and jammy, so every scoop gets both textures at once.
The trick is keeping the layers in place. The cake mix stays dry on top of the fruit, and the butter has to cover as much of that surface as possible so the powdery patches bake into a crust instead of staying dry and sandy. I also like a little cinnamon and nutmeg stirred into the filling, because canned apples can taste flat without a little help.
Below, I’ll walk through the part that matters most: how to get the topping evenly browned without stirring the cake mix into the fruit. I’ve also included a few swaps and storage notes, since this is one of those desserts that’s easy to make ahead and just as easy to mess up if the butter isn’t arranged well.
The butter melted into the cake mix perfectly and the top came out crisp instead of dry. I served it with vanilla ice cream and everyone went back for seconds.
Like this apple dump cake? Save it to Pinterest for the nights when you want a warm, buttery dessert with crisp edges and almost no prep.
The One Mistake That Leaves Dump Cake Dry and Powdery
The biggest problem with apple dump cake is uneven butter coverage. If the dry cake mix stays exposed, those patches bake up chalky instead of forming the crisp, golden crust people want. The goal is a surface that looks almost fully dotted with butter before it goes into the oven.
That’s why thin slices work better than trying to drizzle melted butter across the top. Slices melt in place and spread as they bake, which gives you better coverage without having to stir or press anything down. If you leave a bare corner, it’ll stay floury no matter how long you bake it.
- Cake mix: Yellow cake mix gives a classic buttery finish, while spice cake mix adds a deeper, warmer note that plays nicely with the apples. Don’t mix it with the filling. It needs to stay dry so the butter can transform it into a crumbly topping.
- Butter: Use real butter, not margarine. The milk solids in butter help the top brown and crisp, and thin slices melt more evenly than a few thick pieces. Cover the whole pan, edge to edge.
- Apple pie filling: Canned filling keeps this dessert fast and dependable. If the apples look very syrupy, that’s fine; the liquid helps the filling bubble and keep the bottom from drying out. Stir the spices in before topping so the flavor reaches the whole pan.
- Pecans or walnuts: Optional, but they add a toasted crunch that works well against the soft apples. Leave them out for a nut-free version with no change to the bake time.
What Each Ingredient Is Actually Doing in This Recipe
- Primary ingredient (the star) — Quality matters most. Choose the best you can find.
- Cooking medium (oil, butter, or broth) — This carries flavors and prevents dryness.
- Seasonings (salt, pepper, spices, herbs) — Layer flavors so nothing overpowers. Build depth gradually.
- Aromatics (garlic, onion, herbs) — Cook with fat to bloom flavors. Become the foundation.
- Supporting ingredients — Complement the main ingredient without overpowering it.
- Sauce or liquid (if applicable) — Brings flavors together. Balance richness with acid.
- Acid (lemon, vinegar, wine, or other) — Brightens and prevents flat-tasting results.
- Final finish (garnish, glaze, or sauce) — Prevents one-dimensional taste and adds visual appeal.
Building the Crust Without Stirring the Filling
Start With the Apple Layer
Spread the apple pie filling in an even layer across the bottom of the greased baking dish, then stir in the cinnamon and nutmeg before anything else goes on top. You want the apples level so the cake mix bakes evenly instead of sinking into one wet pocket. If the filling is piled higher in the center, the middle will stay soupy while the edges overbake.
Cover the Cake Mix Completely
Shake the dry cake mix across the fruit in an even blanket and leave it alone. Don’t stir it in, and don’t patch it with a spoon after you start adding butter. The dry mix needs that top position so the butter can soak in from above and create the crumbly crust instead of a gluey layer.
Lay the Butter Slices Like Roof Shingles
Arrange the thin butter slices over the entire surface of the cake mix, overlapping slightly if needed. This is the part that decides whether the topping bakes crisp or stays dusty. If you can still see a lot of bare cake mix, add a few more slices, because those uncovered spots are the ones that come out pale and dry.
Bake Until the Edges Bubble
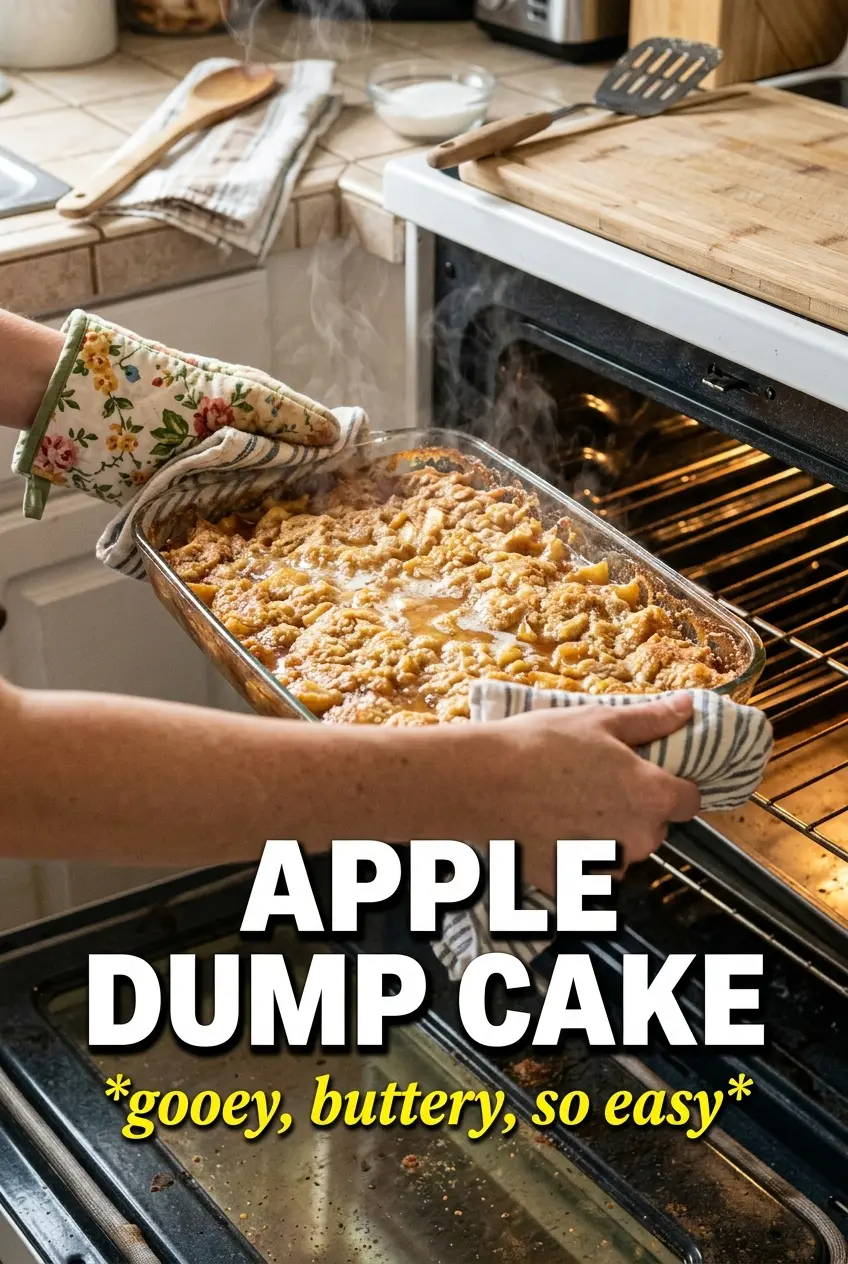
Bake until the top is deeply golden and the apple filling is bubbling around the edges, which usually takes 40 to 45 minutes. The bubbling matters as much as the color because it tells you the filling is hot all the way through. If the top browns too quickly, loosely lay a piece of foil over it for the last part of the bake.
Use Spice Cake for a More Autumn-Spiced Finish
Swap the yellow cake mix for spice cake mix if you want a deeper cinnamon-clove note without adding extra ingredients. It makes the topping taste more like a baked apple crisp and less like plain cake crumbs. This is the easiest way to push the dessert in a warmer direction.
Skip the Nuts for a Clean, Crumbly Top
Leave off the pecans or walnuts if you want a softer, more uniform topping or need a nut-free dessert. You’ll lose a little crunch, but the crust will still turn crisp from the butter and cake mix. This is the best move if you’re serving a crowd with allergies.
Make It Gluten-Free With a Cup-for-Cup Cake Mix
Use a gluten-free yellow or spice cake mix that bakes one-to-one in place of the standard box mix. The texture will be a touch more delicate, but the same butter-on-top method still works. Don’t switch to a mix that needs extra liquid, or the topping won’t crisp the same way.
Storage and Reheating
- Refrigerator: Store covered for up to 4 days. The top softens as it sits, but the flavor holds well.
- Freezer: It freezes well in portions for up to 2 months. Wrap tightly and thaw in the refrigerator before reheating so the filling doesn’t turn watery.
- Reheating: Warm in a 325F oven until heated through and the top starts to crisp again. The microwave works in a pinch, but it softens the crust and can make the filling feel loose.
Questions I Get Asked About This Recipe
Apple Dump Cake
Ingredients
Equipment
Method
- Preheat the oven to 350F and grease a 9x13 baking dish so it’s ready for layering.
- Spread the apple pie filling across the bottom of the dish, then stir in cinnamon and nutmeg until evenly distributed.
- Dump the dry cake mix evenly over the apple filling and do not stir.
- Arrange thin slices of unsalted butter in a single layer over the entire surface of the dry cake mix so every inch is covered.
- Scatter the chopped pecans or walnuts over the top if using.
- Bake for 40-45 minutes at 350F until the top is deeply golden and crispy and the apple filling is bubbling around the edges (look for crisp, set edges).
- Serve warm with vanilla ice cream, letting the ice cream melt slightly over the cake.