Apple Fritter Cake bakes up with the soft, tender crumb of a homemade snack cake and the sticky cinnamon-apple pockets you expect from a good fritter. The top turns deeply golden, the apples soften just enough to stay juicy, and the glaze settles into the warm surface in sweet little stripes that finish every slice with a little crunch and shine.
What makes this version work is the layering. Half the batter goes down first so the apples don’t all sink, then the rest of the batter and apples create that fritter-style swirl through the middle and on top. I’ve found that tossing the apples with brown sugar and spice before they hit the pan gives them a head start on caramelizing, which keeps the flavor bold instead of buried in the cake.
Below, I’ll show you exactly how to keep the batter from turning heavy, how to get the apple layer balanced, and a few smart swaps if you only have a different type of apple on hand.
The apples stayed tender without turning mushy, and the glaze set up just enough that each slice held together cleanly. I baked mine right at 43 minutes and the center was perfect.
Save this Apple Fritter Cake for when you want a soft cinnamon-apple crumb cake with a glossy glaze and those bakery-style swirls.
The Swirl Matters More Than You Think
The biggest mistake with an apple fritter cake is treating it like a dump-and-stir coffee cake. If you mix the apples straight into the batter, they tend to sink, the spice clumps in one pocket, and the whole cake bakes up uneven. Layering half the batter first gives the cake structure, and spooning the apples between the layers keeps the fruit distributed from edge to center.
The other thing that changes the result is the apple mixture itself. Brown sugar draws out a little juice from the diced apples before baking, which means you get a syrupy cinnamon layer instead of dry little chunks. Swirling the top once or twice with a knife is enough; overworking it blends the layers too much and takes away the fritter look.
- Layering the batter keeps the apples from dropping to the bottom.
- Pre-tossing the apples with sugar and spice starts the syrupy filling before the cake even goes in the oven.
- A light swirl gives you contrast between cake and filling instead of one muddy layer.
What Each Ingredient Is Actually Doing in This Cake
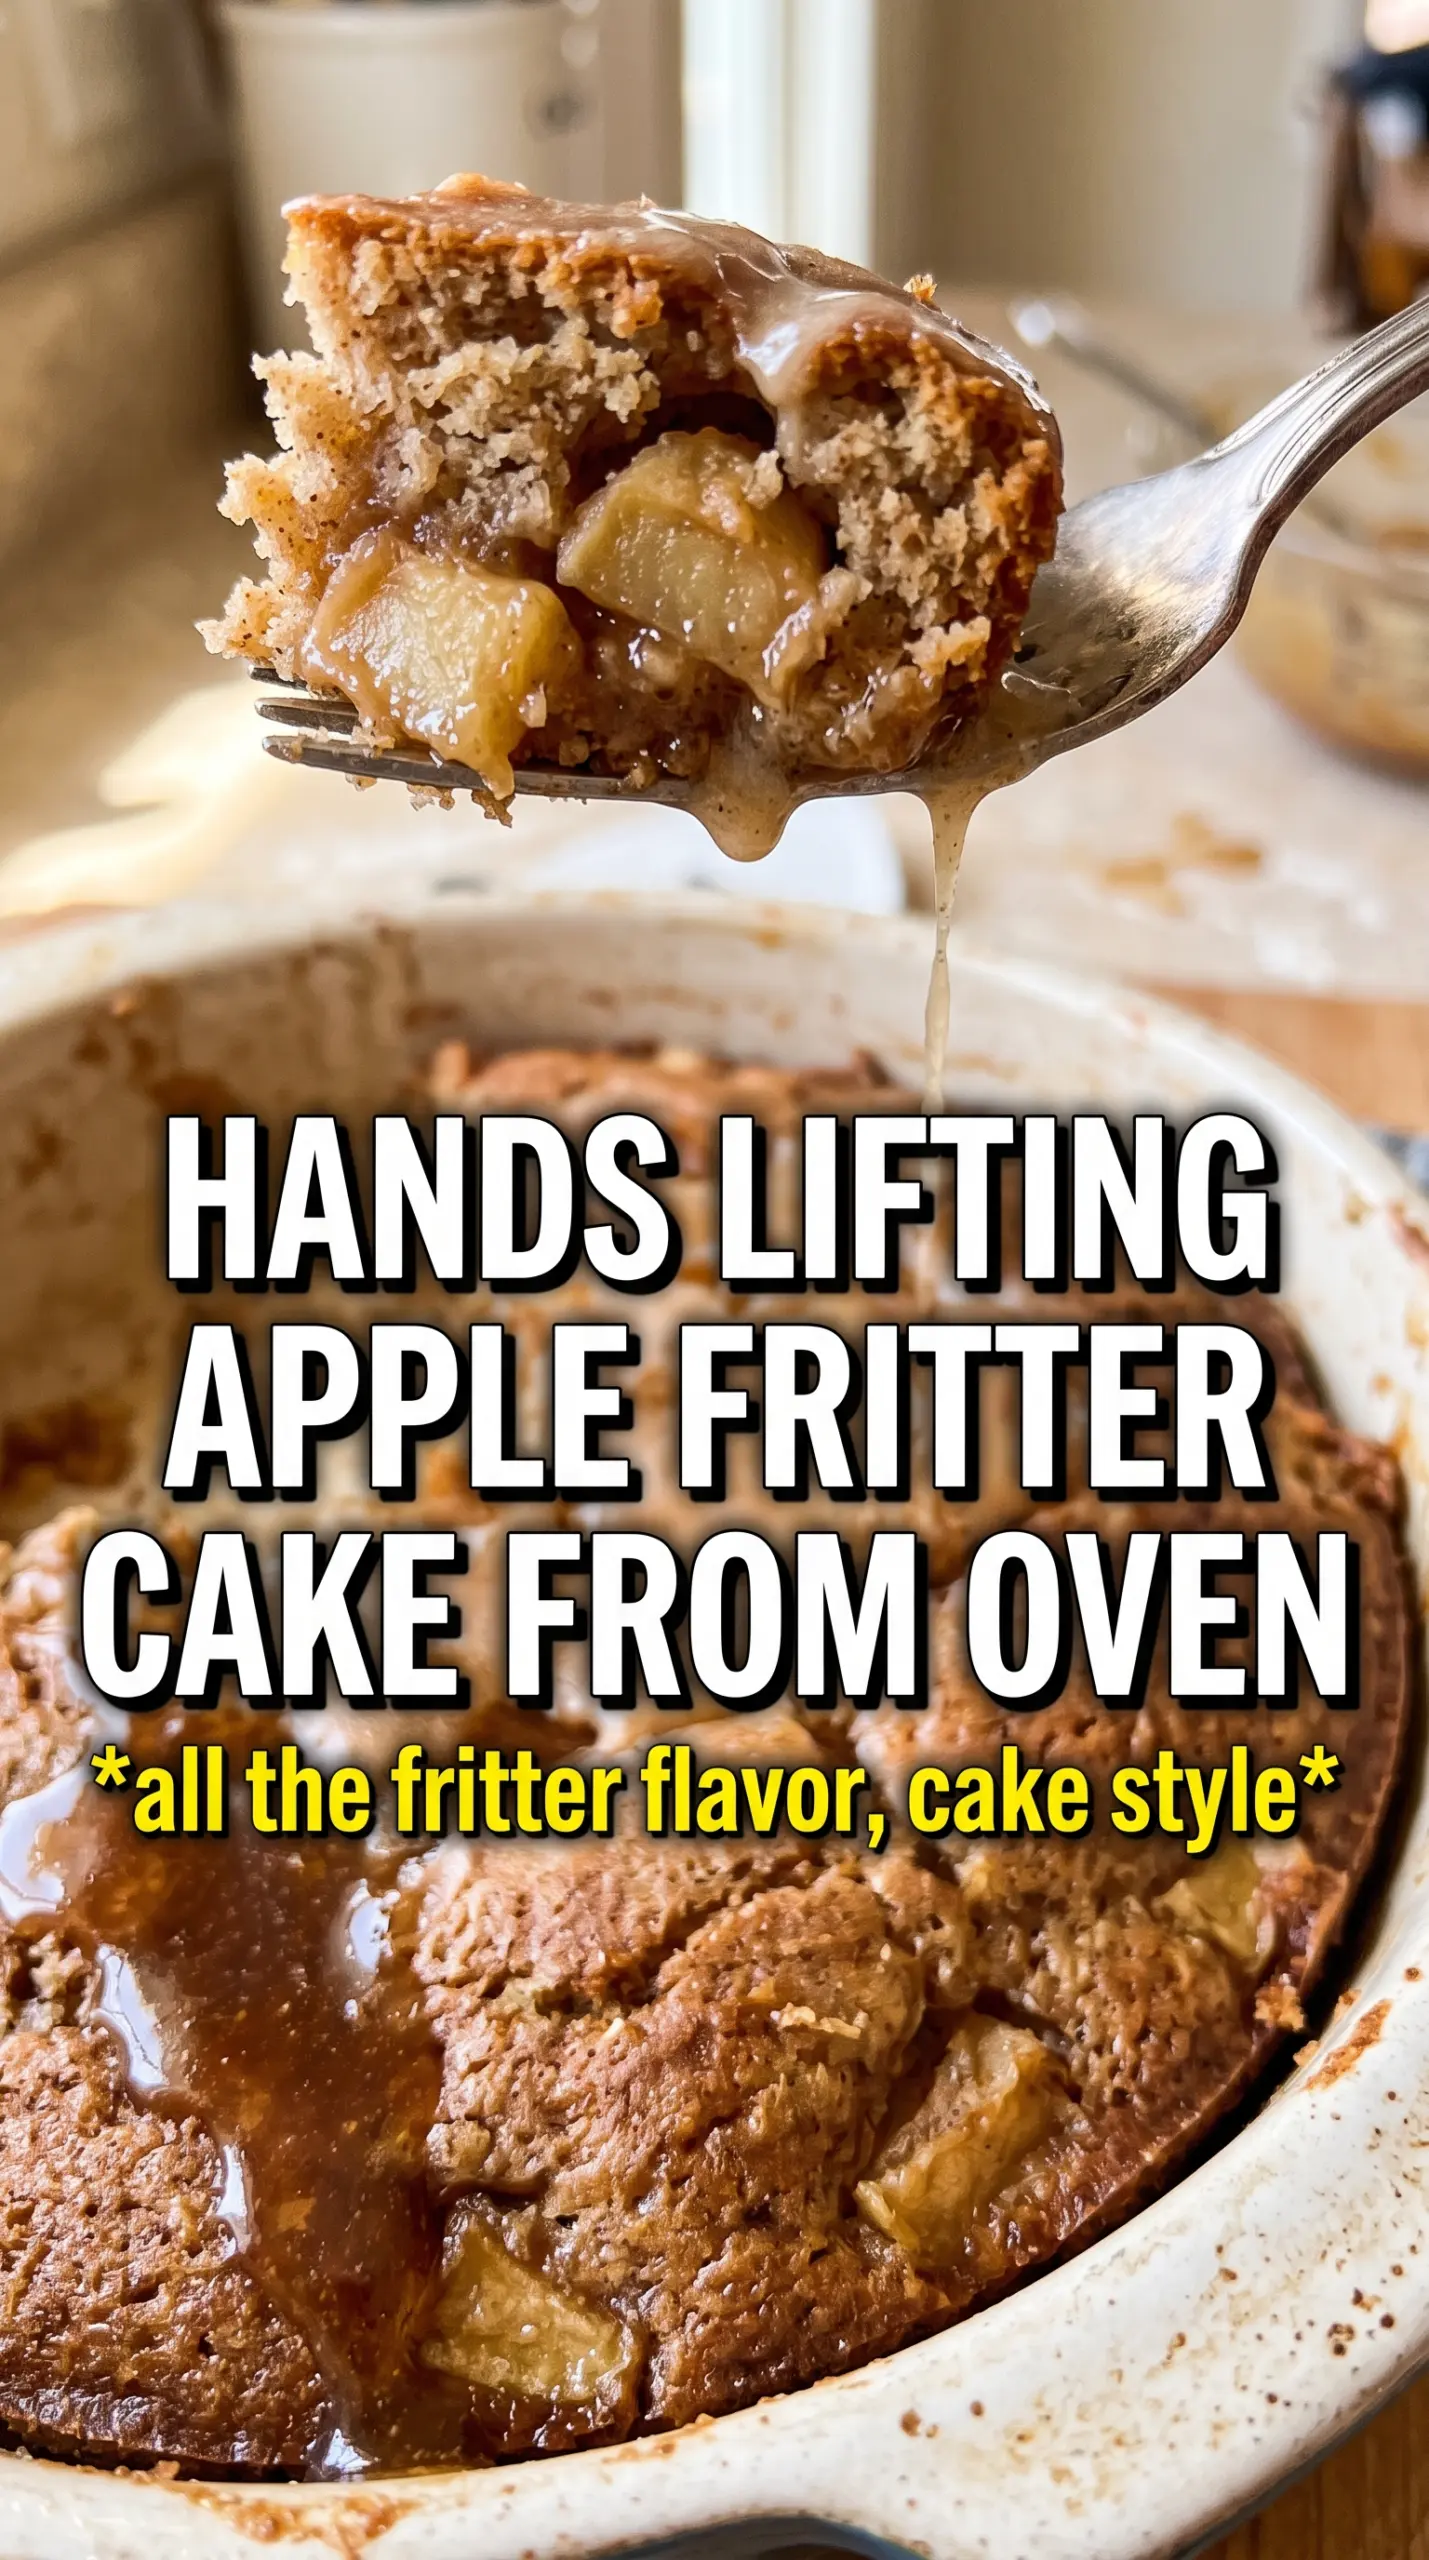
- Apples — Use a firm baking apple if you can. Granny Smith gives you a sharper bite and holds its shape; Honeycrisp or Pink Lady work too if you want a sweeter cake. Softer apples turn mushy fast, especially in a 9×13 pan.
- Brown sugar — This is what makes the apple layer taste like fritter filling instead of plain fruit. It also adds moisture to the apples so the spice blooms while the cake bakes.
- Butter and sugar — Cream them until light and fluffy. That step traps air, which gives the cake lift. If the butter is too cold, the batter stays dense and the crumb turns heavy.
- Whole milk — The extra fat keeps the cake tender. You can use 2% in a pinch, but the crumb won’t be quite as plush.
- Powdered sugar glaze — Add the milk slowly. You want it thick enough to ribbon off a spoon, not run off the cake in a thin puddle.
Building the Batter and Apple Layers Without Losing the Texture
Creaming the base
Beat the softened butter and granulated sugar until the mixture looks pale and fluffy, not greasy and grainy. That usually takes a few minutes, and it matters because this is where the cake gets its lift before the baking powder even starts working. Add the eggs one at a time so the batter stays smooth, then mix in the vanilla. If the eggs go in all at once and the batter looks split, keep mixing a little longer before moving on.
Adding the dry ingredients and milk
Whisk the flour, baking powder, and salt together before they go into the bowl. Alternate the dry ingredients with the milk, beginning and ending with the dry mixture so the batter stays stable. Stop mixing as soon as the flour disappears. Overmixing is what makes this kind of cake tough instead of tender.
Layering in the apples
Spread half the batter into the greased pan, then scatter half the apple mixture over the surface. The batter won’t cover every inch perfectly, and that’s fine. Add the remaining batter in spoonfuls so you don’t drag the first apple layer around, then top with the rest of the apples. A knife swirl or two is enough to marble the top without blending the layers into one color.
Baking and glazing
Bake until the top is golden and a toothpick comes out clean or with a few moist crumbs from the cake, not wet batter from the apple pockets. Let it cool for about 15 minutes before glazing so the sugar doesn’t dissolve completely into the surface. The glaze should sit in thin white ribbons. If the cake is too hot, it disappears; if it’s too cool, it won’t spread.
Make It With a Different Apple
Granny Smith gives the sharpest flavor and the best structure, but Honeycrisp, Pink Lady, and Fuji all work. Sweeter apples make the cake taste more dessert-like and less tart, while softer apples can bake down more quickly and lose their shape.
Dairy-Free Apple Fritter Cake
Use a plant-based butter that works for baking and an unsweetened non-dairy milk like oat or almond milk. The cake will still be tender, though the flavor won’t have quite the same richness as the version made with whole milk and real butter.
Gluten-Free Swap
A 1:1 gluten-free baking flour usually works here, as long as it already includes xanthan gum. The crumb will be a little more delicate, so let the cake cool before slicing or it may break at the apple layer.
Turn It Into Muffins
Spoon the batter into lined muffin cups and shorten the bake time to around 18 to 22 minutes. You’ll get more defined apple pockets and more of a breakfast-cake feel, but you’ll lose the soft, layered center that makes the pan version feel like a true fritter cake.
Storage and Reheating
- Refrigerator: Store covered for up to 4 days. The crumb stays moist, though the glaze will soften a bit.
- Freezer: Freeze slices without glaze for up to 2 months, wrapped tightly. Thaw overnight in the fridge, then glaze after reheating if you want the best look.
- Reheating: Warm individual slices in the microwave for 15 to 20 seconds or in a low oven. Don’t blast it on high heat or the apples can get mealy and the cake dries out around the edges.
Answers to the Questions Worth Asking
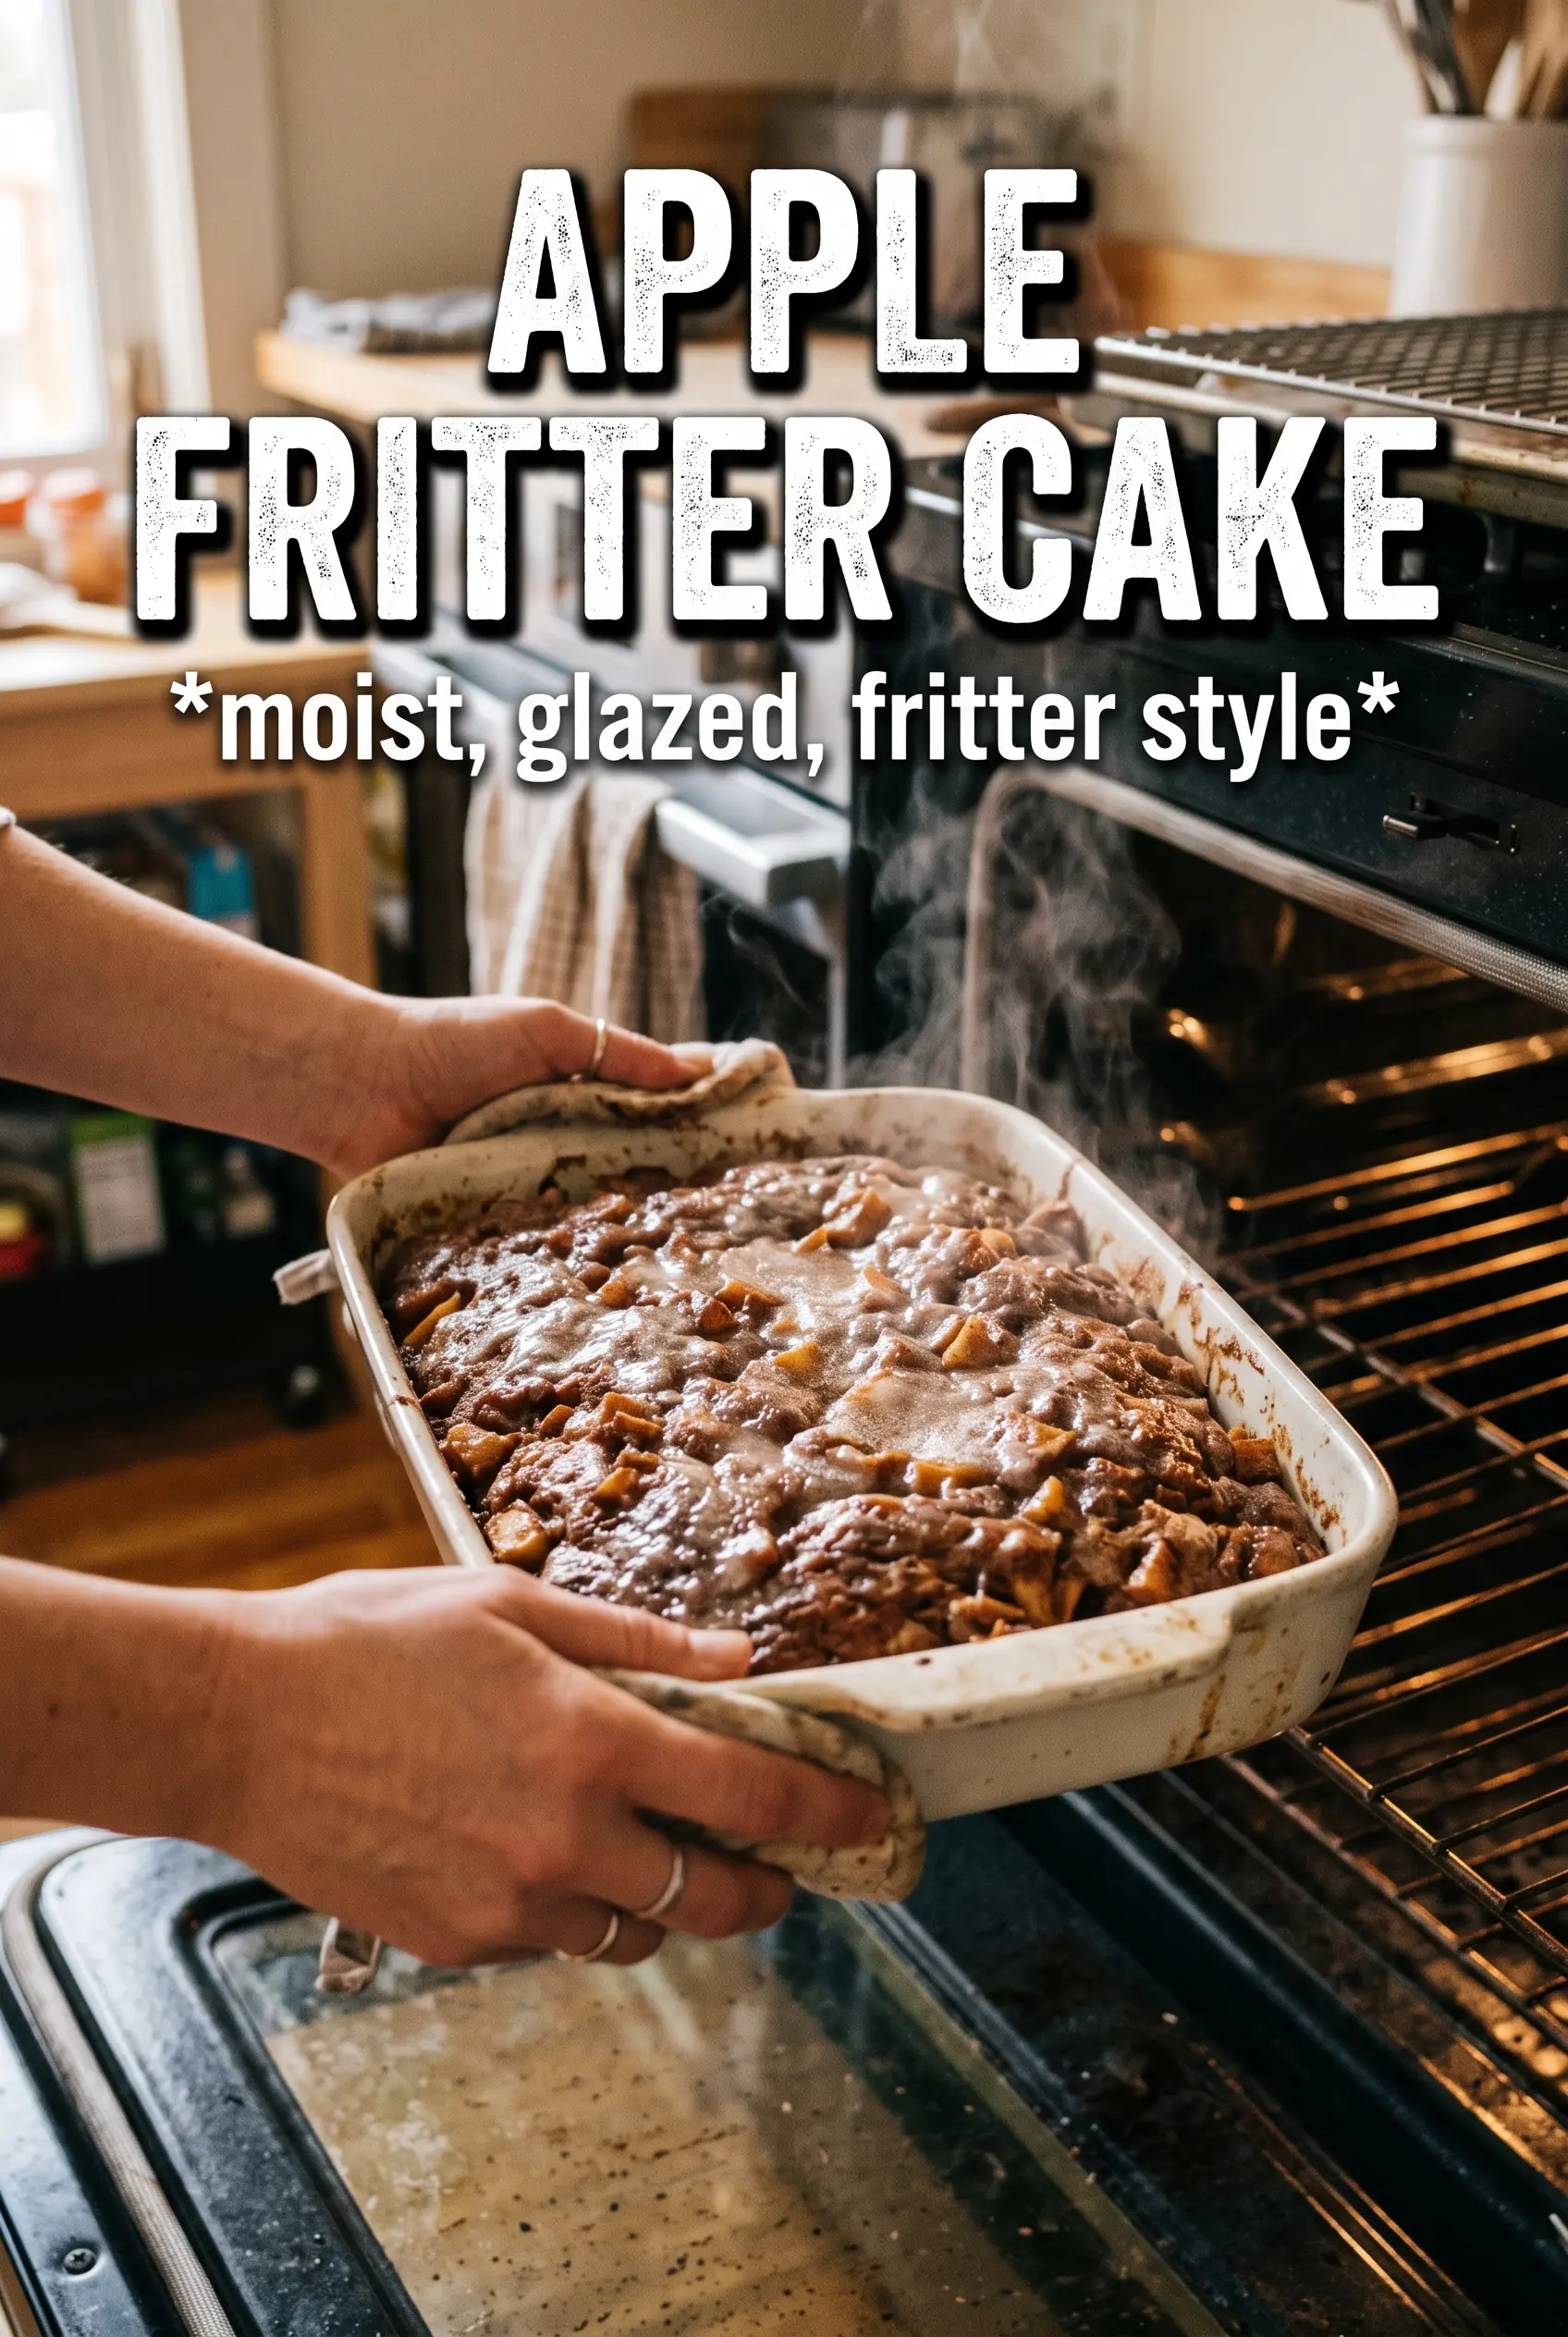
Apple Fritter Cake
Ingredients
Equipment
Method
- Preheat the oven to 350F, then grease a 9x13 baking dish with a light coating so the cake releases cleanly.
- Toss diced apples with brown sugar, cinnamon, and nutmeg until evenly coated, then set the bowl aside with visible cinnamon specks on the fruit.
- Beat softened butter and granulated sugar until fluffy and lighter in color.
- Add eggs one at a time, then mix in vanilla extract until smooth and glossy.
- Whisk all-purpose flour, baking powder, and salt together.
- Alternate adding the dry mixture and whole milk to the butter mixture, mixing just until the batter looks thick and cohesive.
- Spread half the batter in the greased 9x13 dish in an even layer.
- Scatter half the cinnamon apples over the batter so the top is dotted with fruit pieces.
- Add the remaining batter, then arrange remaining apples on top in a loose layer.
- Swirl the top gently with a knife to create ribbon-like cinnamon pockets (you should see streaks forming).
- Bake for 40-45 minutes at 350F until the top is golden and a toothpick inserted in the center comes out clean.
- Cool for 15 minutes before glazing so the cake thickens and the glaze stays drizzly rather than fully absorbing.
- Whisk powdered sugar with 2-3 tablespoons milk and vanilla until thick, then drizzle across the cake in irregular stripes.