Glossy apple pie filling has a way of making the whole kitchen smell like you’ve already baked something special. The apples turn tender without falling apart, the syrup thickens into a shiny cinnamon sauce, and every spoonful tastes like the best part of an old-fashioned pie. This version lands right in that sweet spot between bright and cozy, with enough body to hold up in a crust but still soft enough to spoon over ice cream or tuck into a crisp.
The trick is starting the cornstarch with the sugar and spices before the apples go in. That keeps the thickener from clumping and gives you a smoother syrup from the start. I also like the mix of Granny Smith and Honeycrisp because one brings structure and tartness while the other adds juiciness and a little natural sweetness. Lemon juice keeps the filling from tasting flat, and the butter goes in at the end for that round, bakery-style finish.
Below you’ll find the timing cue that matters most, plus a few smart swaps if you want to use different apples or make the filling ahead for later.
The filling thickened up exactly like it should, and the apples stayed tender without turning mushy. I used it for a pie and had just enough left over for yogurt the next morning.
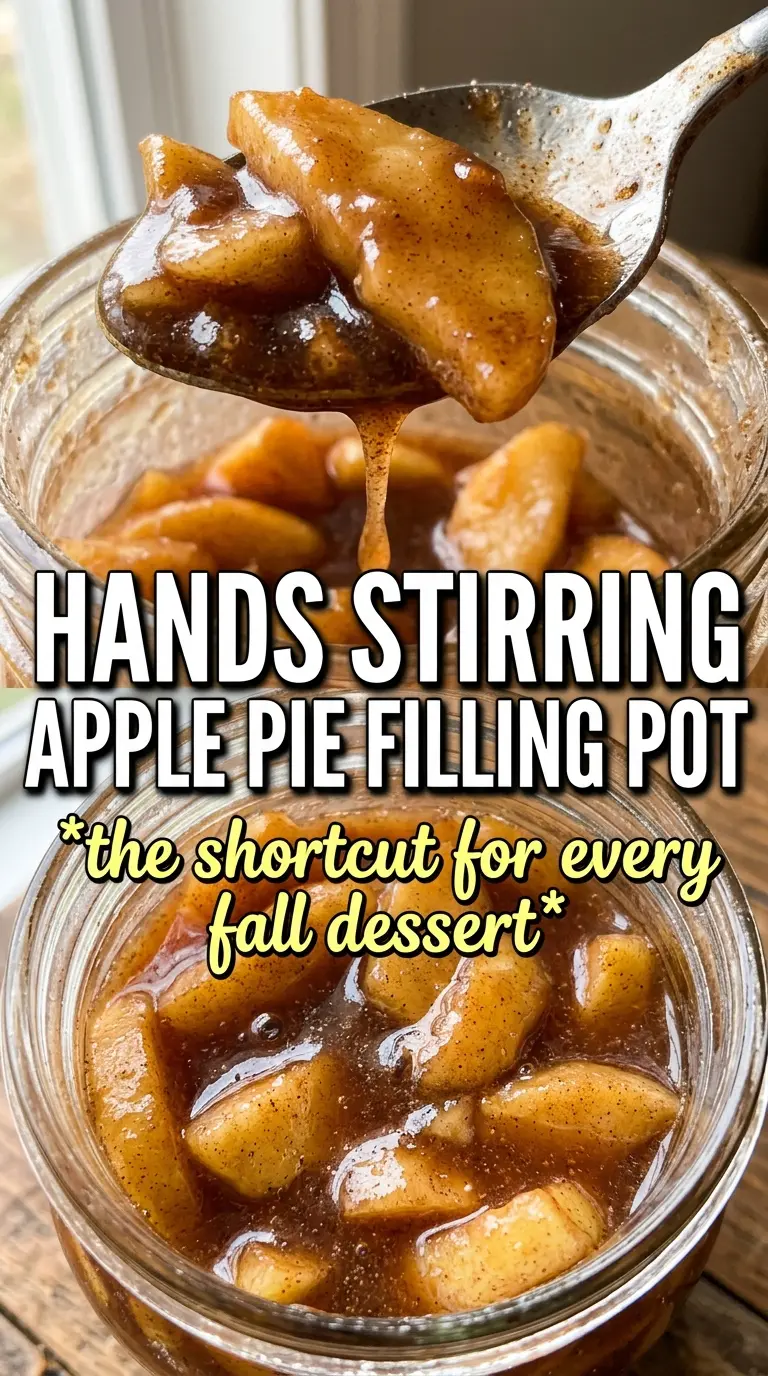
Apple pie filling that thickens into a glossy cinnamon syrup and holds its shape in a pie.
The Part That Keeps the Filling from Turning Gluey
Most apple pie fillings go wrong in one of two ways: the sauce stays thin, or it turns pasty before the apples are tender. Cornstarch needs enough heat to activate, but not a hard boil that makes the fruit break down too fast. The sweet spot is a steady medium heat where the liquid turns from cloudy to glossy and starts clinging to the apples in a light sheen.
The other thing that matters is the apples themselves. Granny Smiths keep their shape and bring the tartness that pie filling needs, while Honeycrisp softens a little faster and gives the filling a fuller, juicier bite. Use both if you can. If you only have one variety, choose a firm baking apple rather than anything mealy, or the filling will collapse before the pie is done.
What Each Ingredient Is Actually Doing in the Pan
- Granny Smith apples — These hold their shape and keep the filling from tasting overly sweet. If you swap them out, use another firm baking apple or your filling will soften too quickly.
- Honeycrisp apples — They bring juiciness and a gentle sweetness that balances the tart apples. A different sweet apple works, but you’ll lose some of that clean, fresh apple flavor.
- Cornstarch — This is what turns the pan juices into that glossy pie filling consistency. Stir it into the sugars and spices first so it disperses evenly before the apples release their moisture.
- Apple juice or water — Juice adds a little extra apple depth, while water keeps the filling cleaner and less sweet. If the apples are already very sweet, water is fine.
- Lemon juice — It keeps the flavor bright and helps the apples taste like apples instead of just sugar and spice. Don’t skip it; the filling tastes flatter without it.
- Butter and vanilla — Add these off the heat so the butter melts smoothly and the vanilla stays fragrant. They round out the filling at the end and give it that bakery-style finish.
Cooking the Apples Until They’re Tender, Not Mushy
Building the Syrup First
Whisk the sugars, cornstarch, juice, and spices in the saucepan before the apples go in. That step matters because dry cornstarch leaves little white pockets if it isn’t fully dispersed. Heat the mixture until the sugar dissolves and the liquid looks smooth, then move on right away so it doesn’t thicken too early in the pan.
Coating the Apples Evenly
Add the sliced apples and lemon juice, then stir until every piece is coated. The apples will look crowded at first, but they shrink as they cook and release juice into the syrup. If you pile them in and stop stirring, the bottom layer thickens before the top layer softens, which gives you uneven texture.
Waiting for the Right Thickness
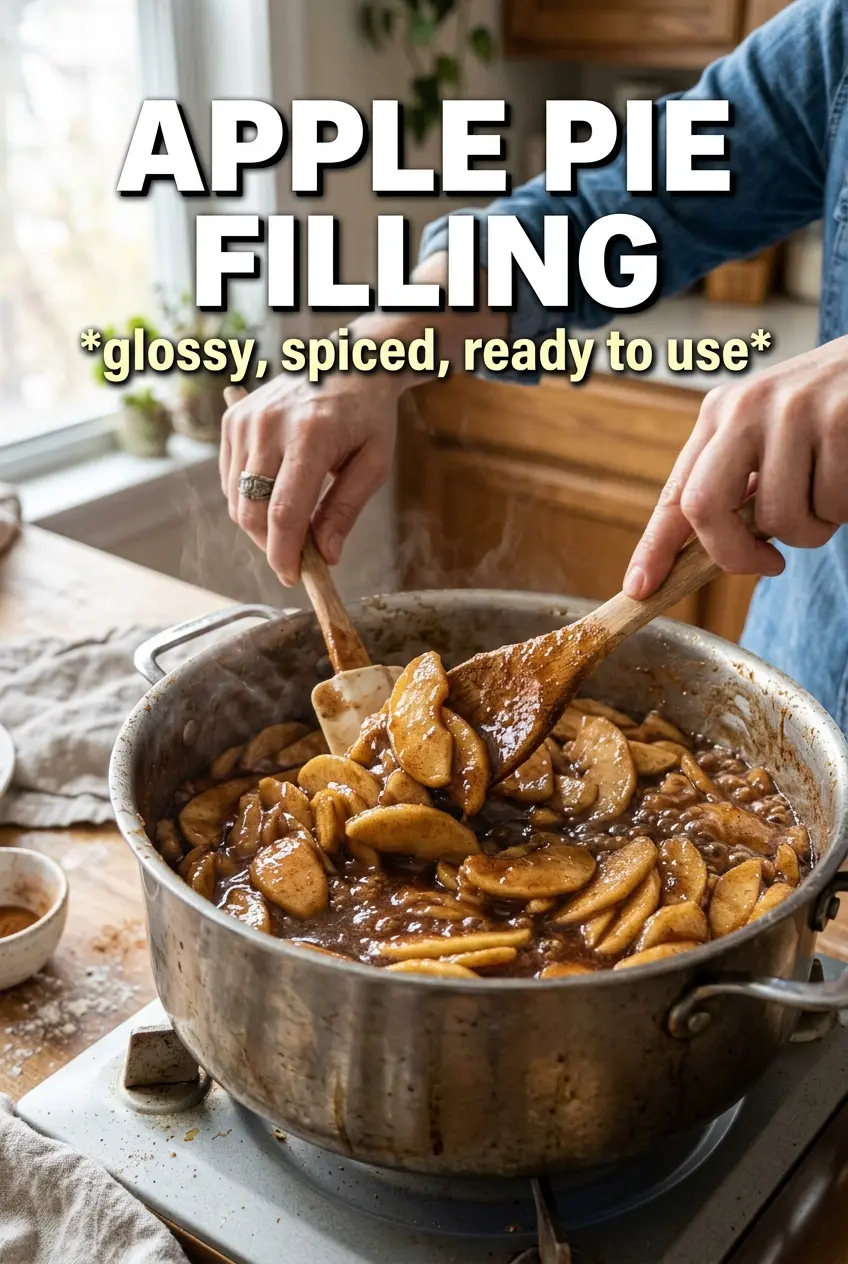
Cook for 10 to 12 minutes over medium heat, stirring occasionally, until the apples are tender and the sauce is glossy and thick enough to mound on a spoon. If the sauce still looks thin, give it another minute or two; if you wait until it seems fully set in the pan, it will be too stiff once it cools. Pull it off the heat while it still flows a little.
Finishing Off the Heat
Stir in the butter and vanilla after the pan comes off the burner. Butter adds shine and a smoother mouthfeel, but it can separate if you keep boiling the filling. Let it cool completely before using it in a pie so the filling doesn’t soak the crust and turn it soggy.
How to Adjust This Filling for Different Uses
All Granny Smith, All Honeycrisp, or a Blend
A full batch of Granny Smiths gives you a firmer, tarter filling that stands up well in a pie. A batch made only with Honeycrisp tastes sweeter and softer, which works better for spooning over ice cream or waffles than for a tight slice. The blend gives the best balance for classic pie filling.
Dairy-Free Version
Use water instead of apple juice if you want to keep the flavor cleaner, and swap the butter for a dairy-free butter with a neutral taste. You’ll lose a little richness, but the filling still thickens and bakes the same way.
Make-Ahead Pie Filling
Cool the filling completely before storing it in sterilized jars or an airtight container. As it sits, it thickens a little more, so don’t panic if it looks looser than expected when it first comes off the stove. That softer texture is useful if you plan to bake it into a pie later.
Storage and Reheating
- Refrigerator: Store in a sealed container for up to 2 weeks. The filling will thicken as it chills, which is normal.
- Freezer: It freezes well for up to 3 months. Cool completely, pack into freezer-safe containers, and leave a little space at the top for expansion.
- Reheating: Warm gently on the stove over low heat or in short microwave bursts. Don’t blast it on high heat or the apples can turn soft before the syrup loosens.
Answers to the Questions Worth Asking
Apple Pie Filling
Ingredients
Equipment
Method
- Whisk granulated sugar, brown sugar, cornstarch, apple juice or water, cinnamon, nutmeg, and allspice in a large saucepan over medium heat until the sugar dissolves, about 2-3 minutes. Visual cue: the mixture turns smooth and slightly cloudy as the starch hydrates.
- Add sliced apples and lemon juice, then stir until the apples are evenly coated. Visual cue: the apples look glossy and evenly dusted with spice.
- Cook over medium heat, stirring occasionally, for 10-12 minutes until apples are tender and the sauce thickens to a glossy syrup. Visual cue: the syrup coats a spoon and looks amber and shiny.
- Remove the saucepan from the heat and stir in unsalted butter and vanilla extract. Visual cue: the filling looks smoother and more lustrous after the butter melts.
- Cool completely before using in a pie. Visual cue: the filling thickens as it cools and holds shape when spooned.
- Pour the filling into sterilized jars and refrigerate up to 2 weeks if you are not using it right away. Visual cue: condensation should be minimal after it cools, and the syrup should stay thick in the jars.
- Spoon the apple pie filling into pies, crisps, cobblers, crepes, or use it as an ice cream topping. Visual cue: the apples should stay suspended in thick cinnamon syrup rather than pooling.