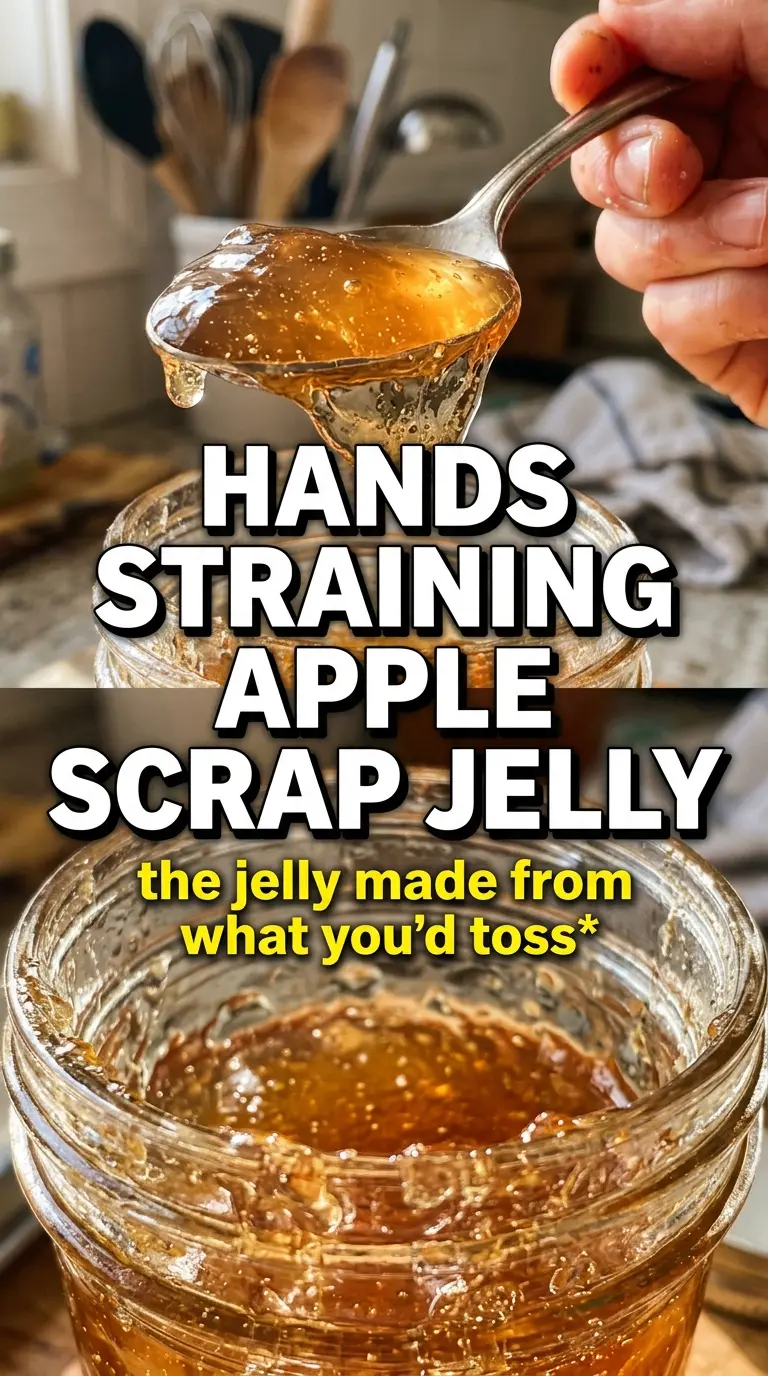
Apple scrap jelly turns a pile of peels and cores into something clear, glossy, and quietly impressive. The finished jelly has a soft amber color and a clean apple taste that feels just a little more special because it came from what most people throw away. It sets up with a bright, spoonable texture that still looks elegant on toast, biscuits, or alongside a cheese board.
The trick is patience at two points: first when you simmer the scraps long enough to pull out every bit of flavor, and again when you let the juice drip instead of squeezing it through the cloth. Pressing the pulp can cloud the jelly and make it harder to set. Measuring the juice after straining matters too, because the sugar ratio is based on what you actually collected, not what you started with.
Below, I’ll walk through the part that keeps the jelly clear, what to do if you want a warmer spice note, and how to store the jars once they’re filled.
The jelly set up beautifully and stayed crystal clear because I didn’t press the strainer. The lemon gave it just enough brightness, and my jars were gone before the week was over.
Save this apple scrap jelly for the day you’ve got a bowl of peels and cores and want to turn them into three shiny jars of homemade spread.
The Part That Keeps Apple Scrap Jelly Clear Instead of Cloudy
The biggest mistake people make with apple scrap jelly is squeezing the fruit scraps once they’ve softened. That seems like a good way to get more juice, but it pushes fine pulp through the cloth and turns the jelly murky. Let gravity do the work here. A slow drip gives you a cleaner juice and a better-looking set.
The other place this recipe can go sideways is the boil. Jelly needs a hard, steady boil to reach the temperature where it thickens properly, and a lazy simmer leaves you with syrup instead of a set jelly. If you don’t trust the thermometer, use the cold plate test and look for a sheet that wrinkles when you push it with your finger.
- Don’t rush the straining. Thirty minutes is a good minimum, and a little longer is fine if the drips are still coming. The clearer the juice, the prettier the final jelly.
- Measure after straining. The sugar ratio depends on the actual juice yield. Too little sugar and the jelly won’t set; too much and it can turn stiff or overly sweet.
- Boil in a wide saucepan. More surface area means faster evaporation and a better chance of hitting 220F without overcooking the juice.
What the Apple Scraps, Lemon, and Sugar Are Doing Here
- Apple peels and cores — The peels carry color and a lot of the apple perfume, while the cores and flesh around them give the juice enough natural pectin to set. Just leave the seeds out; they’re not part of the flavor you want here.
- Lemon juice — This sharpens the flavor and helps the pectin do its job. Bottled lemon juice works fine here because consistency matters more than fresh juice’s brightness.
- Granulated sugar — Plain white sugar is the right choice. It dissolves cleanly and lets the apple flavor stay clear. Brown sugar would muddy both the color and the taste.
- Cinnamon, optional — Use it if you want the jelly to lean a little warmer and more aromatic. Keep it light; this should still taste like apple jelly, not apple pie filling.
From Scraps to Set Jelly Without Guessing
Pulling the Flavor Out of the Peels and Cores
Put the apple scraps in a large pot and cover them with water. Bring everything to a boil, then drop it to a steady simmer for 30 to 40 minutes until the peels look pale and the cores are soft and spent. The liquid should taste distinctly apple-forward by the end. If the pot looks dry before the scraps are fully softened, add just enough water to keep them covered.
Letting the Juice Drip Clean
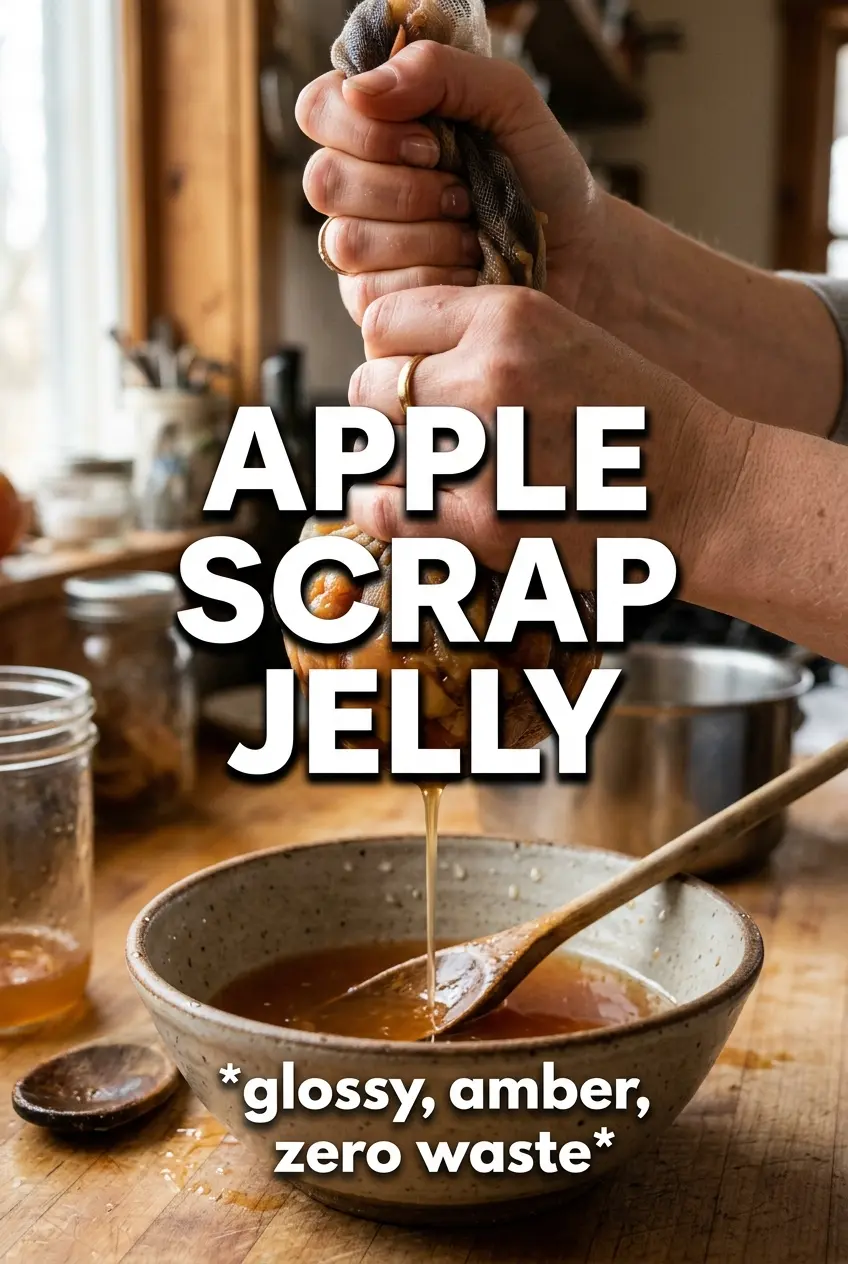
Strain the cooked scraps through a fine mesh sieve lined with cheesecloth or through cheesecloth alone. Resist the urge to press on the fruit. You’re not trying to extract the last drop of liquid; you’re trying to keep the juice clear so the jelly stays bright. Let it drip for at least 30 minutes, then measure the strained juice before you add anything else.
Cooking to the Set Point
For every 1 cup of juice, add 3/4 cup sugar, plus the lemon juice. Bring the mixture to a full boil in a saucepan and keep it there, stirring often so it doesn’t scorch at the bottom. Watch for the color to turn a little deeper and for the bubbles to look thicker and slower. When it reaches 220F or passes the cold plate test, it’s ready. If you stop too early, it will stay loose; if you cook it too far, it can turn tacky and overfirm.
Finishing and Jarring
Stir in the cinnamon, if using, right at the end so the aroma stays fresh. Ladle the jelly into sterilized jars while it’s still hot. The jelly will look a little loose at this stage, and that’s normal. It tightens as it cools. Refrigerate after filling, or process the jars if you’re following a canning method you trust.
How to Adapt Apple Scrap Jelly for Different Kitchens and Pantry Situations
Make it cinnamon-free and keep the flavor clean
Leave out the cinnamon entirely if you want a pure apple jelly with a lighter finish. The texture and set stay the same, and the apple flavor comes through more clearly, which is especially nice if you plan to use it on toast or in a glaze.
Use it as a low-waste vegan pantry project
This recipe is naturally vegan as written, and that’s part of what makes it such a good pantry staple. The only thing to watch is the sugar: use a brand you’re comfortable with if you avoid refined sugar processing methods, since that’s the main ingredient by weight.
Scale it up when you have a big bag of scraps
You can double the scraps, but keep the juice-to-sugar ratio based on the measured liquid after straining. Bigger batches take longer to reach the gel point, so use a wider pot if you can. A crowded pot takes forever to reduce and is more likely to overcook before it sets.
Storage and Reheating
- Refrigerator: Store in sterilized jars for up to 3 weeks. The texture may firm up a little more after the first day.
- Freezer: Freezes well in freezer-safe containers, but leave headspace because the jelly expands. Thaw in the refrigerator for the smoothest texture.
- Reheating: You usually won’t reheat jelly, but if it thickens too much after chilling, set the jar in warm water for a few minutes and stir gently. Don’t microwave the whole batch hard; that can break the set and make the texture uneven.
Answers to the Questions Worth Asking
Apple Scrap Jelly
Ingredients
Equipment
Method
- Place apple scraps in a large pot and add enough water to cover. Bring to a boil.
- Reduce to a simmer and cook 30-40 minutes, until the apple scraps are very soft. Keep it at a steady simmer.
- Strain the cooked apple mixture through a fine mesh sieve or cheesecloth without pressing. Let it drip for 30 minutes until you have clear juice.
- Measure the strained juice, then add 3/4 cup granulated sugar for every 1 cup juice. Stir to combine with the sugar.
- Return the juice mixture to a saucepan and add lemon juice. Heat until it comes to a boil.
- Boil vigorously, stirring frequently, for 15-20 minutes. Cook until it reaches 220°F on a thermometer or sets on a cold plate.
- Stir in cinnamon if using. Turn off the heat and ladle into sterilized jars.
- Refrigerate the jars to set. Keep chilled after opening.