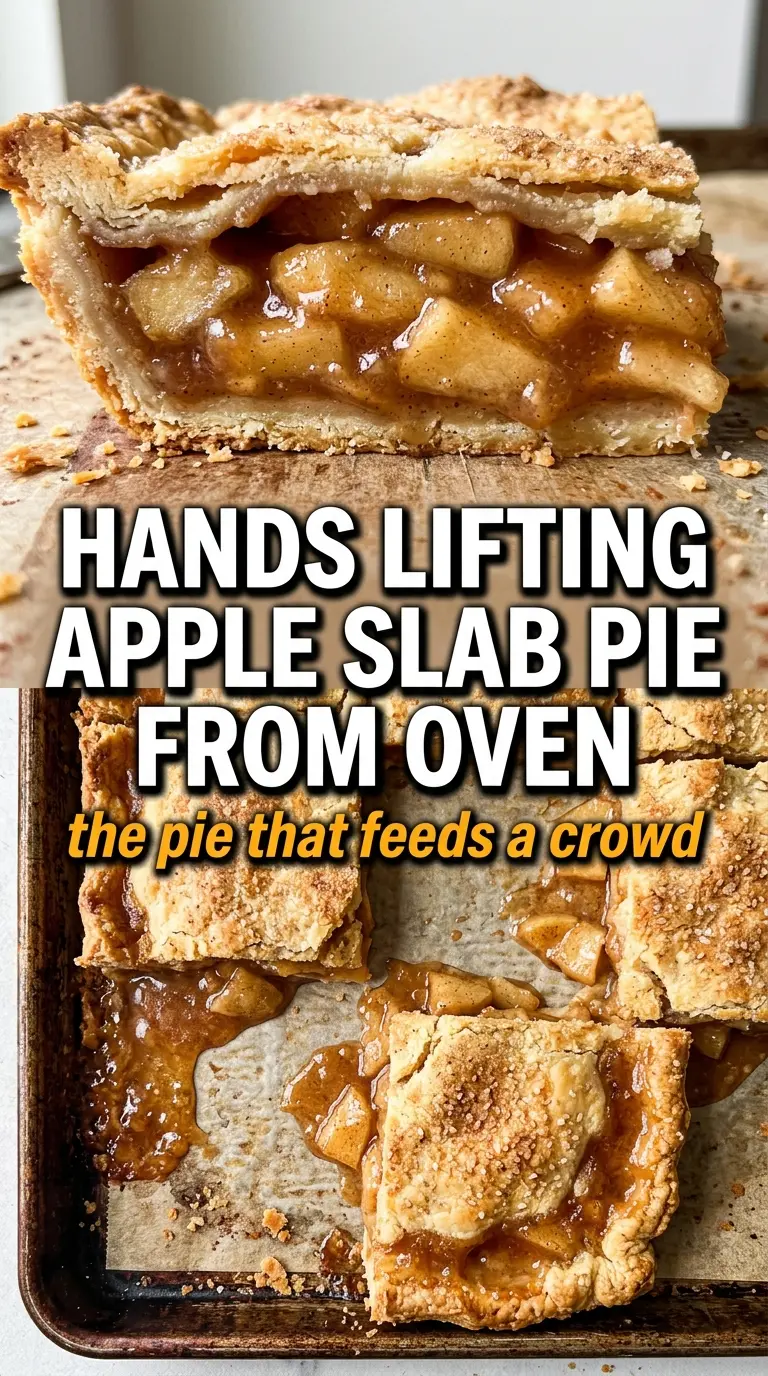
Apple slab pie gives you all the things people love about a classic apple pie, just in a shape that feeds a crowd without the usual wrestling match. You get a flaky top crust, tender spiced apples, and enough square slices to hand out at a potluck, holiday table, or weekend bake sale without fighting over the last wedge. The best part is that the filling bakes evenly from edge to edge, so every piece gets a good balance of crust and fruit.
What makes this version work is the way the crust is layered and sealed. Pressing two crusts together for both the bottom and top gives the pie enough structure to hold a full sheet pan of filling, and the cornstarch keeps the apples from turning soupy. The lemon juice sharpens the sweetness, while the mix of cinnamon, nutmeg, and allspice gives the filling that old-fashioned apple pie aroma without flattening the fruit.
Below, I’ll walk through the part that matters most: how to keep the bottom crust from going soft, how to tell when the filling is thick enough, and what to do if you want to make this ahead for serving later.
The filling thickened up beautifully and the bottom crust stayed crisp instead of soggy. I brought this to a church supper and there wasn’t a crumb left.
Love a flaky, crowd-sized dessert? Save this apple slab pie for the next potluck, holiday, or family gathering.
The Trick to Keeping a Slab Pie Crisp Under All That Filling
A slab pie can go wrong in one very specific way: the bottom crust steams before it ever has a chance to bake. That happens when the fruit gives off a lot of juice and the pan is packed too tightly or the crust isn’t docked. Pricking the bottom with a fork gives steam a way out, and pressing the crust firmly into the corners helps it bake into the pan instead of puffing away from it.
The other thing that matters here is thickener. Apples release different amounts of juice depending on the variety and how thinly they’re sliced, so the cornstarch has to catch that liquid before it runs across the sheet pan. If you skip it or use too little, the filling will look fine when it comes out of the oven and then collapse into a loose puddle as it cools.
- Refrigerated pie crusts — These are the shortcut that keeps this recipe practical. They bake up reliably and save time, but you need enough of them to cover a large pan without gaps. Homemade crust works too, but it needs to be rolled evenly so the seams don’t split in the oven.
- Apples — Use firm baking apples that hold their shape, not soft eating apples that break down into sauce. A mix of tart and sweet apples gives the filling more depth. Slice them thinly so they soften in time with the crust.
- Cornstarch — This is what turns apple juices into a glossy filling instead of a wet mess. Flour can work in a pinch, but it won’t thicken as cleanly or as quickly. Toss it evenly with the fruit so you don’t end up with clumps.
- Lemon juice — It keeps the apples from tasting flat and helps the filling stay bright. You don’t need much, but you do need it. It also gives the sugar and spice mixture a cleaner finish.
What Each Ingredient Is Actually Doing in This Recipe
- Primary ingredient (the star) — Quality matters most. Choose the best you can find.
- Cooking medium (oil, butter, or broth) — This carries flavors and prevents dryness.
- Seasonings (salt, pepper, spices, herbs) — Layer flavors so nothing overpowers. Build depth gradually.
- Aromatics (garlic, onion, herbs) — Cook with fat to bloom flavors. Become the foundation.
- Supporting ingredients — Complement the main ingredient without overpowering it.
- Sauce or liquid (if applicable) — Brings flavors together. Balance richness with acid.
- Acid (lemon, vinegar, wine, or other) — Brightens and prevents flat-tasting results.
- Final finish (garnish, glaze, or sauce) — Prevents one-dimensional taste and adds visual appeal.
Building the Filling So It Bakes, Not Boils
Mix the Apples After the Dry Ingredients
Stir the sugars, spices, and cornstarch together before they hit the fruit. That keeps the cornstarch from clumping against damp apple slices and gives every piece an even coating. Once the apples go in, toss just until they’re glossy and coated; if you overmix, the slices start breaking down before they even get to the oven.
Layer the Crust with No Gaps
Press the first two crusts together directly in the baking sheet, then push them into the corners and up the sides. Any thin spots here are the places that leak later. Dock the bottom all over with a fork so steam can escape, then spread the apples in an even layer instead of piling them high in the center.
Seal, Vent, and Bake Until the Center Bubbles
Top the filling with the remaining crusts, press the seams shut, and crimp the edges well. Brush with egg wash and add the cinnamon sugar before cutting vents, because once the cuts are there, the crust can start to separate if you handle it too much. Bake until the top is deep golden and the filling is visibly bubbling through the vents; if the filling isn’t bubbling, the cornstarch hasn’t fully activated yet.
Use a Different Apple Mix for a Sharper Pie
If you like a tarter filling, lean harder on Granny Smith apples and back off the sweeter varieties. The pie will taste brighter and a little more structured, though the filling won’t be quite as mellow. For a softer, rounder flavor, use more Honeycrisp or Golden Delicious, but keep one firm apple in the mix so the filling doesn’t turn mushy.
Make It Dairy-Free Without Losing the Finish
Swap the butter dots for a dairy-free butter alternative and brush the top with egg wash as written. The filling will still taste rich because the apples carry the dessert, and the crust will still brown properly. Skip the milk in the glaze and use cider instead for the cleanest finish.
How to Scale It for a Smaller Crowd
You can cut the filling in half and bake it in a smaller sheet or large rectangular tart pan, but don’t try to keep the same crust thickness if the pan is much smaller. A thinner crust bakes faster and can burn before the apples soften. Keep the same visual cues: a browned top, bubbling filling, and edges that look set.
Storage and Reheating
- Refrigerator: Store covered for up to 4 days. The crust softens a little after the first day, but the filling stays flavorful.
- Freezer: Freeze baked, cooled slices tightly wrapped for up to 2 months. Thaw in the refrigerator before reheating for the best texture.
- Reheating: Warm slices in a 325F oven until the crust crisps back up and the filling loosens slightly, about 10 to 15 minutes. The microwave will make the crust limp, which is the main thing to avoid with a pie like this.
Questions I Get Asked About This Recipe
Apple Slab Pie
Ingredients
Equipment
Method
- Preheat oven to 400°F.
- Press two pie crusts together into a lightly greased 15x10 rimmed baking sheet and prick the bottom with a fork.
- Toss apple slices with granulated sugar, brown sugar, cinnamon, nutmeg, allspice, cornstarch, and lemon juice.
- Spread the apple filling over the bottom crust and dot with diced butter.
- Top with the remaining two pie crusts pressed together, crimp the edges to seal, and press lightly to even out.
- Brush the top with egg wash, sprinkle with cinnamon sugar, and cut steam vents to let steam escape.
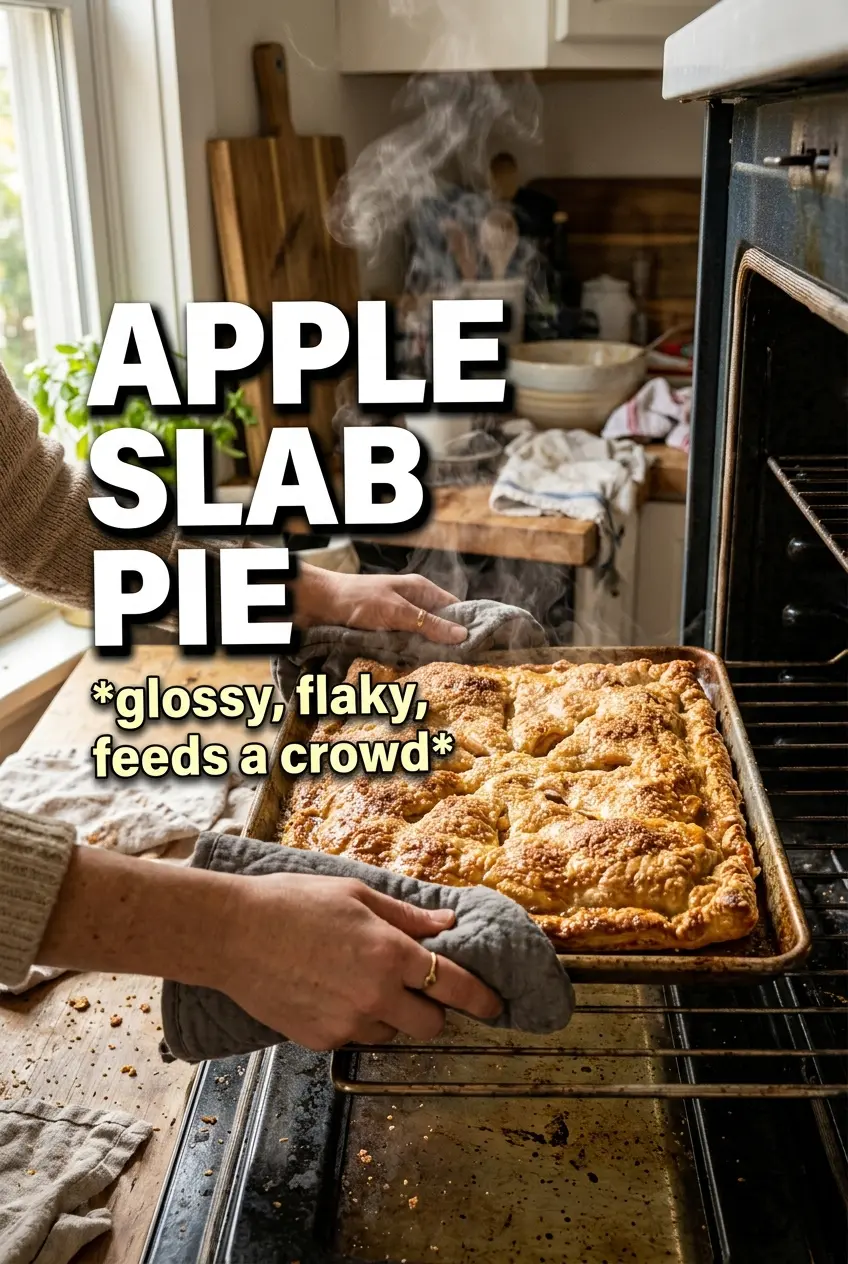
- Bake for 40-45 minutes, until the slab pie is golden and bubbling.
- Drizzle with powdered sugar glaze when cool.