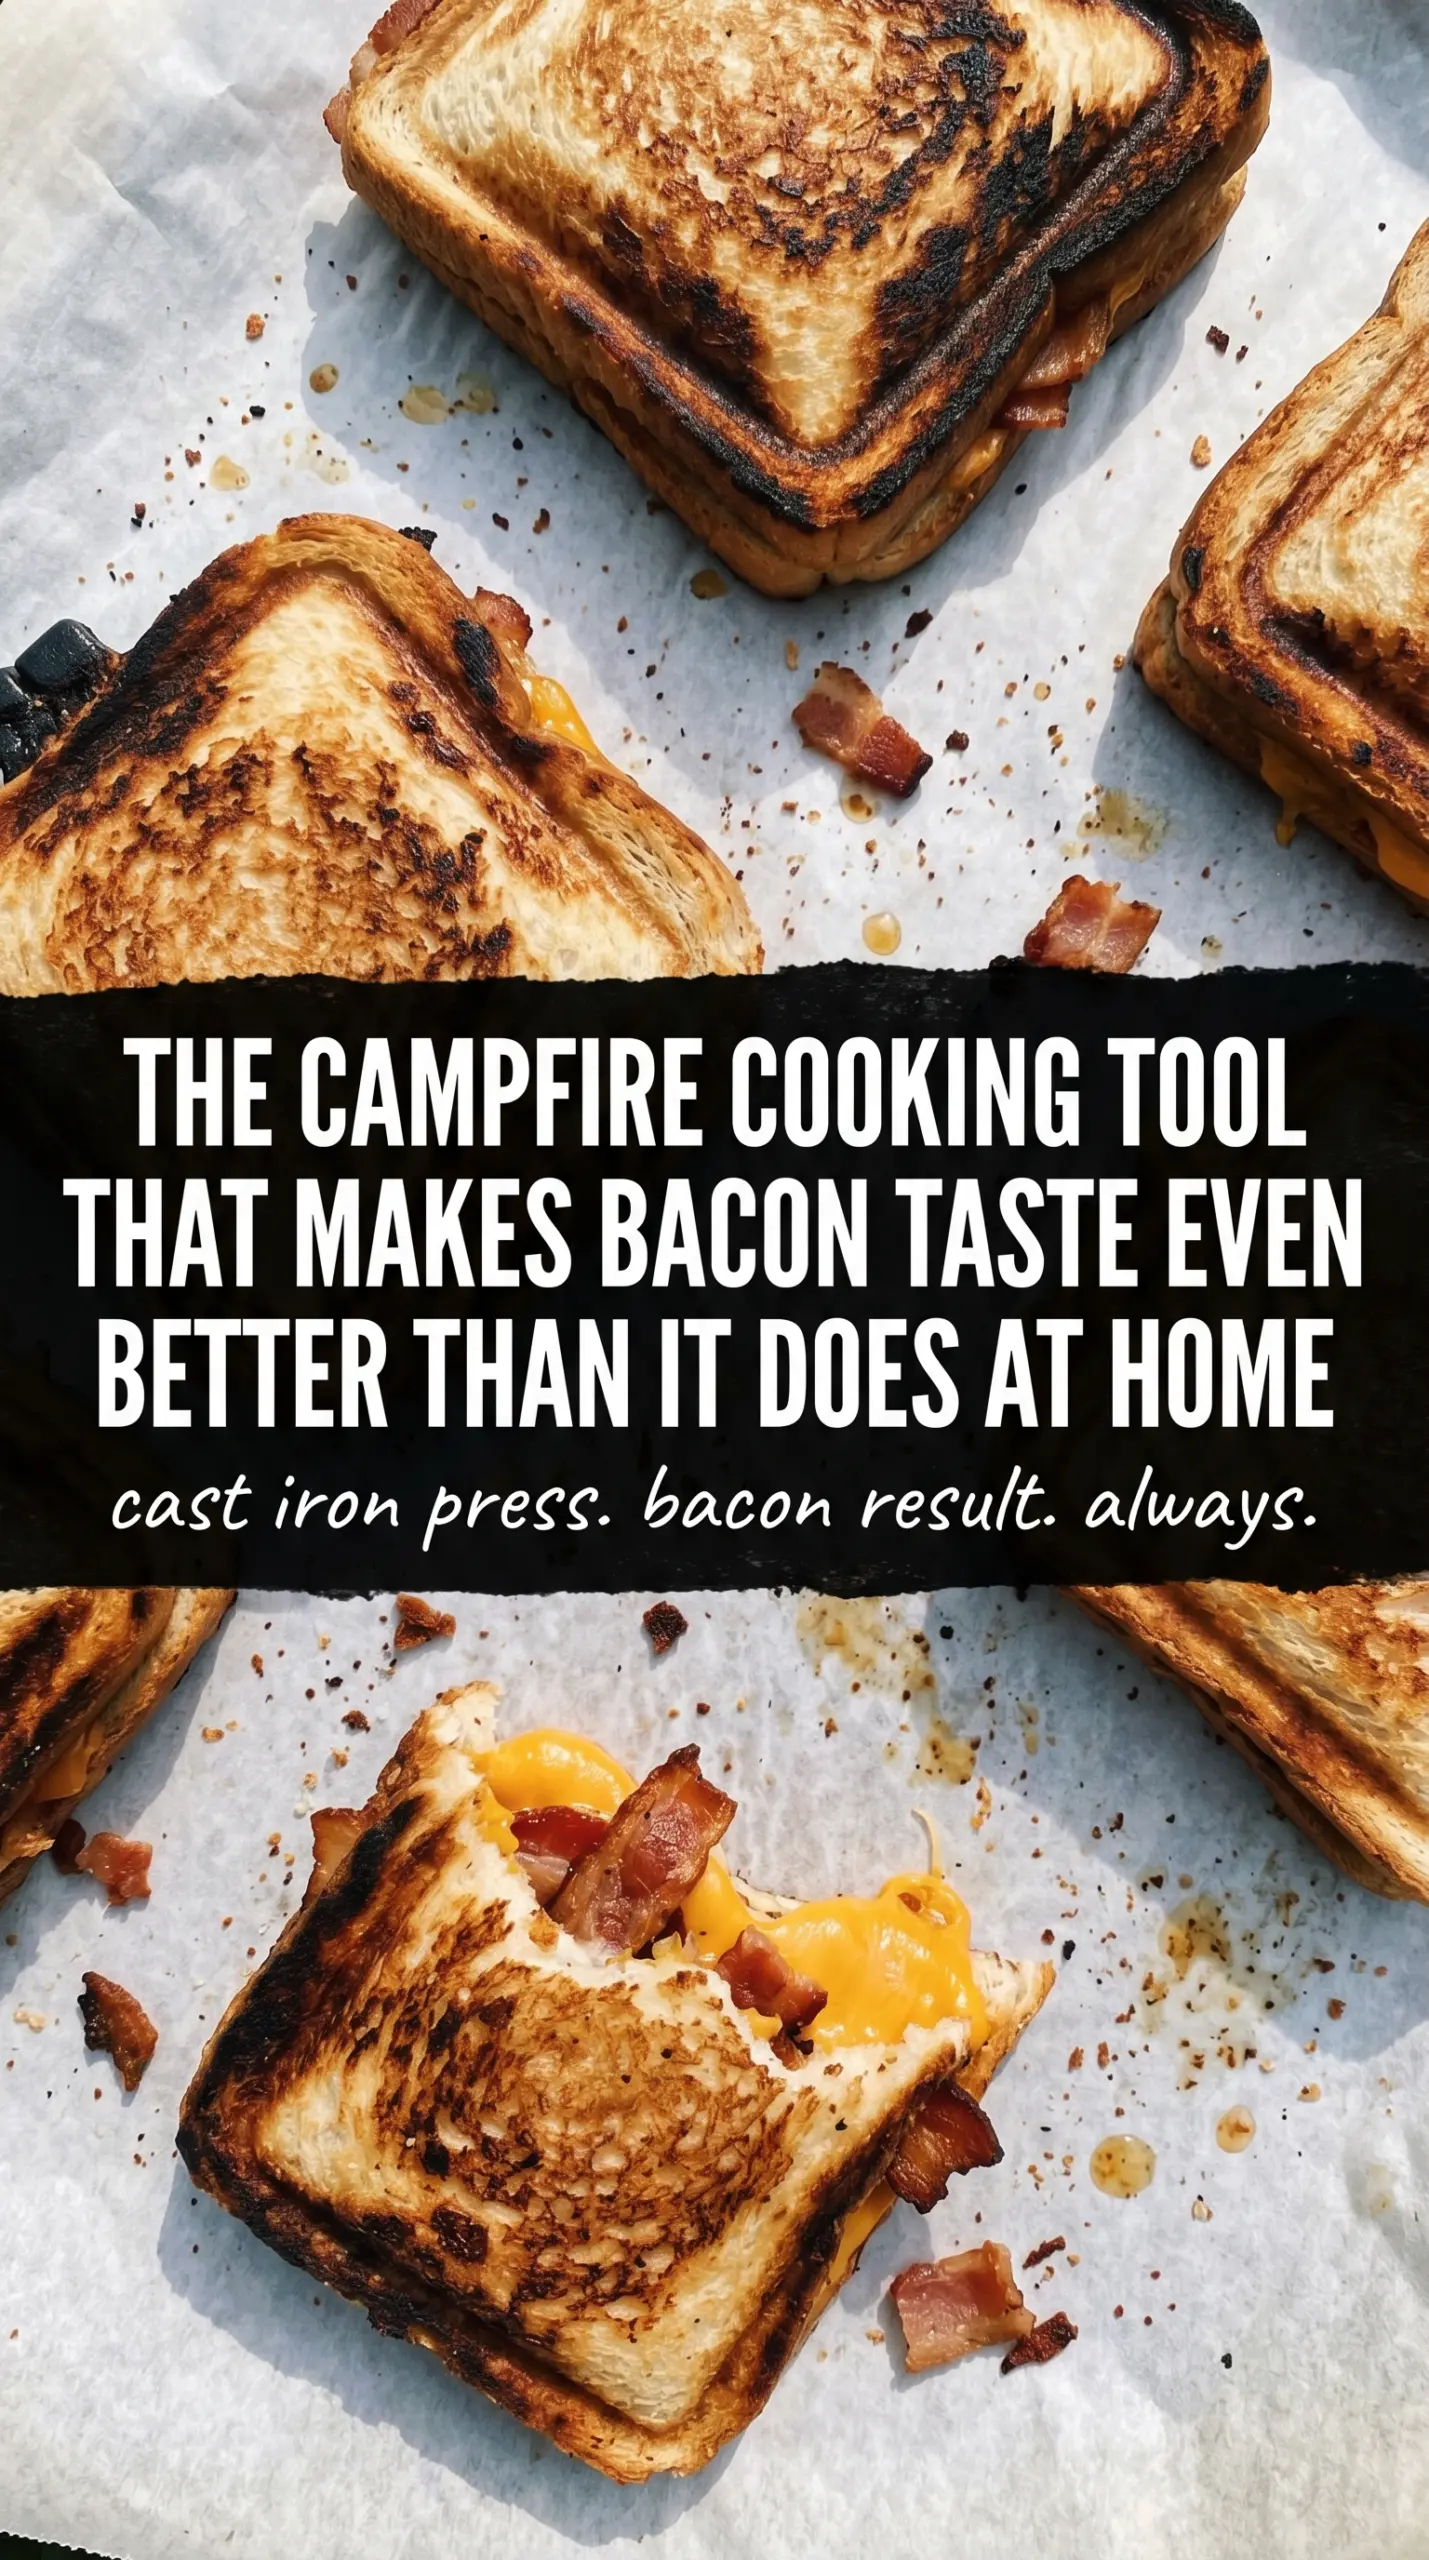
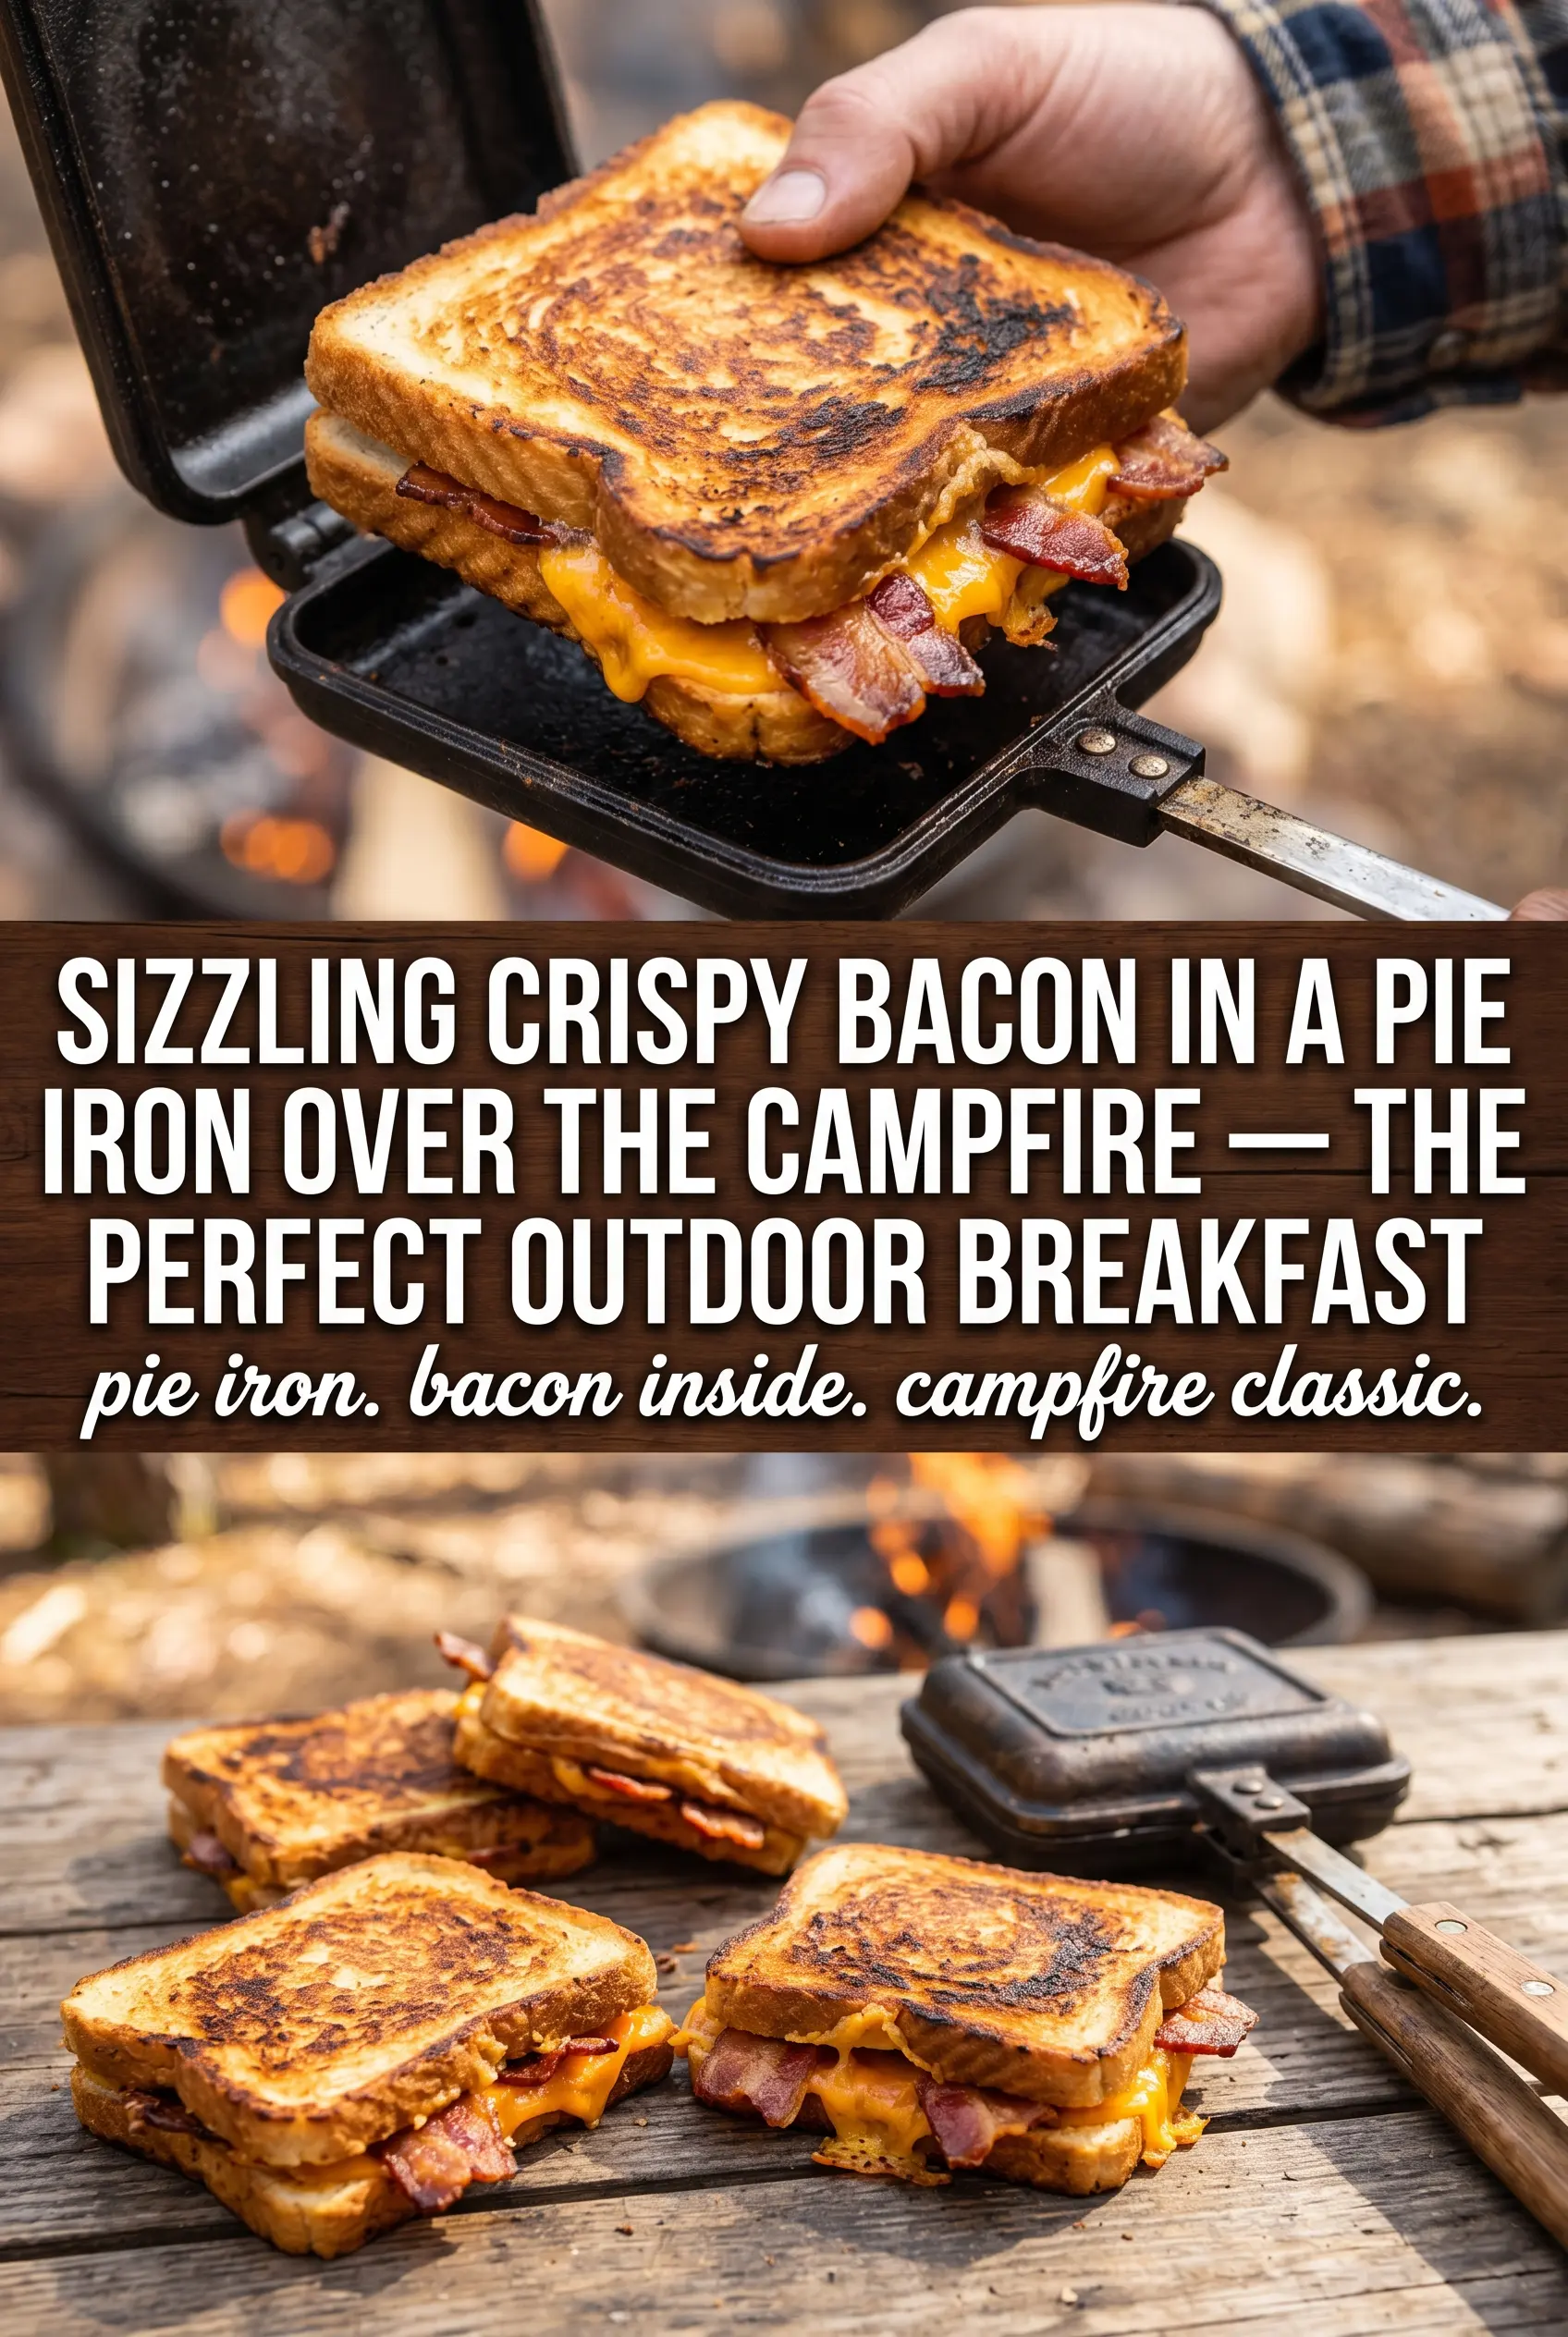
Bacon pie irons turn a handful of simple breakfast ingredients into a hot, crisp sandwich with a melty center and buttery edges that crackle when you open the iron. The bread toasts up like a grilled cheese, but the bacon and scrambled eggs make it feel sturdier and more satisfying than a plain sandwich ever could. It’s the kind of breakfast that disappears fast around a campfire because it hits every note at once: salty, creamy, crisp, and warm.
The trick is keeping the filling modest and the heat gentle. Pie irons cook from both sides, so if you pile in too much egg or cheese, the sandwich won’t seal well and the filling will squeeze out before the bread gets a chance to brown. Scrambled eggs work better than whole eggs here because they set quickly and spread evenly, and cooked bacon keeps the sandwich from getting greasy or underdone inside.
Below, I’ve included the little details that make these turn out cleanly: how to butter the bread for the best crust, how long to hold the pie iron over coals, and a few easy variations if you want to swap the cheese or make the filling ahead for a camping morning.
The bread came out perfectly crisp and the cheese melted into the eggs without leaking everywhere. We made these over the fire in about 8 minutes and everyone wanted a second one.
Save these bacon pie irons for the next campfire breakfast when you want crispy bread, melted cheese, and a filling that stays put.
The Smallest Mistake That Makes Pie Iron Sandwiches Leak
Pie irons fail for one main reason: too much filling. Bacon, eggs, and cheese are all rich, and once they heat up, they expand and soften. If you pack the iron full, the top and bottom bread won’t seal well, which means the melted cheese and egg will escape before the bread has time to brown.
The other thing that matters is the heat source. These cook best over steady campfire coals, not tall flames. Flames scorch the bread before the center warms through, and you end up with a dark outside and a lukewarm middle. Slow, even heat gives the bacon pie iron that deep golden crust and the fully melted filling people are after.
- Keep the layer thin — A modest scoop of scrambled eggs and one slice of cheese is enough. If you want a bigger sandwich, use larger bread, not more filling.
- Pre-cook the bacon — Raw bacon won’t finish cleanly in the short cook time. Cook it first so it adds flavor without making the sandwich greasy or underdone.
- Use butter all the way to the edges — That’s what gives you the crisp shell and helps the bread release from the iron instead of sticking.
- Let the iron rest a minute before opening — If you pry it open too soon, the bread can tear before the crust sets.
What the Bread, Bacon, and Cheese Are Each Doing Here
- Bread — Standard sandwich bread works well because it presses flat and crisps quickly. Thick artisanal slices can be harder to seal and may brown before the filling is hot.
- Bacon — Fully cooked bacon gives you the best texture and the least mess. Thick-cut bacon is fine, but chop it or break it into smaller pieces so it layers evenly.
- Eggs — Scrambled eggs are the right move here because they distribute through the sandwich and set quickly. Whole eggs can work, but the sandwich is harder to close without spilling yolk.
- Cheddar — Cheddar melts well and stands up to the bacon. Mild, sharp, or extra-sharp all work; just avoid cheeses that get stringy without melting smoothly, unless you already know how they behave over campfire heat.
- Butter — Butter on the outside of the bread is what creates the toasted finish. If you need a dairy-free option, use a good margarine or olive oil spread that browns well, though the flavor will be a little less rich.
Building the Sandwich So It Browns Before It Bursts
Butter the Bread First
Butter one side of each slice before you start filling the iron. That gives you a clean workflow and keeps the bread from soaking up moisture while you work. Put the buttered side facing out on both slices so the outside of the sandwich is what hits the hot metal. If the butter is cold and clumpy, let it soften first; uneven butter means patchy browning.
Layer the Filling in the Center
Set one slice of bread butter-side down in the pie iron, then add the eggs, bacon, and cheese in a neat pile. Keep the filling away from the edges so the bread can seal when you close the iron. The cheese should sit near the middle where it can melt into the eggs without oozing out the sides. If your eggs are wet, drain off any excess before they go in or the bottom bread will turn soggy.
Cook Over Coals, Not Flames
Close the iron firmly and cook it over hot coals for about 3 to 4 minutes per side. Open it once to check for color, then close it again if the bread still looks pale. You want a deep golden crust, not a dark, burned shell. If the outside is browning too fast, move the iron farther from the heat and give the center more time to catch up.
Release and Serve Hot
Take the pie iron off the heat and let it sit for a minute before opening. That brief pause helps the bread firm up so it doesn’t tear when you lift the top. Slide the sandwich out carefully and serve it right away while the cheese is still soft. Once it cools, the bread loses some of that crisp edge that makes pie iron breakfasts worth the trouble.
How to Change Bacon Pie Irons Without Losing the Crunch
Make It Meat-Free
Skip the bacon and add sautéed mushrooms, spinach, or diced peppers instead. You’ll lose the salty, smoky bite, so add a little extra cheese and a pinch of smoked paprika if you want the sandwich to feel more complete.
Swap the Cheese
Cheddar is the easiest choice, but pepper jack gives the sandwich a little heat and Swiss makes it gentler and nuttier. Choose a slice that melts cleanly; crumbly cheeses won’t give you that stretchy center people expect from a pie iron sandwich.
Use Whole Wheat or Sourdough
Whole wheat adds a deeper, nuttier taste, while sourdough brings a sharper tang and a sturdier crust. Both work, but thicker bread may need an extra minute per side so the center warms through before the outside gets too dark.
Storage and Reheating
- Refrigerator: Store leftovers in an airtight container for up to 2 days. The bread softens after chilling, but it still reheats well.
- Freezer: These don’t freeze well once assembled. The eggs and bread both turn watery and the texture suffers after thawing.
- Reheating: Warm in a skillet over low heat or in a 325°F oven until the center is hot. Skip the microwave if you want to keep the bread from turning rubbery.
Answers to the Questions Worth Asking
Bacon Pie Irons
Ingredients
Equipment
Method
- Butter one side of each bread slice.
- Place one slice butter-side down in a pie iron.
- Layer with scrambled eggs, bacon, and cheddar cheese.
- Season the filling with salt and pepper to taste.
- Top with the second bread slice, butter-side up, then close the pie iron.
- Cook over campfire coals for 3-4 minutes per side, until golden and the cheese melts, flipping halfway through.
- Open the pie iron and remove the sandwich, then serve hot.