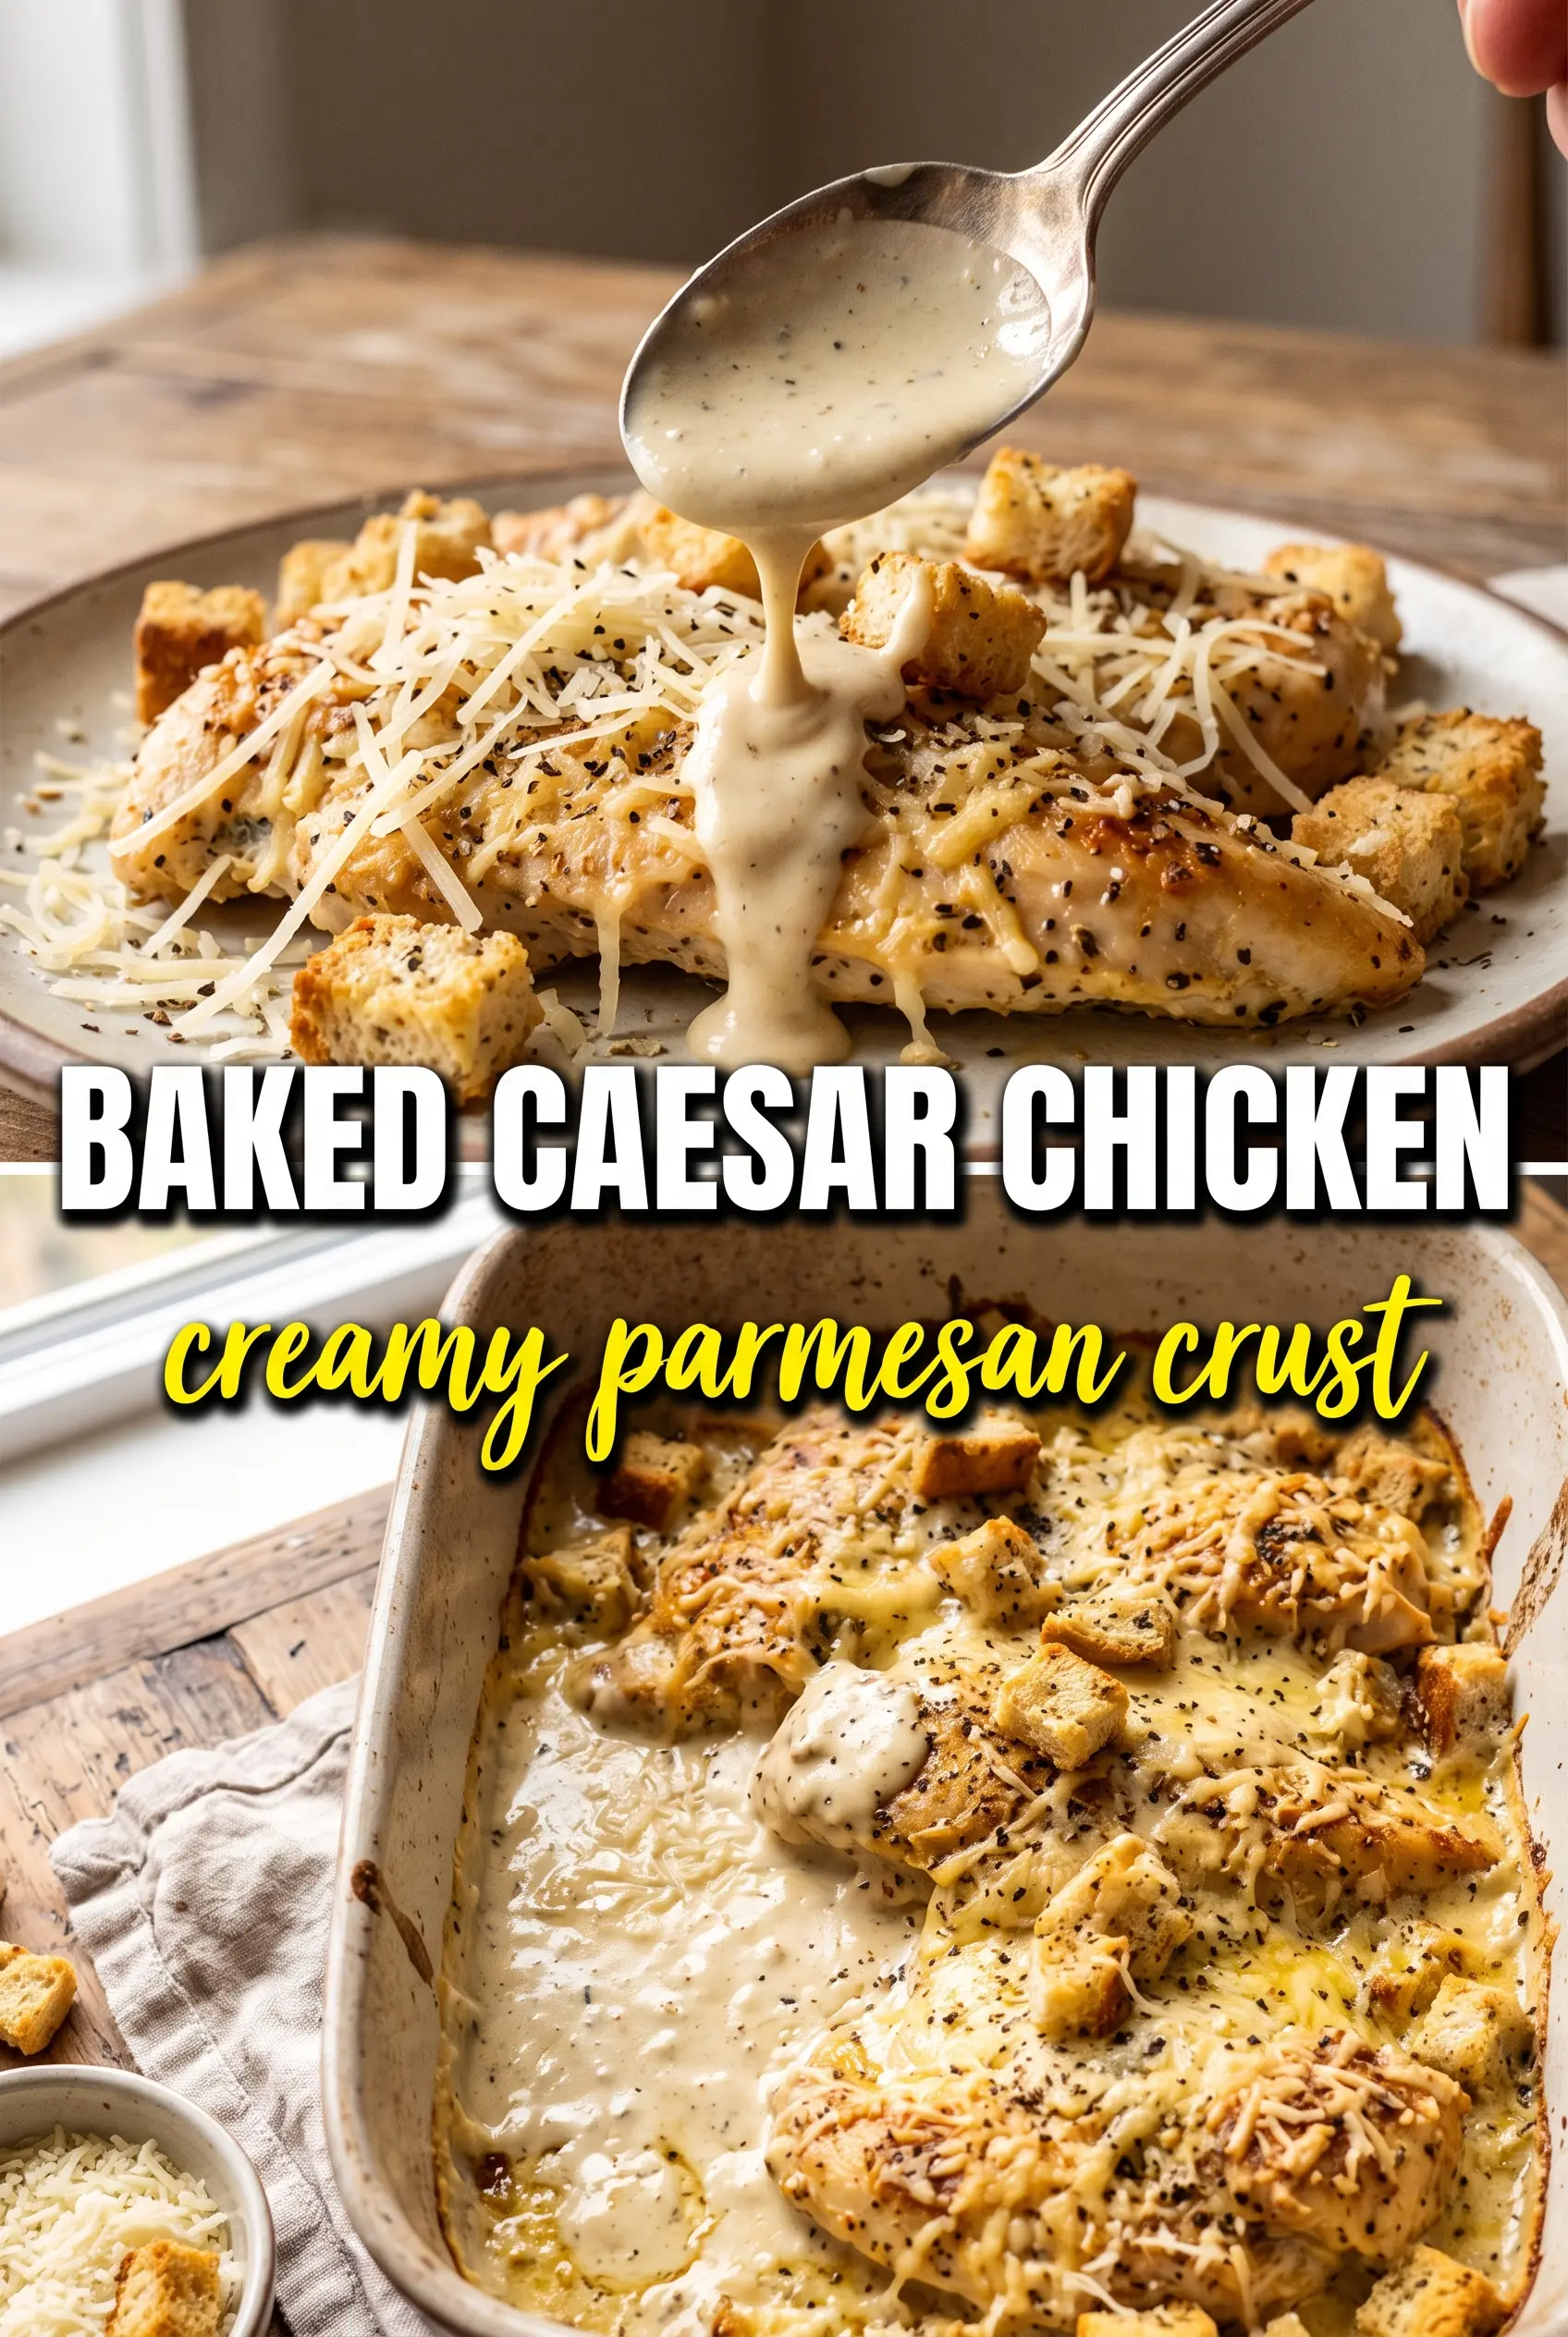
Golden, savory, and sharply seasoned, baked Caesar chicken turns plain chicken breasts into something with a real crust and a lot of personality. The Caesar dressing does more than add flavor here; it carries salt, fat, and tang straight into the meat, then bakes down into a caramelized coating that clings to every bite. The Parmesan and panko on top give you the part everyone wants first: a crisp, crackly lid that stays put instead of sliding off the chicken.
The short marinating time matters. Twenty minutes is enough for the dressing mixture to season the surface without turning the chicken mushy, and the oven heat finishes the job by setting the coating before the breasts dry out. Freshly grated Parmesan makes a difference too. Pre-shredded cheese tends to stay sandy and doesn’t melt into the same tight, bronzed crust. That little bit of lemon zest keeps the whole dish from tasting heavy, which is what makes this one work for a weeknight meal instead of feeling like a casserole shortcut.
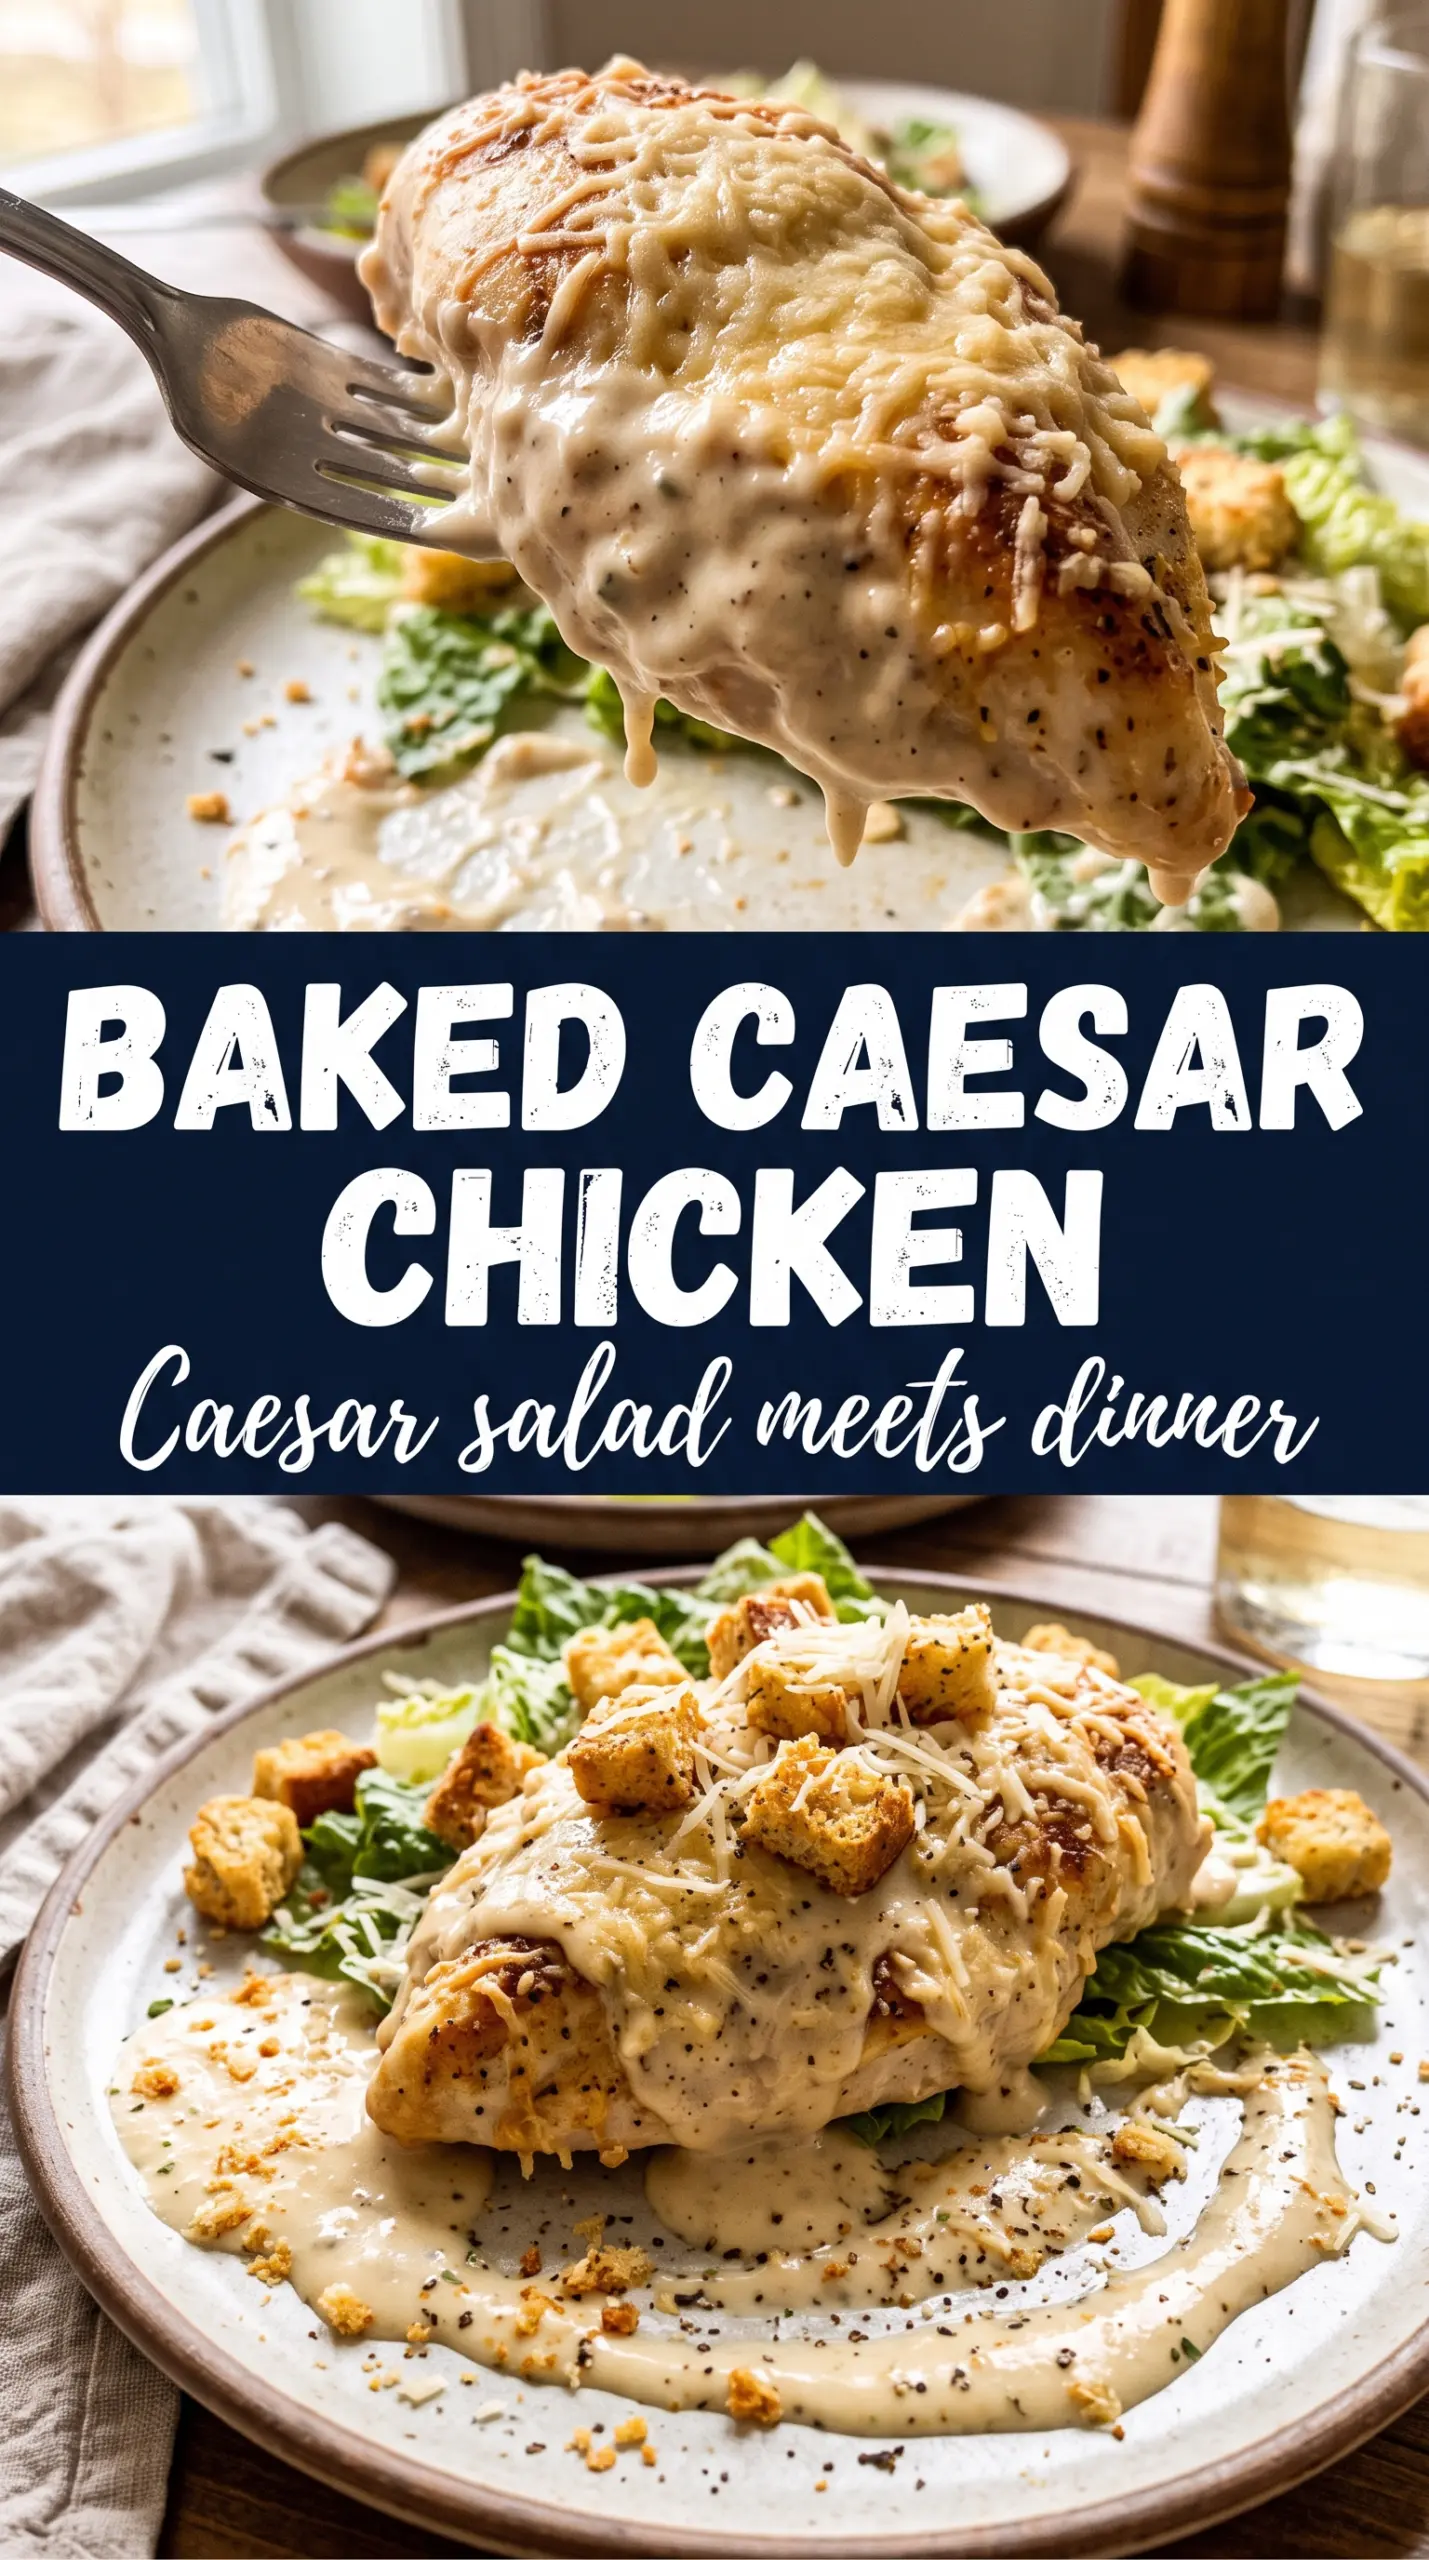
The Caesar coating baked up with that salty, tangy crust I wanted, and the panko on top stayed crisp instead of getting soggy. I served it with romaine and extra dressing, and the whole thing tasted like a chicken Caesar salad in dinner form.
Baked Caesar chicken with a golden Parmesan crust, perfect for a crisp salad-style dinner.
The Part That Keeps the Crust from Sliding Off
The biggest mistake with baked Caesar chicken is treating the coating like a breading that sits on top at the end. The dressing needs time with the chicken first so the surface gets tacky and seasoned, which helps the Parmesan-panko layer grip. If you skip that rest, the top can brown but still peel away when you cut into it.
Another thing worth knowing: bake it in a lightly greased dish with a little space around each breast. Crowding traps steam, and steam is the enemy of that crisp, bronzed top. You want the coating to set fast enough to brown before the chicken overcooks.
- Caesar dressing — This is the backbone of the recipe. It brings salt, acid, and fat in one move, which is why it seasons the chicken more efficiently than a dry spice rub alone. Use a dressing you actually like eating, because its flavor concentrates as it bakes.
- Freshly grated Parmesan — Fresh Parmesan melts into the crust and bakes into those browned edges that make the dish smell irresistible. Pre-grated cheese can work in a pinch, but it won’t melt as smoothly or form the same tight coating.
- Panko breadcrumbs — Panko gives the top its lift and crunch. Regular breadcrumbs turn denser and can read pasty under the cheese, while panko stays lighter and gives you that crackly bite.
- Lemon zest — This keeps the chicken from tasting flat. If you don’t have a lemon, a small squeeze of fresh juice can help, but zest is better here because it adds brightness without thinning the marinade.
What Each Ingredient Is Actually Doing in This Recipe
- Primary ingredient (the star) — Quality matters most. Choose the best you can find.
- Cooking medium (oil, butter, or broth) — This carries flavors and prevents dryness.
- Seasonings (salt, pepper, spices, herbs) — Layer flavors so nothing overpowers. Build depth gradually.
- Aromatics (garlic, onion, herbs) — Cook with fat to bloom flavors. Become the foundation.
- Supporting ingredients — Complement the main ingredient without overpowering it.
- Sauce or liquid (if applicable) — Brings flavors together. Balance richness with acid.
- Acid (lemon, vinegar, wine, or other) — Brightens and prevents flat-tasting results.
- Final finish (garnish, glaze, or sauce) — Prevents one-dimensional taste and adds visual appeal.
Building the Coating So It Bakes Crisp, Not Wet
Mixing the Marinade
Stir the Caesar dressing, half the Parmesan, garlic powder, and lemon zest together until the mixture looks smooth and a little thick. Coat the chicken on all sides and let it sit for 20 minutes while the oven heats. That short rest is enough to flavor the meat without breaking down its texture. If you leave it much longer with a very acidic dressing, the surface can get soft instead of seasoned.
Pressing on the Crust
Move the chicken to the baking dish, then combine the remaining Parmesan with the panko and press it firmly over the top of each breast. Don’t dump the crumbs on loosely; you want a real layer that bonds with the dressing underneath. A light press with your fingers is enough to help it stay in place through the bake. If the topping looks dry, add a spoonful of dressing from the bowl to the top before the crumbs go on.
Baking to the Right Finish
Bake at 400°F until the crust is deep golden and the thickest part of the chicken reaches 165°F, usually 22 to 25 minutes. If the topping browns too fast before the chicken is done, lay a loose piece of foil over the dish for the last few minutes. Let the chicken rest for 5 minutes before serving so the juices settle back into the meat instead of running onto the plate.
How to Adapt This for a Bigger Crowd, a Lighter Plate, or a Different Pantry
Make It Gluten-Free
Swap the panko for gluten-free breadcrumbs or finely crushed gluten-free crackers. You’ll still get a crisp top, though crackers brown a little faster, so keep an eye on the last few minutes in the oven.
Use Chicken Thighs Instead
Boneless thighs stay juicier and handle a little more heat, which makes them forgiving if your oven runs hot. The crust still works, but the bake time may need a few extra minutes because thighs are thicker and richer.
Go Dairy-Free
Use a dairy-free Caesar dressing and a Parmesan-style vegan cheese that melts well. The flavor shifts a bit less nutty and sharp, but the tangy, garlicky backbone of the dish still comes through.
Turn It Into Salad Night
Slice the baked chicken and serve it over romaine with croutons, extra dressing, and shaved Parmesan. It eats like a fuller Caesar salad with enough protein to stand on its own, and the crisp topping adds texture you don’t get from plain grilled chicken.
Storage and Reheating
- Refrigerator: Store leftovers in an airtight container for up to 3 days. The crust softens a bit in the fridge, but the flavor holds up well.
- Freezer: It freezes, but the topping loses some crunch after thawing. For best results, freeze the cooked chicken without the romaine and croutons, wrapped tightly, for up to 2 months.
- Reheating: Warm in a 350°F oven until heated through, about 10 to 15 minutes. The oven brings back some of the crust; the microwave makes the top soft, so use that only if you don’t care about crispness.
Answers to the Questions Worth Asking
Baked Caesar Chicken
Ingredients
Equipment
Method
- Mix Caesar dressing, 1/2 cup Parmesan, garlic powder, and lemon zest until combined, then season with salt and pepper to taste. The mixture should look smooth and well speckled with zest.
- Coat the chicken breasts in the Caesar mixture and let marinate for 20 minutes. While it rests, the chicken should absorb some of the dressing and look lightly coated.
- Preheat the oven to 400°F and grease a baking dish. Set up the dish so the chicken goes in as soon as it’s ready.
- Place the marinated chicken in the greased dish, spacing pieces evenly. Make sure each breast sits in a single layer.
- Combine the remaining 1/4 cup Parmesan with panko breadcrumbs, then press the mixture over the top of each breast. The topping should adhere in an even layer across the surface.
- Bake for 22-25 minutes, until the crust is golden and the internal temperature reaches 165°F. Look for a crackled, browned top and juices running clear when cut.
- Serve the chicken topped with chopped romaine, croutons, and an extra drizzle of Caesar dressing. Add the toppings right after baking so the romaine stays crisp.
- Finish with shaved Parmesan over the top before serving. The extra cheese should melt slightly on contact and add a fresh, salty aroma.