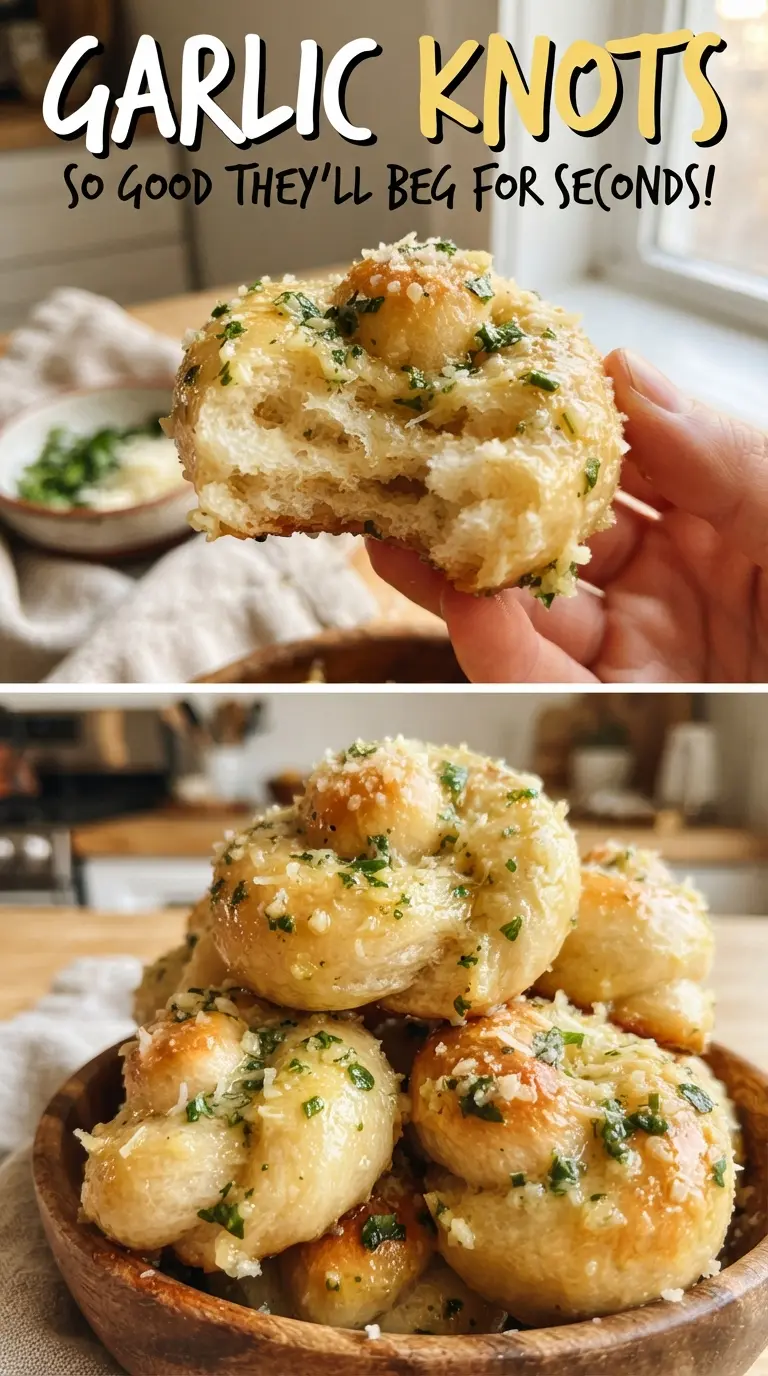
Golden garlic knots disappear fast because they hit the table with everything people want in a side: a tender middle, a lightly crisped outside, and enough garlicky butter to soak into every twist. The knot shape isn’t just for looks either. It gives you more ridges, more surface area, and more places for the Parmesan and parsley to cling.
Refrigerated pizza dough keeps this recipe weeknight-friendly, but the key is letting it warm up first so it stretches instead of snapping back. The first brush of butter before baking helps the knots brown, while the garlic-parsley butter goes on after they come out of the oven so the garlic stays fragrant instead of bitter. That final hit of Parmesan melts into the hot surface and gives each knot a salty finish.
Below, you’ll find the small details that keep the knots soft, the garlic bold, and the bottoms from overbaking. I’ve also included the best way to make them ahead if you’re serving pasta, soup, or anything that needs a solid side dish.
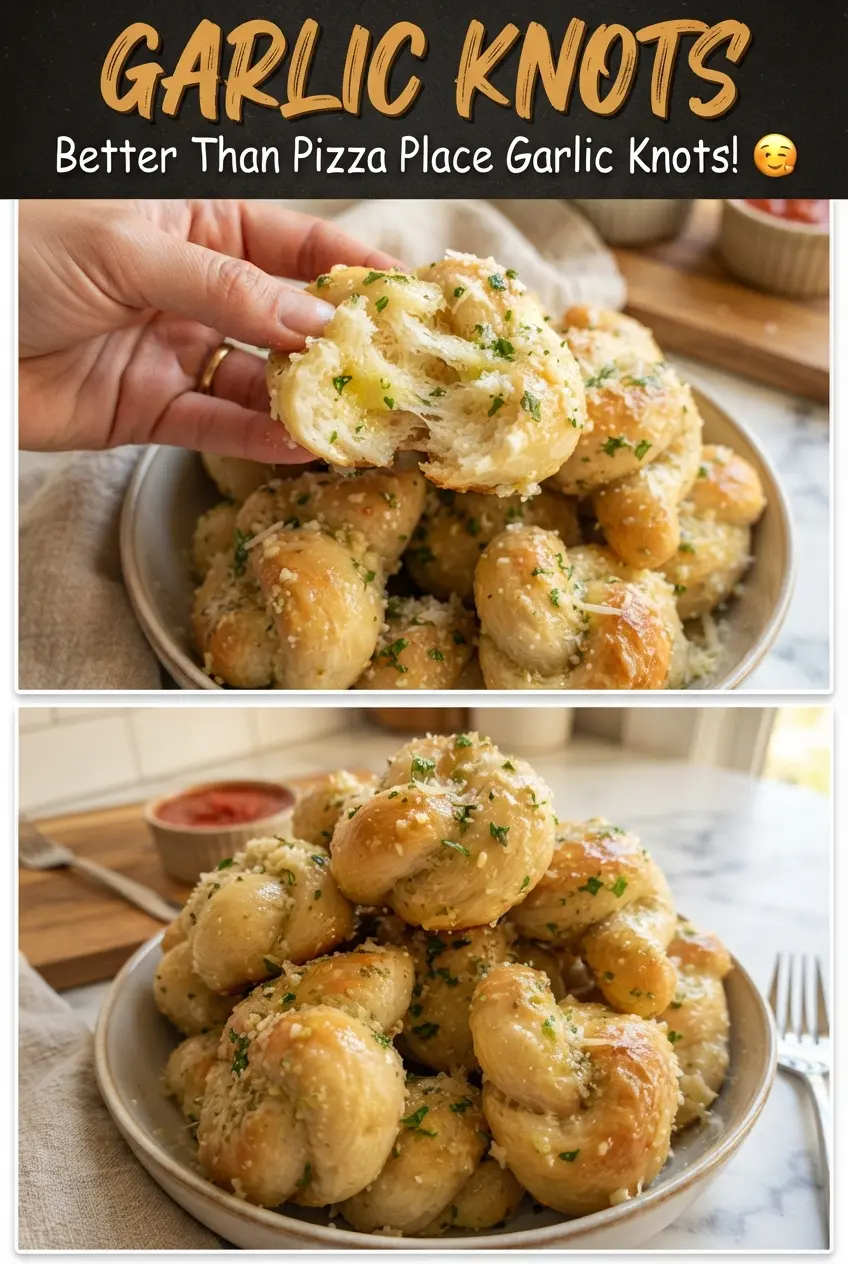
The knots baked up soft in the middle with those little golden edges I was hoping for, and the garlic butter soaked into every twist. I served them with marinara and the whole pan was gone before dinner was over.
These garlic knots bake up golden, buttery, and perfect for dunking in marinara.
The Trick to Garlic Knots That Brown Without Drying Out
The biggest mistake with garlic knots is baking them until they look done on the outside while the centers turn dry and bready. Refrigerated dough already has less moisture than a fresh dough ball, so the bake needs to be short and hot. The goal is a pale-golden knot that still feels soft when you give it a gentle poke.
Spacing matters here. If the knots are crowded, the sides steam instead of setting, and you lose that lightly browned edge that makes each bite better. The first coat of butter before baking helps color the dough; the second coat after baking gives you the glossy finish and full garlic flavor without burning the garlic in the oven.
What the Dough, Butter, and Parmesan Are Each Doing Here
- Refrigerated pizza dough — This keeps the recipe fast and still gives you a chewy, bakery-style interior. Let it sit at room temperature first; cold dough fights back and springs loose while you’re trying to knot it.
- Butter — Melted butter helps the knots color in the oven and carries the garlic afterward. Use real butter here; it gives the finish a richer taste and better shine than oil.
- Garlic — Fresh minced garlic is the point of the recipe. Add it after baking so it stays sharp and fragrant instead of turning harsh and bitter in the oven.
- Parmesan — Finely grated Parmesan melts across the hot surface and sticks to the ridges of the knots. If yours is pre-shredded, it still works, but the finer stuff melts more cleanly and clings better.
- Parsley — Fresh parsley cuts through the butter and keeps the finish from tasting heavy. Chop it finely so it spreads evenly through the garlic butter instead of sitting in clumps.
Shaping, Baking, and Finishing the Knots in the Right Order
Cutting and Tying the Dough
Divide the dough into 16 even pieces so the knots bake at the same rate. Roll each piece into a rope about 7 inches long, then tie it into a loose knot and tuck the ends underneath. If the rope keeps shrinking back, give the dough a few minutes to relax before trying again; forcing it leads to tight knots that bake unevenly.
The First Bake
Brush the knots lightly with melted butter before they go into the oven. That layer helps the tops color and keeps the surface from drying out too quickly. Bake until the knots are golden brown on top and cooked through, but pull them before they get dark at the edges or they’ll lose that soft pull-apart texture.
Garlic Butter and the Final Finish
Stir the garlic, parsley, and salt into the remaining melted butter only after the knots come out. Hot bread wakes up the garlic fast, and that’s where the flavor lands strongest. Brush generously over the warm knots, then finish with Parmesan while the surface is still hot enough to melt it slightly into the twists.
Garlic Butter Herb Knots
Add a pinch of red pepper flakes or a little lemon zest to the finishing butter if you want a brighter, sharper finish. The knots stay the same, but the flavor leans more savory and less rich.
Dairy-Free Garlic Knots
Use a good plant-based butter and skip the Parmesan or replace it with a dairy-free hard topping. The texture stays close, though you’ll lose a little of the salty finish that Parmesan adds.
Garlic Knots with Mozzarella
Scatter a little shredded mozzarella over the knots for the last few minutes of baking if you want a softer, more pizza-like finish. Keep it light or the cheese will trap steam and soften the crust too much.
Make-Ahead Knots
Shape the knots and refrigerate them on the baking sheet, covered, for a few hours before baking. Brush with butter right before they go into the oven so the dough doesn’t get soggy from sitting too long.
Storage and Reheating
- Refrigerator: Store in an airtight container for up to 3 days. They’ll soften a little as they sit, but the flavor holds up well.
- Freezer: Freeze baked knots in a sealed bag for up to 2 months. Thaw at room temperature, then reheat so the outside can crisp back up.
- Reheating: Warm in a 350F oven for 6 to 8 minutes. The usual mistake is microwaving them, which makes the crust rubbery and the butter separate instead of soaking in cleanly.
Answers to the Questions Worth Asking
Garlic Knots
Ingredients
Equipment
Method
- Preheat the oven to 400F, then line a baking sheet with parchment for easy release.
- Cut the refrigerated pizza dough into 16 pieces, then roll each into a 7-inch rope.
- Tie each rope into a knot and place the knots on the prepared baking sheet.
- Brush the knots lightly with melted butter to help them brown.
- Bake the knots for 13-15 minutes, until golden brown.
- Stir the garlic, parsley, and salt into the remaining butter.
- Brush the hot knots with the garlic-parsley butter so they glisten.
- Sprinkle with grated Parmesan, then serve with marinara for dipping.