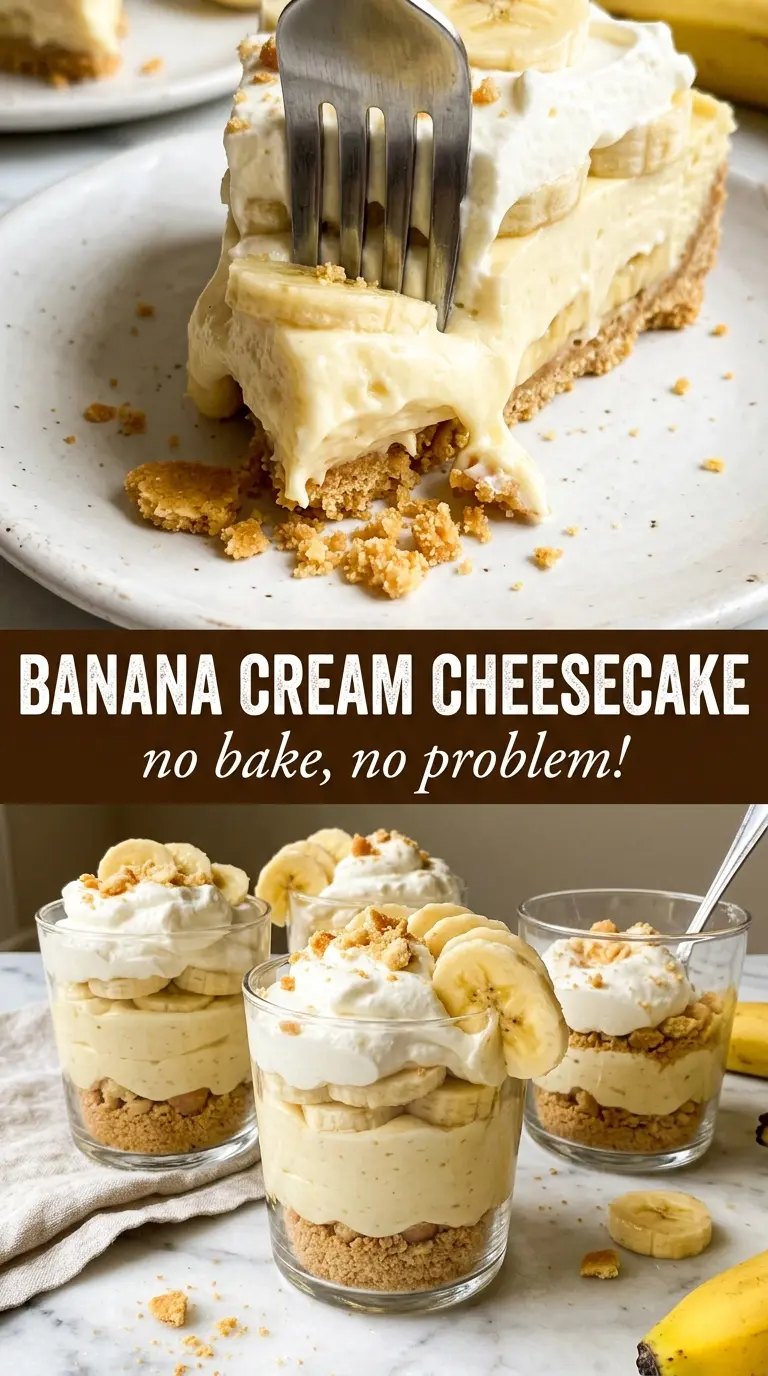
Banana cream cheesecake settles into that sweet spot between pudding pie and classic cheesecake: cool, silky filling, a crust that stays crisp enough to cut cleanly, and banana flavor that tastes layered instead of one-note. The filling is light from the whipped topping but still rich enough to slice neatly after a proper chill, which is why this dessert earns repeat requests instead of just a polite finish to dinner.
The trick is building enough structure without baking. Cream cheese needs to be beaten until completely smooth before anything else goes in, or you’ll end up chasing little lumps through the filling. The instant banana pudding mix brings the banana flavor and helps the cheesecake set, while the sliced bananas tucked into the middle keep each slice from tasting flat. The vanilla wafer crust also matters more than people think; packed firmly and chilled before filling, it holds up under the creamy layers instead of turning sandy.
Below you’ll find the one step that keeps the crust intact, the detail that keeps the filling thick, and a few smart swaps if you want to adjust the dessert for your own kitchen.
The filling set up beautifully after overnight chilling, and the banana layer in the middle kept every bite tasting fresh instead of just sweet. My crust stayed firm all the way to the last slice.
Save this banana cream cheesecake for the days when you want a no-bake dessert with a firm vanilla wafer crust and a chilled banana layer that slices cleanly.
The Step That Keeps a No-Bake Cheesecake from Going Soft
No-bake cheesecake has one weak point: the filling can look thick in the bowl and still slump once it hits the crust. This version avoids that by leaning on two setting agents at once — instant pudding mix and plenty of time in the fridge. The pudding mix does more than add banana flavor. It thickens the filling before chilling even starts, which gives the whipped topping something stable to fold into.
The other part that matters is temperature. Softened cream cheese blends smoothly, but the cold milk helps the pudding activate and thicken fast enough to hold the folded topping. If the filling looks loose right after mixing, that’s normal only for a minute or two. Once it sits in the refrigerator, it should become spoon-thick before you even think about adding the bananas and second layer.
- Instant banana pudding mix — This is the backbone of the filling. Cook-and-serve pudding won’t set the same way, and the texture turns heavier instead of silky.
- Cream cheese — Use full-fat cream cheese if you want clean slices and that classic cheesecake tang. Low-fat versions soften too much and can taste thin after chilling.
- Whipped topping — It folds in easily and helps the filling stay airy. Homemade whipped cream works too, but it softens faster, so the cheesecake needs a full chill before serving.
- Bananas — Slice them right before layering so they stay fresh and pale. Very ripe bananas taste great, but if they’re too soft they’ll weep into the filling and blur the layers.
What Each Ingredient Is Actually Doing in This Recipe
- Primary ingredient (the star) — Quality matters most. Choose the best you can find.
- Cooking medium (oil, butter, or broth) — This carries flavors and prevents dryness.
- Seasonings (salt, pepper, spices, herbs) — Layer flavors so nothing overpowers. Build depth gradually.
- Aromatics (garlic, onion, herbs) — Cook with fat to bloom flavors. Become the foundation.
- Supporting ingredients — Complement the main ingredient without overpowering it.
- Sauce or liquid (if applicable) — Brings flavors together. Balance richness with acid.
- Acid (lemon, vinegar, wine, or other) — Brightens and prevents flat-tasting results.
- Final finish (garnish, glaze, or sauce) — Prevents one-dimensional taste and adds visual appeal.
Building the Layers So Every Slice Holds Together
Pressing the Vanilla Wafer Crust
Mix the crushed wafers, melted butter, and sugar until every crumb looks evenly damp, then press the mixture firmly into the bottom of the springform pan. Use the bottom of a measuring cup to pack it down; loose crumbs fall apart the second you cut into the cheesecake. A 20-minute chill gives the butter time to firm up, which is what keeps the crust from crumbling under the filling.
Whipping the Filling Until It Turns Smooth
Beat the cream cheese first and keep going until it looks glossy and lump-free. If you add the pudding mix too early, any little pockets of cream cheese stay behind and show up in the finished dessert. Once the condensed milk, dry pudding mix, and cold milk go in, the mixture should thicken fast and turn silky, not grainy.
Folding in the Air Without Deflating It
Use a spatula to fold in the whipped topping instead of beating it in. You want the filling to stay light, but you don’t want to knock out the body the pudding has already built. Stop as soon as the mixture looks uniform. Overmixing makes it softer and can leave you with a filling that tastes fine but slices sloppily.
Layering the Bananas Before the Final Chill
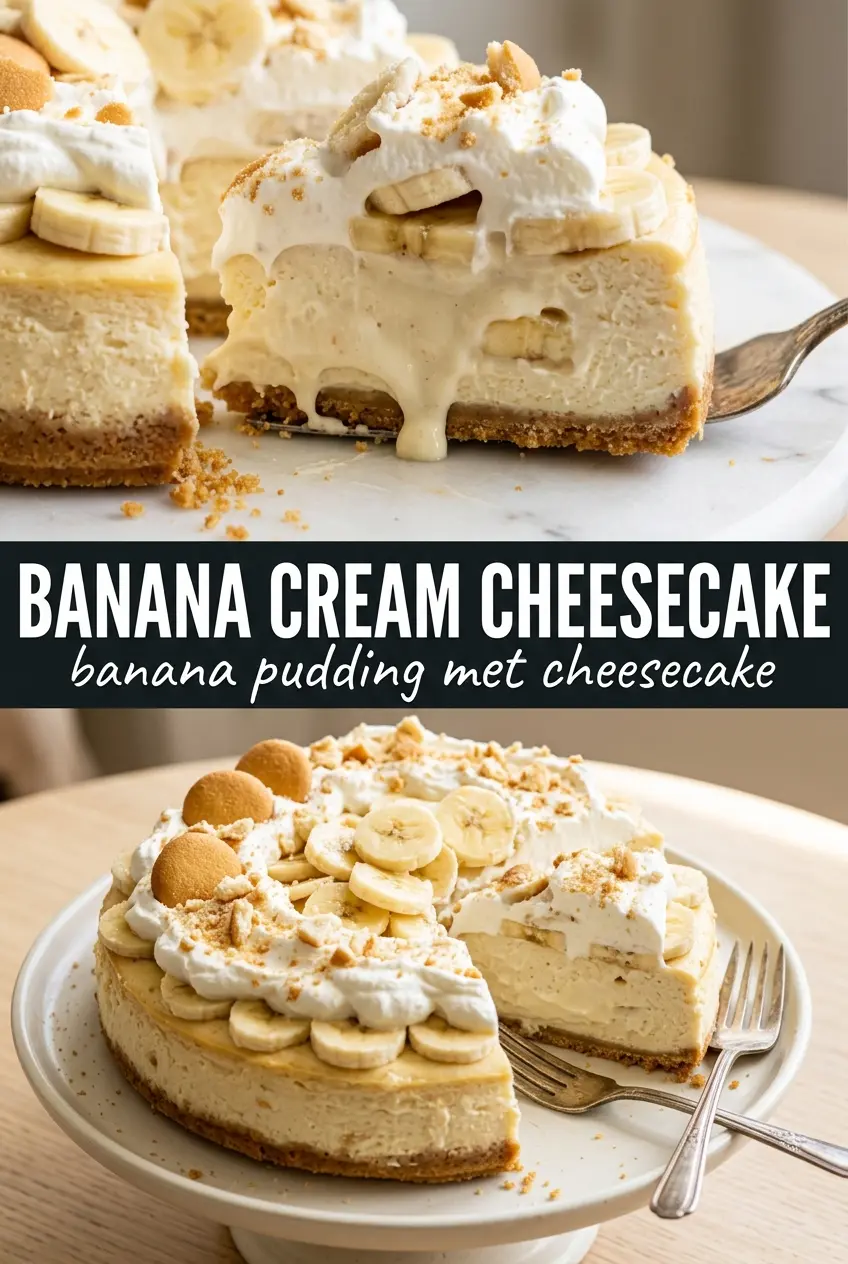
Spread half the filling over the crust, add a single layer of banana slices, then finish with the remaining filling. That middle layer keeps the banana flavor present all the way through the cheesecake instead of just on top. Smooth the surface before chilling so the whipped cream garnish sits neatly later. Let it chill at least 6 hours, and overnight is even better if you want the cleanest slices.
How to Adapt This Banana Cream Cheesecake Without Losing the Set
Dairy-Free Version
Use a dairy-free cream cheese and a plant-based whipped topping, then swap in a thick oat or almond milk that works with instant pudding. The texture will still set, but it won’t be quite as rich or tangy as the classic version. Stick with a full chill and don’t rush the slicing.
Gluten-Free Crust
Swap the vanilla wafers for gluten-free vanilla cookies or a gluten-free graham-style cookie with a similar sweetness. The crust still needs to be packed tightly and chilled before filling. If the cookie crumbs are drier than the original, add another teaspoon of melted butter.
Extra Banana Flavor
Mash half of one banana into the filling if you want a stronger fresh-banana taste, but don’t add too much or the cheesecake loosens up. The sliced banana layer already gives you fresh fruit texture, so the goal here is just a little more banana presence, not a wetter filling.
Storage and Reheating
- Refrigerator: Keep covered for up to 4 days. The bananas will soften a bit by day two, but the cheesecake still tastes great.
- Freezer: It freezes well in slices if you wrap them tightly and freeze without the whipped cream topping. Thaw in the refrigerator, not on the counter, so the filling doesn’t turn watery.
- Reheating: No reheating needed. Serve it cold straight from the fridge for the best texture, and add the whipped cream, banana slices, and caramel drizzle just before serving.
Questions I Get Asked About This Recipe
Banana Cream Cheesecake
Ingredients
Equipment
Method
- Mix the crushed vanilla wafers, melted butter, and sugar until evenly combined, then press firmly into the bottom of a 9-inch springform pan for a compact crust.
- Refrigerate the crust for 20 minutes to set before adding the filling, so it stays firm when sliced.
- Beat the cream cheese until completely smooth, then add the sweetened condensed milk, dry instant banana pudding mix, and cold whole milk.
- Beat until smooth and thick, then fold in 2 cups whipped topping until airy and fully combined for a lighter texture.
- Pour half the filling over the crust, arrange banana slices in a single layer, then pour the remaining filling over the bananas and smooth the top.
- Refrigerate for at least 6 hours or overnight until firm, so the cheesecake slices cleanly.
- Spread whipped topping (or whipped cream) over the top in an even layer, covering the surface completely.
- Garnish with extra banana slices and caramel drizzle just before serving for the freshest look and flavor.