Blackberry apple crumble earns its place because the filling turns glossy and jammy while the topping stays nubbly, crisp, and deeply golden. You get soft apples that still hold their shape, blackberries that burst into a purple-red sauce, and enough crunch on top to make every spoonful feel complete. It’s the kind of dessert that disappears fast at the table because it tastes familiar in the best way, but never flat or one-note.
The trick is in the balance. Cornstarch thickens the fruit juices before they can turn the whole pan soupy, and lemon juice keeps the apples tasting bright instead of heavy. Cold butter in the crumble matters too; when it stays in small pieces, it melts into little pockets that bake up crisp instead of blending into a paste. Rolled oats give the topping a rough, hearty texture that works especially well with the soft fruit underneath.
Below, I’ve included the spot where people usually go wrong with fruit crumbles, plus a few smart swaps if you’re working with what you have on hand. It’s a simple dessert, but a few small details make the difference between soggy and excellent.
The filling turned thick and glossy instead of runny, and the oats on top baked up crunchy even with the berry juices bubbling underneath. I served it warm with ice cream and it was gone by the next morning.
Save this blackberry apple crumble for the nights when you want a bubbling fruit dessert with a crisp oat topping and no fussy steps.
The Trick to Keeping the Filling Thick and the Top Crisp
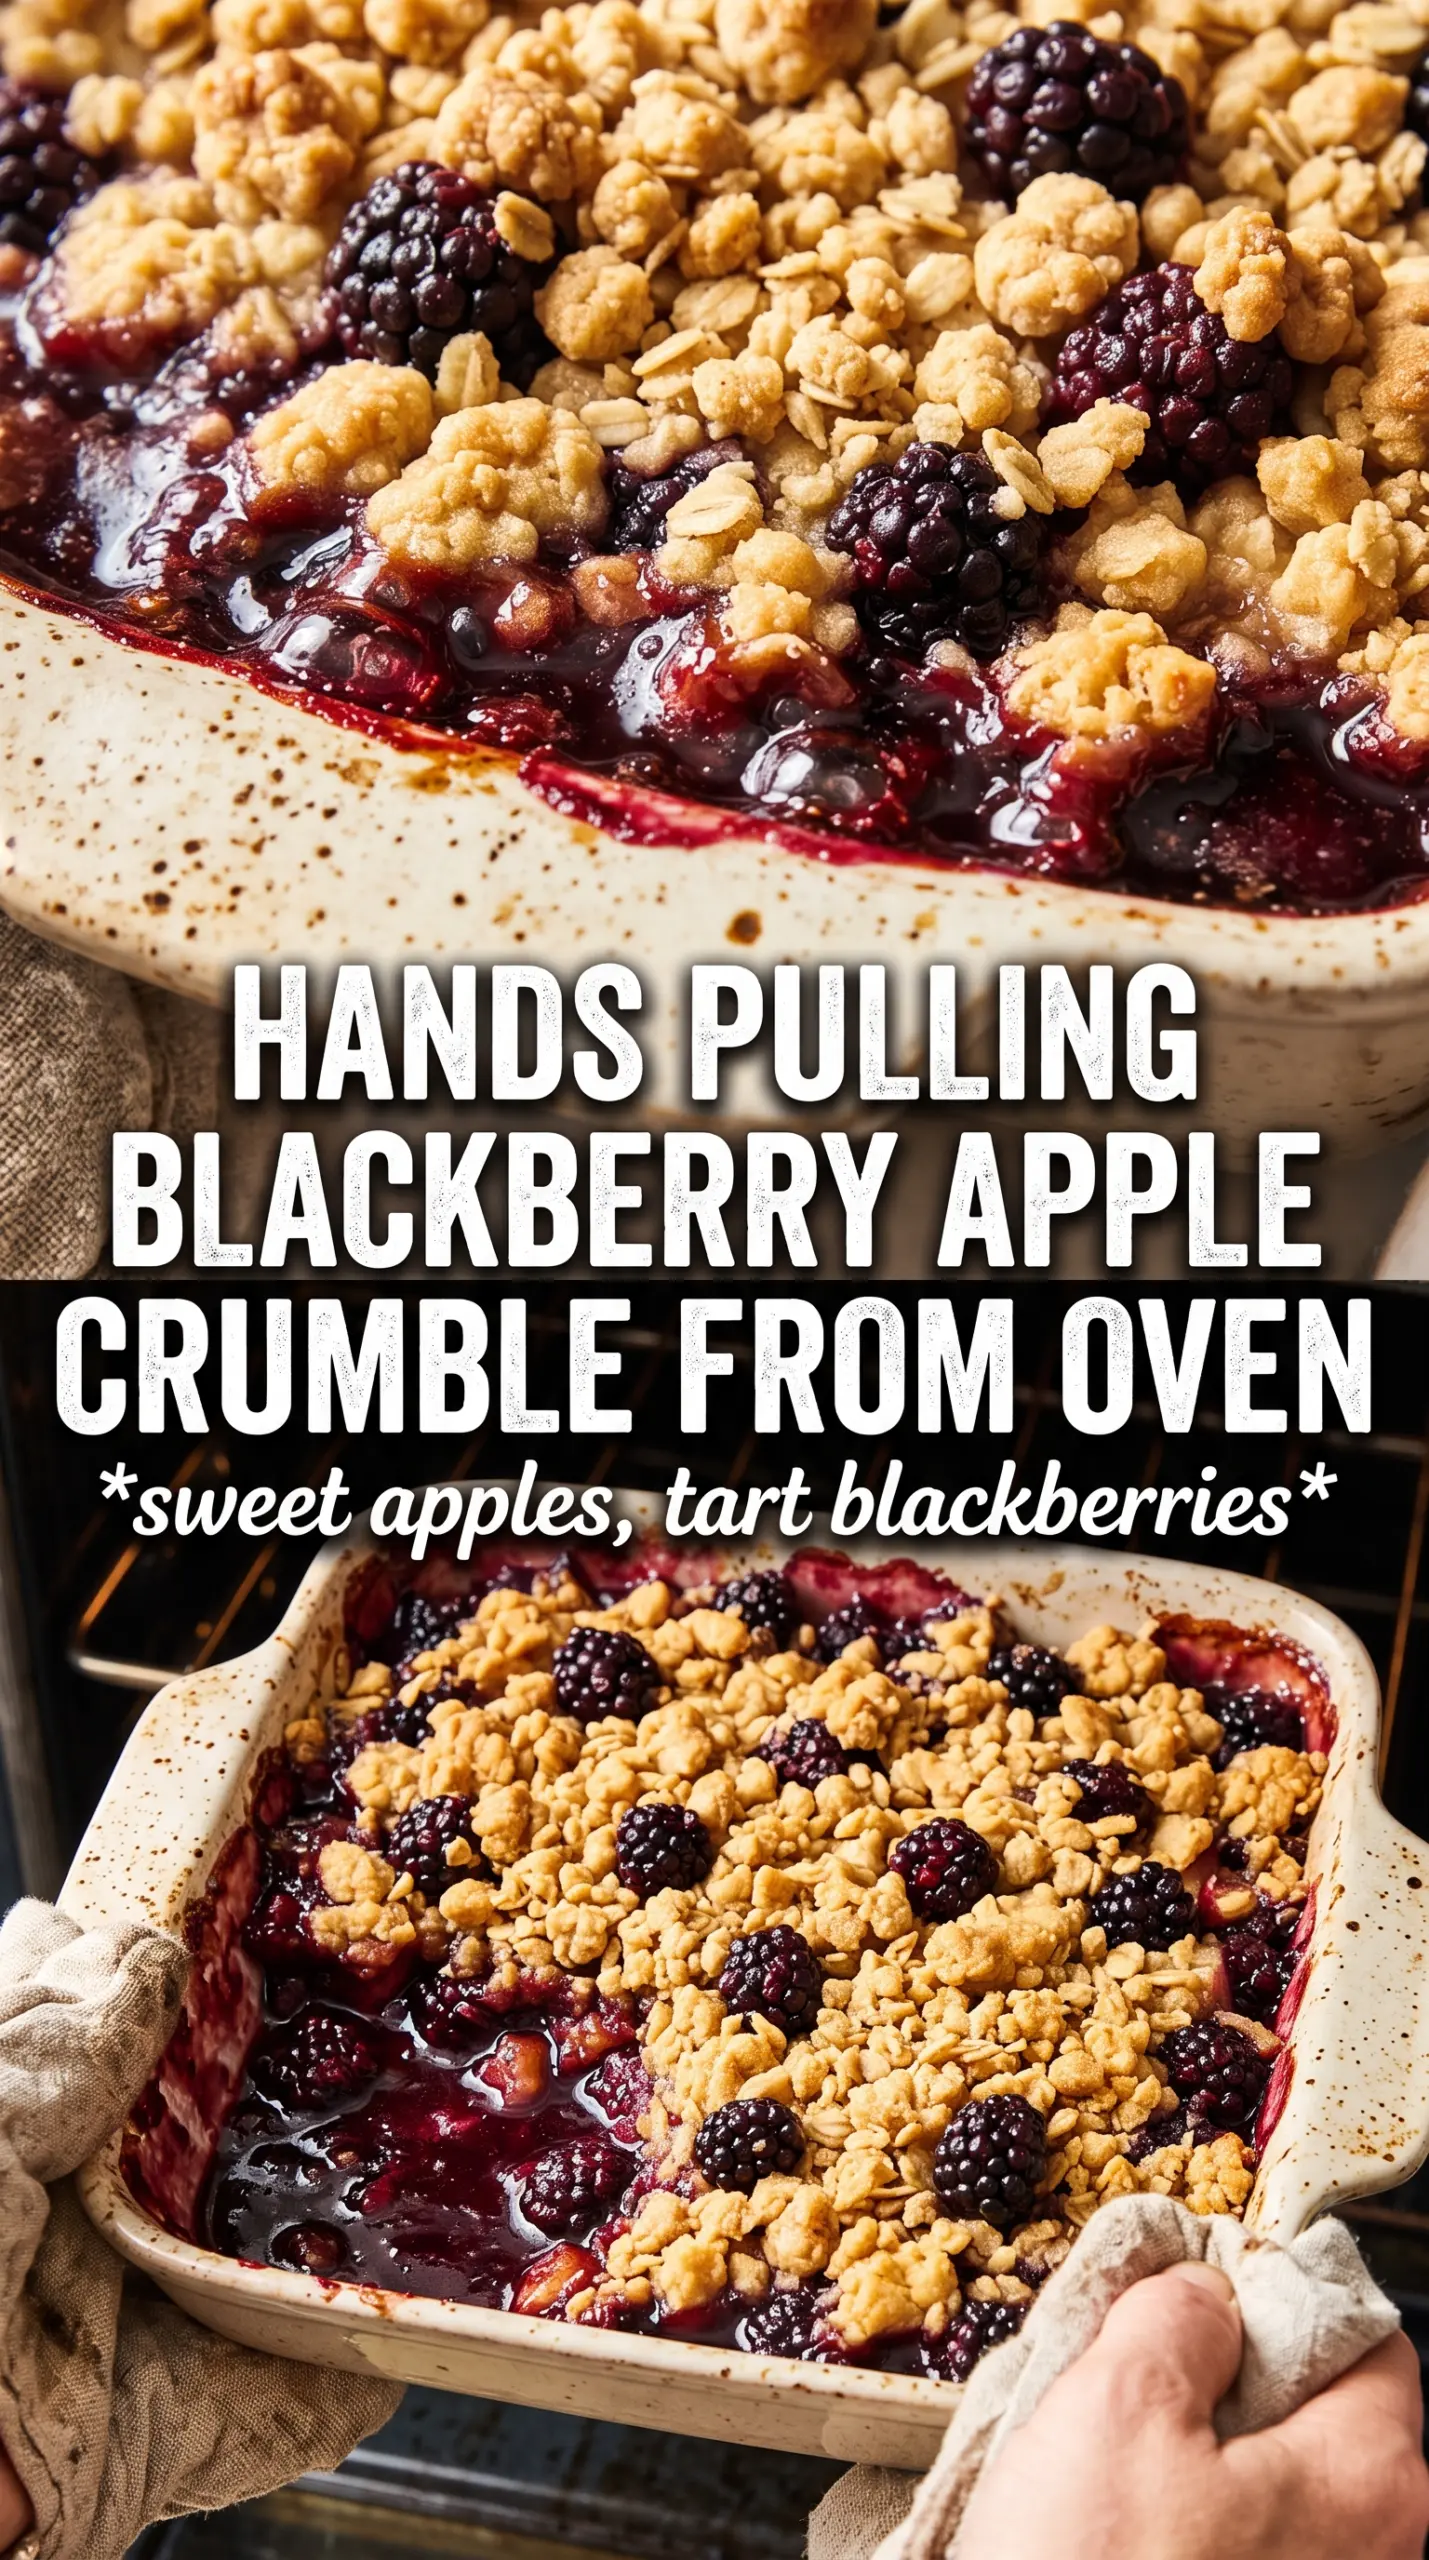
The most common crumble problem is a pan that looks done on top but leaks watery fruit underneath. That happens when the fruit releases juice faster than the topping can bake, or when there isn’t enough starch to catch those juices before they thin out. Here, the cornstarch gets mixed with the fruit before baking, which means the bubbling liquid thickens in the oven instead of pooling at the bottom of the dish.
The other part that matters is the topping depth. You want loose, clumpy crumbs, not a sand-like layer packed flat over the fruit. A thicker, uneven topping gives you those browned ridges that stay crisp while the fruit steams beneath them. If your kitchen runs warm and the butter softens before it hits the bowl, chill the topping for 10 minutes before scattering it over the filling.
What Each Ingredient Is Actually Doing in This Crumble
- Apples — Use a firm baking apple if you can. You want slices that soften and slump without dissolving into applesauce. If all you have are softer apples, cut the pieces a little larger so they hold up better in the oven.
- Blackberries — Fresh or frozen both work. Frozen berries don’t need to be thawed first; they’ll release more juice, but the cornstarch is there to handle it. The flavor is brighter if the berries are ripe and dark.
- Cornstarch — This is what turns the fruit juices into a spoonable filling. Flour can work in a pinch, but it won’t give the same clear, glossy finish. If you skip it, the crumble will still taste good, but it’ll be loose and soupy.
- Rolled oats — These add the rough, craggy texture that makes crumble topping feel substantial. Quick oats can be used, but the topping will be softer and less chewy. Old-fashioned oats give the best bite.
- Cold butter — Keep it cold all the way through mixing. If it melts into the dry ingredients before baking, the topping bakes up dense instead of crisp. Cube it first so it can be cut in quickly without warming up too much.
Building the Crumble So It Bakes Evenly
Coating the Fruit
Toss the apples and blackberries with the sugar, cornstarch, lemon juice, and cinnamon until every slice looks lightly coated. The mixture should look a little glossy and damp, not dry and powdery. Spread it in the baking dish in an even layer so the fruit cooks at the same rate across the pan. If the fruit is piled too high in one corner, the topping will brown before the center starts bubbling.
Making the Topping
Stir the flour, oats, brown sugar, cinnamon, and salt together first, then cut in the butter until the mixture forms clumps the size of peas and marbles. Stop before it turns into a paste. Those uneven bits are what turn into crunch in the oven. If the butter starts softening while you work, put the bowl in the fridge for a few minutes and come back to it cold.
Baking Until Bubbling
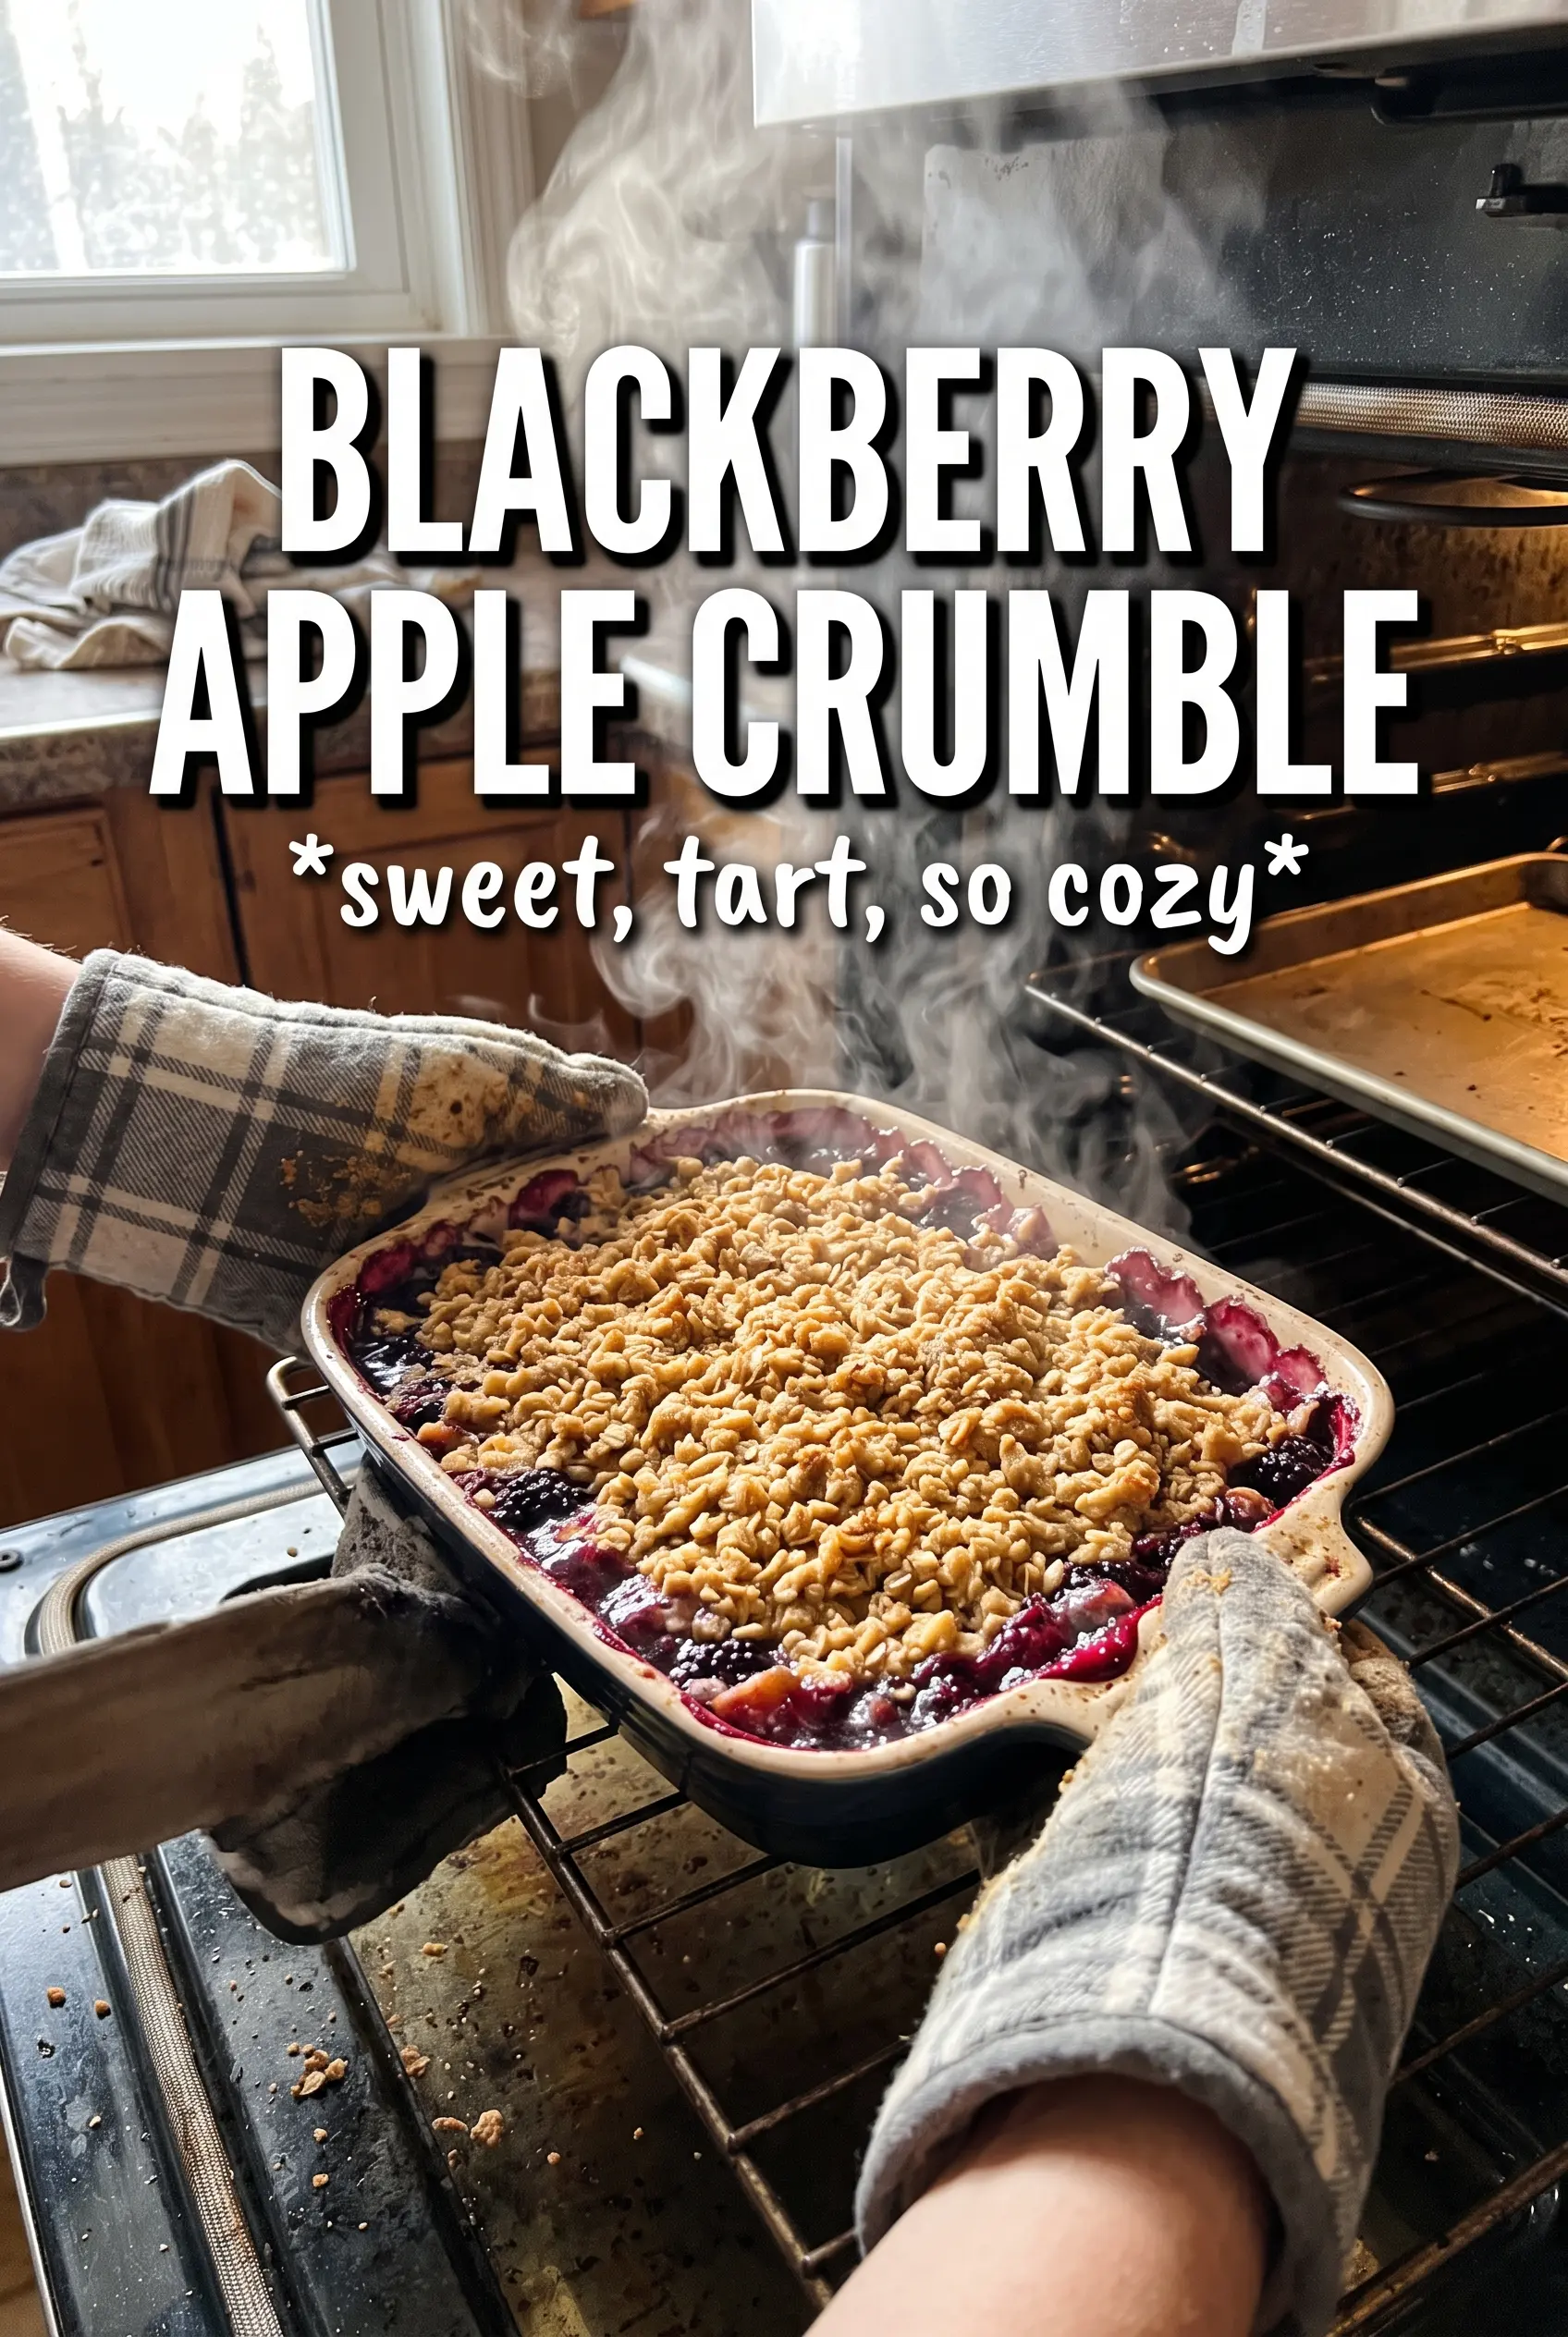
Scatter the crumble over the fruit without pressing it down. Bake until the top is deeply golden and the fruit is bubbling around the edges and through the center, not just at the corners. That bubbling is your sign that the filling has actually thickened. If the top looks right but the edges aren’t moving, give it another few minutes; underbaked fruit is the fastest way to end up with a runny serving.
Letting It Rest
Let the crumble sit for about 10 minutes before serving. That short rest gives the juices time to settle and thicken so the first scoop holds together instead of sliding apart. It’ll still be warm, but much easier to serve cleanly. This is the point most people rush, and it’s why the filling ends up looking looser than it really is.
How to Adapt This for Different Fruits and Diets
Make It Gluten-Free
Swap the all-purpose flour for a good 1:1 gluten-free baking blend and use certified gluten-free oats. The texture stays close to the original, though the topping may be a little more delicate. Keep the butter cold so the crumb still bakes up crisp.
Use Only Apples When Blackberries Aren’t Handy
Leave out the blackberries and add one extra apple plus a little more lemon juice for brightness. The filling will be less jammy and more classic apple dessert, but the crumble topping and baking time stay the same. This works especially well with tart apples.
Make It Dairy-Free
Use a solid dairy-free butter alternative that behaves like sticks of butter, not a soft tub spread. You want something that can be cut into the dry ingredients and hold its shape long enough to bake into crumbs. The flavor changes a little, but the texture stays close if the substitute is cold.
Storage and Reheating
- Refrigerator: Store covered for up to 4 days. The topping softens a little in the fridge, but the flavor stays good.
- Freezer: Freeze baked portions tightly wrapped for up to 2 months. Thaw overnight in the fridge before reheating so the fruit doesn’t weep too much.
- Reheating: Warm in a 325F oven until heated through and the topping re-crisps. The microwave will soften the crumble, so use it only if you don’t mind losing the crunch.
Questions I Get Asked About This Recipe
Blackberry Apple Crumble
Ingredients
Equipment
Method
- Preheat the oven to 375F and grease a 9x13 baking dish.
- Toss apple slices and blackberries with granulated sugar, cornstarch, lemon juice, and cinnamon, then spread the mixture in the dish.
- In a bowl, combine all-purpose flour, rolled oats, brown sugar, cinnamon, and salt.
- Cut cold unsalted butter into the dry mixture until clumpy.
- Scatter the crumble topping over the fruit, then bake for 35-40 minutes until the topping is golden and the fruit is bubbling at the edges.
- Rest the crumble for 10 minutes before serving.
- Serve with double cream or vanilla ice cream.