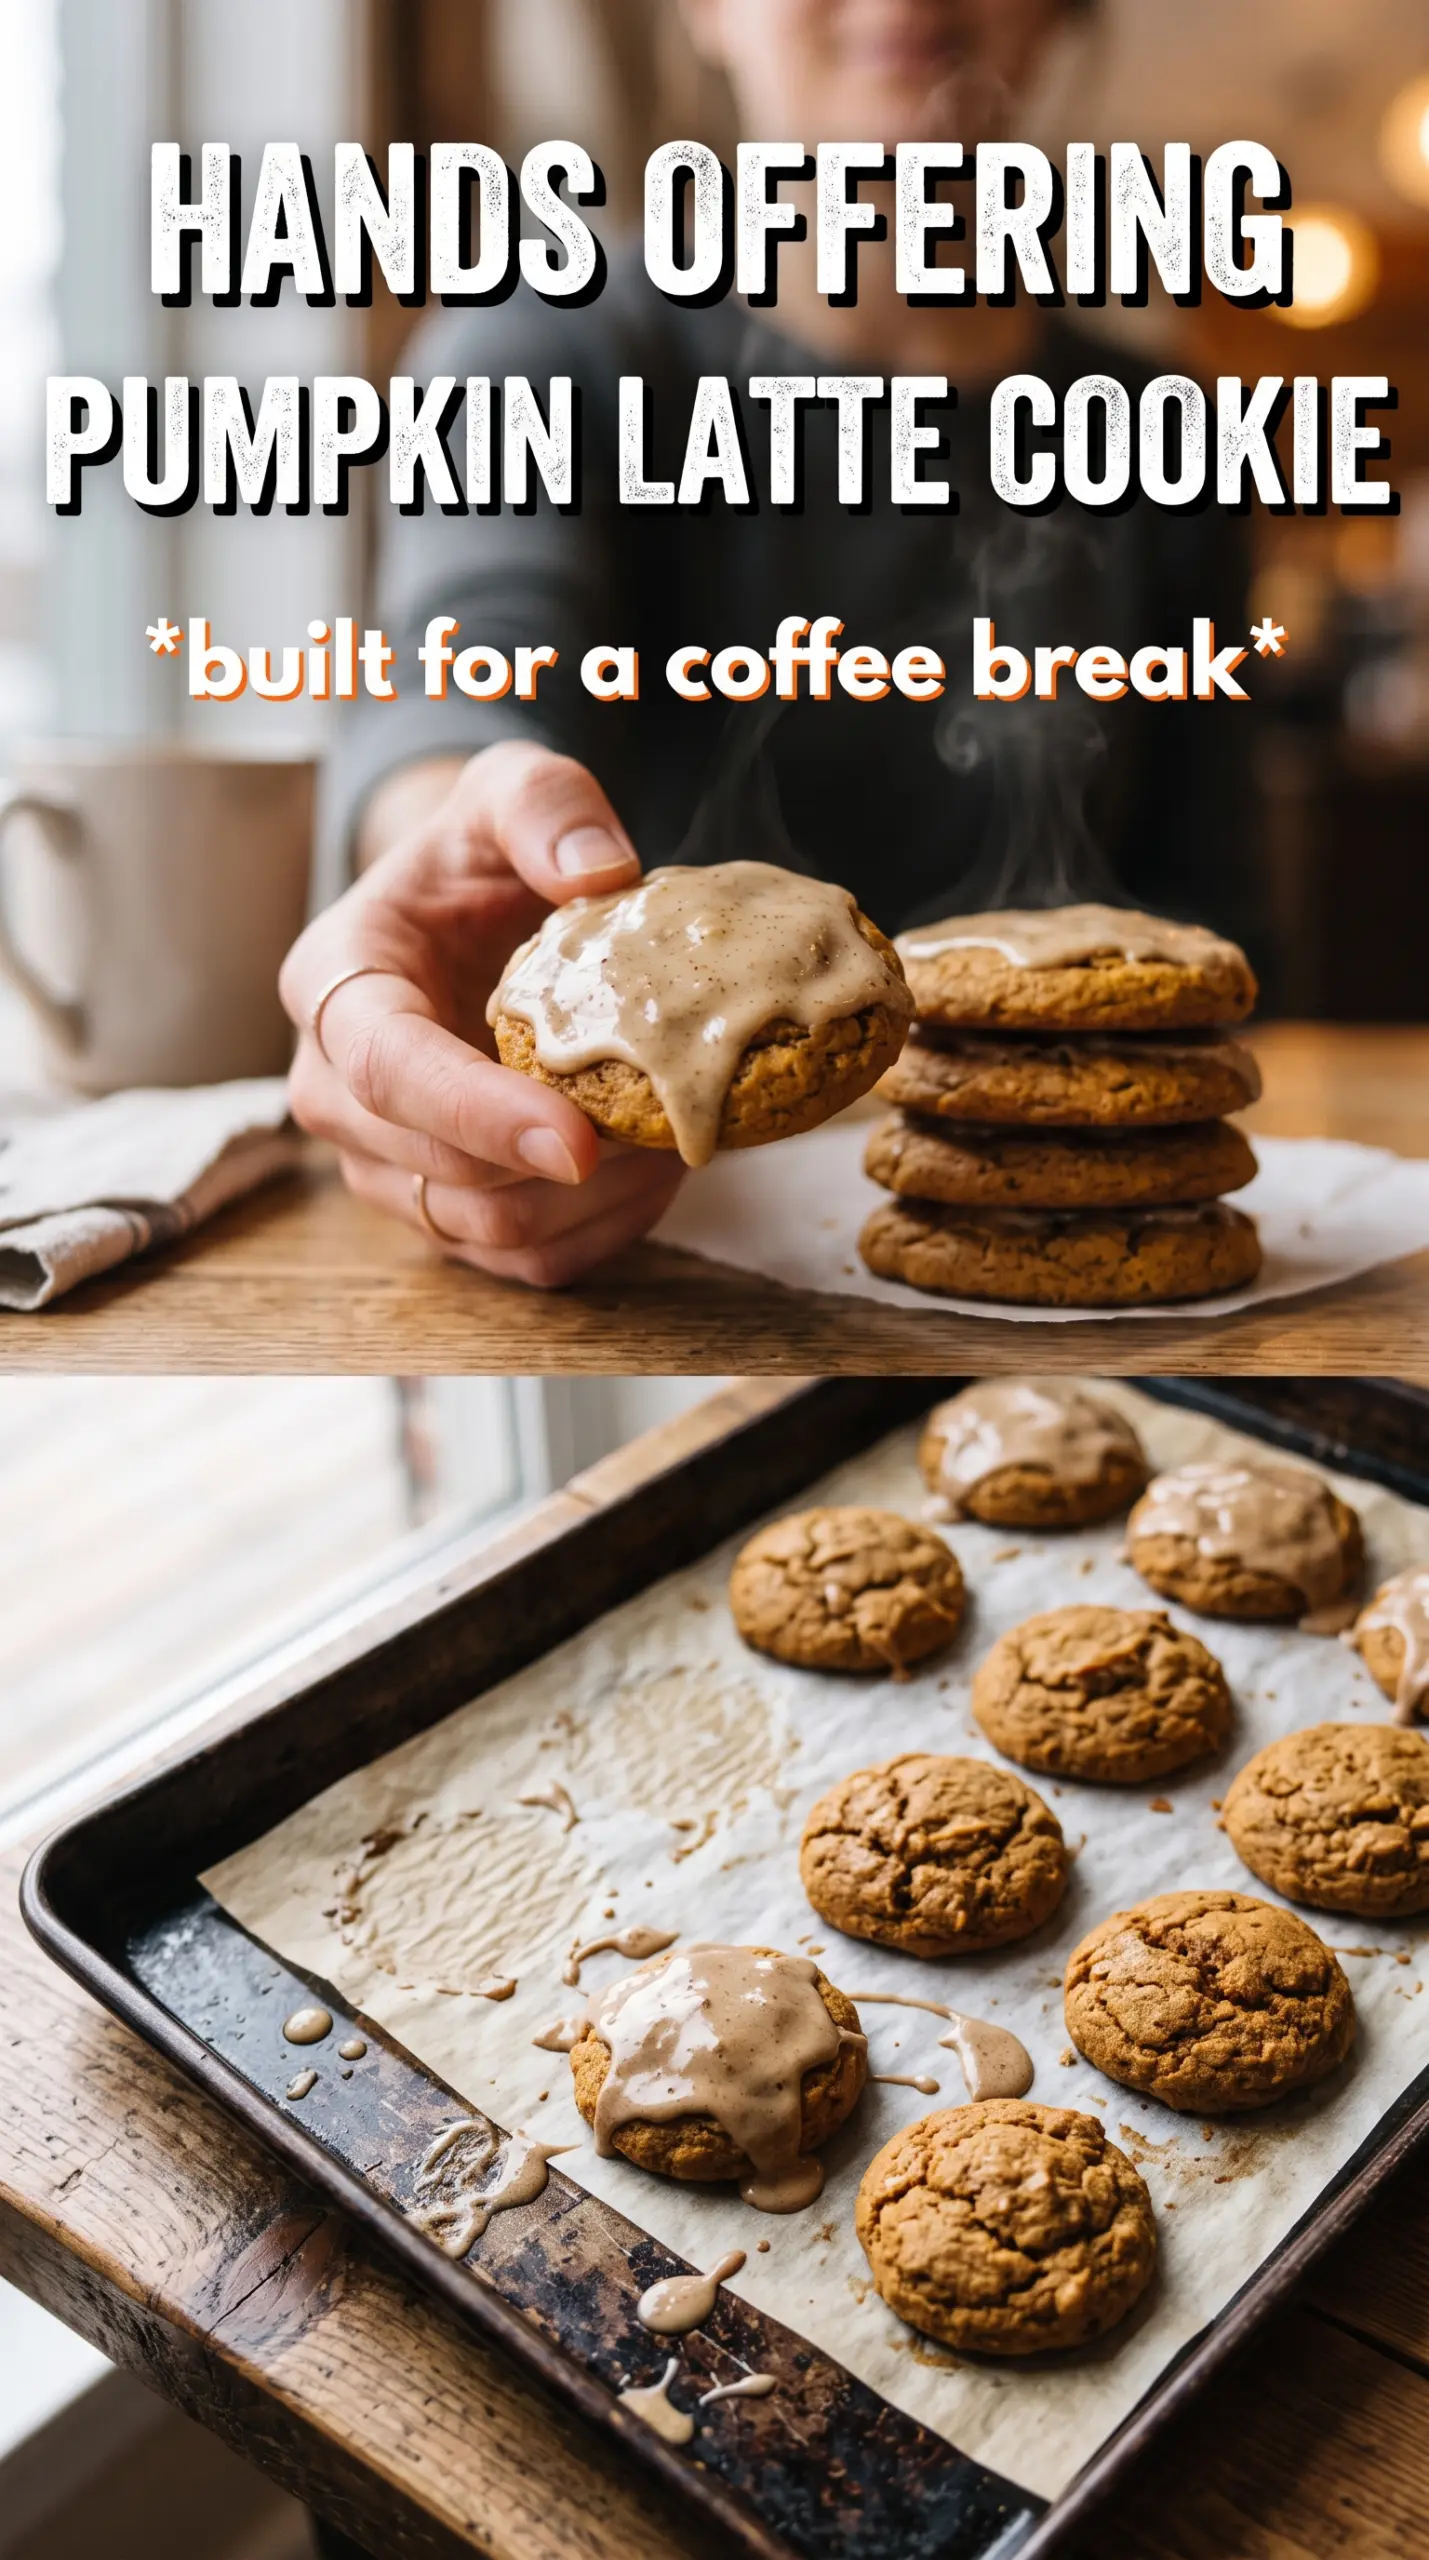
Brown butter pumpkin oatmeal latte cookies bake up thick in the center, crisp at the edges, and packed with that cozy mix of nutty butter, warm spice, and a little espresso bite. The oats give them chew, the toffee bits melt into little pockets of caramel, and the flaky salt on top keeps every bite from leaning too sweet.
What makes this version work is the balance. Brown butter brings depth, but it has to cool back down and firm up before it goes into the dough or the cookies spread too much. The pumpkin needs to be blotted dry, too, because extra moisture turns these from chewy cookies into soft, cakey ones. That small bit of prep is what keeps the texture right where you want it.
Below you’ll find the part that matters most: how to keep the brown butter from throwing off the dough, why the espresso powder matters even if you don’t want these to taste like coffee, and a few swaps that help if you need to work around what’s in your pantry.
The brown butter gave these such a deep, toasty flavor, and the pumpkin stayed chewy instead of cakey because I blotted it first. The toffee bits were the best part.
Save these brown butter pumpkin oatmeal latte cookies for the next time you want chewy cookies with espresso depth, pumpkin spice warmth, and a salty toffee finish.
The Dough Only Works If the Pumpkin Stays Dry and the Butter Stays Cool
The mistake that changes these cookies fastest is treating pumpkin puree like a flavoring instead of part of the dough structure. Pumpkin carries a lot of water, and in a cookie with oats and brown butter, that extra moisture pushes the texture toward cakey and fluffy instead of chewy and dense. Blotting the puree on paper towels until it looks thick and pasty is the difference between a cookie that spreads nicely and one that puffs like a muffin top.
The other key detail is the brown butter. It needs to be fully solidified before you beat it with the sugars, because melted or even soft brown butter loosens the dough and makes the cookies overspread in the oven. You want it cool, firm, and scoopable. That way it creams with the sugars instead of sliding around them.
- Brown butter — This is where the toasted, nutty depth comes from. If you skip it and use plain butter, the cookies still work, but they taste flatter and more like a standard oatmeal cookie.
- Espresso powder — It doesn’t make these taste like coffee. It sharpens the pumpkin spice and makes the brown butter taste deeper. Instant espresso powder is best, but a good coffee powder works too.
- Rolled oats — Old-fashioned oats give the cookies chew and structure. Quick oats will make them softer and less textured, which changes the whole bite.
- Toffee bits — They melt just enough to add little caramel pockets without turning the dough greasy. Chocolate chips can work in a pinch, but they make the cookie heavier and hide the latte note.
What Each Ingredient Is Actually Doing in This Recipe
- Primary ingredient (the star) — Quality matters most. Choose the best you can find.
- Cooking medium (oil, butter, or broth) — This carries flavors and prevents dryness.
- Seasonings (salt, pepper, spices, herbs) — Layer flavors so nothing overpowers. Build depth gradually.
- Aromatics (garlic, onion, herbs) — Cook with fat to bloom flavors. Become the foundation.
- Supporting ingredients — Complement the main ingredient without overpowering it.
- Sauce or liquid (if applicable) — Brings flavors together. Balance richness with acid.
- Acid (lemon, vinegar, wine, or other) — Brightens and prevents flat-tasting results.
- Final finish (garnish, glaze, or sauce) — Prevents one-dimensional taste and adds visual appeal.
Getting the Texture Right from Brown Butter to Bake Time
Brown the Butter Until It Smells Nutty
Cook the butter over medium heat, swirling the pan as the milk solids toast. First it will foam, then the sound quiets down and the bottom of the pan turns speckled brown with a deep nutty smell. Pull it off the heat as soon as the butter is amber and fragrant; if you wait for it to look dark in the pan, it can go from toasted to burnt fast. Pour it into a bowl so it stops cooking, then refrigerate until fully solid.
Build a Creamy Base with Firm Brown Butter
Beat the solidified brown butter with both sugars until it looks fluffy and a little lighter in color. This step traps air and helps the cookies bake up with a defined edge instead of spreading into thin rounds. Add the blotted pumpkin, eggs, and vanilla next, and mix just until combined. If the mixture looks slightly curdled at this point, that’s normal; it smooths out once the flour goes in.
Fold, Scoop, and Bake Before the Dough Warms Up
Stir in the dry ingredients, then fold in the oats and toffee bits by hand so you don’t overwork the dough. Scoop in 2-tablespoon rounds and give the cookies a little space on the pan, because they do spread. Bake until the edges are golden and the centers still look slightly soft. They finish setting on the pan, so don’t wait for the tops to look completely dry or they’ll go past chewy.
Finish with Flaky Salt While They’re Hot
Sprinkle the salt on right after the cookies come out of the oven so it sticks. That last pinch wakes up the caramel notes in the toffee and keeps the sweetness in check. Let them sit on the pan for 5 minutes before moving them, because they’re fragile when hot and need that short rest to set cleanly.
How to Adapt These Cookies Without Losing the Chewy Center
Gluten-Free Version with the Same Texture
Use a good 1:1 gluten-free baking flour in place of the all-purpose flour and keep the oats certified gluten-free. The cookie will stay chewy, but the edges may be a touch more delicate, so let them cool fully on the pan before moving them.
Dairy-Free Swap That Still Tastes Nutty
Use a plant-based butter that browns well, or use a neutral dairy-free butter alternative and skip the browning step if the brand won’t toast. You’ll lose some of the deep nutty edge, but the pumpkin spice, espresso, and toffee still carry the cookie.
Make Them Sweeter and More Dessert-Like
Add chocolate chips in place of half the toffee bits if you want a richer, sweeter cookie. The texture stays the same, but the latte note gets softer and the cookie leans more toward a bakery-style chocolate chip oatmeal cookie with pumpkin spice in the background.
Storage and Reheating
- Refrigerator: Store in an airtight container for up to 5 days. The oats keep them chewy, but the cookies will firm up a bit as they sit.
- Freezer: Freeze baked cookies for up to 2 months, or freeze scooped dough balls and bake from frozen with 1 to 2 extra minutes.
- Reheating: Warm a baked cookie in the microwave for 8 to 10 seconds or in a 300F oven for a few minutes. Don’t overheat them or the toffee bits will harden and the cookies will dry out.
Answers to the Questions Worth Asking
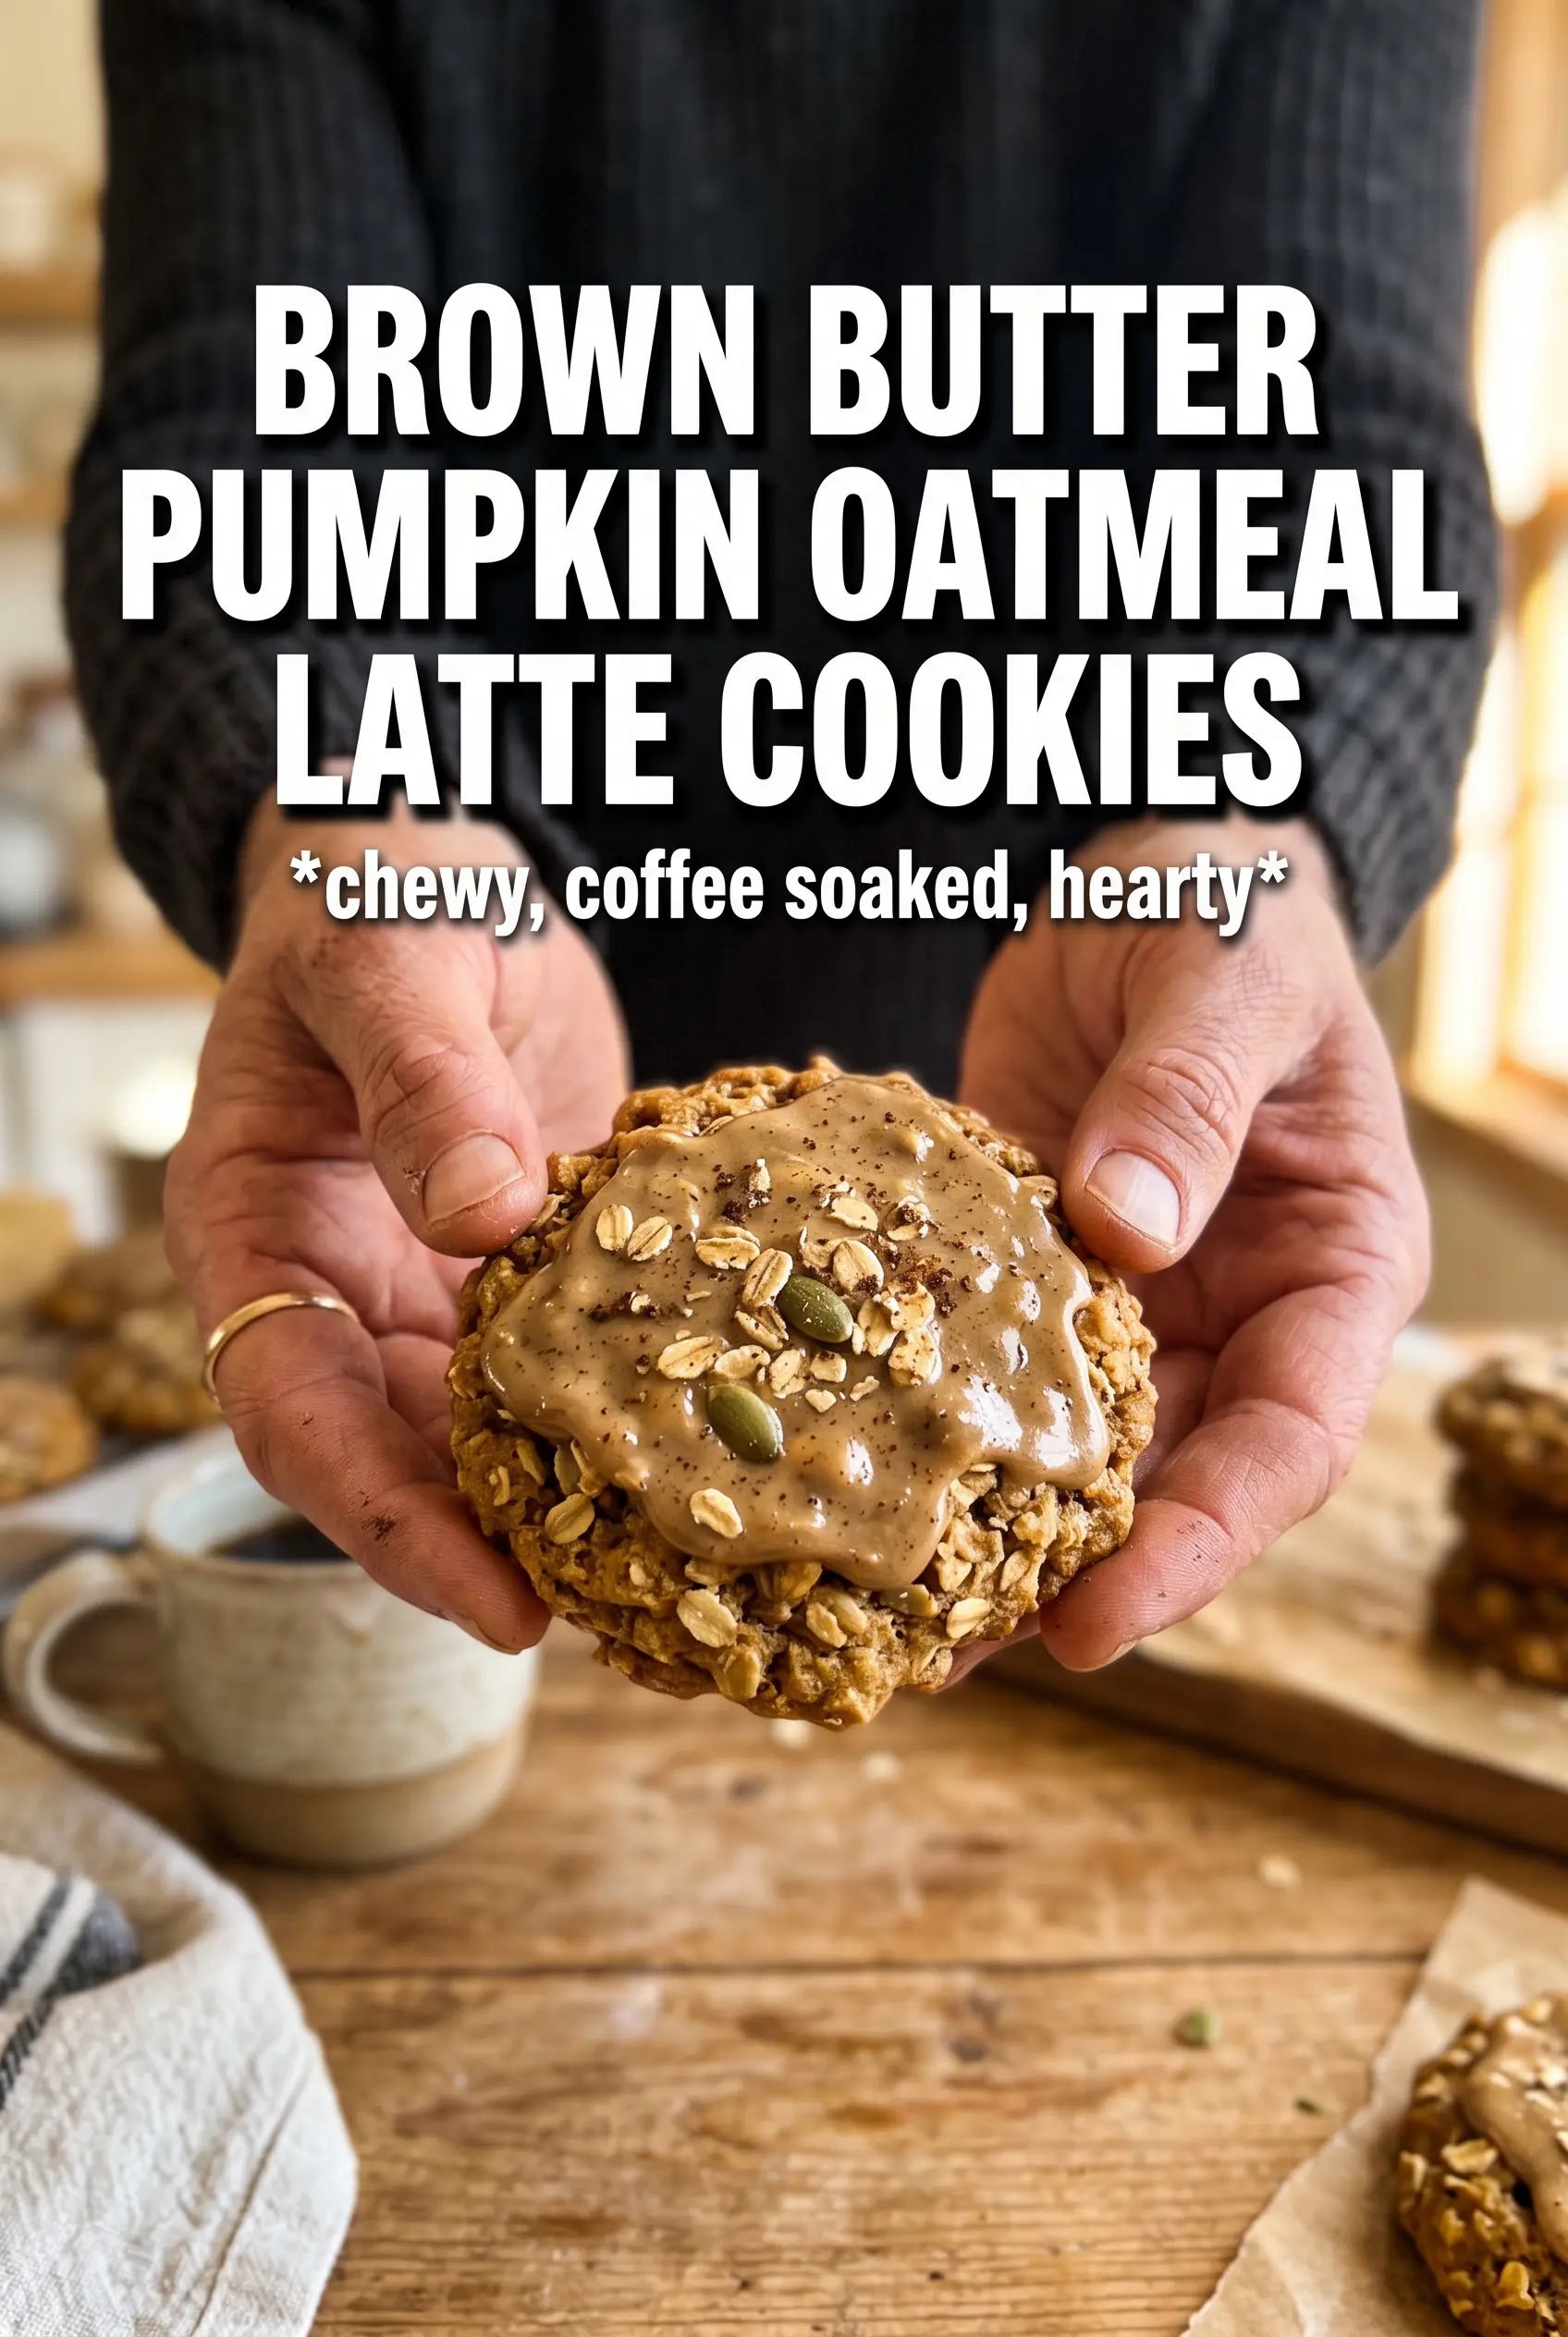
Brown Butter Pumpkin Oatmeal Latte Cookies
Ingredients
Equipment
Method
- Brown the unsalted butter in a cast iron skillet until golden-brown and nutty, then pour it out and refrigerate until solid, about 1 hour (visual cue: toasted, caramel color with a nutty aroma).
- Once solid, let the browned butter sit at room temperature briefly while you prep so it’s workable for mixing (visual cue: butter is firm but scoopable).
- Preheat the oven to 375F and line baking sheets with parchment (visual cue: parchment prevents sticking and spreading).
- Whisk all-purpose flour, baking soda, pumpkin pie spice, espresso powder, cinnamon, and salt in a bowl until evenly combined (visual cue: no streaks of spice).
- Beat the solidified browned butter, brown sugar, and granulated sugar until creamy (visual cue: lighter in color and thick).
- Add the pumpkin puree, then mix in the eggs and vanilla extract until smooth (visual cue: glossy orange batter).
- Fold the flour mixture into the wet ingredients until just combined (visual cue: no visible dry flour).
- Fold in old-fashioned rolled oats and toffee bits until evenly distributed (visual cue: oat flecks and toffee specks throughout).
- Scoop the dough into 2-tablespoon rounds and place them on the lined baking sheets (visual cue: uniform mounds).
- Bake at 375F for 10-12 minutes until edges are golden (visual cue: set rims with slightly soft centers).
- Sprinkle flaky salt on top, then cool on the pan for 5 minutes (visual cue: tops look lightly sparkled with salt).