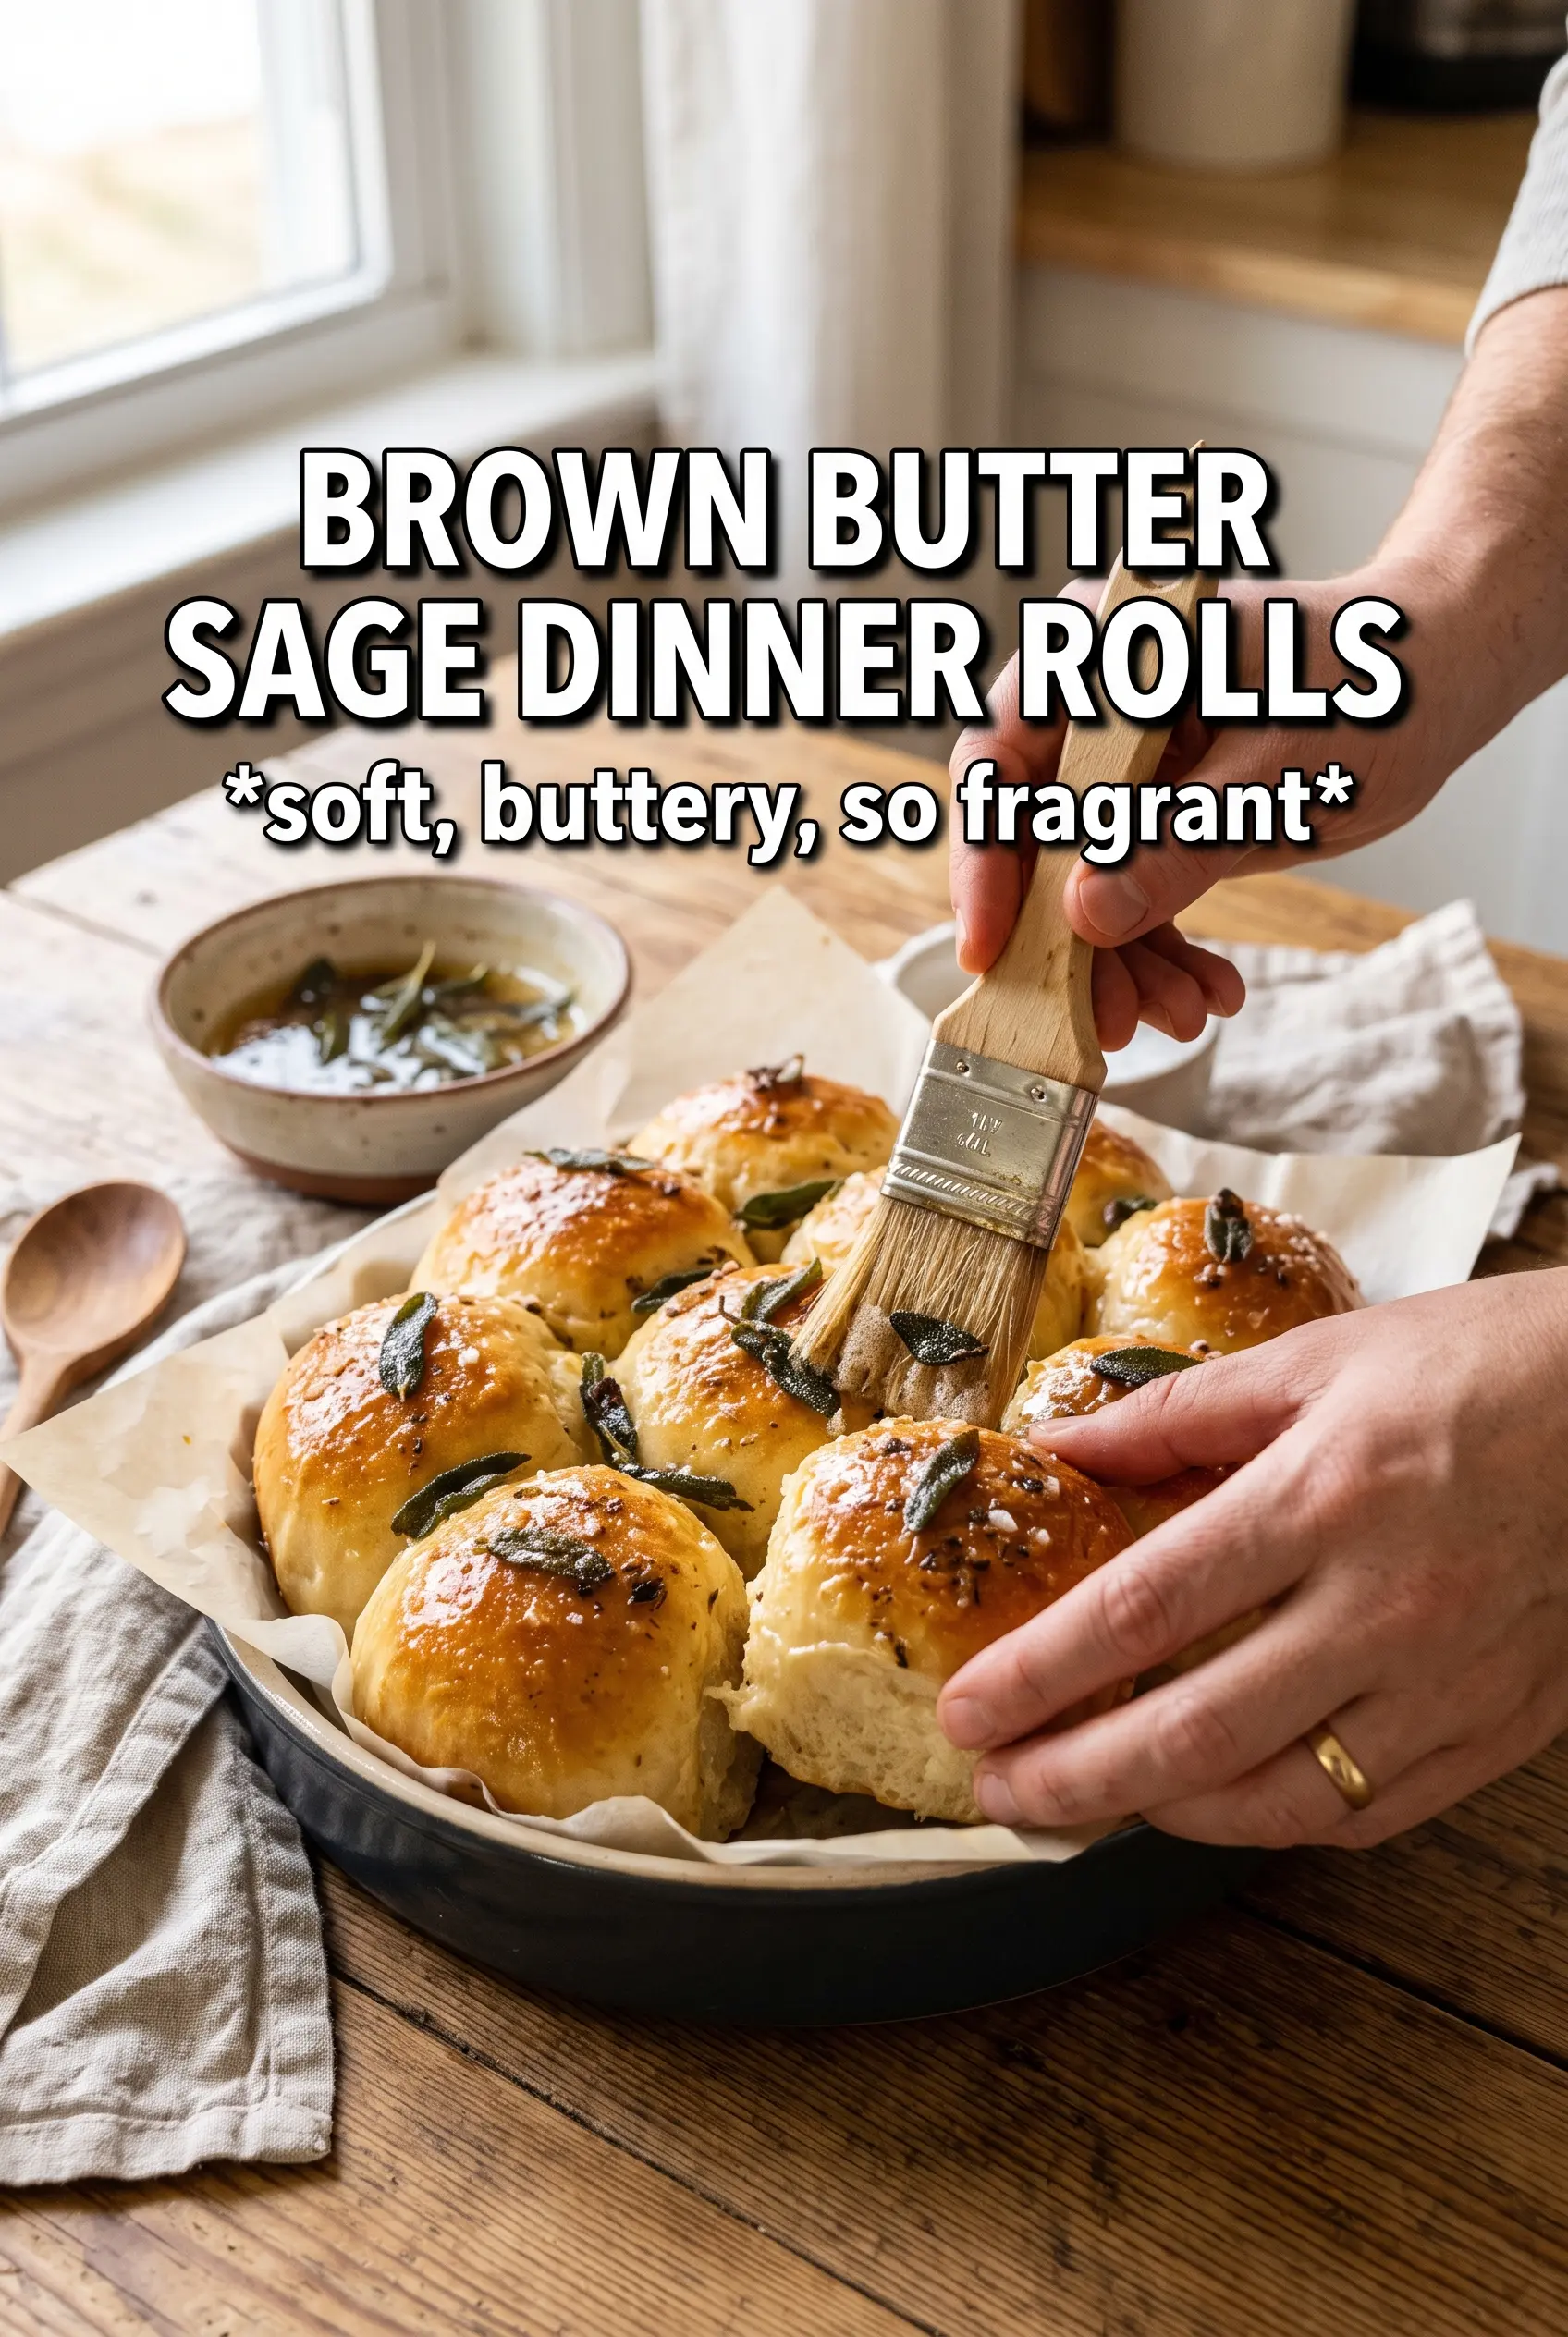
Brown butter sage dinner rolls come out pillowy in the center, bronzed on top, and scented with that nutty butter-and-herb combination that makes people reach for a second roll before they’ve finished the first. The glaze seeps into the seams of the rolls, so every pull-apart piece gets a little sheen and a lot of flavor.
What sets this batch apart is the way the brown butter does double duty. A portion goes into the dough for a deeper, almost toasty richness, then the rest gets browned with garlic and crisp sage leaves for the finish. That layered approach keeps the rolls from tasting flat, even though the ingredient list is short and familiar. The dough itself is soft and slightly enriched, which gives you that tender, tearable texture instead of a tight sandwich bun crumb.
Below, I’ll walk through the part that matters most: how to keep the butter from getting too hot for the yeast, how to tell when the rolls are proofed enough, and how to get that sage garnish crisp instead of bitter.
The rolls baked up soft and tall, and the sage butter soaked into the tops without making them greasy. I used the full 22 minutes and the middle rolls still pulled apart fluffy instead of doughy.
Brown butter sage dinner rolls are the kind of side that disappears fast, so save this one for the next holiday table or Sunday dinner.
The Part That Makes These Rolls Rise Tall Instead of Dense
Enriched dough can go wrong in one of two ways: the yeast gets shocked by hot butter, or the flour gets added too soon and the dough never has a chance to relax. This recipe avoids both problems by cooling the browned butter just enough before it meets the milk and yeast, then kneading until the dough turns smooth and elastic. That kneading time matters. If the dough still looks shaggy after several minutes, it needs more work, not more flour.
The other place people stumble is proofing. These rolls should puff until they look soft and touching, not doubled into something fragile and overgrown. Underproofed rolls bake up tight in the middle; overproofed rolls can collapse once they hit the oven. A gentle press with your fingertip should leave a slow spring-back, not an instant bounce.
What the Brown Butter and Sage Are Actually Doing Here

- Unsalted butter — Browned butter gives the rolls a nutty depth that plain melted butter can’t match. Use unsalted butter so you control the salt in both the dough and the glaze; salted butter can push the finish too far.
- Fresh sage leaves — Fresh sage crisps in the hot butter and turns fragrant fast. Dried sage won’t give you the same texture or aromatic finish, so this is one place where fresh matters.
- Whole milk — The fat in whole milk helps the dough stay tender. Lower-fat milk works in a pinch, but the rolls won’t be as plush.
- Instant yeast — This keeps the process moving without a separate blooming step. If you only have active dry yeast, let it sit in the warm milk and sugar until foamy before adding the rest of the ingredients.
- Flaky sea salt — A little on top keeps the browned butter from tasting one-note and makes the sage butter pop. Fine salt works in the dough, but the flakes on top give a better finish.
Building the Dough, Then Finishing With the Sage Butter
Starting the Brown Butter
Melt the first portion of butter over medium heat and keep cooking until the milk solids turn amber and smell nutty, not burnt. The color changes quickly near the end, so stay with the pan and pull it off the heat as soon as you see toasted specks at the bottom. Let it cool for a few minutes before mixing it with the milk and yeast; if it feels hot to the touch, it’s still too warm for the dough.
Mixing and Kneading
Stir the warm milk, sugar, browned butter, and eggs together first, then add the flour and salt. The dough will look sticky at first, then turn smoother as the gluten develops. Knead for the full 8 minutes if you’re doing it by hand or until the dough is supple and only slightly tacky. If it sticks hard to the bowl, dust in flour a spoonful at a time; too much flour is what makes dinner rolls dry.
Shaping and Second Rise
After the first rise, divide the dough into 12 even pieces and roll each one into a tight ball. Tension on the outside helps the rolls rise upward instead of spreading flat in the pan. Nestle them into a greased 9×13 dish with a little room between each piece, then let them rise again until puffy and nearly touching. The pan should look full and soft before it goes into the oven.
Baking and Brushing
Bake until the tops are deep golden and the edges pull away slightly from the pan. If the center rolls still look pale, they need a few more minutes; underbaked enriched dough can look done before it actually is. For the glaze, brown the remaining butter, add the garlic briefly, then fry the sage just until crisp. Brush the rolls while they’re warm so the butter soaks into the tops, then press a fried sage leaf onto each one before serving.
How to Adapt These Rolls Without Losing the Soft Crumb
Make Them Dairy-Free
Use a rich unsweetened plant milk and a good dairy-free butter that browns well, then watch the glaze carefully since some vegan butters toast faster than dairy butter. The rolls will still be tender, but you’ll lose a little of the nutty depth that comes from real browned milk solids.
Swap in Active Dry Yeast
Active dry yeast works fine, but it needs a little extra time to wake up. Stir it into the warm milk and sugar and wait until it looks foamy before adding the browned butter and eggs, which gives you a more reliable rise.
Make Them a Little More Savory
Add a little extra flaky salt on top after brushing, or tuck a small piece of sharp cheese into the center of each dough ball before the second rise. That gives you a richer, more dinner-roll-turned-side-dish result without changing the base dough.
Storage and Reheating
- Refrigerator: Store in an airtight container for up to 3 days. The rolls stay soft, but the sage topping loses some crispness.
- Freezer: Freeze baked rolls without the final butter brush for up to 2 months. Wrap tightly, thaw at room temperature, then warm and glaze after reheating.
- Reheating: Reheat covered in a 300°F oven until warmed through, then uncover for the last few minutes so the tops don’t turn soggy. A quick microwave blast makes them rubbery, so use the oven if you want that fresh-baked texture back.
Questions I Get Asked About This Recipe
Brown Butter Sage Dinner Rolls
Ingredients
Equipment
Method
- Brown 1/2 cup butter in a skillet over medium heat until amber and nutty, then cool slightly before using.
- In a bowl, combine warm whole milk, sugar, browned butter, and eggs, then whisk to smooth.
- Sprinkle in instant yeast and let the mixture sit briefly until it looks slightly foamy.
- Add all-purpose flour and salt, then knead until smooth, about 8 minutes.
- Cover the dough and rise for 1 hour until puffy and doubled.
- Grease a 9x13 baking dish and divide dough into 12 balls, then place them in the dish.
- Rise again for 30-40 minutes while you preheat the oven to 375°F.
- Bake at 375°F for 18-22 minutes, until golden-brown on top.
- In the same skillet, brown the remaining butter until deep amber, then stir in minced garlic for 15-30 seconds until fragrant.
- Fry fresh sage leaves in the hot brown butter until crisp, 30-60 seconds, then sprinkle with flaky sea salt.
- Brush the baked rolls generously with the sage brown butter, then press crispy sage leaves onto each roll.