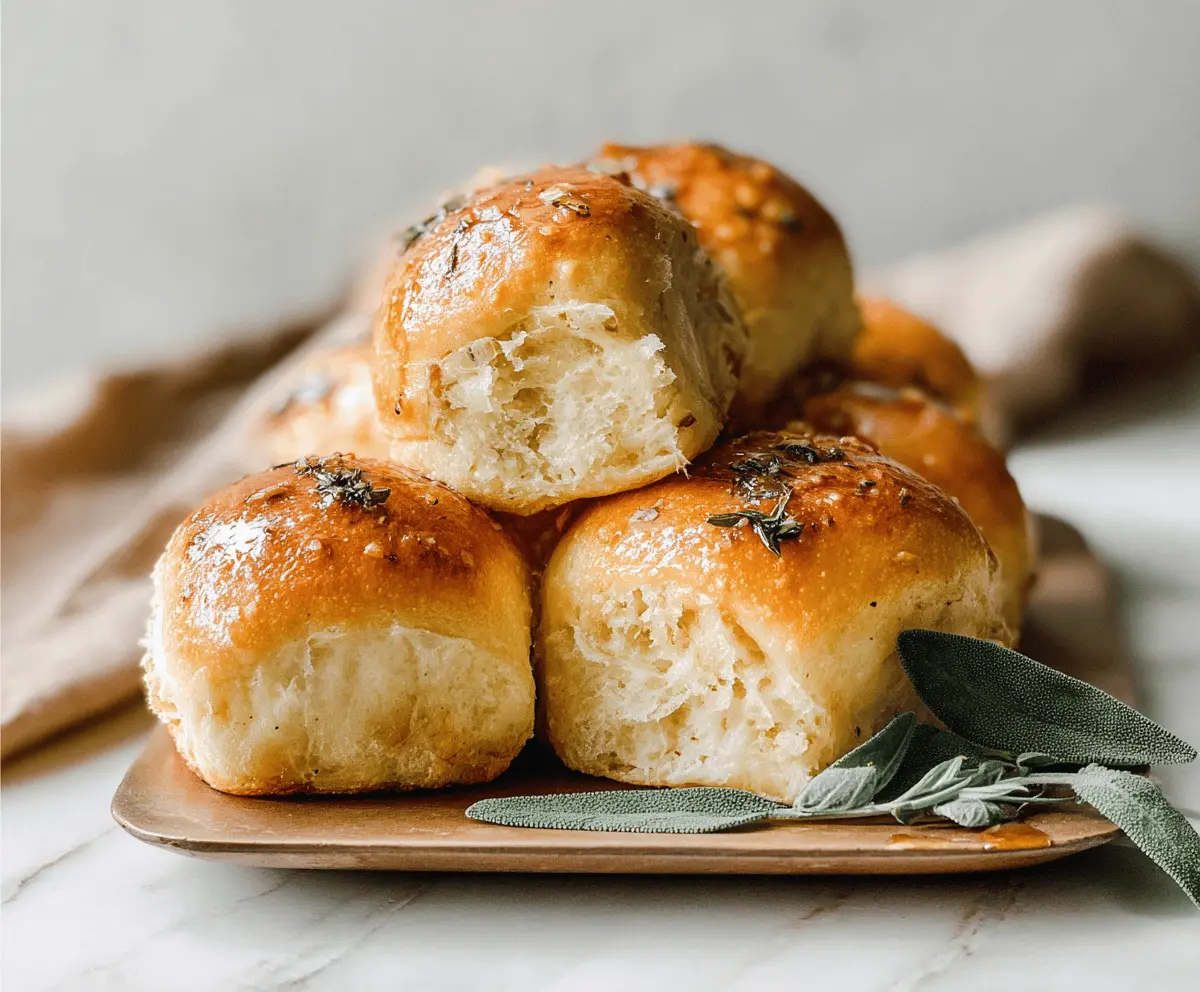
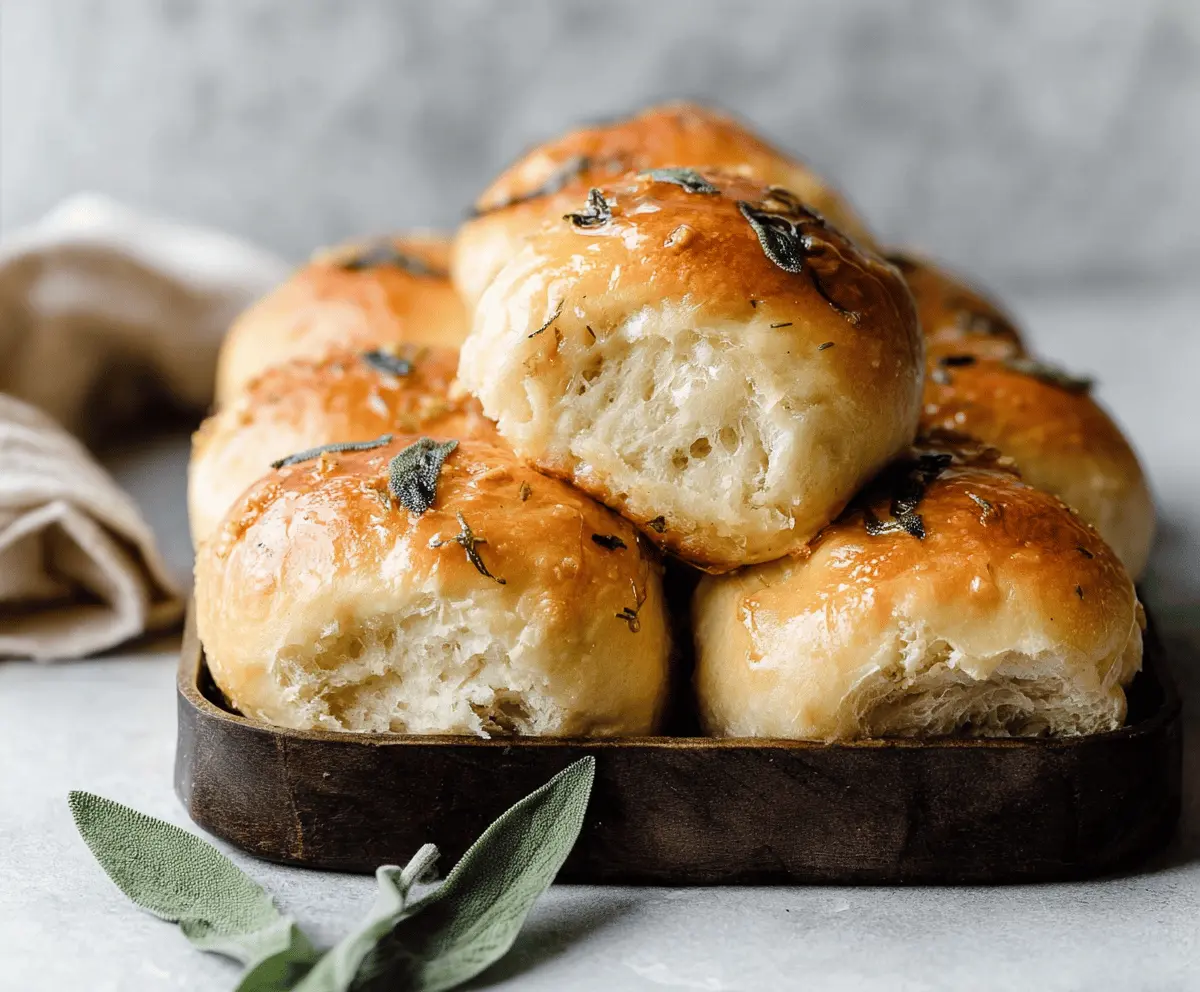
These Brown Butter Sage Dinner Rolls are wonderfully soft and full of flavor. The rich aroma of brown butter combined with fresh sage makes them perfect for any meal!
You can’t help but smile when biting into these fluffy rolls! I like to serve them warm, with a little butter on top—it’s pure happiness in every bite. 🥖✨
Key Ingredients & Substitutions
Unsalted Butter: Browned butter gives these rolls a rich flavor. Use unsalted to control saltiness. If you’re dairy-free, try using coconut oil or a plant-based butter, though the flavor will be slightly different.
Fresh Sage: This herb brings a wonderful aroma and taste. If you don’t have fresh sage, you can use dried sage, but use only about a third of the amount since dried herbs are more concentrated.
Whole Milk: Warm milk helps activate the yeast. If you’re lactose intolerant, non-dairy milk like almond or oat works great too. Just warm it up to the right temperature before using!
All-Purpose Flour: This is the base for your rolls. If you want a whole-grain twist, substitute half with whole wheat flour. Just be aware that the rolls may be a tad denser.
How Do I Get Soft and Fluffy Rolls?
The key to soft rolls is how you knead and let them rise. Kneading helps develop gluten, which gives structure. Here’s a quick guide:
- After mixing your dough, knead it on a floured surface for about 8-10 minutes. It should feel smooth and elastic.
- For the first rise, find a warm spot (the oven off but slightly warmed works well). Cover it properly to keep moisture in.
- After shaping, let the rolls rise again until they’ve doubled. This second rise is important for light, fluffy texture!
Brown Butter Sage Dinner Rolls
Ingredients You’ll Need:
For the Dough:
- 4 tablespoons unsalted butter
- 2 tablespoons fresh sage leaves, chopped (plus extra for garnish)
- 1 cup whole milk, warmed (about 110°F/43°C)
- 2 tablespoons granulated sugar
- 1 packet active dry yeast (2 1/4 teaspoons)
- 4 cups all-purpose flour, plus more as needed
- 1 teaspoon salt
- 1 large egg
For Topping:
- Coarse sea salt, for sprinkling
How Much Time Will You Need?
This recipe will take about 2 to 2.5 hours in total. You’ll spend around 30 minutes on prep and mixing, plus the dough needs about 2 hours for rising—1 to 1.5 hours for the first rise and 45 minutes for the second rise. Then, 20-25 minutes for baking. Totally worth the wait for delicious rolls!
Step-by-Step Instructions:
1. Browning the Butter with Sage:
Start by melting the unsalted butter in a small saucepan over medium heat. Keep an eye on it as it cooks, stirring occasionally. After about 4-5 minutes, it should be golden brown and start to smell nutty. Next, stir in the chopped sage leaves and let them cook for about 1 minute to release their flavor. Remove the pan from heat and let it cool slightly.
2. Activating the Yeast:
In a small bowl, mix the warmed milk and granulated sugar together. Sprinkle the active dry yeast over the top and let it sit for about 5-10 minutes. You should see the mixture get foamy—that means your yeast is ready to go!
3. Making the Dough:
In a large mixing bowl, whisk together the flour and salt. Add the yeast mixture, the browned butter with sage (you can leave the sage in for a stronger flavor or strain it if you like), and the egg. Stir everything together until well combined. Then, knead the dough by hand or with a stand mixer fitted with a dough hook for about 8-10 minutes until it’s smooth and elastic. If the dough is sticky, add a little more flour as needed.
4. First Rise:
Shape the dough into a ball and place it in a lightly greased bowl. Cover it with a clean kitchen towel or plastic wrap, and let it rise in a warm spot until it doubles in size. This should take about 1 to 1.5 hours.
5. Shaping the Rolls:
After the dough has risen, gently punch it down to release the air. Transfer the dough to a lightly floured surface and divide it into 12-15 equal pieces. Roll each piece into a smooth ball using your hands.
6. Second Rise:
Place the dough balls close together in a greased 9×13-inch baking dish or on a parchment-lined baking sheet. Cover them again and let them rise until puffy and nearly doubled, which should take about 45 minutes.
7. Preheat the Oven:
While the rolls are rising, preheat your oven to 375°F (190°C). This way, the oven will be hot and ready when your rolls are done rising.
8. Baking:
Before placing the rolls in the oven, brush the tops with some of the reserved browned butter (strained if you prefer). Sprinkle coarse sea salt and any extra chopped sage on top. Bake in the preheated oven for 18-22 minutes or until they are golden brown and cooked through.
9. Serve and Enjoy:
Once baked, take the rolls out of the oven and, if you’d like, brush them one more time with a little browned butter for extra flavor. Serve them warm and enjoy these delightful Brown Butter Sage Dinner Rolls with your favorite meal!
Can I Use Dried Sage Instead of Fresh?
Yes! If you don’t have fresh sage, you can use dried sage. Just use about a third of the amount called for since dried herbs are more concentrated. A teaspoon of dried sage should work well.
Can I Prepare the Dough in Advance?
Absolutely! You can prepare the dough and let it rise, then punch it down and refrigerate it overnight. Just make sure to bring it back to room temperature and let it rise again before shaping and baking.
How Do I Store Leftover Rolls?
Store any leftover rolls in an airtight container at room temperature for up to 2 days. If you want to keep them longer, you can also freeze them for up to 3 months. Just thaw them at room temperature before reheating.
Can I Make These Rolls Gluten-Free?
While this recipe uses all-purpose flour, you can try a gluten-free all-purpose flour blend. Make sure it includes xanthan gum for better texture. Keep an eye on the dough, as gluten-free dough can sometimes require a little extra moisture or less flour depending on the blend!