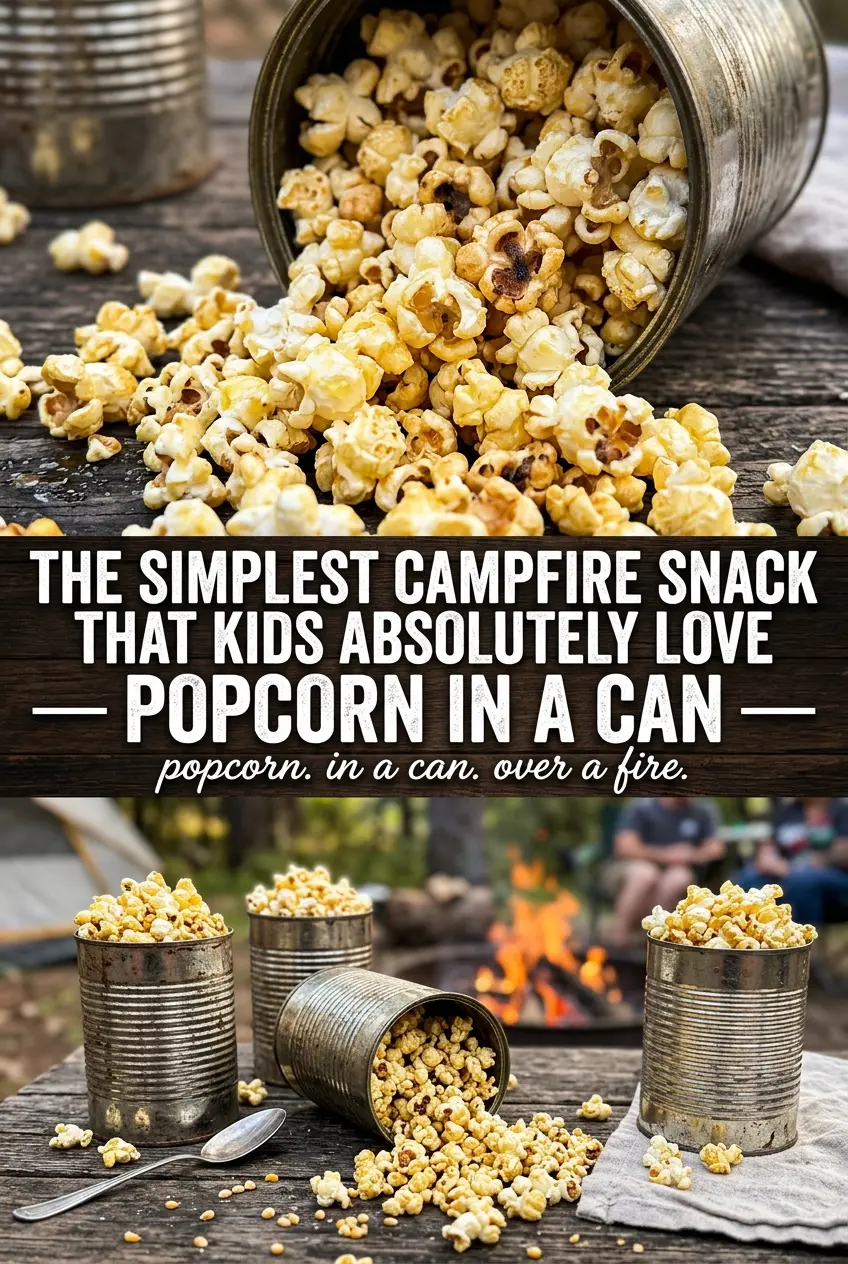
Campfire popcorn in a can turns a basic snack into part of the firelight ritual, with crisp kernels, a toasty edge, and just enough smoky character to make a bowl disappear fast. The best part is how hands-on it feels: you’re not standing back and waiting, you’re shaking the can, listening for the pop to change, and pulling it off the fire at exactly the right moment.
The trick is airflow and constant movement. Those small holes in the bottom keep steam from trapping inside the can, which helps the popcorn stay snappy instead of getting damp. The oil needs to coat the kernels before the heat hits them, and the shaking matters because it keeps the hot spots from scorching the batch before the rest of the kernels pop.
Below you’ll find the little details that make this work over an open flame, plus a few smart swaps if you want to adjust the seasoning or make it easier to handle at camp.
The can popped evenly and the popcorn came out light and crisp, not burned or chewy. Shaking it nonstop made a huge difference, and my kids loved watching it over the fire.
Like this campfire popcorn in a can? Save it to Pinterest for the nights when you want a fast, hands-on camping snack that pops right over the fire.
The One Thing That Keeps Campfire Popcorn from Burning
Most campfire popcorn mistakes happen because the can sits too still or too close to the flame. Popcorn pops fast, and an open fire throws heat in uneven waves, so the kernels at the bottom can scorch before the middle of the batch catches up. Constant shaking keeps the oil moving around the kernels and spreads the heat more evenly across the can.
The other piece that matters is when to stop. The urge is to wait for every last kernel, but that’s how you end up with a burnt smell and bitter popcorn. Once the popping slows to a few seconds between pops, pull it off the fire right away. Residual heat inside the can keeps cooking for a bit after you remove it.
- Popcorn kernels — Fresh kernels matter here. Old popcorn leaves too many unpopped kernels behind because it has dried out and lost its ability to expand cleanly.
- Vegetable oil — Use a neutral oil that can handle heat without adding a strong taste. Butter isn’t the right choice for popping because it can brown too fast and burn over the fire.
- Metal coffee can — The thin metal heats quickly, which is what you want. A heavy pot takes longer to respond and makes it harder to judge the popping.
- Coat hanger or sturdy wire — The handle needs to stay secure while you shake the can. If the wire is loose, the can swings unpredictably and gets harder to control over the flames.
What Each Ingredient Is Actually Doing in Campfire Popcorn
- Popcorn kernels (good quality, not old) — Old kernels have lost moisture and won’t pop reliably. Fresh kernels pop evenly with fewer unpopped duds.
- Oil (enough to coat, not excess) — Just enough oil helps kernels pop evenly. Too much oil causes burning and smoking; too little causes uneven popping.
- Salt (added during or after, not before) — Salt before popping can draw moisture from kernels. Add salt after popping so it clings to the oil.
- Container (vented so steam escapes) — A completely sealed container builds pressure and causes burning. Small vents let steam escape without letting kernels fall through.
- Fire temperature (medium, not blazing) — High heat burns the popcorn on the bottom while kernels on top remain unpopped. Medium heat pops evenly.
- Movement (shake occasionally, don’t constantly stir) — The container needs to move so heat distributes evenly. Constant stirring breaks the popping kernels.
- Listening for the pop slowing — The popping will slow when most kernels have popped. Stop when the pops are 2-3 seconds apart, not when they completely stop.
- Immediate removal from heat — The moment you stop hearing pops, pull the container away. Leaving it on the heat burns the finished popcorn.
Shaking, Listening, and Pulling It at the Right Moment
Punching the Vent Holes
Cut or punch several small holes in the bottom of the can before you add anything else. Those holes let steam escape, which keeps the popcorn crisp and helps the kernels pop instead of steaming in their own moisture. Keep the holes small enough that kernels won’t fall through. If the holes are too large, the oil can also leak when the can tilts.
Coating the Kernels
Add the kernels and oil, then secure the lid so the contents stay inside while you work over the fire. Shake the can once or twice before heating so every kernel gets a thin coat of oil. That coating helps the heat transfer evenly. If the kernels are dry in spots, those uncoated pieces tend to lag behind and leave you with more duds.
Cooking Over the Flames
Hold the can above the hottest part of the fire, not buried in the coals, and keep it moving the entire time. You should hear the first pops within a few minutes, then a steady burst that gradually quickens. If the popping gets uneven or you smell smoke, lift the can higher for a moment. The biggest mistake here is letting the bottom sit too low and turning the first popped kernels brown before the rest finish.
Finishing the Batch
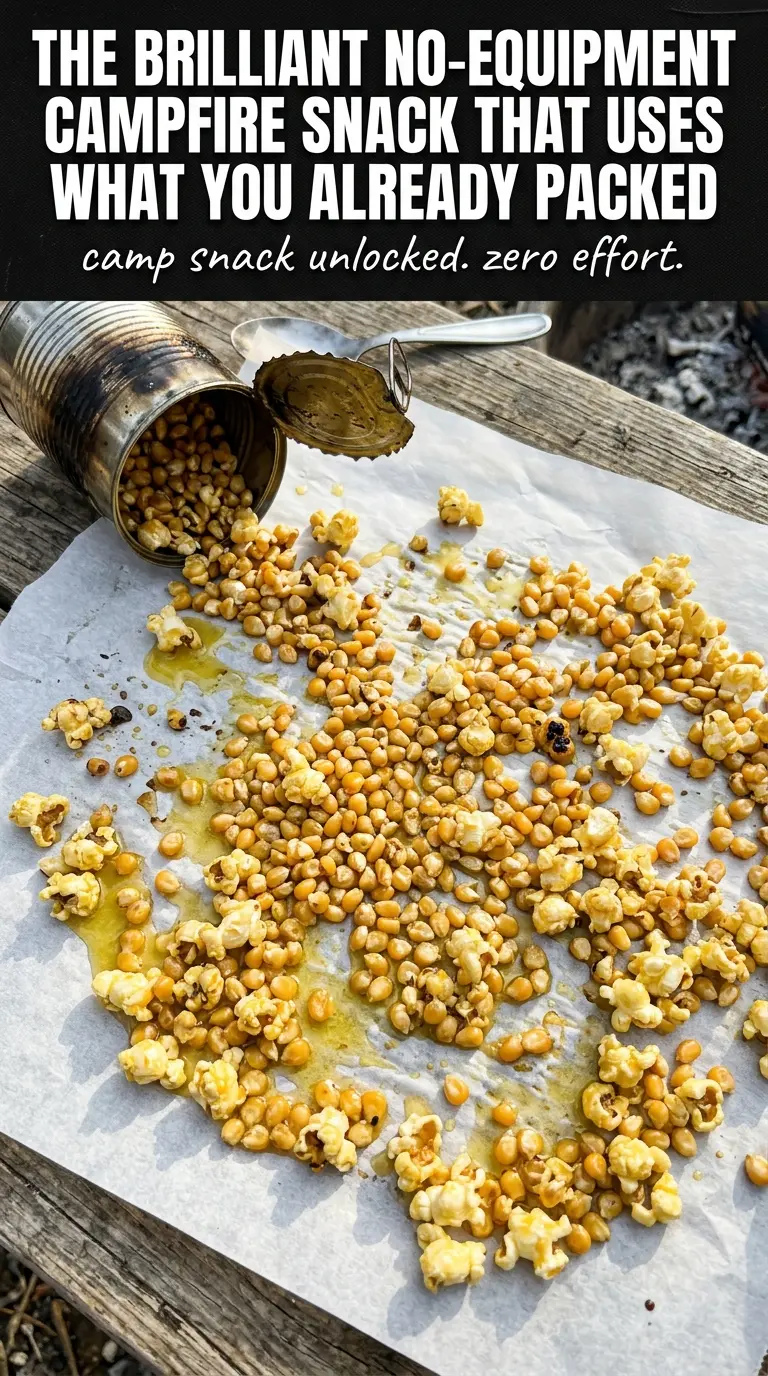
Remove the lid carefully and pour the popcorn into a bowl as soon as the popping slows. Don’t wait for silence. The last kernels can go from perfect to scorched in seconds because the can holds heat even after it comes off the fire. Salt and melted butter go on right away so they cling to the warm popcorn instead of sliding off.
How to Make Campfire Popcorn Fit the Trip You’re Taking
Dairy-Free Campfire Popcorn
Skip the butter and finish with salt only, or toss the popcorn with a little extra oil and seasoning after it comes out of the can. You keep the same crisp texture, and the flavor stays clean and simple instead of rich.
Movie-Night Style Kettle Popcorn Flavor
Add a spoonful of sugar with the kernels and oil if you want a lightly sweet, caramelized edge. The sugar changes the popping a little, so keep the can moving even more steadily and watch closely for scorching.
Seasoned Savory Popcorn
Toss the finished popcorn with smoked paprika, garlic powder, or ranch seasoning after it’s in the bowl. Dry seasonings stick best when you add them while the popcorn is still warm and lightly coated with butter or oil.
Storage and Reheating
- Refrigerator: Store leftover popcorn in an airtight container at room temperature for up to 2 days. It loses some crunch as it sits, especially if butter was added.
- Freezer: This doesn’t freeze well. The texture turns stale and the popcorn picks up freezer moisture.
- Reheating: Pop it in a 300°F oven for a few minutes to dry it out again. Don’t use the microwave if you want to keep it crisp; it softens the kernels instead of reviving them.
Questions I Get Asked About This Recipe
Campfire Popcorn in a Can
Ingredients
Equipment
Method
- Punch several small holes in the bottom of the large metal coffee can with lid for ventilation, keeping the holes evenly spaced. The kernels should eventually be able to vent steam without spilling.
- Add popcorn kernels and vegetable oil to the can, then secure the lid tightly. Keep the lid on so kernels stay inside while heating over the fire.
- Create a handle by wrapping the coat hanger or sturdy wire around the can, so you can hold it safely over flames. Make sure the handle is secure and centered.
- Hold the can over campfire flames and shake constantly for 8-10 minutes until popping slows. Keep the can at a steady height so the flames toast rather than burn.
- Carefully remove the lid and pour the popcorn into a bowl. Pour immediately so the steam doesn’t soften the popcorn.
- Season with salt to taste, and add melted butter if desired. Toss lightly until the popcorn looks evenly coated.