Golden bread with a soft, melty center is what makes a campfire sandwich worth hauling out to the fire. The outside picks up those smoky grill marks and a crisp edge, while the cheese melts down into the ham and turkey so every bite stays warm and substantial. It’s simple food, but it has the kind of payoff that makes people hover near the grate waiting for their turn.
This version works because the sandwich is built to protect itself. Butter on the outside gives the bread direct contact with the heat, while the cheese on both sides of the meat acts like glue and helps hold everything together once it starts to soften. Medium heat matters here. Too hot and the bread scorches before the cheese has a chance to melt; too cool and the bread goes limp before it ever crisps.
Below you’ll find the small details that keep the sandwich from falling apart on the grate, plus a few easy variations if you want to swap the fillings or make it fit what you already brought to the campsite.
The bread turned out crisp without getting burnt, and the cheese actually melted all the way through the ham and turkey. I cooked them over medium coals like you said and they held together perfectly.
Save this campfire sandwich for the next time you want a grilled, melty campsite meal with almost no cleanup.
The Part That Keeps the Sandwich from Falling Through the Grate
A campfire grate is not a flat-top. That means the sandwich needs structure before it ever touches the heat. Buttering the outside gives you the browning you want, but the real insurance is building the sandwich with cheese on both sides of the meat. Once that cheese softens, it helps seal the layers together, so the bread doesn’t slide apart when you turn it.
Medium heat is the difference between toasted and torched. Over flames, the butter can go from golden to black in seconds, and a blackened crust doesn’t mean the middle is melted. Keep the fire to steady coals or a calmer section of the grate, then give the sandwich time to crisp slowly. If the bread is browning too fast, move it off the hottest spot before the filling has time to catch up.
What Each Ingredient Is Actually Doing in This Campfire Sandwich
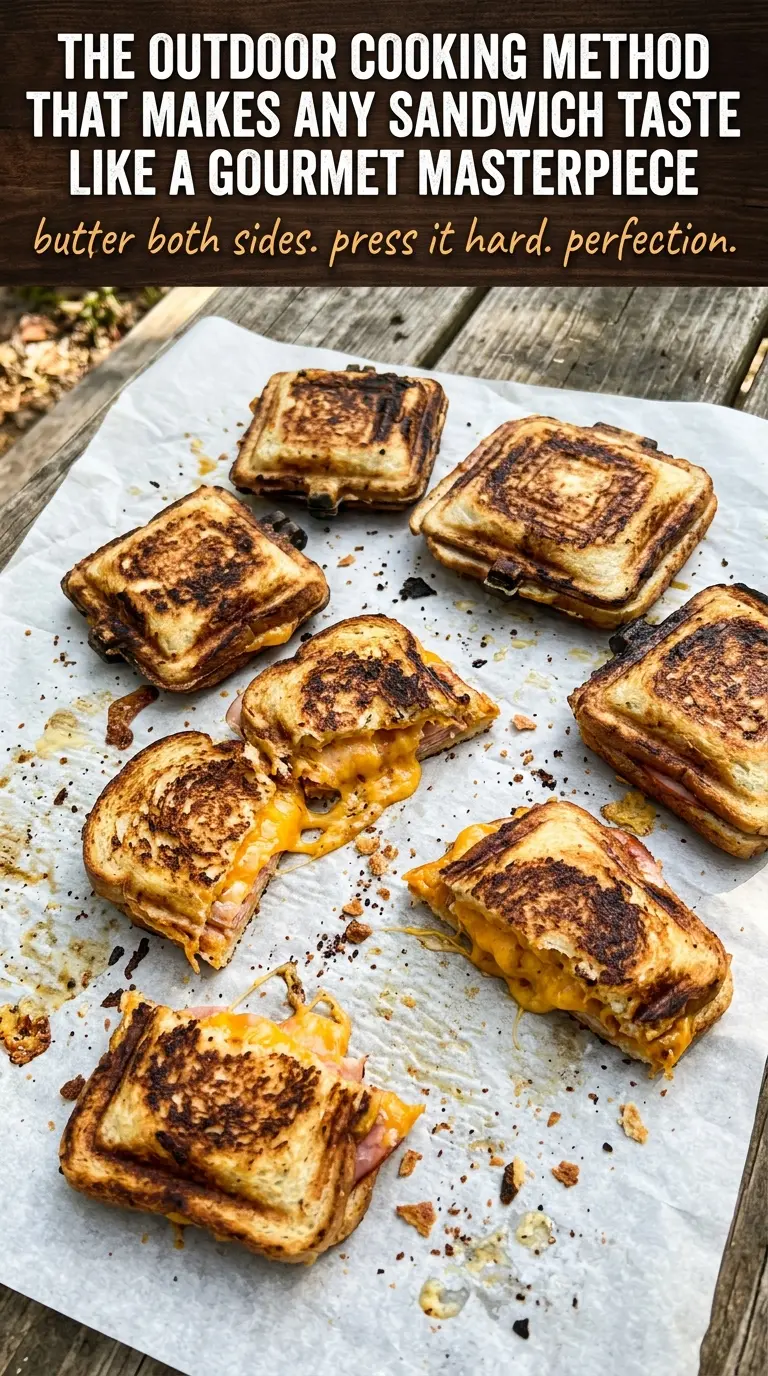
- Bread — A sturdy sandwich bread holds up best over the fire. Soft white bread works, but something with a little more structure, like sourdough or a sandwich loaf with a tight crumb, is less likely to tear when you flip it.
- Butter — Softened butter spreads more evenly and gives the bread direct contact browning. If all you have is margarine, it will work, but the crust won’t brown as evenly or taste as rich.
- Cheese — Cheddar brings sharper flavor; Swiss melts a little smoother and gives a milder finish. If you want the fillings to stay together, keep cheese on both sides of the meat so it acts like a binder instead of sitting in one loose layer.
- Ham and turkey — Using both gives you a little more savory depth than either one alone. Thin deli slices heat through fast, which matters because the sandwich only spends a few minutes per side over the fire.
- Mustard and mayo — Optional, but useful if you want a little tang or extra moisture. Use them lightly so the bread doesn’t get soggy before it hits the grate.
Building the Heat So the Bread Toasts Before the Cheese Breaks Down
Butter the Outside First
Spread the butter on one side of each bread slice before you build the sandwich, and keep that butter on the outside. That’s the side that will face the grate, so it’s the side that needs to brown. If the butter is too cold to spread, it tears the bread; if it’s melted, it runs off before you ever get to the fire.
Stack for Stability
Build each sandwich with bread, cheese, ham, turkey, cheese, and bread. The cheese belongs against the meat on both sides because it helps hold the stack together once it softens. If you pile all the meat in the center with no cheese barrier, the filling tends to slide when you flip the sandwich.
Grill Over Medium Heat
Set the sandwiches on the grate over medium heat and leave them alone long enough to color. You want a deep golden crust and a little resistance when you lift a corner, not a blackened shell. If the grate is ripping the bread too fast, move the sandwich to the edge of the heat where it can toast without scorching.
Flip Once and Finish Hot
Turn the sandwich carefully with a spatula after 4 to 5 minutes, then cook the second side until the cheese is fully melted and the bread is crisp. The best cue is a sandwich that feels light but holds together when you press the top gently with the spatula. Cut it in half right away so the steam escapes instead of making the crust soften.
Three Ways to Make a Campfire Sandwich Fit What You Brought
Gluten-Free Bread Swap
Use a sturdy gluten-free sandwich bread that holds up to toasting. Softer gluten-free slices can crumble on the grate, so choose one with a little density and handle the sandwich gently when flipping. Expect a slightly more delicate crust, but the method stays the same.
Dairy-Free Version
Swap the butter for a plant-based spread and use a dairy-free cheese that melts well. The texture will be a little less stretchy than the original, but the sandwich still browns nicely if you keep the heat moderate and don’t rush the first side.
Make It Vegetarian
Skip the ham and turkey and add thin tomato slices, sautéed mushrooms, or roasted peppers in their place. You’ll lose some of the salty, deli-style chew, so use a little extra cheese or a swipe of mustard to keep the sandwich from tasting flat.
Storage and Reheating
- Refrigerator: Store leftovers for up to 2 days. The bread will soften, but the flavor stays good.
- Freezer: I don’t recommend freezing this sandwich after it’s cooked. The bread gets soggy when thawed and the cheese texture turns greasy.
- Reheating: Reheat in a skillet over low heat or in a wrapped packet near the edge of the fire until warmed through. High heat will burn the bread before the center warms, which is the most common mistake with leftover grilled sandwiches.
Answers to the Questions Worth Asking
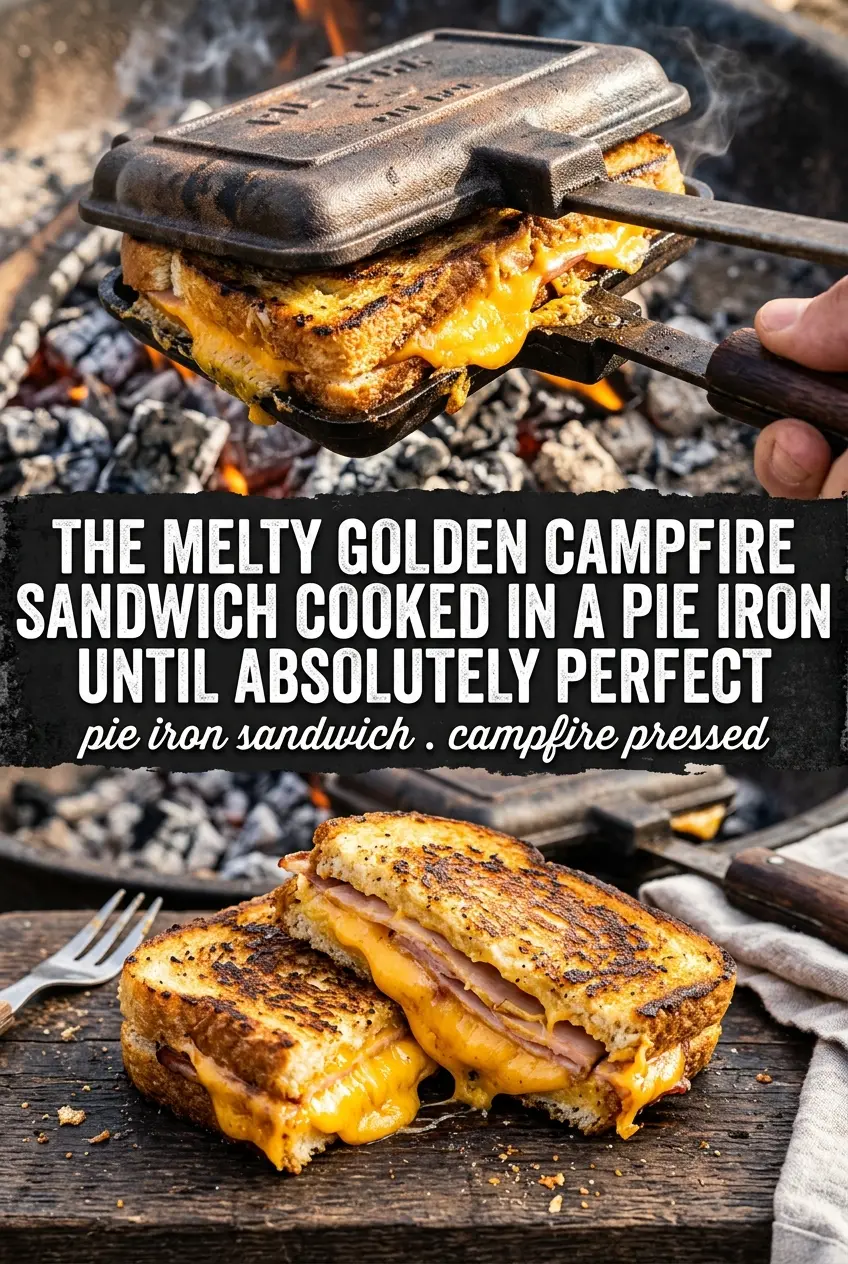
Campfire Sandwich
Ingredients
Equipment
Method
- Spread softened butter on one side of each bread slice for an even coating.
- On unbuttered sides, layer sandwiches as follows: bread, cheese, ham, turkey, cheese, then top with bread (butter-side out).
- If using mustard and mayo, add them to the filling layer before closing the sandwiches with the top bread slice.
- Place sandwiches on a campfire grate over medium heat so the bread toasts without burning.
- Grill 4-5 minutes on the first side until the bread is golden and the cheese begins to melt, indicated by slightly softened edges.
- Flip the sandwiches and grill 4-5 minutes until the second side is golden with fully melted cheese pooling at the cut line.
- Remove sandwiches from the heat, cut in half, and serve hot with melted interiors visible.