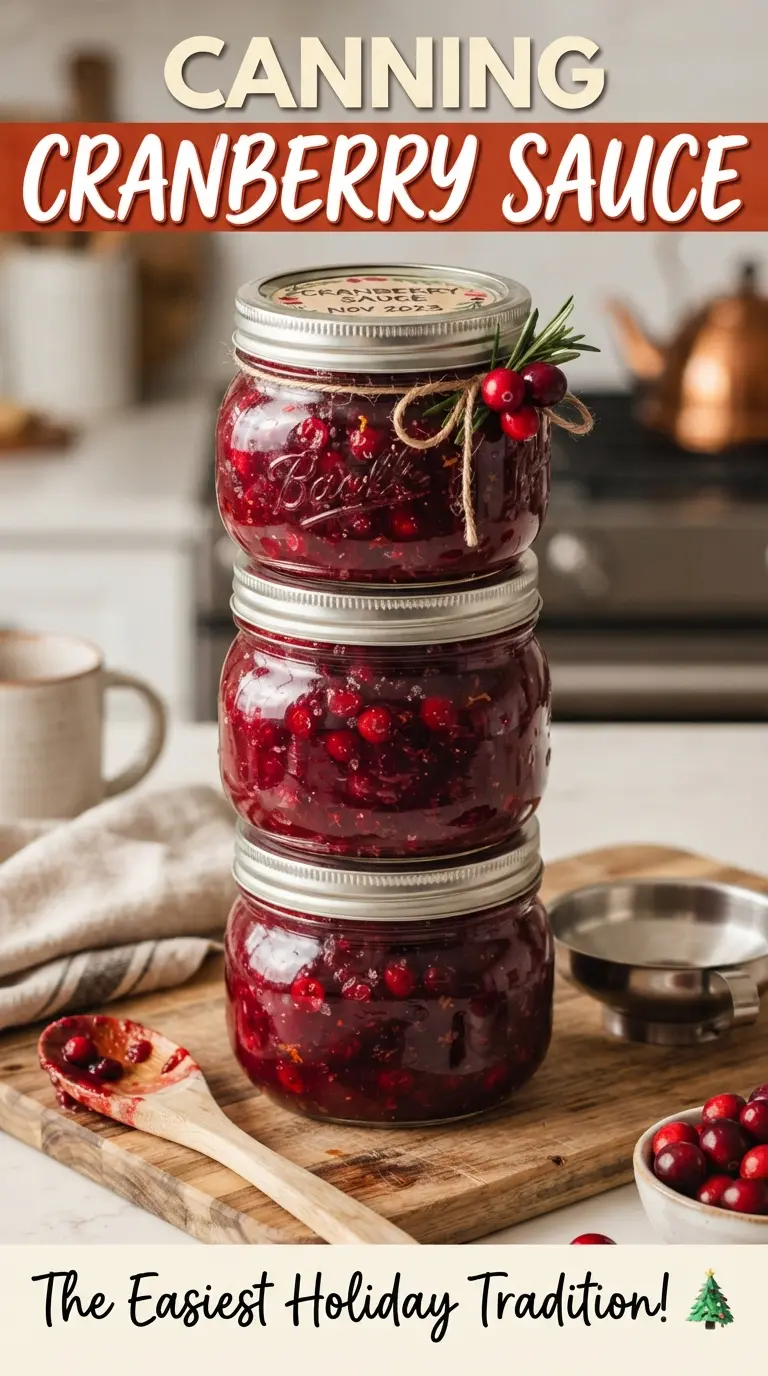
Glossy whole berry cranberry sauce makes a jarred pantry staple that earns its place because it lands right between tart and sweet, with enough body to spoon cleanly onto a plate and enough brightness to cut through rich holiday food. The texture matters here: you want the berries to burst, but not collapse into a dull, overly loose jam. When it’s done right, each jar sets into a jewel-toned sauce that looks as good on the shelf as it tastes on the table.
This version leans on orange juice and zest for lift, while bottled lemon juice keeps the acidity where it needs to be for safe water bath canning. The sugar isn’t just for sweetness; it helps the sauce finish with a soft gloss and a balanced flavor after processing. Cranberries are naturally high in pectin, so once they burst and simmer a few minutes, the sauce thickens fast without any extra thickeners.
Below, I’ll walk through the part that matters most: getting the jars hot, filling them at the right headspace, and processing them long enough to seal cleanly. There’s also a useful note on altitude adjustments, since that one detail can make the difference between a proper seal and a jar you have to refrigerate.
The sauce thickened beautifully in the pot and set up even better after processing. I loved the orange flavor with the cranberries, and every jar sealed without any trouble.
Canning cranberry sauce with bright orange and a proper set is the kind of pantry project worth bookmarking for holiday meals and gift jars.
The Part That Keeps Cranberry Sauce Safe in the Jar
With cranberry sauce, the part people usually underestimate is acidity. Fresh cranberries bring tartness, but that alone isn’t the same as a tested canning acid level, which is why bottled lemon juice stays in the recipe. Bottled juice has a standard acidity; fresh lemons can vary too much for reliable water bath canning.
The other thing that trips people up is overcooking the sauce before it goes into the jars. You want the berries burst and the mixture visibly thickened, but not cooked down to a paste. It will continue to tighten after processing and again as it cools on the counter, so stopping at the right moment keeps the finished texture spoonable instead of stiff.
- Orange juice — Adds sweetness and aroma, but it also helps round out the sharp cranberry flavor so the sauce tastes balanced instead of one-note.
- Bottled lemon juice — This is the safety anchor. Don’t swap in fresh lemon juice if you’re preserving for shelf storage.
- Orange zest — Stir it in at the end so the oils stay bright. If it goes in too early, much of that fresh citrus perfume cooks off.
- Fresh cranberries — Frozen cranberries also work here without thawing, and they break down in about the same amount of time.
What Each Ingredient Is Actually Doing in This Recipe
- Primary ingredient (the star) — Quality matters most. Choose the best you can find.
- Cooking medium (oil, butter, or broth) — This carries flavors and prevents dryness.
- Seasonings (salt, pepper, spices, herbs) — Layer flavors so nothing overpowers. Build depth gradually.
- Aromatics (garlic, onion, herbs) — Cook with fat to bloom flavors. Become the foundation.
- Supporting ingredients — Complement the main ingredient without overpowering it.
- Sauce or liquid (if applicable) — Brings flavors together. Balance richness with acid.
- Acid (lemon, vinegar, wine, or other) — Brightens and prevents flat-tasting results.
- Final finish (garnish, glaze, or sauce) — Prevents one-dimensional taste and adds visual appeal.
What Happens in the Pot, Jar, and Water Bath
Building the Sweet Citrus Base
Start by boiling the sugar, water, and orange juice until the sugar is fully dissolved and the liquid looks clear rather than sandy. If the sugar isn’t dissolved before the cranberries go in, you can end up with a grainy finish at the bottom of the pot. Keep the boil steady, not wild, so the mixture stays controlled and doesn’t reduce too fast.
Cooking the Cranberries Until They Pop
Add the cranberries and bottled lemon juice, then keep the boil gentle for 10 to 12 minutes. You’re looking for the berries to burst and the sauce to thicken enough to coat a spoon; a few berries may still hold their shape, and that’s fine. If the boil is too aggressive, the sauce can spit and scorch on the bottom before the berries soften evenly.
Filling Hot Jars for a Clean Seal
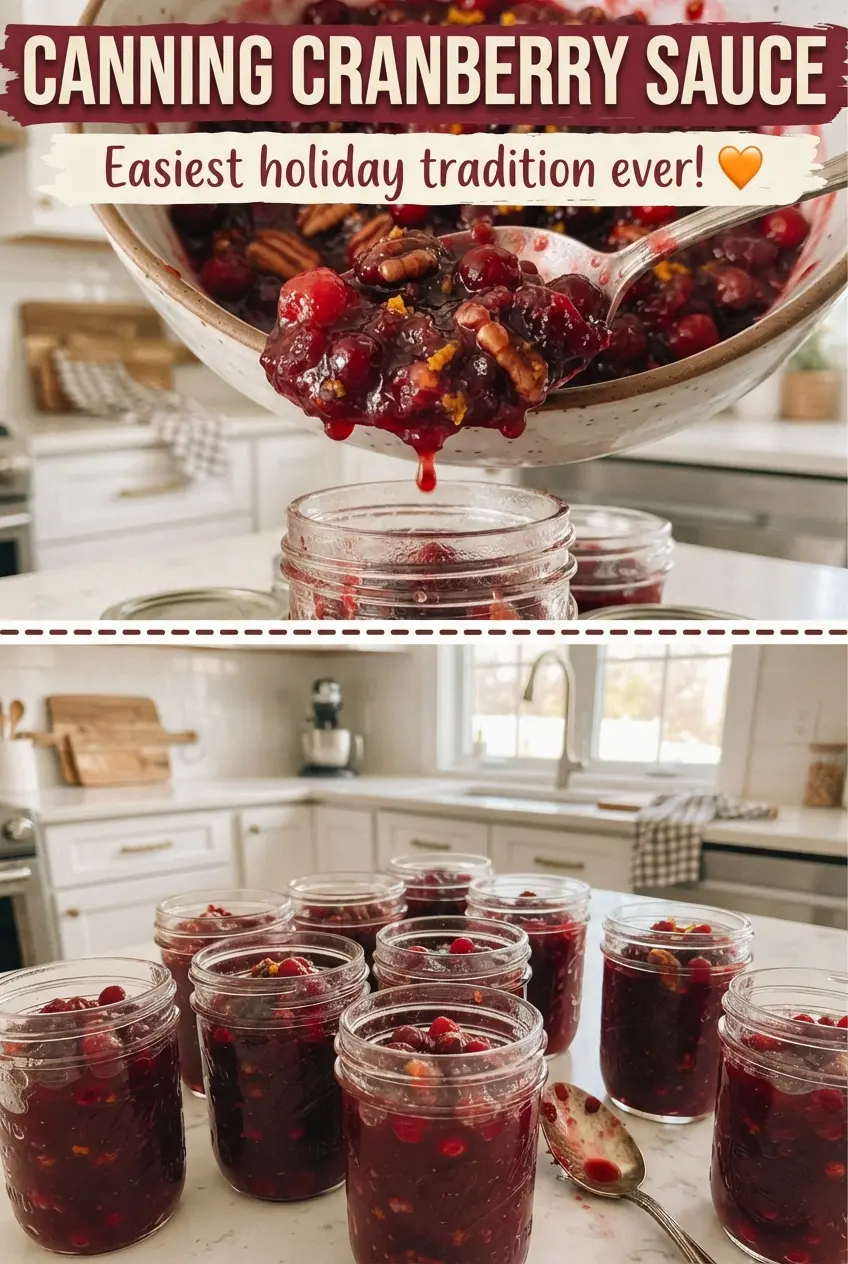
Ladle the sauce into hot jars while the sauce is still bubbling hot, leaving 1/4-inch headspace. Wipe the rims carefully, because even a thin smear of sauce can interfere with the seal. Bands only need fingertip tight; cranking them down harder doesn’t improve the seal and can actually trap air where it shouldn’t be.
Processing and Cooling Without Touching the Jars
Process the jars for 15 minutes in a boiling water bath canner, adjusting for altitude if needed. Once the time is up, turn off the heat and let the jars rest in the canner for 5 minutes before lifting them out. That brief rest helps reduce siphoning, which is when liquid gets pulled from the jar during a sudden temperature change. Leave the jars alone for 24 hours after they come out of the canner, then check the seals before storing them.
How to Adjust This Cranberry Sauce for Different Kitchens and Larders
Using frozen cranberries
Frozen cranberries work straight from the freezer. Don’t thaw them first or they’ll release liquid too early and make the pot harder to judge. The simmer time stays about the same, and the finished sauce tastes nearly identical.
Less sweet, more tart sauce
You can reduce the sugar a bit for a sharper sauce, but the texture will be looser and the finished jars may taste more aggressive after processing. If you go this route, keep the lemon juice exactly as written for safe acidity and expect a brighter, less jammy result.
Orange-free version
If you’re out of orange juice, use water for the missing amount and keep the bottled lemon juice in place. The sauce will still can safely, but it loses some roundness and perfume, so the cranberry flavor comes through sharper and more direct.
Storage and Reheating
- Refrigerator: Once opened, keep the jar refrigerated and use it within 2 to 3 weeks. The sauce thickens a bit more after chilling.
- Freezer: Properly canned jars aren’t meant for the freezer. If you want to freeze extra sauce, cool it first and use freezer-safe containers with room for expansion.
- Reheating: Warm gently on the stove over low heat or serve cold from the jar. Don’t boil it hard after opening or the fruit can break down too far and lose that whole-berry texture.
Questions I Get Asked About This Recipe
Canning Cranberry Sauce
Ingredients
Equipment
Method
- Wash 12 half-pint jars, lids, and bands, then keep the jars hot in simmering water to prevent temperature shock. Visual cue: jars should look hot and steamy, not cold or dry.
- Bring sugar, water, and orange juice to a boil in a large pot, stirring until dissolved. Visual cue: mixture turns clear and fully bubbling at a rolling boil.
- Add fresh cranberries and bottled lemon juice, then boil gently for 10-12 minutes until the berries burst and the sauce thickens. Visual cue: skins split and the sauce coats the berries more heavily as it thickens.
- Stir in orange zest after the sauce thickens, then keep the mixture hot. Visual cue: zest distributes as small flecks throughout the sauce.
- Ladle hot sauce into the hot jars, leaving 1/4-inch headspace, then wipe the rims clean. Visual cue: liquid level stays below the rim to keep seals from failing.
- Apply lids and bands fingertip tight, then process in a boiling water bath canner for 15 minutes, adjusting time for altitude. Visual cue: jars remain submerged with active boiling throughout the full time.
- Turn off the heat and rest the jars in the canner for 5 minutes before lifting them out. Visual cue: jars settle without cracking or rapid temperature change.
- Cool jars undisturbed for 24 hours until fully sealed. Visual cue: lids look slightly concave and do not flex when pressed.
- Check that the lids have sealed, then store sealed jars in a cool dark place up to 1 year. Visual cue: sealed lids stay firmly sucked down.