Caramel apple cheesecake bars hit that sweet spot between cozy and polished: a buttery graham cracker crust, a creamy cheesecake layer that sets up cleanly, and tender apples tucked on top with just enough caramel to finish each bite. The best versions don’t taste like three separate desserts piled together. They taste balanced, with each layer doing one job well.
What makes this version work is the way the apples are cooked before they go on top. A quick sauté takes the raw edge off, concentrates the cinnamon, and keeps the fruit from weeping into the cheesecake as it bakes. Softened cream cheese and room-temperature eggs matter here too, because a smooth batter bakes up even and sliceable instead of lumpy or cracked.
Below, I’ll walk you through the little decisions that matter most: how firmly to press the crust, when the cheesecake is done even though the center still has a small jiggle, and how to cut the bars so the caramel stays where it belongs.
The crust stayed firm, the cheesecake layer set up beautifully, and the sautéed apples kept the bars from turning soggy. I chilled them overnight and the caramel drizzle cut cleanly across every square.
Save these caramel apple cheesecake bars for a dessert with a crisp crust, silky filling, and that warm apple-caramel finish.
The Chill Time Is What Gives These Bars Their Clean Slices
Cheesecake bars can look done in the oven and still be too soft to cut neatly. The center should have a slight wobble, not a liquid ripple, because the residual heat finishes the set as it cools. If you bake until the top looks completely firm, the edges dry out before the middle catches up.
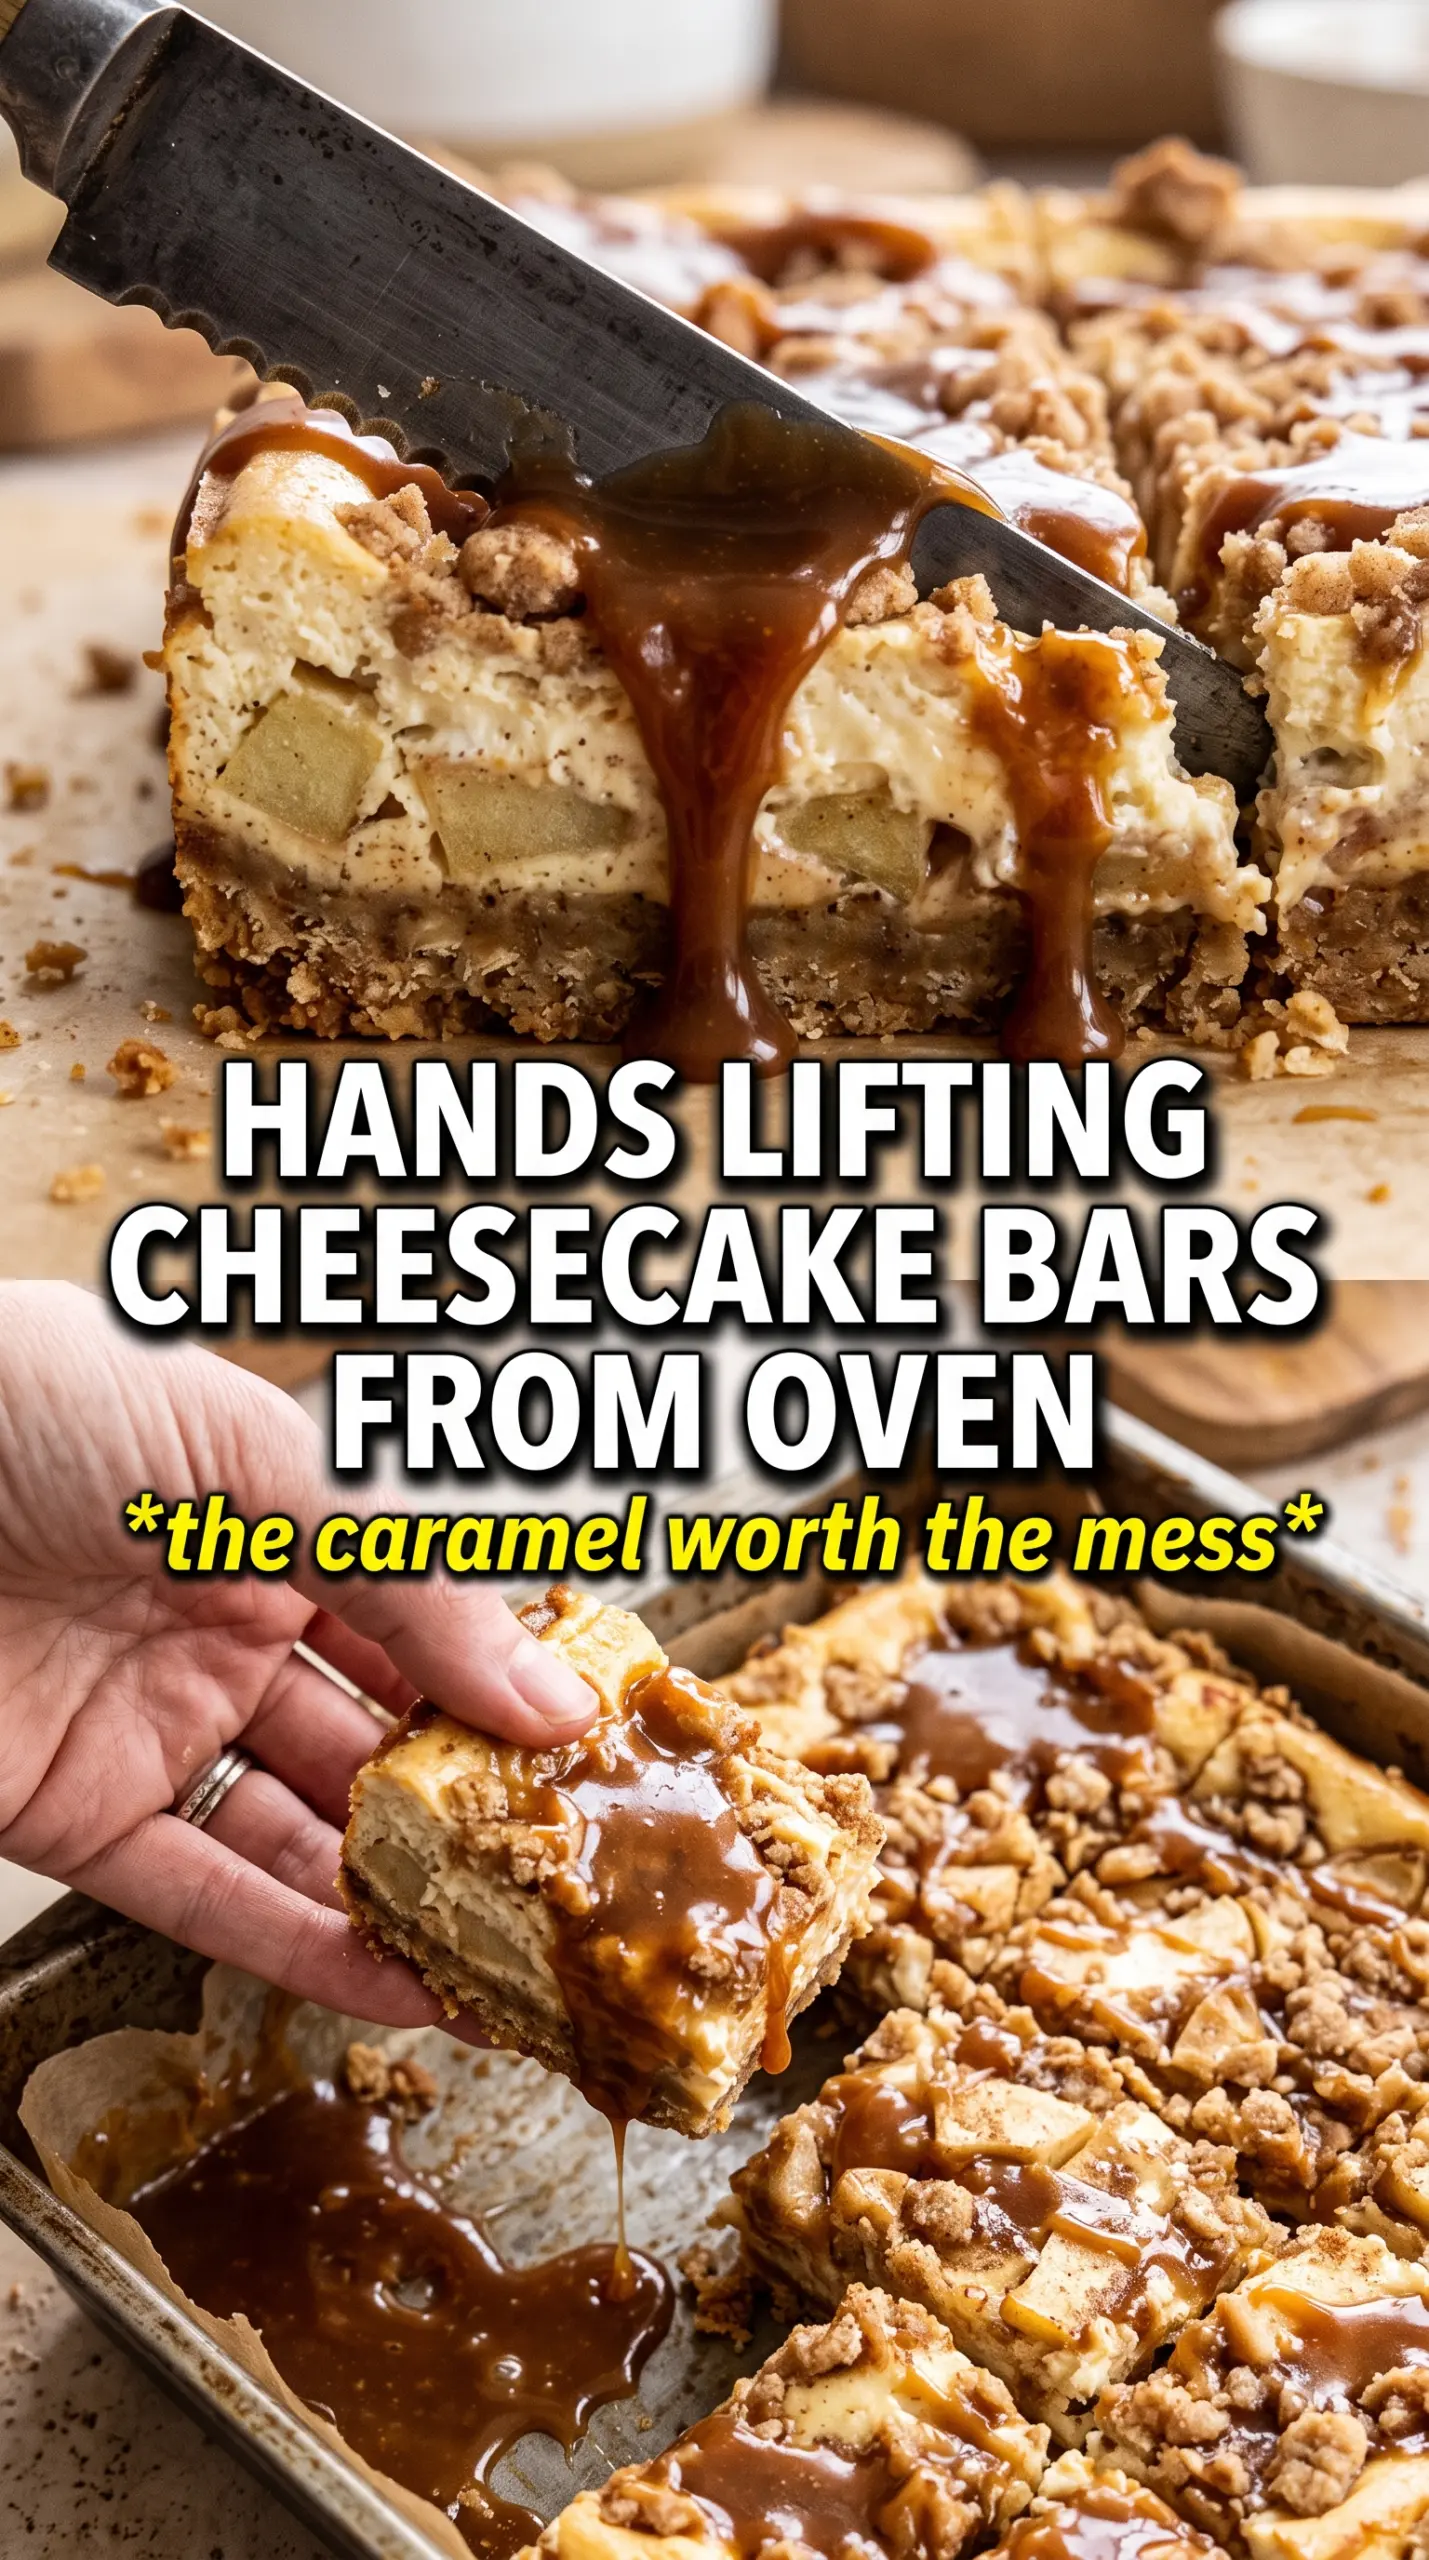
Chilling is not optional here. The crust tightens, the filling firms, and the apple layer settles into place so the bars hold their shape under a knife. If you rush the cooling, the caramel will slide and the cheesecake layer will drag instead of releasing in clean squares.
- Pressing the crust firmly — A loose crust crumbles when you cut the bars. Use the bottom of a measuring cup or glass to pack it down evenly so it bakes into a sturdy base.
- Cooling before slicing — Warm bars always look messy, even when they taste good. Chill until completely cold, then use a sharp knife wiped clean between cuts.
- Watching the center, not the clock — Ovens vary, so start checking at 35 minutes. The filling should look set around the edges with a gentle jiggle in the middle.
What Each Layer Is Actually Doing Here
- Graham cracker crumbs — These bring the classic cheesecake-bar base and the right dry structure. Fresh crumbs from whole crackers work fine, but store-bought crumbs save time and perform just as well.
- Cream cheese — Use full-fat cream cheese for the smoothest texture and the best set. Low-fat versions can bake up softer and a little watery.
- Sour cream — This adds tang and keeps the filling from tasting flat. If you need a swap, plain full-fat Greek yogurt works, but the texture is slightly tighter.
- Apples — A firm baking apple such as Honeycrisp, Braeburn, or Granny Smith holds its shape after sautéing. Softer apples turn mushy fast and disappear into the filling.
- Caramel sauce — Use a thick caramel sauce, not a thin ice cream topping, or it will run off the bars. Warm it only enough to drizzle smoothly.
Building the Bars Without Letting the Filling Split
Setting Up the Crust
Mix the graham crumbs, sugar, and melted butter until every crumb looks evenly moistened, then press the mixture firmly into the lined pan. You want an even layer with no sandy patches, because dry spots break apart when sliced. Bake it just long enough to set the base and deepen the color slightly; overbaking here can make the crust tough instead of crisp.
Making the Cheesecake Layer Smooth
Beat the cream cheese and sugar until the mixture looks completely smooth before the eggs go in. If the cream cheese is still cool and lumpy, those lumps stay in the final bars. Add the eggs one at a time and stop mixing as soon as they disappear, then stir in the vanilla and sour cream. Overmixing after the eggs go in adds extra air, which can lead to cracks.
Cooking the Apples First
Cook the diced apples with butter, brown sugar, and cinnamon until they soften and the pan smells like caramelized fruit, about five minutes. This step keeps raw apple pieces from staying hard under the cheesecake layer. Let them cool slightly before scattering them over the batter so they don’t sink or melt the top layer before baking.
Baking and Cooling to the Right Set
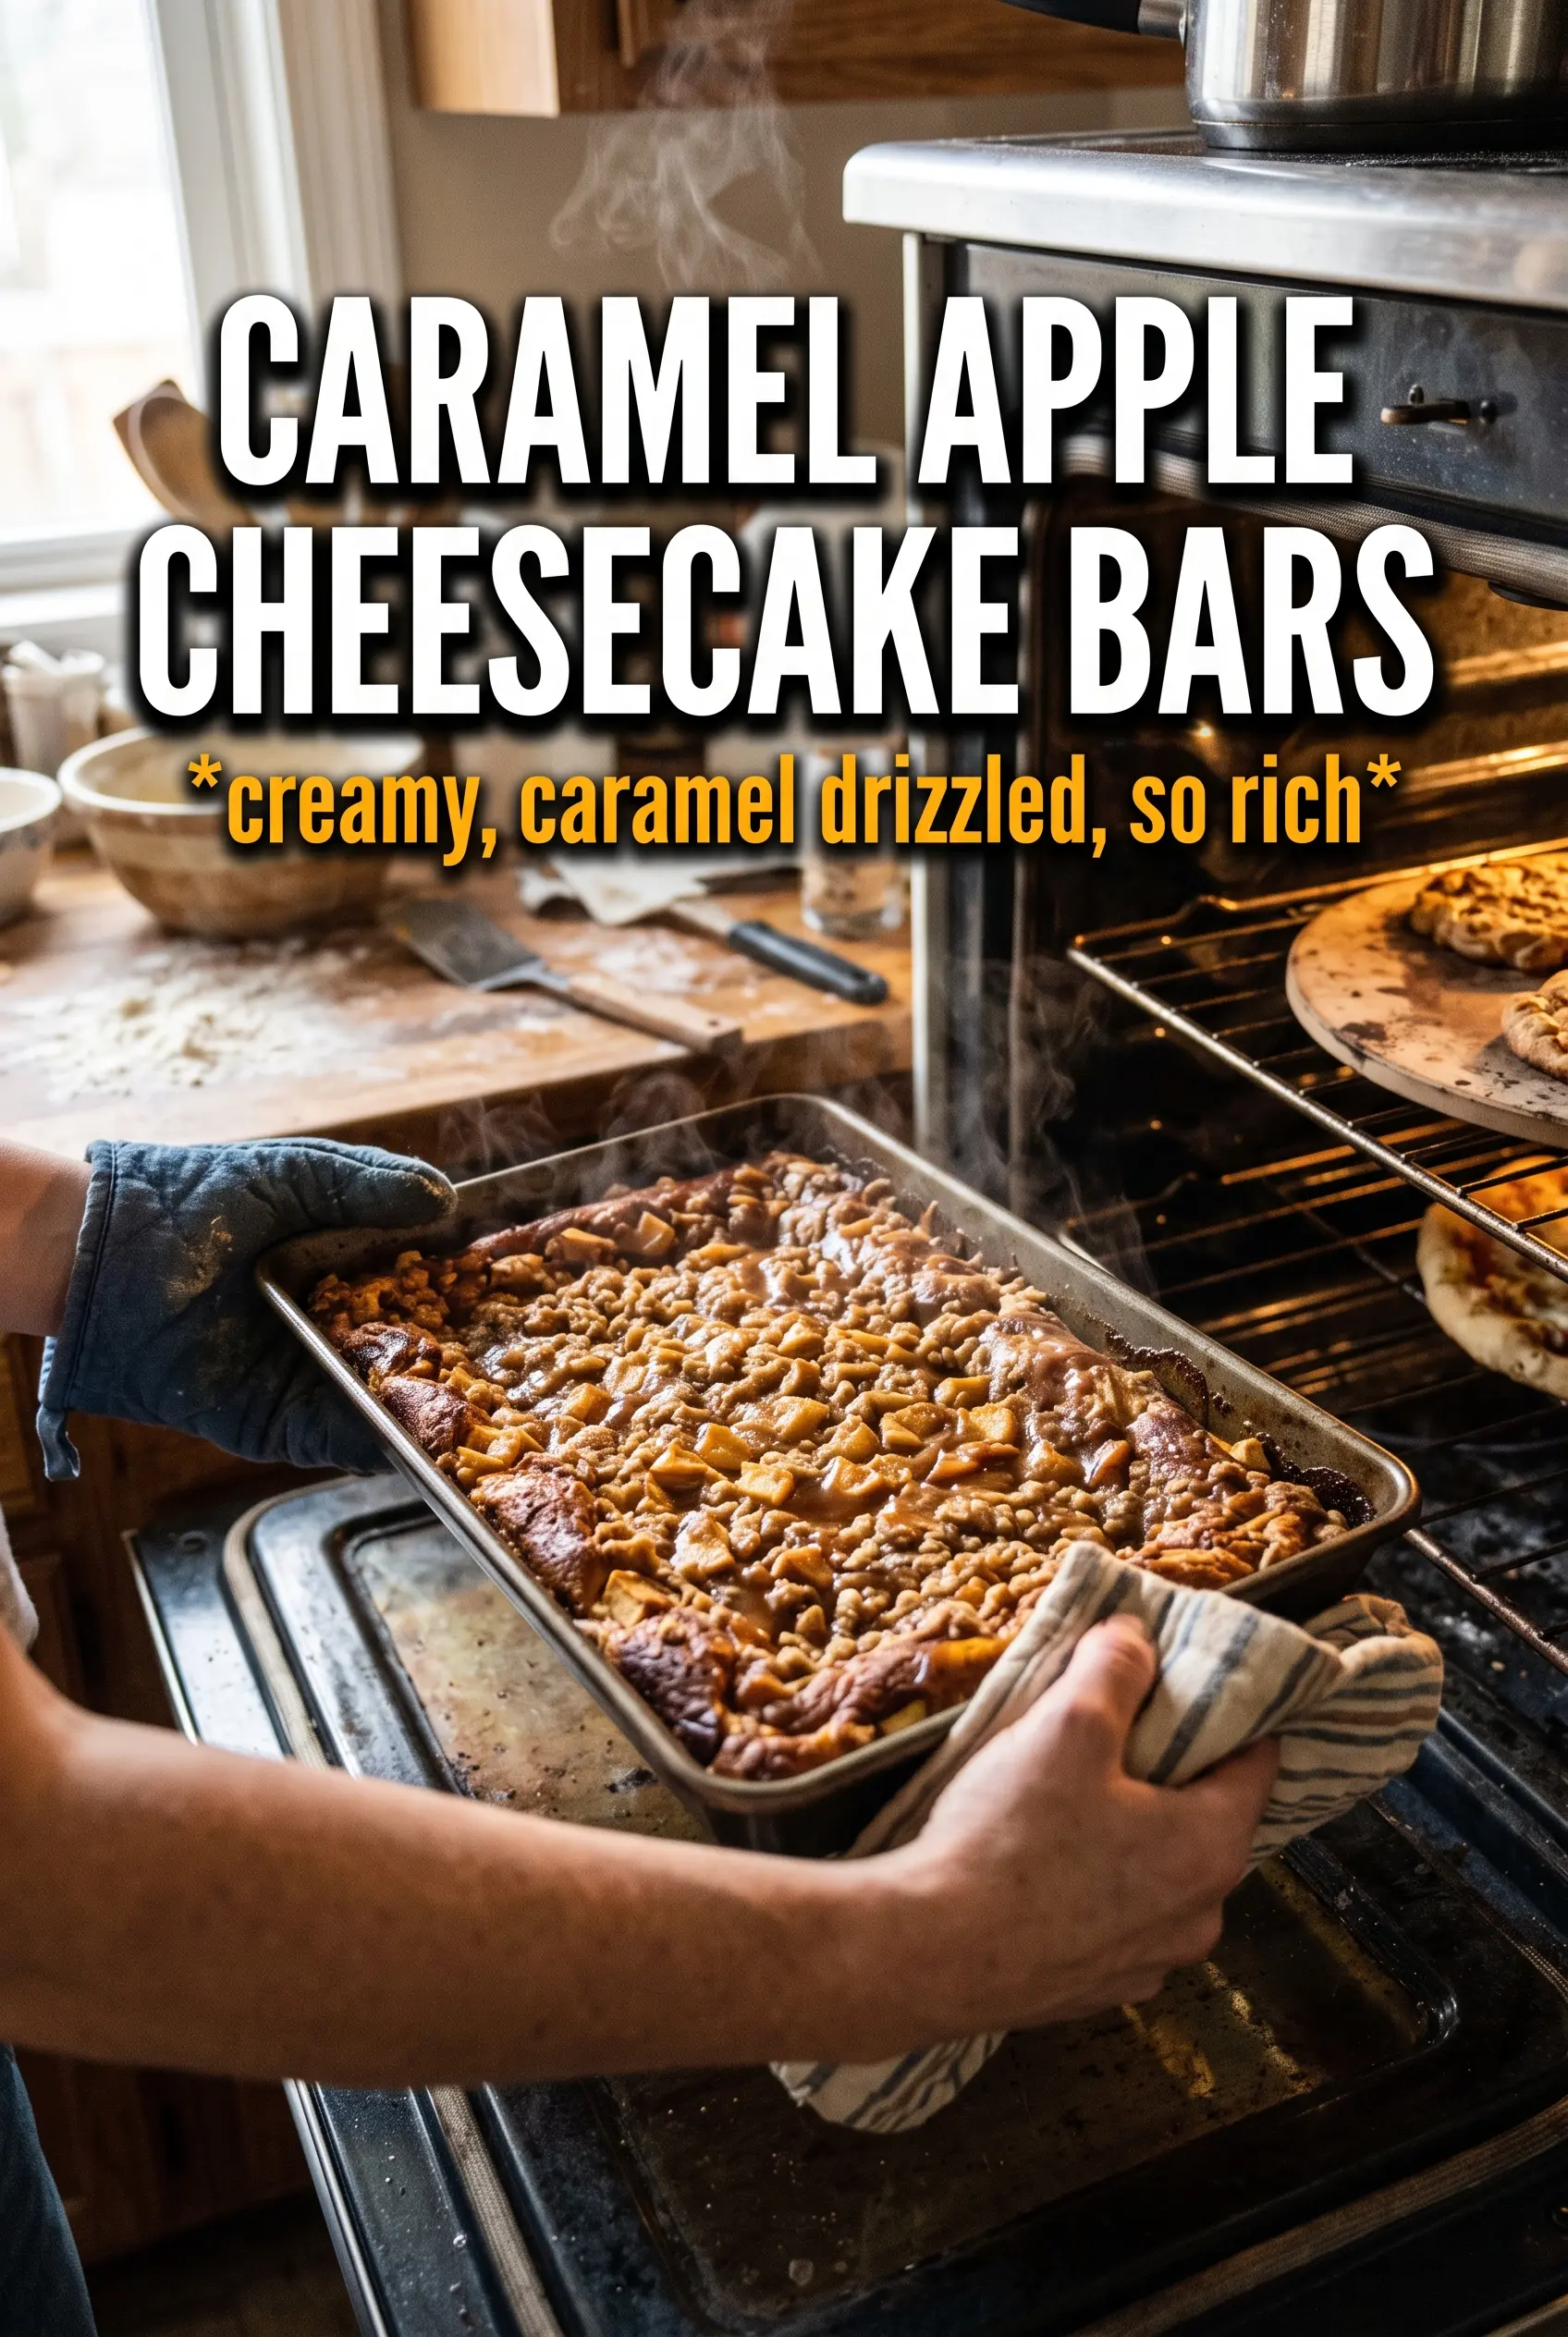
Bake until the edges are set and the center still has a small, soft wobble. Pulling the pan at that stage gives you creamy cheesecake bars instead of dry ones. Let the bars cool at room temperature first, then refrigerate for the full chill time so the layers firm up enough to cut cleanly. Add the caramel drizzle after chilling, not before, or it can soak into the top and lose its shine.
How to Adapt These Bars for Different Kitchens
Gluten-Free Crust Swap
Use gluten-free graham-style crumbs in the same amount. The texture stays close to the original, though some brands bake a little drier, so press the crust firmly and don’t overbake it.
Dairy-Free Version
Use dairy-free cream cheese, plant-based butter, and a coconut-based caramel. The filling will be slightly softer and less tangy, but chilling fully helps it slice well.
Turning Them Into a Firmer Dessert Bar
Add an extra 15 to 20 minutes of chilling if you need sharper edges for serving at a party. The flavor stays the same, but colder bars hold up better on a platter and cut into neater squares.
Storage and Reheating
- Refrigerator: Store covered for up to 5 days. The crust softens slightly by day two, but the bars still slice and serve well.
- Freezer: Freeze un-drizzled bars tightly wrapped for up to 2 months. Thaw in the refrigerator overnight and add the caramel after thawing so the topping stays glossy.
- Reheating: These bars are best served chilled or just slightly cool, not heated. If you want a warmer dessert, warm a separate spoonful of caramel for drizzling instead of reheating the bars themselves, which can make the filling loosen and the crust turn greasy.
Questions I Get Asked About This Recipe
Caramel Apple Cheesecake Bars
Ingredients
Equipment
Method
- Preheat the oven to 325F and line a 9x13 pan with parchment so the bars lift out easily.
- Combine graham cracker crumbs, granulated sugar, and melted butter, then press the mixture firmly into the bottom of the pan.
- Beat cream cheese and granulated sugar until smooth, scraping the sides as needed for a lump-free batter.
- Add the eggs one at a time, then mix in vanilla extract and sour cream until fully combined.
- Pour the cheesecake filling over the crust and spread it into an even layer.
- Sauté the diced apples with butter, brown sugar, and cinnamon for 5 minutes until softened and fragrant, then cool slightly.
- Scatter the cooked apples over the cheesecake filling in an even distribution.
- Bake for 35-40 minutes at 325F until the center is just set with a slight jiggle.
- Cool the bars completely, then refrigerate for 3 hours until fully chilled and firm.
- Drizzle caramel sauce over the top, then cut into bars and serve.