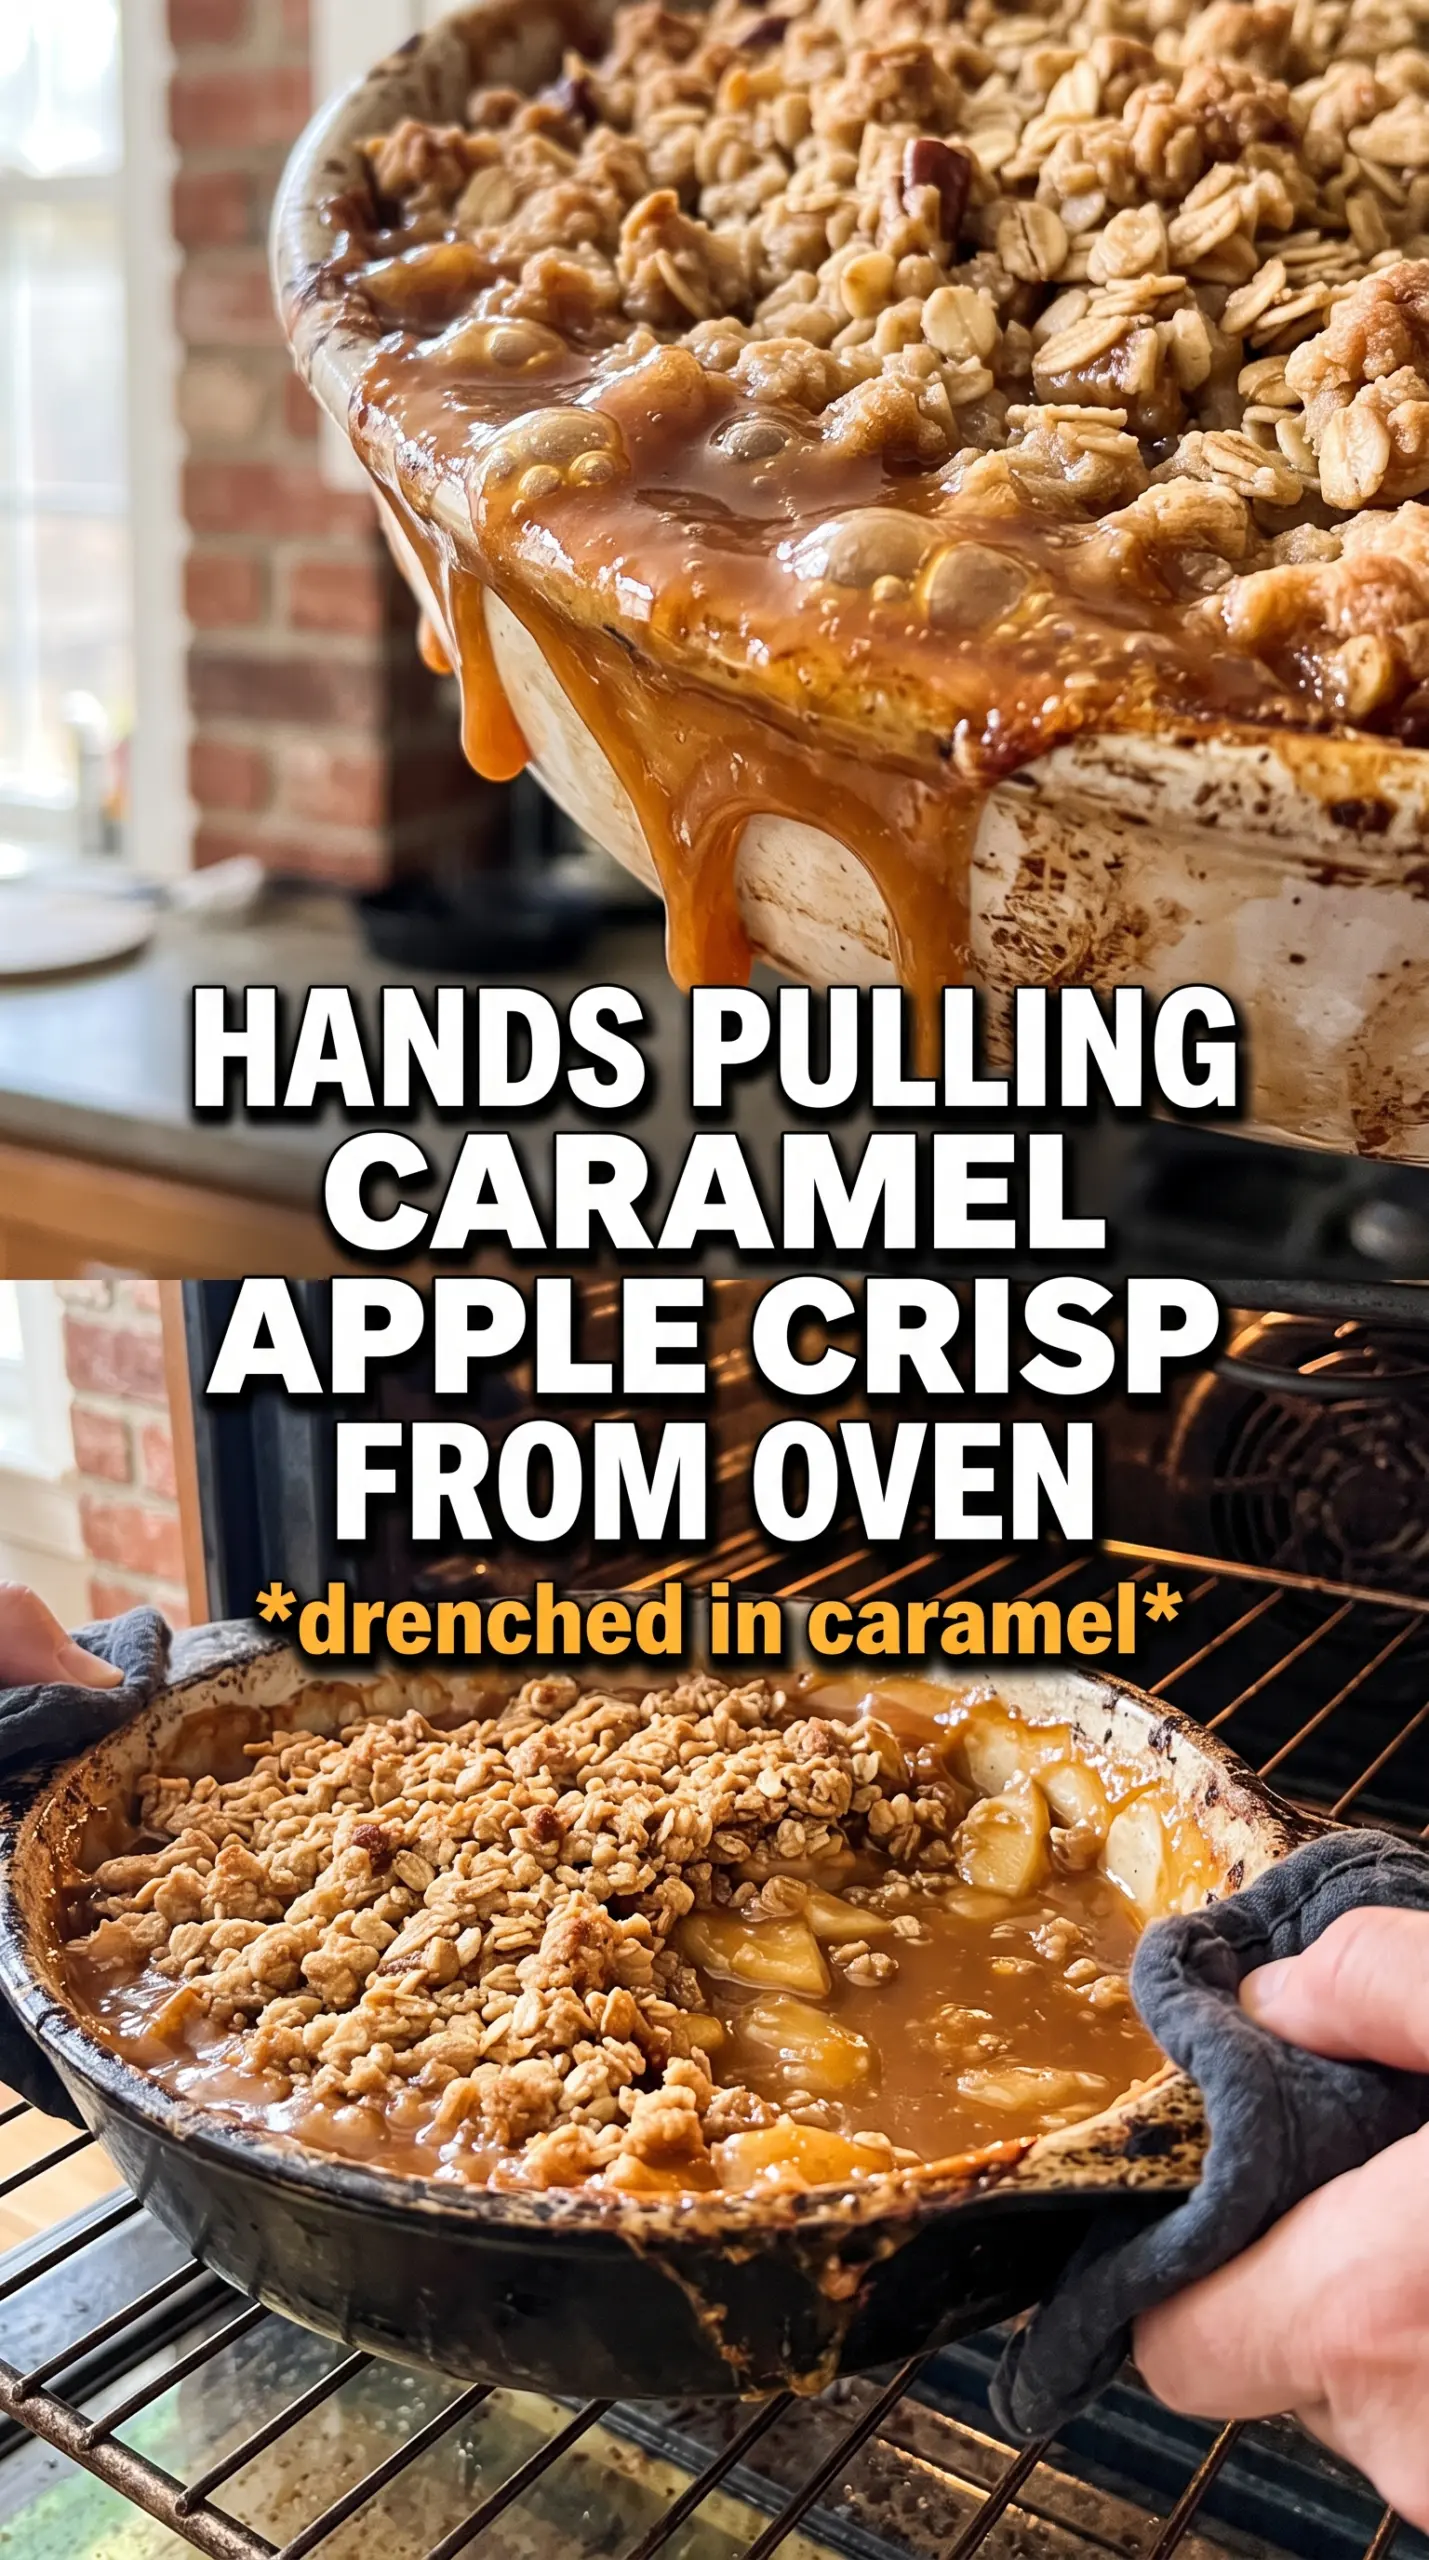
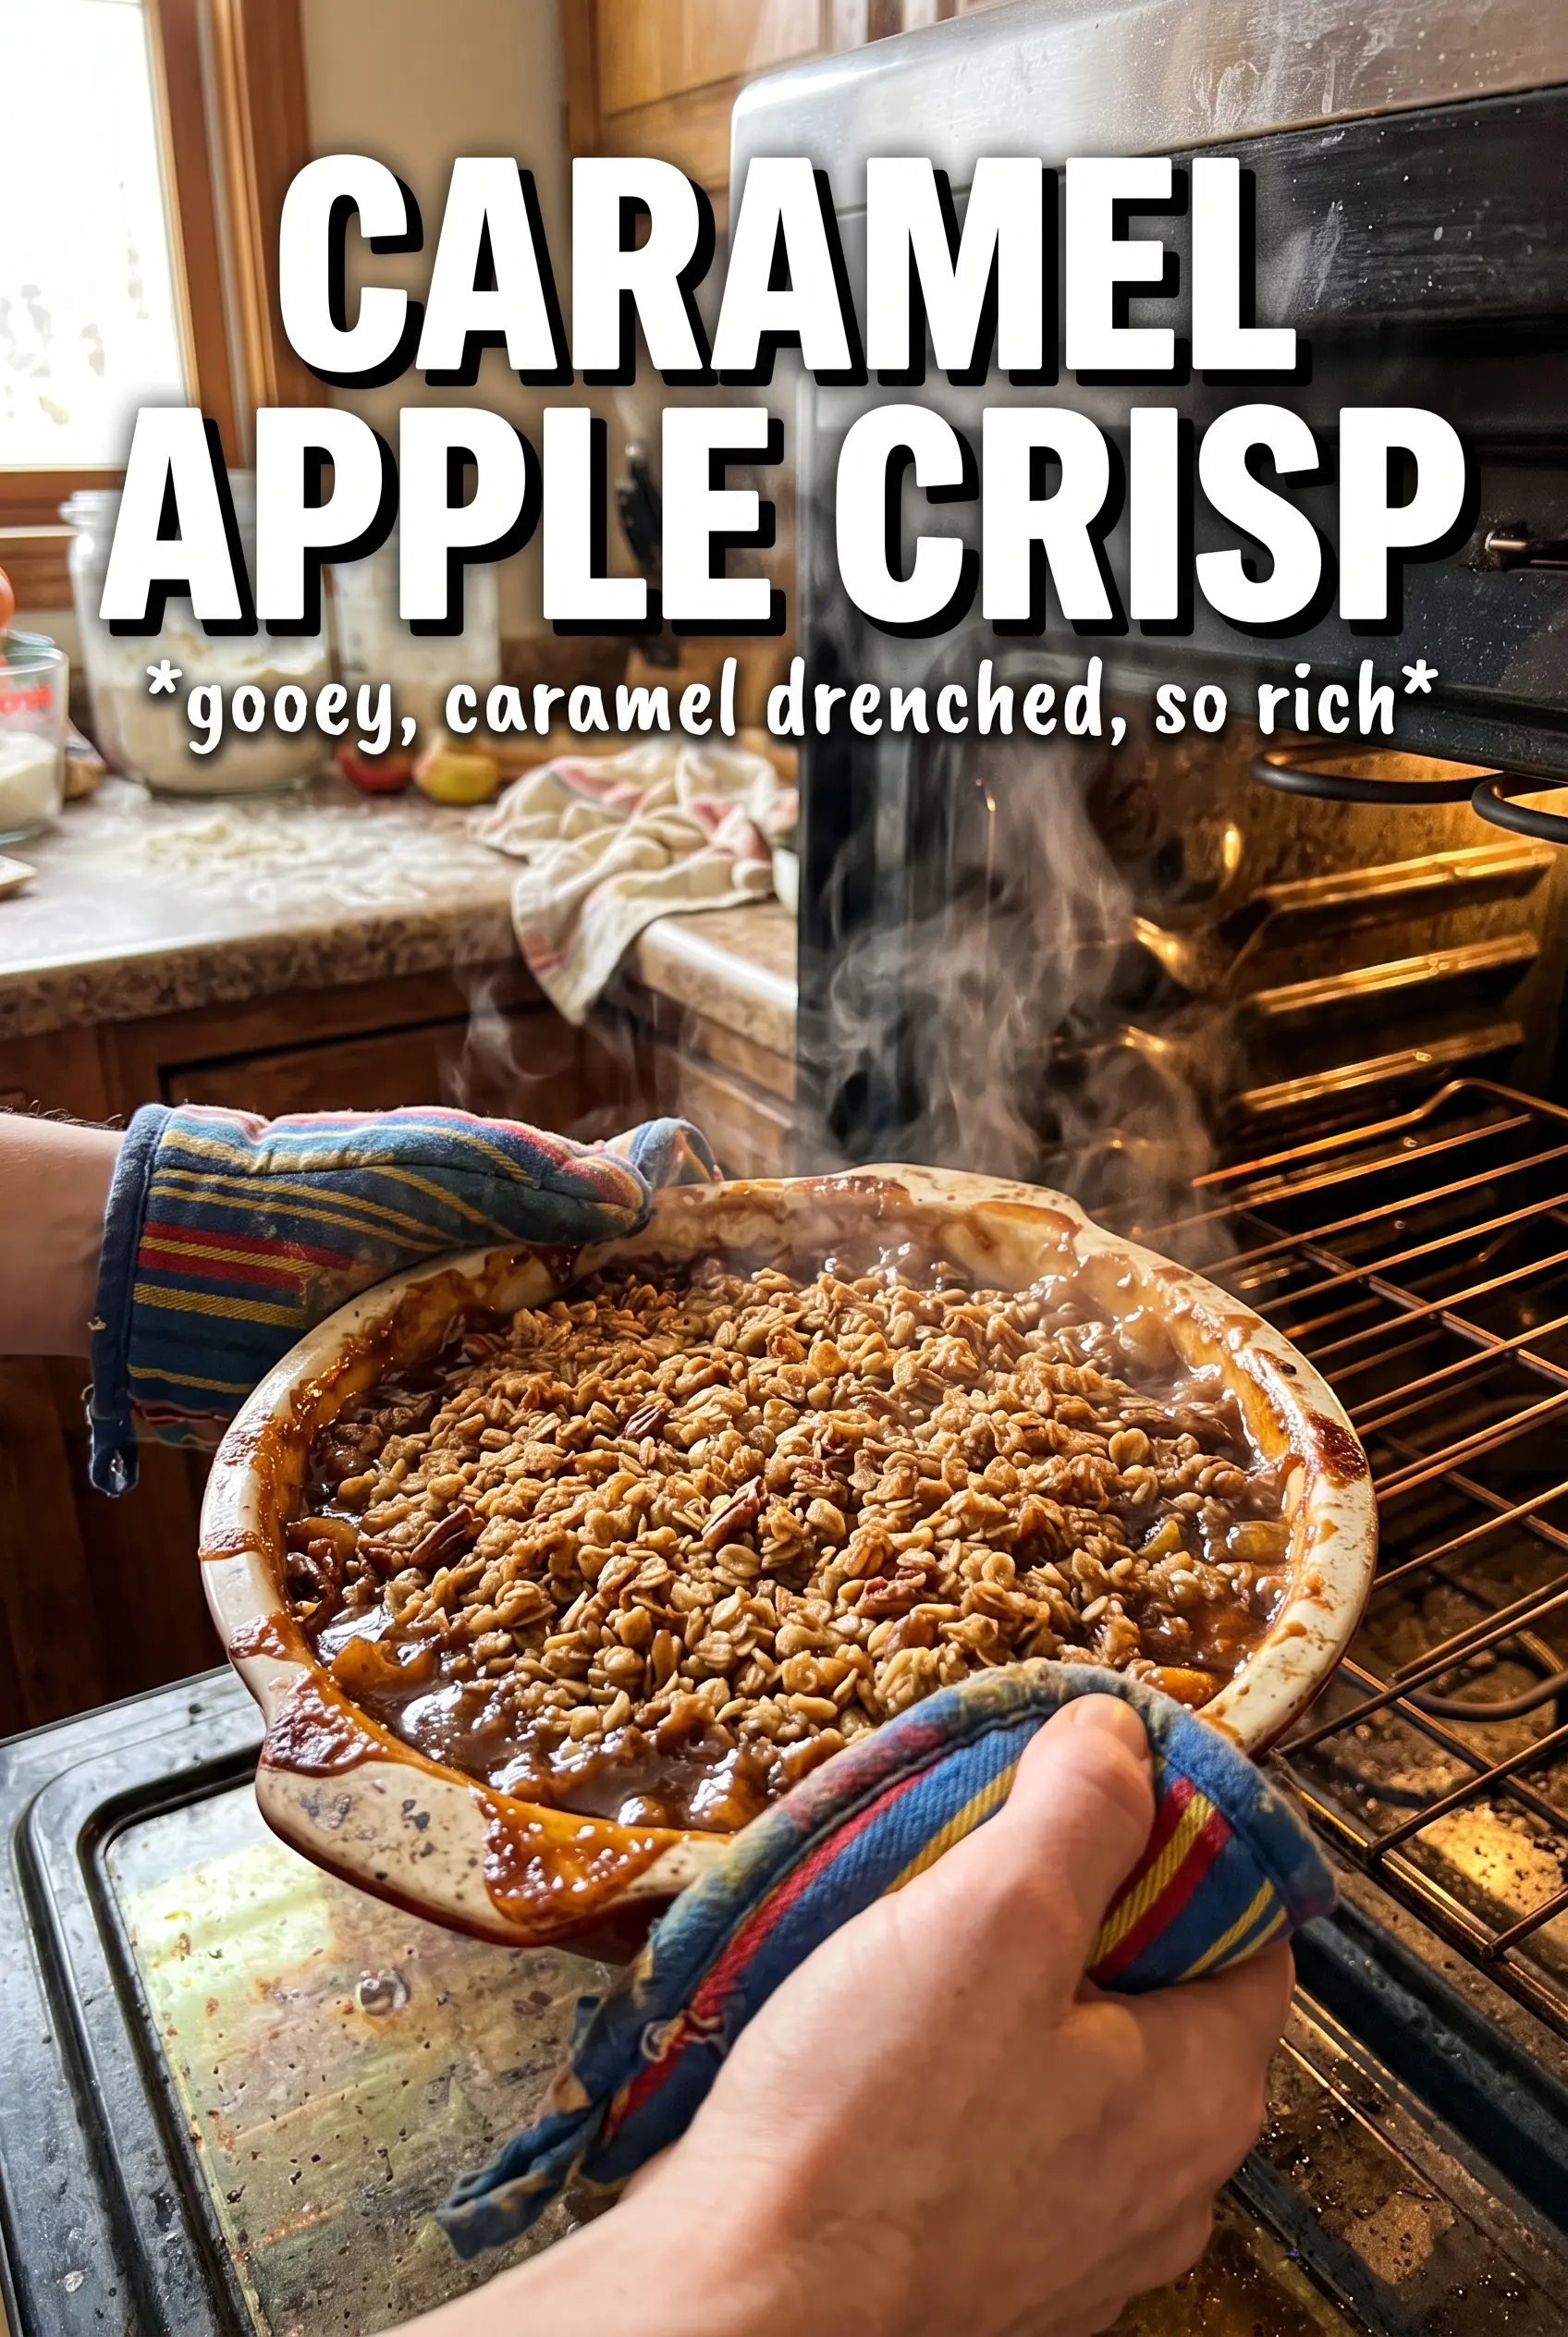
Caramel apple crisp bakes into the kind of dessert that gets attention the second it comes out of the oven: bubbling fruit at the edges, a deep golden oat topping, and caramel running into every crack of the crumble. The apples stay tender without turning mushy, and the topping stays chunky enough to give you a real contrast against the soft filling. It tastes like a bakery dessert, but it’s built from simple pantry ingredients and a pan full of apples.
What makes this version work is the balance. The apples get tossed with cornstarch, so the filling thickens instead of pooling into watery syrup, and the caramel goes right into the fruit instead of waiting until the end. That means the whole filling tastes like caramel, not just the top. Cold butter in the crumble is just as important; it melts slowly in the oven and creates those crisp, clumpy pockets that hold their shape instead of disappearing into sand.
Below, I’ll walk through the few details that matter most, including how to keep the filling from turning loose and how to get that topping properly crisp instead of soft.
The apples held their shape and the caramel thickened up around the edges instead of turning runny. I served it with vanilla ice cream and my husband went back for a second bowl before dinner dishes were even done.
Love the bubbling caramel and crisp oat topping? Save this Caramel Apple Crisp for the night you want a warm dessert with vanilla ice cream on top.
The Trick to Keeping the Apple Filling Thick, Not Soupy
The filling needs cornstarch before it goes into the oven. Apples release a lot of juice as they bake, and caramel sauce adds even more liquid, so without a thickener you end up with a puddle under the crumble instead of a spoonable filling. The lemon juice keeps the apples bright, but it also helps the sugar and caramel taste less one-note.
Don’t rush the bake just because the topping looks done. The filling should be visibly bubbling around the edges before you pull it out, because that bubbling tells you the cornstarch has fully activated. If the center is only warm and not actively simmering, the juices will stay thin.
What Each Ingredient Is Actually Doing in This Dessert
- Apples — Use a firm baking apple so the slices hold some shape after 45 minutes in the oven. Granny Smith gives you tartness and structure; Honeycrisp or Braeburn bring a little more sweetness. Soft apples turn to sauce too fast, which is the one thing you want to avoid here.
- Caramel sauce — This is where the filling gets that deep, buttery note. A good jarred sauce works fine, but it should be thick enough to cling to the apples before baking. If yours is thin, reduce the amount slightly and serve extra on top after baking instead of adding too much to the filling.
- Cornstarch — This is what turns the apple juices into a glossy filling instead of a watery one. If you leave it out, the crisp will still taste good, but the bottom layer will be loose. Toss it evenly with the apples so it doesn’t clump in one spot.
- Cold butter — Cold cubes matter here. They melt into pockets as the crisp bakes, which creates that crumbly texture instead of a flat, cakey layer. If the butter softens while you’re mixing, chill the bowl for 10 minutes before baking.
Building the Crisp So the Topping Stays Chunky
Coating the Apples Evenly
Toss the apple slices with sugar, caramel, spices, cornstarch, lemon juice, and salt until every slice looks lightly coated. You’re not trying to drown the apples. You want a glossy mixture that clings to the fruit and leaves only a little liquid in the bowl. Spread it in the baking dish in an even layer so the filling cooks at the same rate all the way across.
Cutting the Butter Into the Oats
Work the cold butter into the oat mixture until you have pea-sized pieces and some larger clumps. Those uneven bits are what bake into a crisp topping with texture. If you mix until everything looks sandy, the topping will bake up dry and dense instead of crunchy and craggy.
Baking Until the Edges Bubble
Set the dish in the oven and bake until the top is deeply golden and the filling is bubbling around the edges. That bubbling matters more than the clock, though 40 to 45 minutes is usually the right window. If the top browns too quickly, lay a piece of foil loosely over the crisp for the last stretch so the filling can finish without burning the oats.
Finishing With More Caramel
Drizzle the extra caramel over the top during the last 5 minutes of baking or right before serving. Adding some at the end keeps the flavor bright and gives you those glossy ribbons on top instead of baking every drop into the filling. Serve it warm with vanilla ice cream so the cold cream melts into the hot apples.
How to Adapt This for Different Diets and Serving Needs
Make It Gluten-Free
Swap the all-purpose flour for a cup-for-cup gluten-free baking blend. The topping will still crisp up, but it may be a little more delicate when you scoop it. Keep the oats certified gluten-free if cross-contamination matters for your kitchen.
Use a Dairy-Free Topping
Replace the butter with a firm dairy-free baking stick, not a soft spread from a tub. You want something that stays cold and behaves like butter in the crumble, or the topping turns greasy instead of crisp. The flavor stays close, though the finish won’t have quite the same rich butter note.
Use Pears for a Softer, Sweeter Version
Pears work if you want a softer filling with a little more perfume, but they break down faster than apples. Use ripe-but-firm pears and keep the cornstarch in place so the juices don’t run all over the dish. The result is gentler and sweeter, less tart than the original.
Storage and Reheating
- Refrigerator: Store covered for up to 4 days. The topping softens in the fridge, but the flavor holds well.
- Freezer: Freeze the baked crisp for up to 2 months, tightly wrapped. Thaw overnight in the refrigerator before reheating for the best texture.
- Reheating: Warm in a 350F oven until the filling is hot and the topping re-crisps, about 15 to 20 minutes. Microwaving works in a pinch, but it softens the crumble and makes the topping lose its crunch.
Questions I Get Asked About This Recipe
Caramel Apple Crisp
Ingredients
Equipment
Method
- Preheat the oven to 375F and grease a 9x13 baking dish.
- Toss the apple slices with granulated sugar, caramel sauce, cinnamon, nutmeg, cornstarch, lemon juice, and sea salt, then spread them evenly in the dish.
- Combine rolled oats, all-purpose flour, brown sugar, cinnamon, and salt, then cut in the cold cubed butter until chunky clumps form.
- Scatter the crumble evenly over the caramel apples.
- Bake for 40-45 minutes at 375F until the topping is deeply golden and the filling is bubbling at the edges.
- Drizzle extra caramel sauce over the top during the last 5 minutes of baking.
- Serve warm with vanilla ice cream and more caramel.