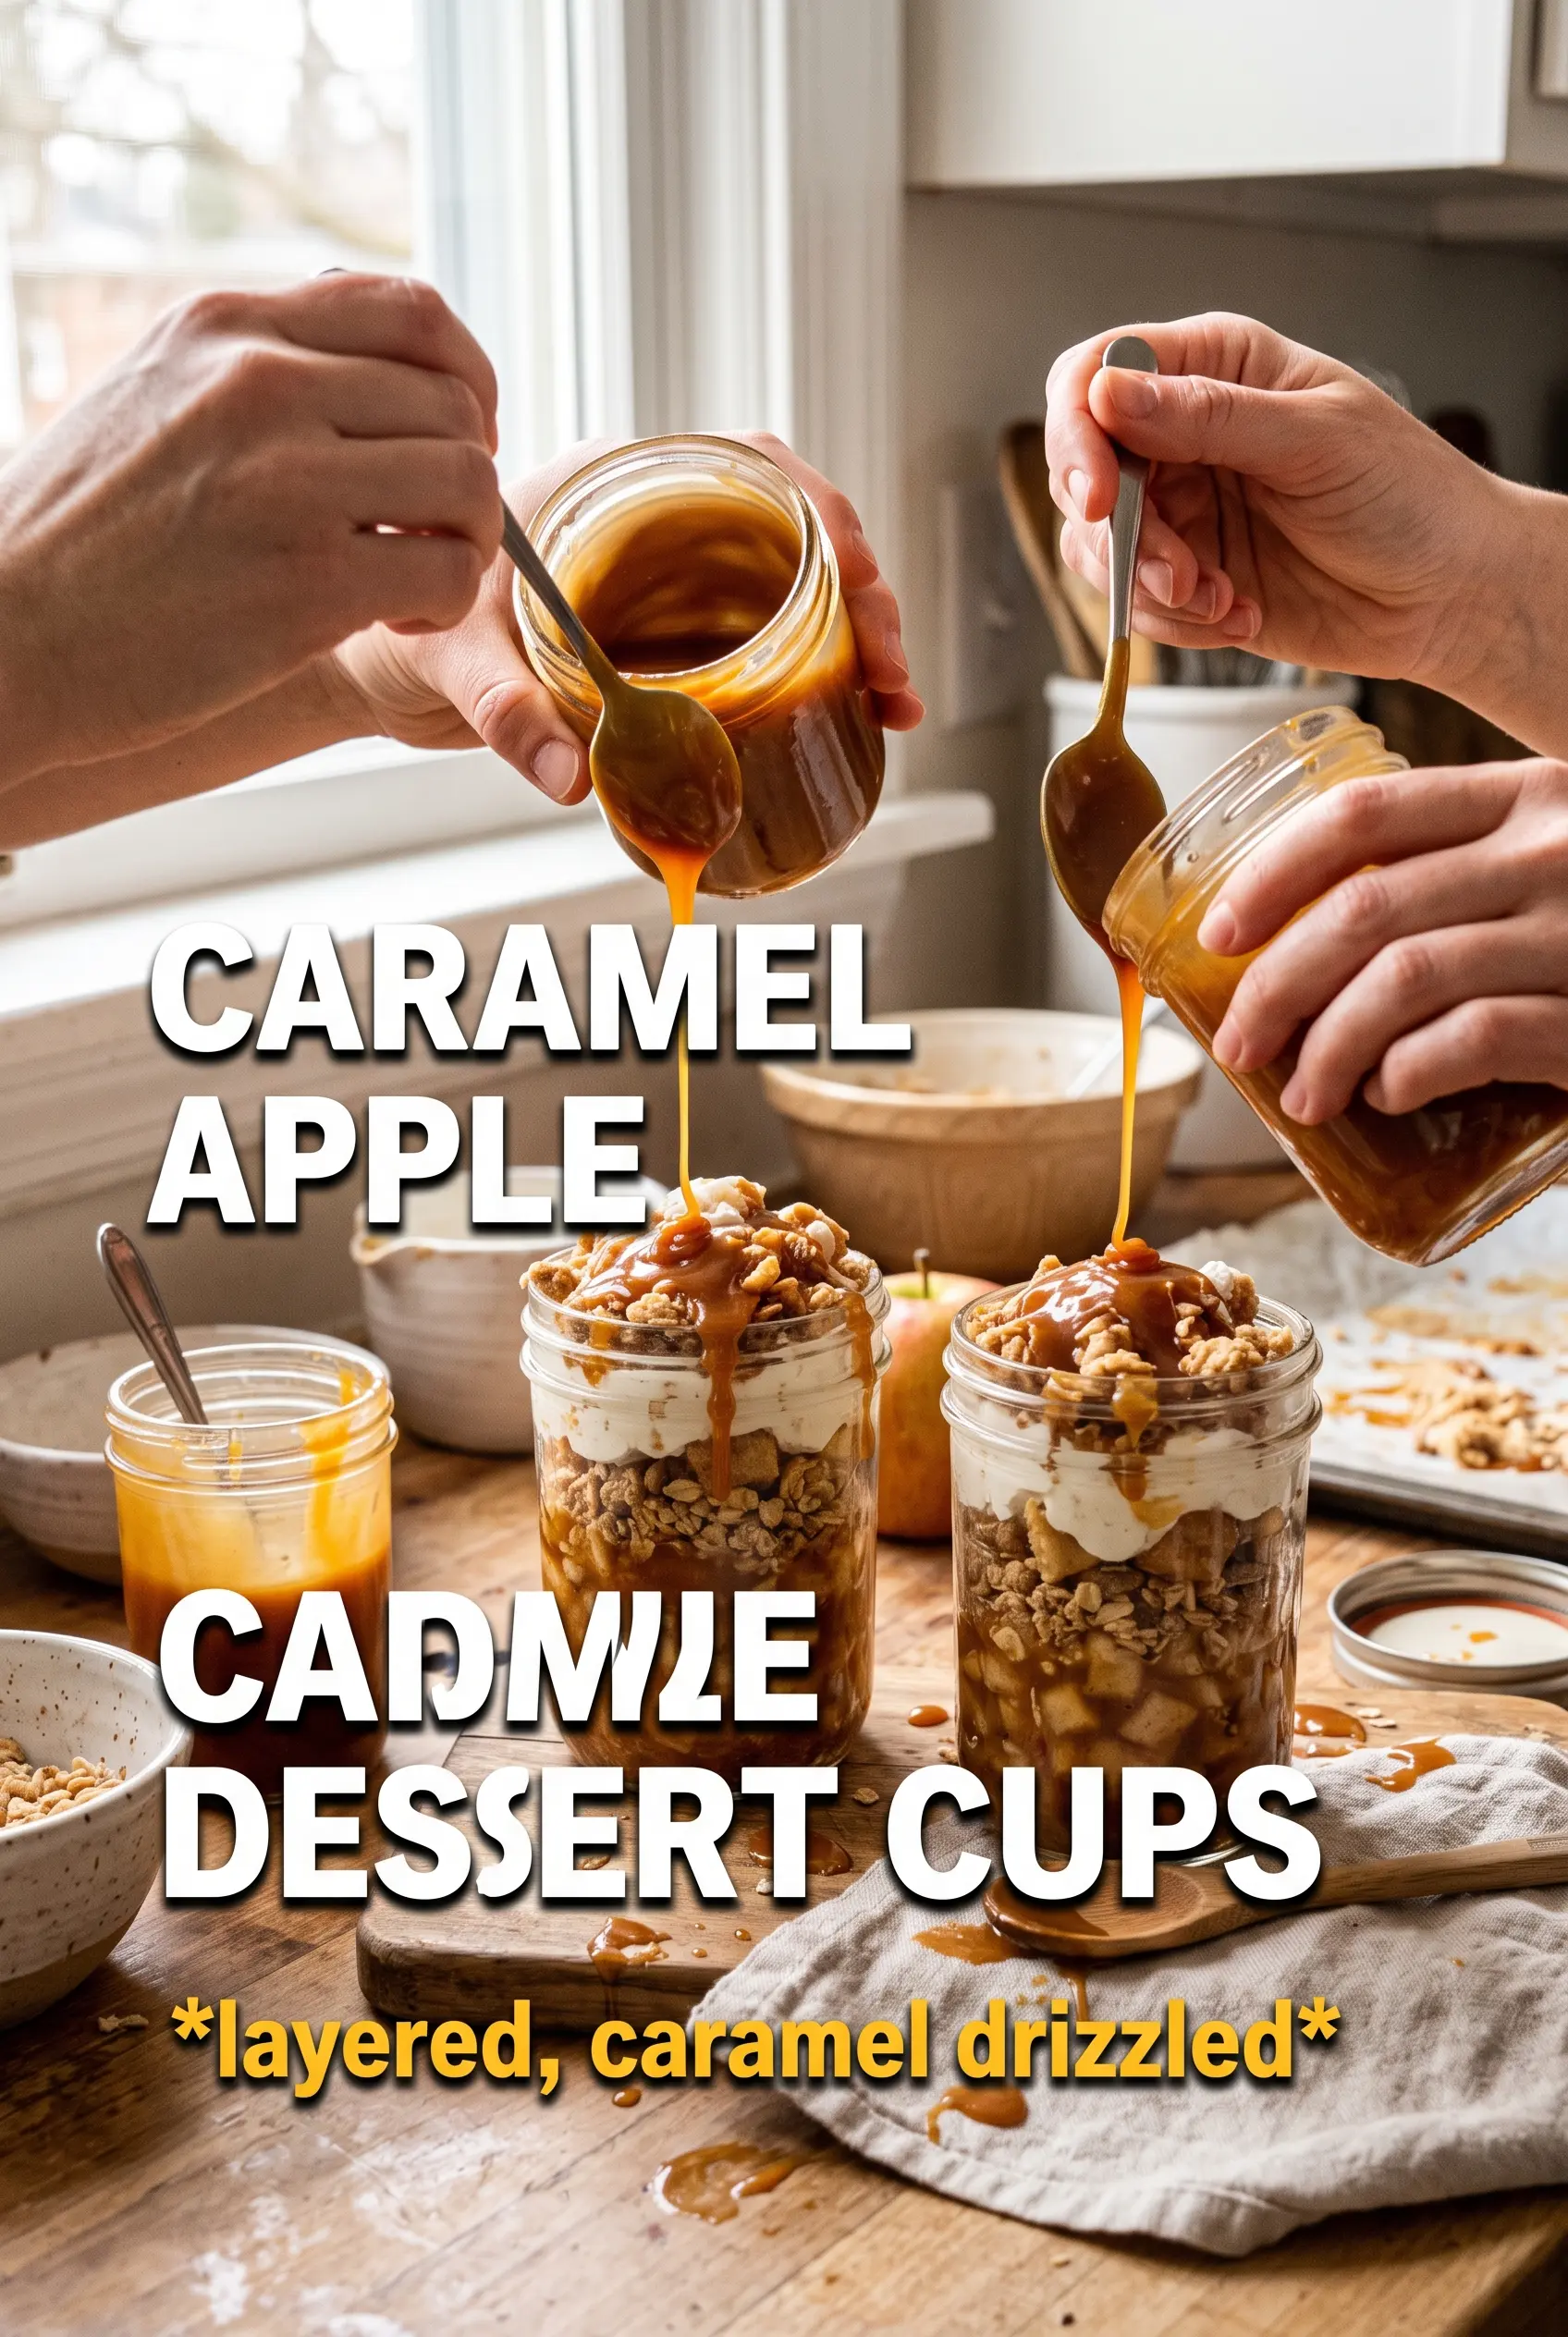
Caramel apple dessert cups hit that sweet spot between nostalgic and polished: spiced apples, fluffy cream cheese mousse, buttery crumbs, and a caramel finish that catches in every spoonful. Served in clear glasses, the layers stay distinct enough to look impressive, but the whole thing eats like a spoonable version of caramel apple pie without the work of a crust.
What makes this version work is the balance. The apples cook down just long enough to turn syrupy without losing their shape, and the mousse stays light because the whipped cream is folded in after the cream cheese base is smooth. That little chill time at the end matters too; it helps the layers set up so they don’t slide together the second you add the caramel.
Below you’ll find the small details that keep the apples from going mushy, the mousse from turning dense, and the cups from looking messy. Once you’ve made them once, they’re the kind of dessert you can build almost by muscle memory.
The apples stayed tender but not mushy, and the mousse held its shape even after chilling. I layered mine in little glasses for a dinner party and everyone asked how I got the caramel to sit on top without sinking in.
Save these caramel apple dessert cups for when you want a chilled, layered dessert with spiced apples and caramel in every bite.
The Trick to Keeping the Layers Clean Instead of Muddy
The biggest mistake with layered dessert cups is rushing the filling while the apples are still warm. Warm compote melts the mousse and sends the crumble soft fast, which turns a neat layered dessert into one blended spoonful. Let the apples cool all the way down before you build the cups, even if that means waiting a little longer than feels necessary.
The other thing that matters is the texture of each layer. The graham crumbs need enough butter to clump lightly, not turn greasy, and the cream mixture needs to be beaten until smooth before the whipped cream goes in. If the base is lumpy before folding, those lumps stay there.
- Apples — Dice them small so they soften evenly and fit neatly into each spoonful. A firmer apple like Granny Smith or Honeycrisp keeps its shape better than a soft baking apple.
- Brown sugar and spices — These turn the apple layer into a glossy compote instead of plain softened fruit. The cinnamon carries the flavor, while the nutmeg adds the round, pie-like note.
- Cream cheese — Full-fat cream cheese gives the mousse the tang and structure that hold up under the fruit. Low-fat versions tend to loosen and can taste flat here.
- Heavy cream — This is what makes the filling airy. Don’t rush the whipping; stiff peaks give you a mousse that sets up in the fridge instead of collapsing.
- Caramel sauce — Store-bought sauce works fine if it’s thick and pourable. If it’s too thin, it disappears into the mousse instead of staying as a separate ribbon on top.
What Each Ingredient Is Actually Doing in This Recipe

- Primary ingredient (the star) — Quality matters most. Choose the best you can find.
- Cooking medium (oil, butter, or broth) — This carries flavors and prevents dryness.
- Seasonings (salt, pepper, spices, herbs) — Layer flavors so nothing overpowers. Build depth gradually.
- Aromatics (garlic, onion, herbs) — Cook with fat to bloom flavors. Become the foundation.
- Supporting ingredients — Complement the main ingredient without overpowering it.
- Sauce or liquid (if applicable) — Brings flavors together. Balance richness with acid.
- Acid (lemon, vinegar, wine, or other) — Brightens and prevents flat-tasting results.
- Final finish (garnish, glaze, or sauce) — Prevents one-dimensional taste and adds visual appeal.
Building the Cup in the Right Order
Cook the Apples Until They Turn Syrupy
Start the apples, butter, brown sugar, cinnamon, and nutmeg in a skillet over medium heat. You want the fruit softened and glossy, with a little syrup left in the pan, not dry pieces sitting in melted sugar. Stir often so the sugar doesn’t catch on the bottom, especially once the apples start releasing juice. Pull the pan off the heat when the apples still hold shape but can be cut with a spoon.
Whip the Mousse Base Until It’s Smooth and Light
Beat the cream cheese, powdered sugar, vanilla, and cinnamon until the mixture is completely smooth before adding the whipped cream. If the cream cheese is cold, you’ll fight lumps the whole time, so soften it first. In a separate bowl, whip the heavy cream to stiff peaks, then fold it in gently with a spatula. Overmixing knocks out the air and gives you a dense filling instead of a fluffy one.
Layer for Clean Slices and Better Texture
Mix the graham cracker crumbs with melted butter until the crumbs hold together when pinched. Spoon that into the bottom of the glasses first, then add mousse, then apples, then caramel. Repeat if your cups are tall enough, but keep the top layer neat so the caramel shows. Chill the cups for at least 30 minutes before serving so the mousse firms up and the layers settle into place.
How to Adapt These Dessert Cups for Different Kitchens
Use gingersnaps instead of graham crackers
Swap the graham crumbs for crushed gingersnaps if you want a deeper spice note and a firmer, snappier base. The result leans more like caramel apple pie with ginger in the crust, which works especially well if your apples are on the sweeter side.
Make it dairy-free with coconut cream and vegan cream cheese
Use dairy-free cream cheese for the base and whip chilled coconut cream instead of heavy cream. The mousse won’t taste exactly the same, but it still sets nicely and keeps the same layered look. Choose a thick caramel-style topping made without butter if you want the whole dessert to stay dairy-free.
Cut the sugar a little for tarter apples
If your apples are very sweet, reduce the brown sugar in the compote by a tablespoon or two and use a thicker caramel drizzle instead of a heavy pour. That keeps the dessert from turning cloying and lets the cinnamon and apple flavor come through more clearly.
Storage and Reheating
- Refrigerator: Keep the assembled cups covered for up to 3 days. The crumble softens a little, but the flavor stays good.
- Freezer: I don’t recommend freezing the assembled dessert. The mousse can separate after thawing and the apple layer turns watery.
- Reheating: This dessert is served cold, so don’t reheat the cups themselves. If you want a warmer contrast, warm the apple compote separately and layer it over chilled mousse right before serving.
Questions I Get Asked About This Recipe
Caramel Apple Dessert Cups
Ingredients
Equipment
Method
- Cook the diced apples with butter, brown sugar, cinnamon, and nutmeg over medium heat for 8-10 minutes, stirring until softened and syrupy (visual cue: apples look glossy and liquid clings to them).
- Remove from heat and cool completely (visual cue: compote is no longer warm and thickened syrup coats the apples).
- Stir graham cracker crumbs with melted butter until evenly moistened (visual cue: crumbs clump slightly when pressed).
- Set the crumble aside at room temperature while you make the mousse.
- Beat cream cheese with powdered sugar, vanilla extract, and cinnamon until smooth (visual cue: no lumps and mixture looks thick and creamy).
- Whip heavy cream to stiff peaks (visual cue: peaks stand straight when the whisk is lifted).
- Fold the whipped cream into the cream cheese mixture until no white streaks remain (visual cue: mousse is light and uniform).
- Layer graham cracker crumble in clear cups as the bottom (visual cue: an even, sandy base).
- Spoon in a layer of cream cheese mousse (visual cue: smooth, creamy dome over the crumbs).
- Top with spiced apple compote (visual cue: glossy spiced apples sit evenly).
- Drizzle caramel sauce over the apple layer (visual cue: thin ribbons of caramel visible through the cup).
- Repeat layers once more—crumb, mousse, compote, and caramel drizzle (visual cue: you reach the rim with distinct strata).
- Refrigerate for 30 minutes before serving (visual cue: mousse firms and the layers hold their shape).