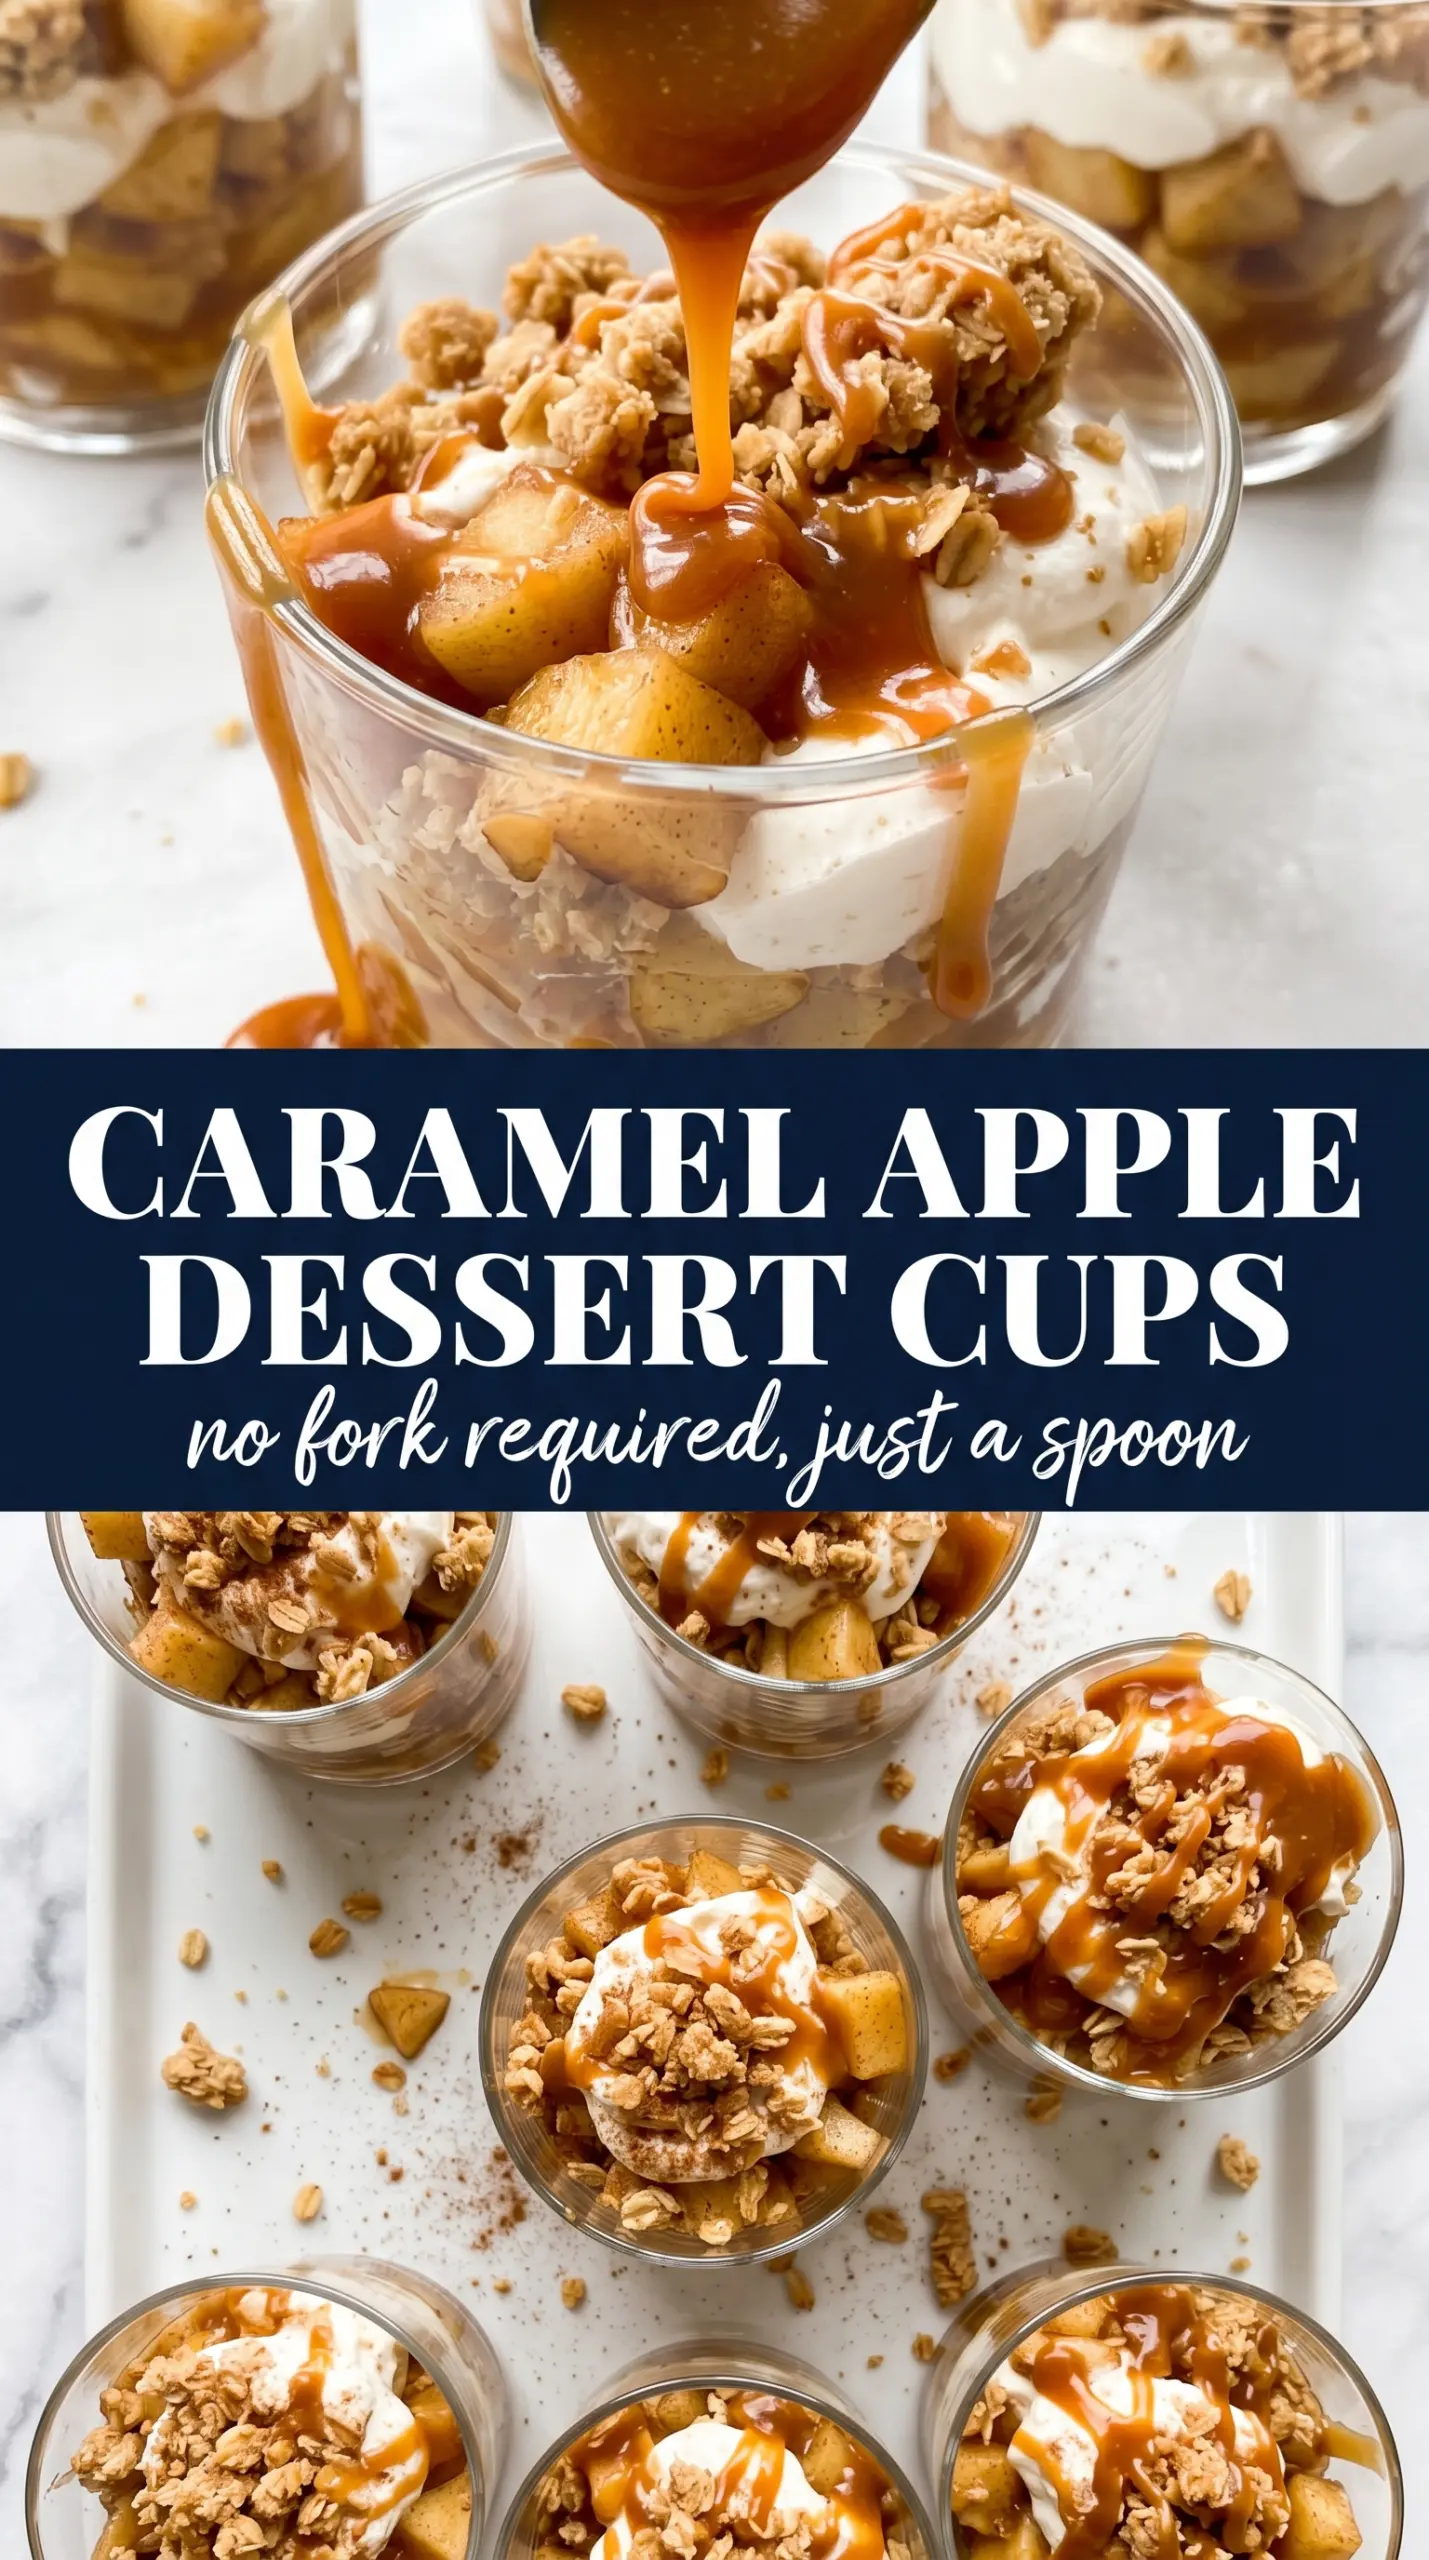
Caramel apple dessert cups hit that sweet spot between creamy, crunchy, and glossy on top. The graham cracker layer stays sturdy, the cinnamon filling tastes like a lighter cheesecake, and the warm apple topping gives each cup the kind of finish people always reach for first. Served in individual glasses, they look a little fancy without asking for much from the cook.
What makes this version work is balance. The cream cheese layer is softened and folded with whipped topping, which keeps it airy instead of dense. The apples are cooked just long enough to lose their raw bite and pick up the brown sugar and cinnamon, but not so long that they collapse into jam. That little bit of structure matters because these cups rely on contrast: crisp crust, cool filling, tender apples, and a caramel drizzle that ties everything together.
Below, you’ll find the small details that keep the layers clean and the topping from turning watery. I also added the substitutions that actually hold up here, because a dessert cup only works when each part can stand on its own.
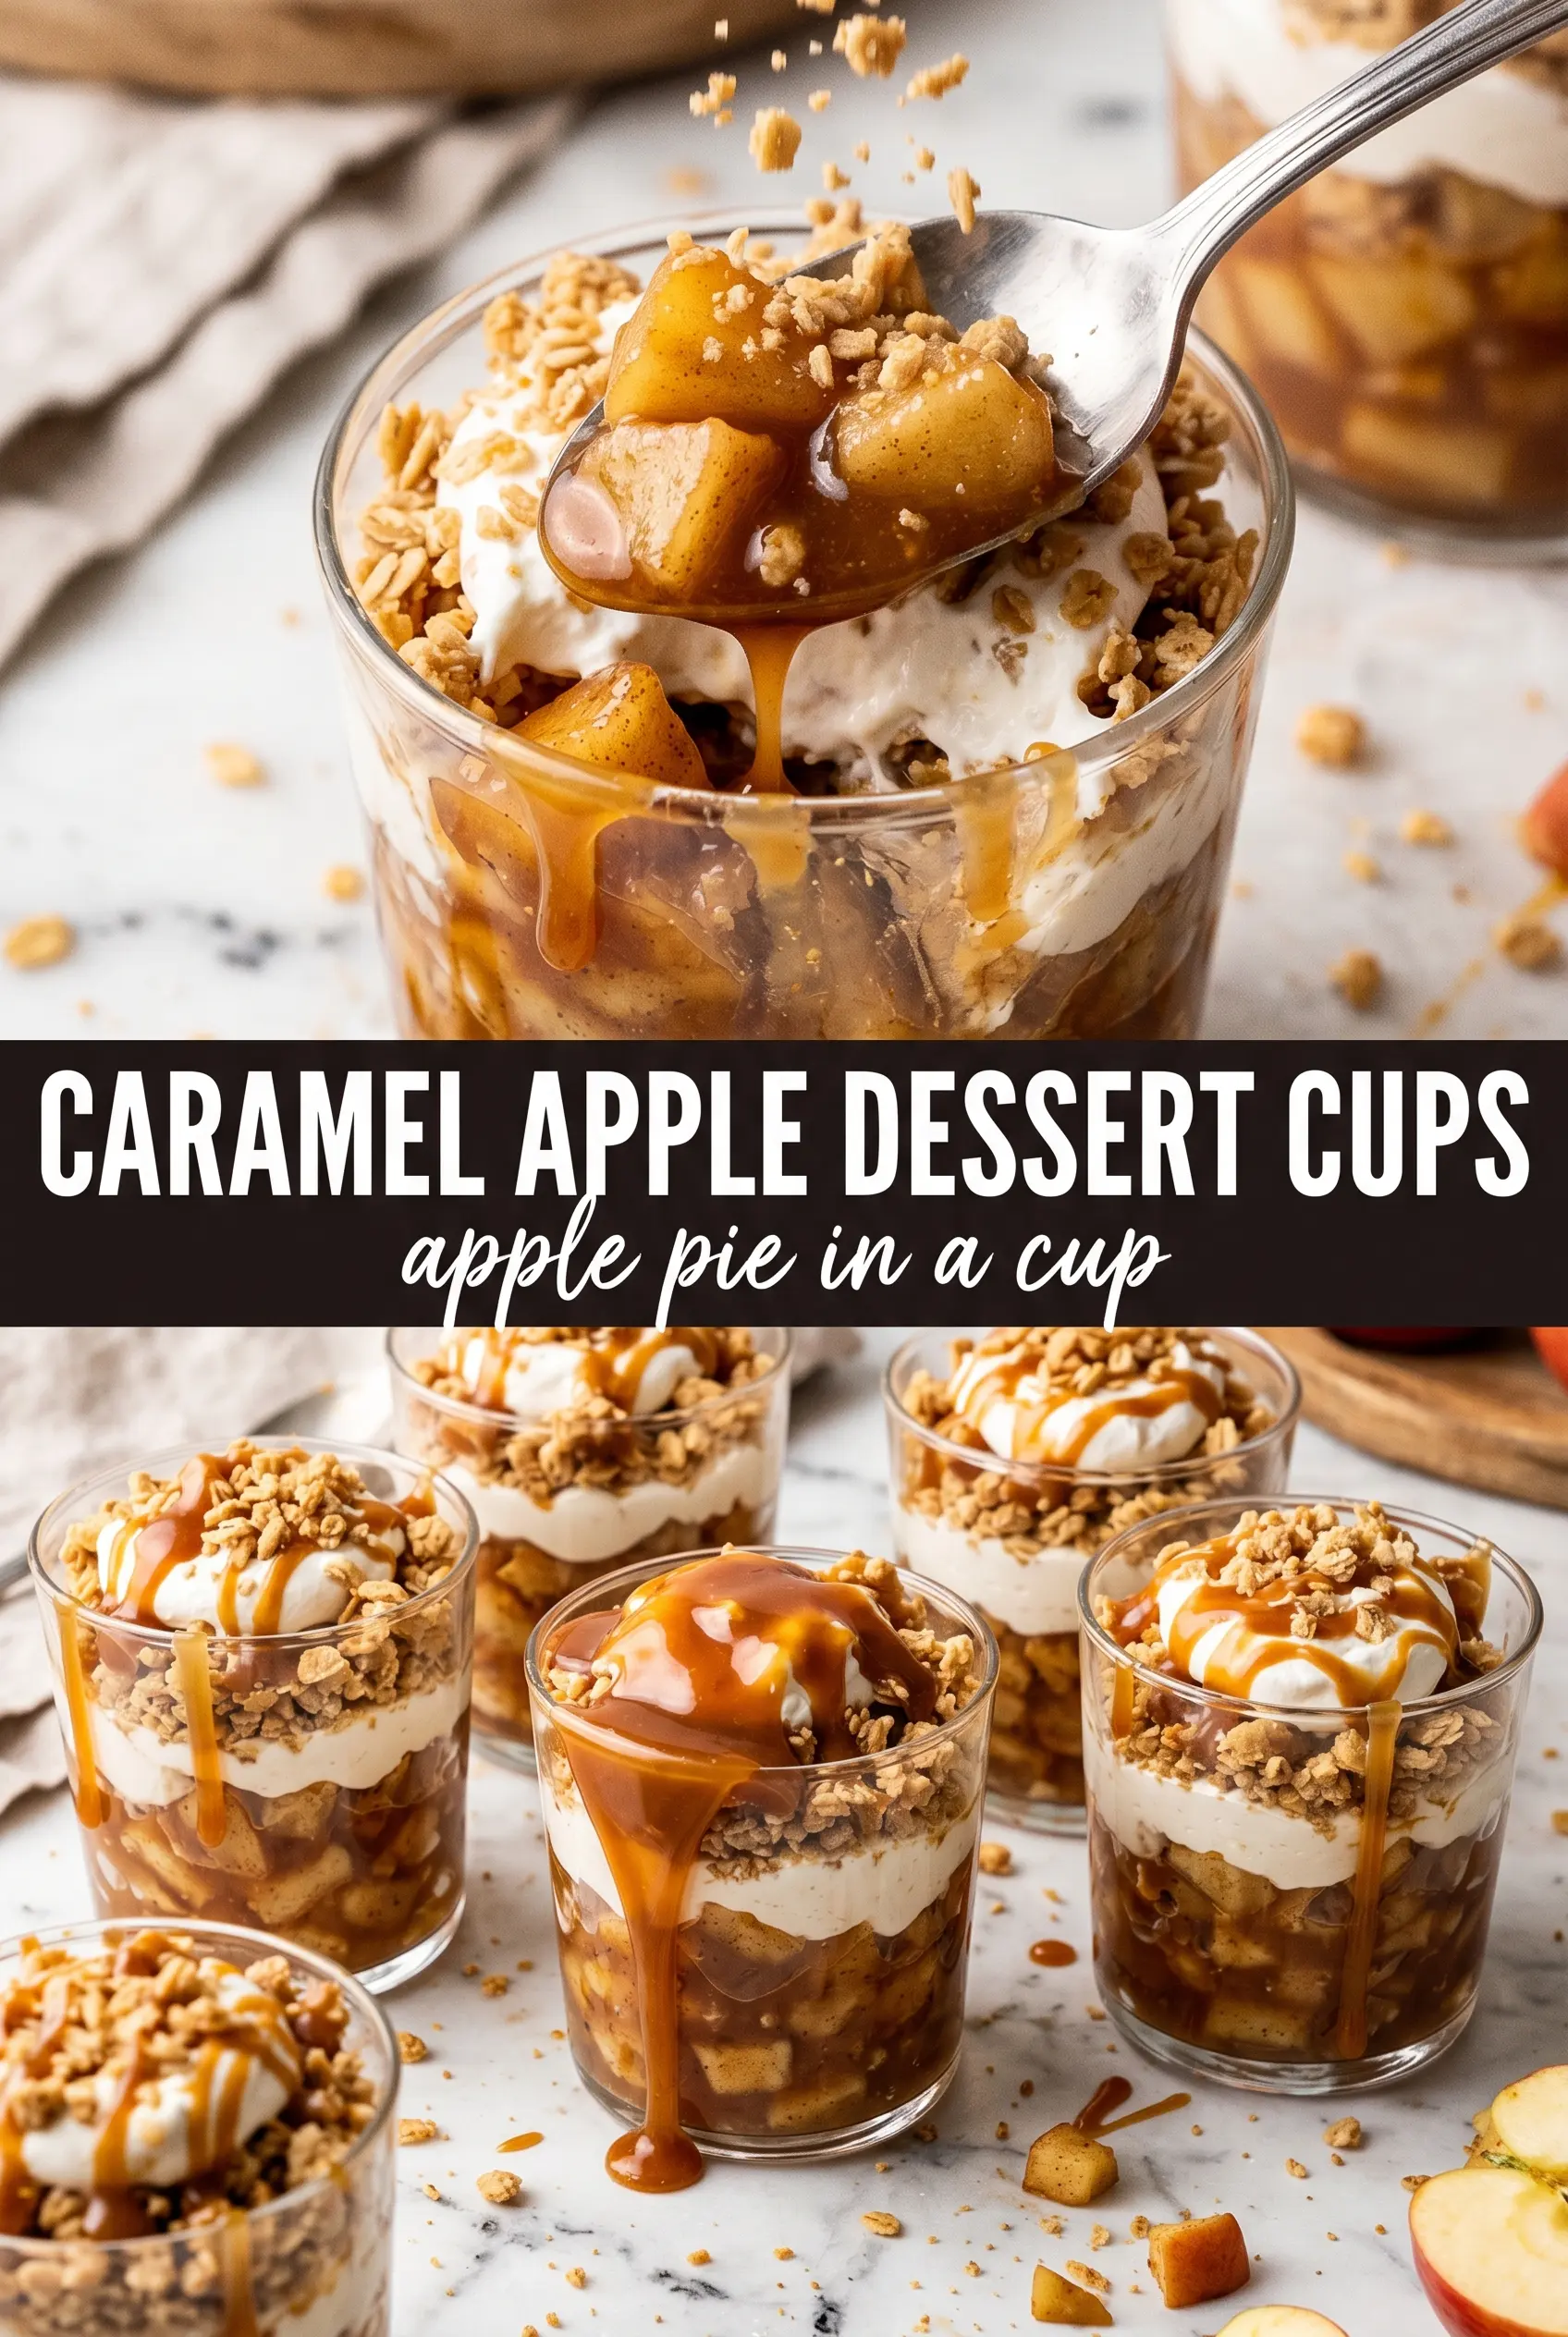
The apples kept their shape, the filling piped in cleanly, and the caramel drizzle made these look bakery-worthy. I chilled them just an hour and they held up perfectly at the party.
Save these caramel apple dessert cups for the kind of dessert that needs no baking, clean layers, and a caramel finish that looks as good as it tastes.
The Part That Keeps the Layers from Turning Soggy
The biggest mistake in dessert cups is rushing the filling onto a loose base or spooning in warm fruit before it has cooled. That turns the crust soft fast and makes the cream layer slide around instead of sitting in a neat stripe. Here, the graham crust gets packed firmly enough to hold its shape, and the apples cool before they go in, which keeps the layers distinct all the way to the last spoonful.
The other thing worth paying attention to is the texture of the topping. You want the apples tender with a little bite left in the centers, not mushy. A short cook over medium heat is enough to pull out their juices and let the brown sugar glaze them without turning the mixture watery.
What Each Layer Is Actually Doing Here
- Graham cracker crumbs — These give you the sandy, buttery base that anchors the dessert. Fine crumbs pack best, so crush them evenly instead of leaving big pieces behind.
- Butter — This is what turns the crumbs into a crust that holds together. Melted butter is better than softened here because it coats the crumbs more evenly.
- Cream cheese — Full-fat cream cheese gives the filling its tang and body. Low-fat versions can work, but they usually taste thinner and can loosen the texture.
- Whipped topping — This lightens the filling so it pipes or spoons neatly into the cups. Homemade whipped cream can be swapped in, but use it right away because it won’t hold as long in the fridge.
- Apples — Use a firm baking apple if you can, because soft apples break down too fast. Dice them small so they cook quickly and stack neatly on top of the cream layer.
- Caramel sauce — This is the finish that makes the whole cup taste complete. A thick jarred caramel sauce works fine, but warm it slightly so it drizzles instead of clumping.
Building the Cups So Each Layer Stays Clean
Pressing the Crust
Mix the graham cracker crumbs with the melted butter and sugar until every crumb looks evenly coated, then press the mixture firmly into the bottom of each cup. A small glass or spoon works well for packing it down. If the crust feels loose, it will crumble when you scoop into it, so take the extra minute to compress it well.
Whipping the Cinnamon Filling
Beat the cream cheese, powdered sugar, vanilla, and cinnamon until the mixture is completely smooth before folding in the whipped topping. Any lumps from cold cream cheese will stay visible in the finished cups, so soften it fully first. Fold gently so you keep the filling light; overmixing knocks out the air and makes it dense.
Cooking the Apples to the Right Texture
Cook the diced apples with butter, brown sugar, and cinnamon over medium heat until they look glossy and just tender, about 5 to 6 minutes. You want the liquid in the pan to reduce into a syrup that clings to the fruit, not pool around it. Pull them off the heat when the apples still hold their shape, because they keep softening as they cool.
Finishing and Chilling
Spoon or pipe the cream layer over the crust, add the cooled apples, then drizzle with caramel sauce. If the apple topping is warm, it melts the filling and blurs the layers. Chill the cups for at least 1 hour so the crust firms up and the filling settles before serving.
How to Adapt These for Different Crowds and Diets
Gluten-Free Dessert Cups
Swap in gluten-free graham-style crumbs or crushed gluten-free cookies. The rest of the recipe stays the same, and the crust still sets up well as long as you use the same butter ratio.
Lighter Filling with Real Whipped Cream
Use 1 cup of softly whipped heavy cream in place of the whipped topping. The filling tastes a little fresher and less sweet, but it softens faster, so serve it within a day for the best shape.
Make-Ahead Party Cups
Assemble the crust and cream layers up to a day ahead, then add the apples and caramel closer to serving. That keeps the topping bright and prevents the apples from weeping into the filling.
More Caramel, Less Sweetness
If you want a stronger caramel note without making the dessert cloying, drizzle lightly between the cream and apple layers instead of only on top. That gives each bite a little more caramel without drowning out the apples.
Storage and Reheating
- Refrigerator: Store covered for up to 3 days. The crust will soften a little after the first day, but the flavor still holds up well.
- Freezer: Not a great freezer dessert. The cream layer and apples change texture when thawed, and the cups can get watery.
- Reheating: No reheating needed. If the caramel thickens in the fridge, let the cups sit at room temperature for 10 to 15 minutes before serving so the topping loosens slightly.
Questions I Get Asked About This Recipe
Caramel Apple Dessert Cups
Ingredients
Equipment
Method
- Mix graham cracker crumbs, melted butter, and sugar until evenly combined, then press firmly into the bottom of 12 individual cups or glasses.
- Transfer the filled cups to the refrigerator while you make the filling and topping.
- Beat cream cheese, powdered sugar, vanilla, and cinnamon until smooth, then fold in whipped topping until the mixture is uniform.
- Spoon or pipe the cinnamon cream cheese over the crusts in each cup to form a thick layer.
- Cook diced apples with butter, brown sugar, and cinnamon in a skillet over medium heat for 5-6 minutes, stirring until caramelized and tender.
- Cool the caramel apple mixture completely before topping the cups.
- Spoon the caramel apple mixture over the cream cheese layer in each cup.
- Drizzle generously with caramel sauce over the top of each cup for a high, glossy finish.
- Refrigerate for 1 hour before serving so the cups set properly.