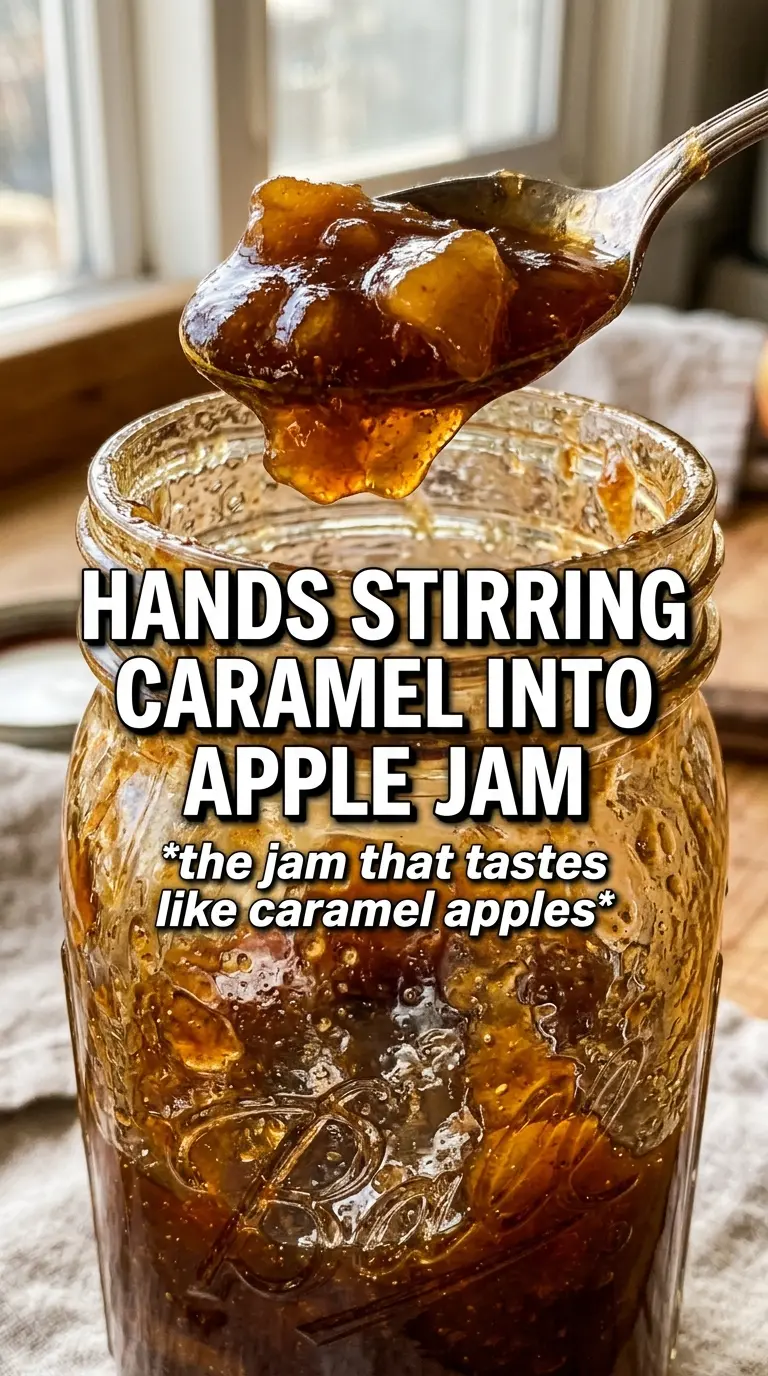
Caramel apple jam settles into that sweet spot between spoonable fruit and a glossy, spreadable preserve. It tastes like slow-cooked apples with a deep brown sugar finish, and the texture lands thick enough for toast but soft enough to swirl into yogurt or spoon over biscuits.
What makes this version work is the balance of tart apples, lemon juice, and just enough cider to keep the fruit moving early on without watering down the final set. The jam cooks long enough for the apples to break down and concentrate, then the spices and vanilla go in near the end so they stay warm and distinct instead of tasting flat.
Below, I’ve included the set test I use every time and a few swaps that matter if your apples are sweeter, softer, or more tart than mine.
The jam thickened exactly at the 35-minute mark and set up beautifully on the cold plate. I loved that the cinnamon stayed warm without taking over, and the apple pieces still had a little texture instead of turning to mush.
Save this caramel apple jam for toast, biscuits, or spooning over cream cheese when you want that thick, cinnamon-kissed apple spread again.
The Part That Makes Caramel Apple Jam Set Instead of Staying Soupy
The biggest mistake with apple jam is pulling it off the heat while it still looks glossy and loose in the pan. Apples hold onto a lot of moisture, and the mixture only starts behaving like jam after enough water cooks off and the sugars concentrate. If you stop at the first sign of thickness, it usually firms up less than you expect once it cools.
The cold-plate test matters here more than the clock. A spoonful should sit on the plate for a minute, then wrinkle when you push it with your finger. If it runs right back together, give it more time. If it starts looking stiff in the pan, you’re close to the edge, so stir constantly and lower the heat a touch.
What the Apples, Sugars, and Spices Are Each Doing Here
- Apples — A firm, slightly tart apple gives the jam structure and keeps the finished flavor bright. Softer apples will cook down faster, which is fine, but the jam can turn a little looser and sweeter. If your apples are very sweet, the lemon juice matters even more.
- Brown sugar — This is where the caramel-like depth comes from. It doesn’t taste like actual caramel, but it gives the jam that warm, cooked sweetness that granulated sugar alone can’t match. If you need to use all white sugar, the jam still works, but the flavor will be lighter.
- Apple cider or juice — Just enough liquid helps the sugar dissolve before the apples release their own juices. Cider gives a fuller apple flavor; juice makes a slightly cleaner, sweeter jam. Don’t add much more than the recipe calls for or the set will take longer.
- Lemon juice — This keeps the jam from tasting flat and helps the pectin in the apples do its job. Bottled lemon juice works in a pinch, but fresh tastes sharper and cleaner here.
- Vanilla and spices — Cinnamon, nutmeg, and allspice should taste warm, not loud. Adding them near the end keeps the flavors from cooking off. Vanilla goes in last because its aroma fades fast with long heat.
Cooking the Apples Down Without Burning the Bottom
Starting With the Sugar and Fruit Together
Put the diced apples, both sugars, cider, and lemon juice in a heavy-bottomed saucepan and stir before turning on the heat. The sugar will pull moisture from the apples and start dissolving almost right away, which keeps the mixture from scorching in those first few minutes. If you use a thin pan, the bottom can catch before the apples have a chance to soften.
Letting the Jam Move From Loose to Thick
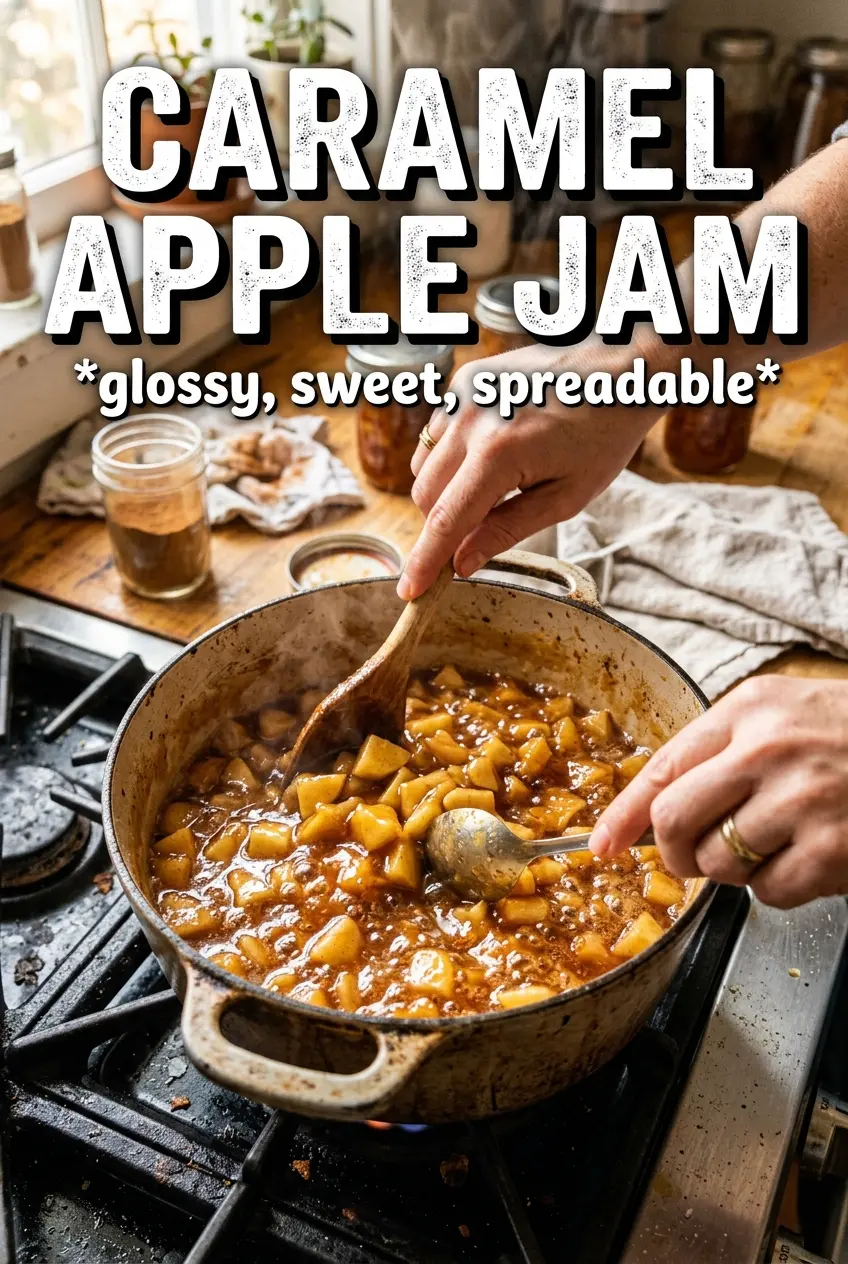
Bring the pot to a boil over medium-high heat, then lower it to a steady medium cook. Stir often, scraping the bottom and corners of the pan, because the jam thickens unevenly and likes to stick once the fruit starts breaking down. You’re looking for apples that soften completely and a mixture that mounds on a spoon instead of sliding off like syrup.
Finishing With Spice and Testing the Set
Once the fruit has broken down, stir in the cinnamon, nutmeg, allspice, vanilla, and salt, then cook for about 5 more minutes. That last stretch wakes up the spices without dulling them. To test the set, drop a spoonful on a cold plate and wait a minute; if it wrinkles when pushed, you’re there. If it stays watery, keep cooking in short bursts and test again.
Make It Less Sweet
Use a tart apple like Granny Smith or Honeycrisp-heavy mix and reduce the granulated sugar by 1/4 cup. The jam will taste brighter and a little less candy-like, but it may need an extra few minutes to reach the same set.
Dairy-Free and Naturally Vegan
This recipe already fits a dairy-free and vegan table as written. The only thing to watch is the vanilla extract if you’re using a specialty brand with added sweeteners or flavoring oils; a plain extract gives the cleanest result.
Chunkier or Smoother Texture
For a chunkier jam, stop cooking when some apple pieces are still visible and soft. For a smoother spread, mash the fruit lightly with a potato masher during the last 10 minutes. Both versions taste the same; the difference is whether you want little bites of apple or a more uniform spoonable spread.
Storage and Reheating
- Refrigerator: Store in sterilized jars in the fridge for up to 3 weeks. The jam will firm up more as it chills.
- Freezer: This freezes well if you leave headspace in the jars. Use freezer-safe containers and thaw overnight in the refrigerator.
- Reheating: Jam usually doesn’t need reheating, but if it thickens too much after chilling, warm a small amount gently in a saucepan or microwave. Don’t boil it again or the texture can turn sticky and overly dense.
Questions I Get Asked About This Recipe
Caramel Apple Jam
Ingredients
Equipment
Method
- Combine diced apples, granulated sugar, brown sugar, apple cider, and lemon juice in a large heavy-bottomed saucepan, stirring until evenly mixed.
- Bring the mixture to a boil over medium-high heat, stirring until the sugars dissolve.
- Reduce heat to medium and cook, stirring frequently, for 30-35 minutes until the mixture thickens and apples break down (visual cue: it should look glossy and coat the spoon).
- Stir in cinnamon, nutmeg, allspice, vanilla extract, and salt, then cook for 5 more minutes.
- Test set point: spoon a small amount onto a cold plate and push with your finger—if it wrinkles, it’s ready (visual cue: the surface should crease rather than run).
- Ladle the hot jam into sterilized jars, leaving proper headspace, then wipe rims clean for an even seal.
- Process jars in a water bath for 10 minutes, then cool completely before storing (visual cue: lids should seal with no give when pressed).
- Alternatively, refrigerate after filling and cooling for up to 3 weeks, allowing the jam to thicken further as it chills.